</a
</aThe survey yesterday was both nail biting and inspiring in equal measures and, like any exam or nerve wracking appointment, less scary than it had seemed in anticipation. Much of the damage and – to be frank – the gaping holes had been revealed through the shotblasting so I felt reasonably prepared for the verdict.
The survey process itself was also quite interesting and useful at this stage to see the processes, how the work is viewed and the list of what needs to be done broken down.
Basically (and please correct me if I’m wrong Aidan), the hull of the ship is divided into lettered plains that run as panels down the length of the ship. These are marked on the side of the hull alongside the ribs (the internal metal frame) which are numbered from stern to bow. This provides a grid to both take the thickness measurements and also identify where the damage is located for future reference and repair.
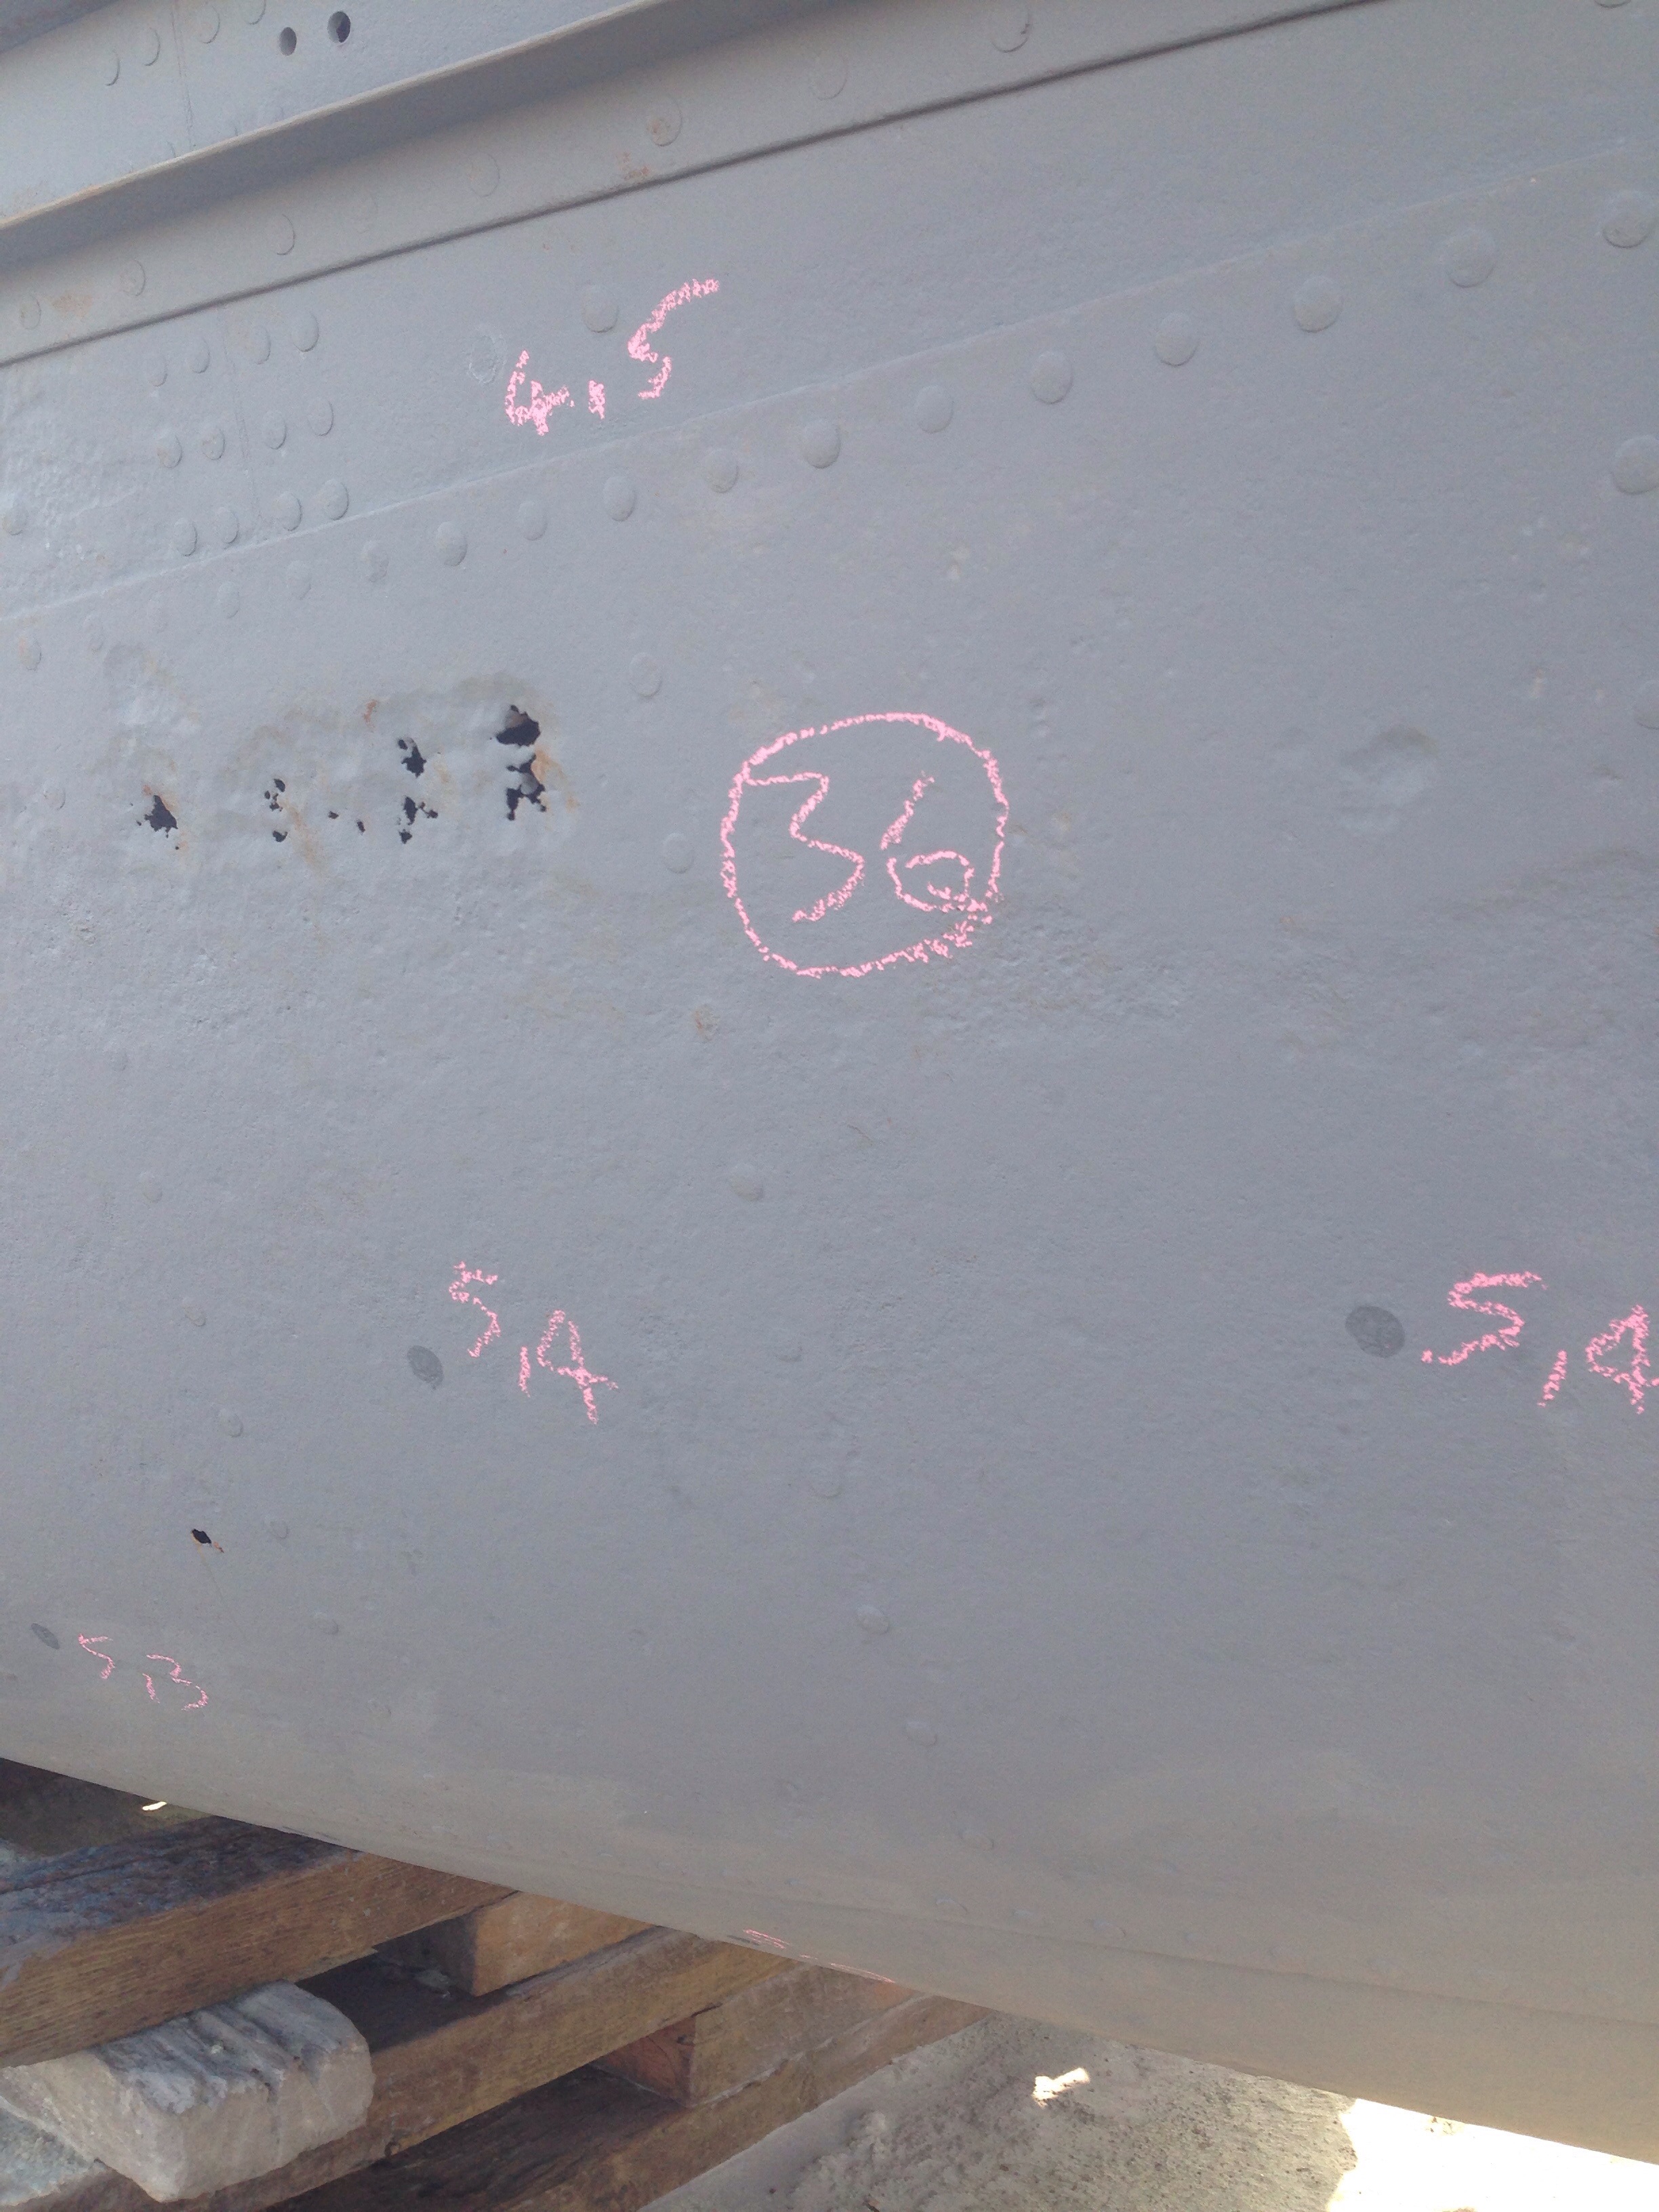
The picture above shows the different types of damage – the pitting, the corrosion, the rust and the gaping holes (I don’t think the last one is a technical term).
A key part of the survey is also the ultrasound thickness testing. This involves a device that looks a bit like an old fashioned portable tape recorder with microphone. The gel gunk goes on the end of the probe and it takes a measurement of the thickness of the hull. This was why it was crucial to shotblast off the rust and paint and barnacles and general crud and to remove the concrete in order to get the most accurate reading. 
The hull is then chalked up with the different thickness measurements to allow it to be gauged where the weak areas are. Important as these are the “nasty surprises” where larger holes may be imminent.
It was originally made of 6mm steel so most of the numbers ranged between a three and a five. Obviously 5 is better and thicker than three with the pattern of the numbers and proximity of thick areas to thinner areas determining how and what is replaced.

The full report will be forthcoming. This will include a final verdict on appropriate thicknesses bearing in mind the location of the metal on the hull, the age and its use going forwards. It would of course be the optimum solution to replate the whole hull but, as with any older house, car, object, it is a case of being pragmatic and prioritising.
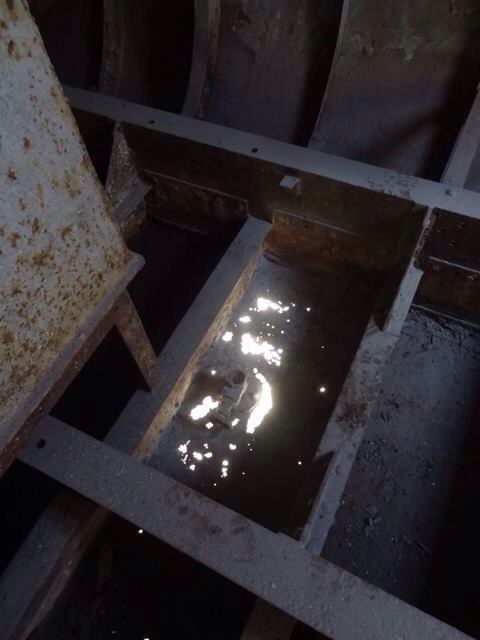
Quite a long old job. No electrics systems or heating or pumps to be included in the survey but a lot of careful examination of the hull. There is also a rather spectacular bit where the concrete once was and where the bottom of the hull has gone right through. I will show that in another photo when I can bare look at it again!
EDIT: here’s the hull photo taken by Toby the welder.