A lesson in how to insert a decklight 

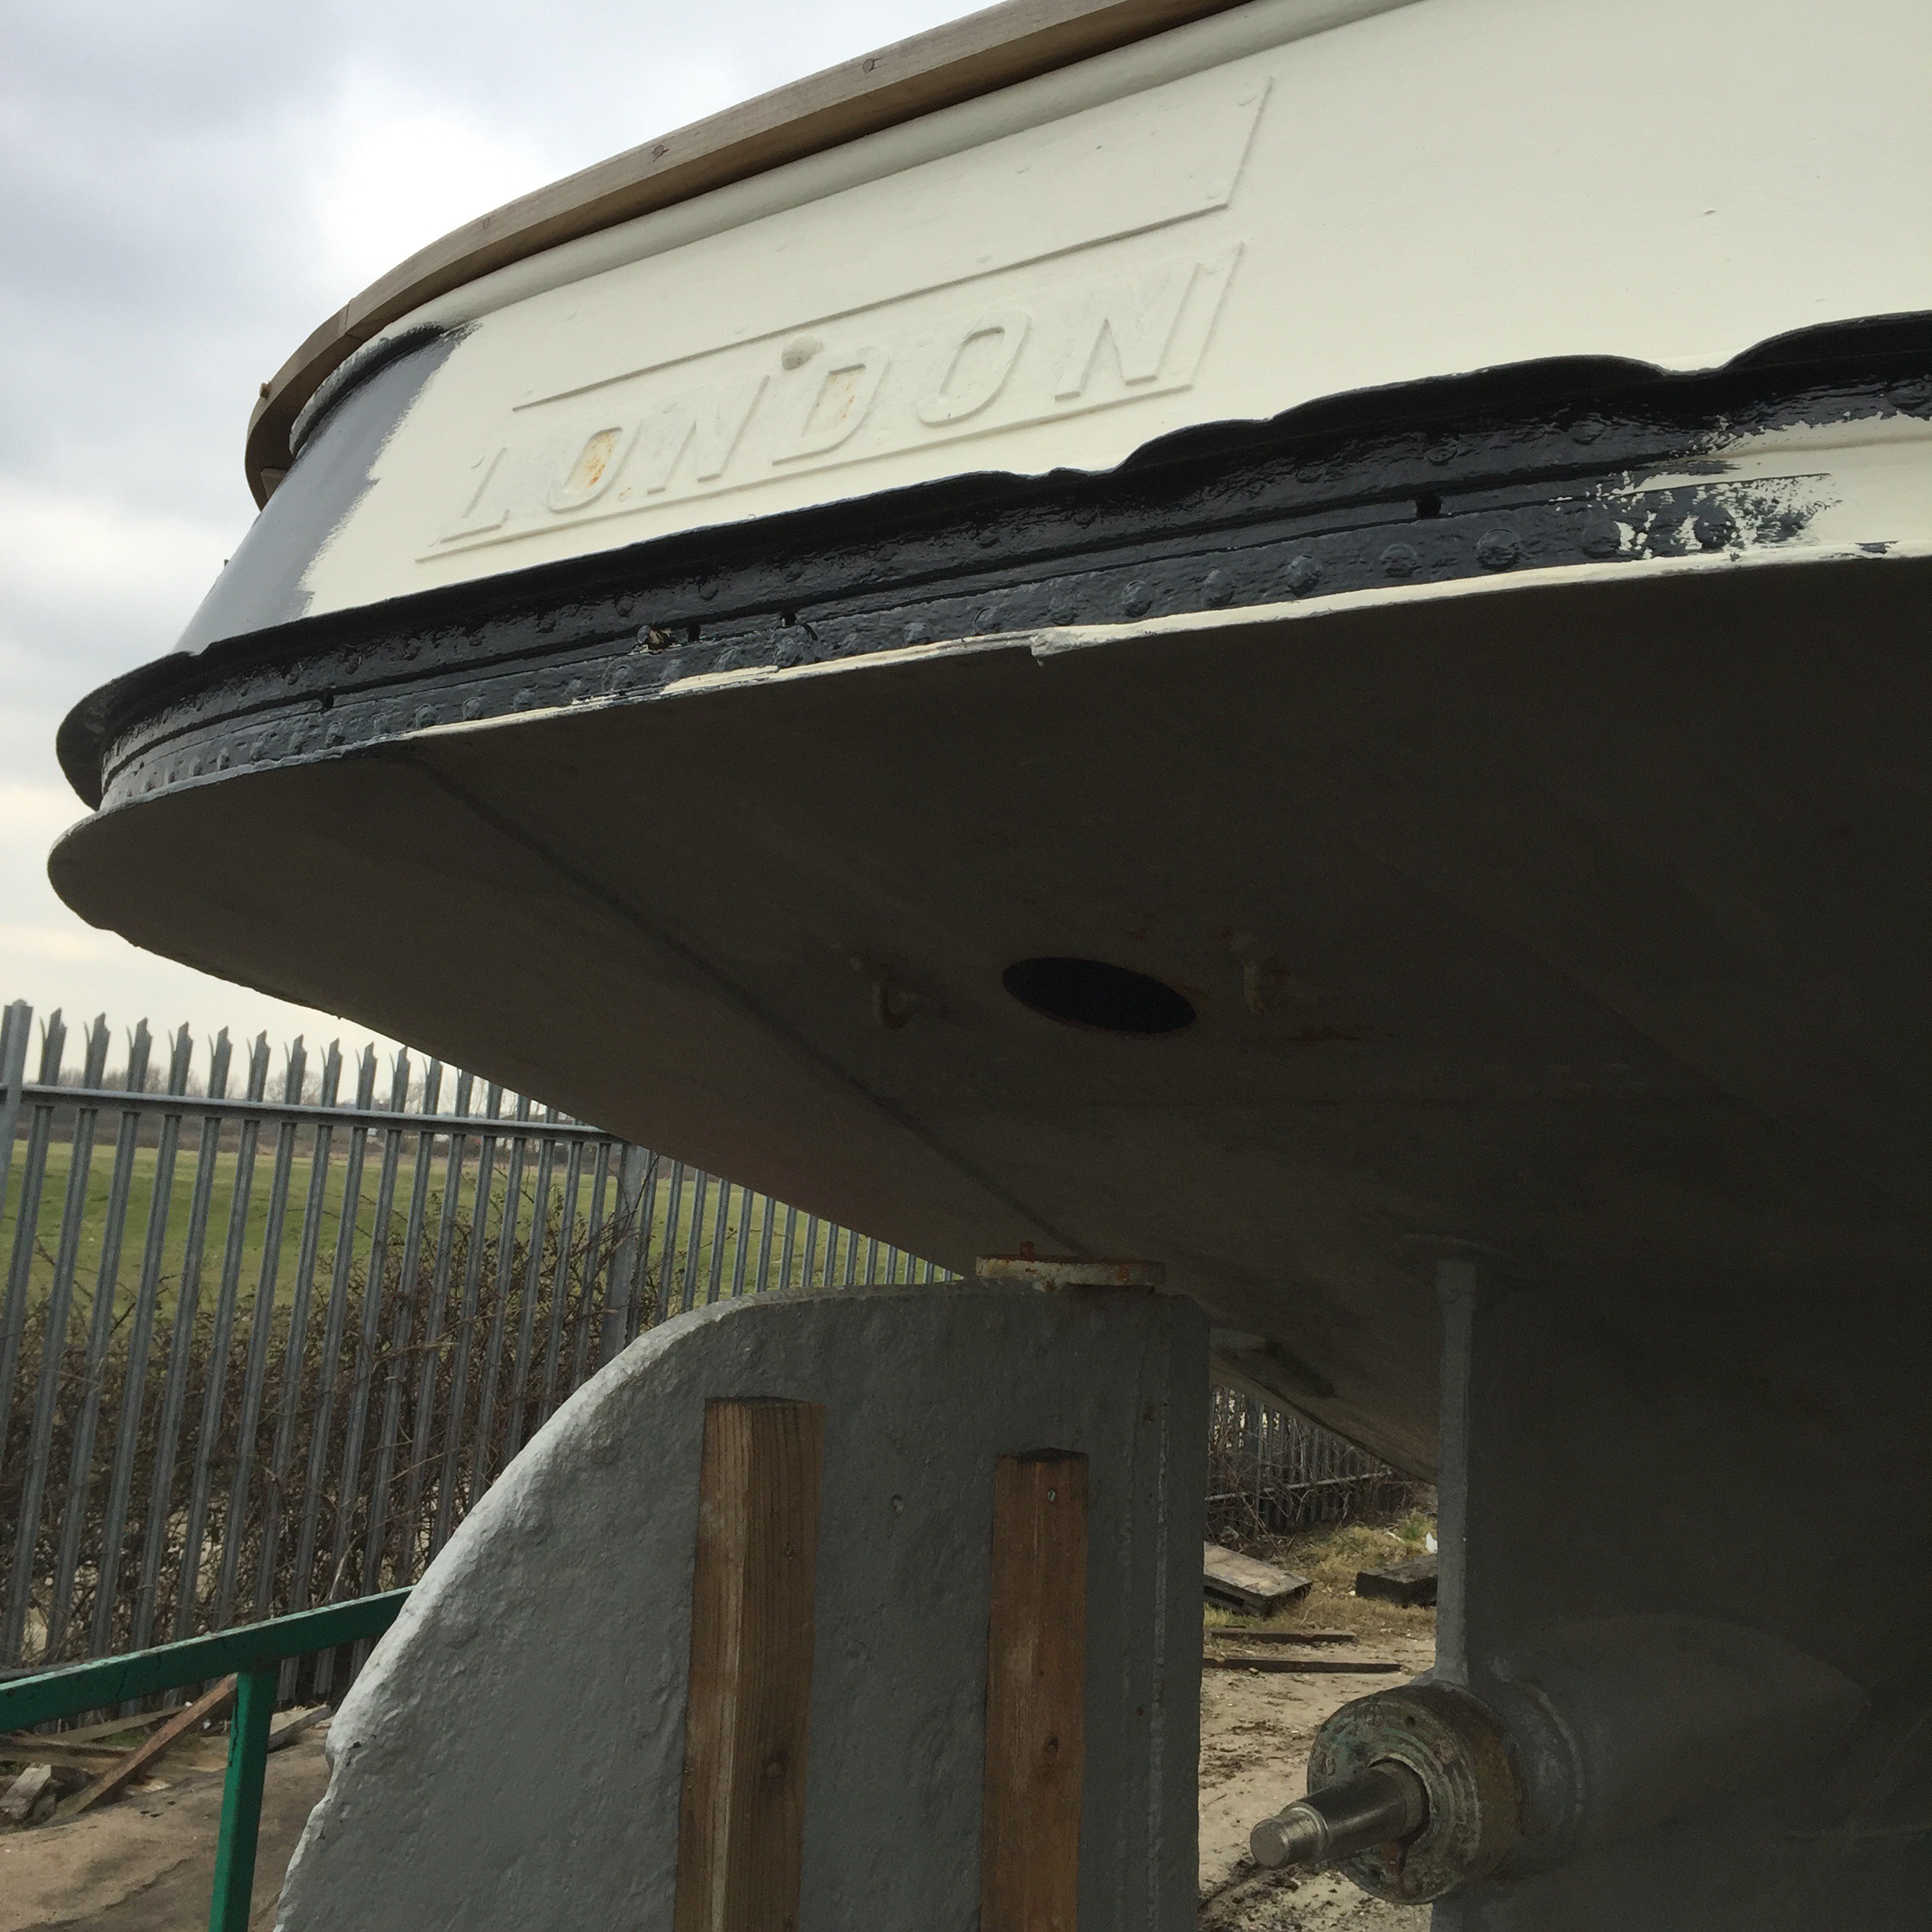
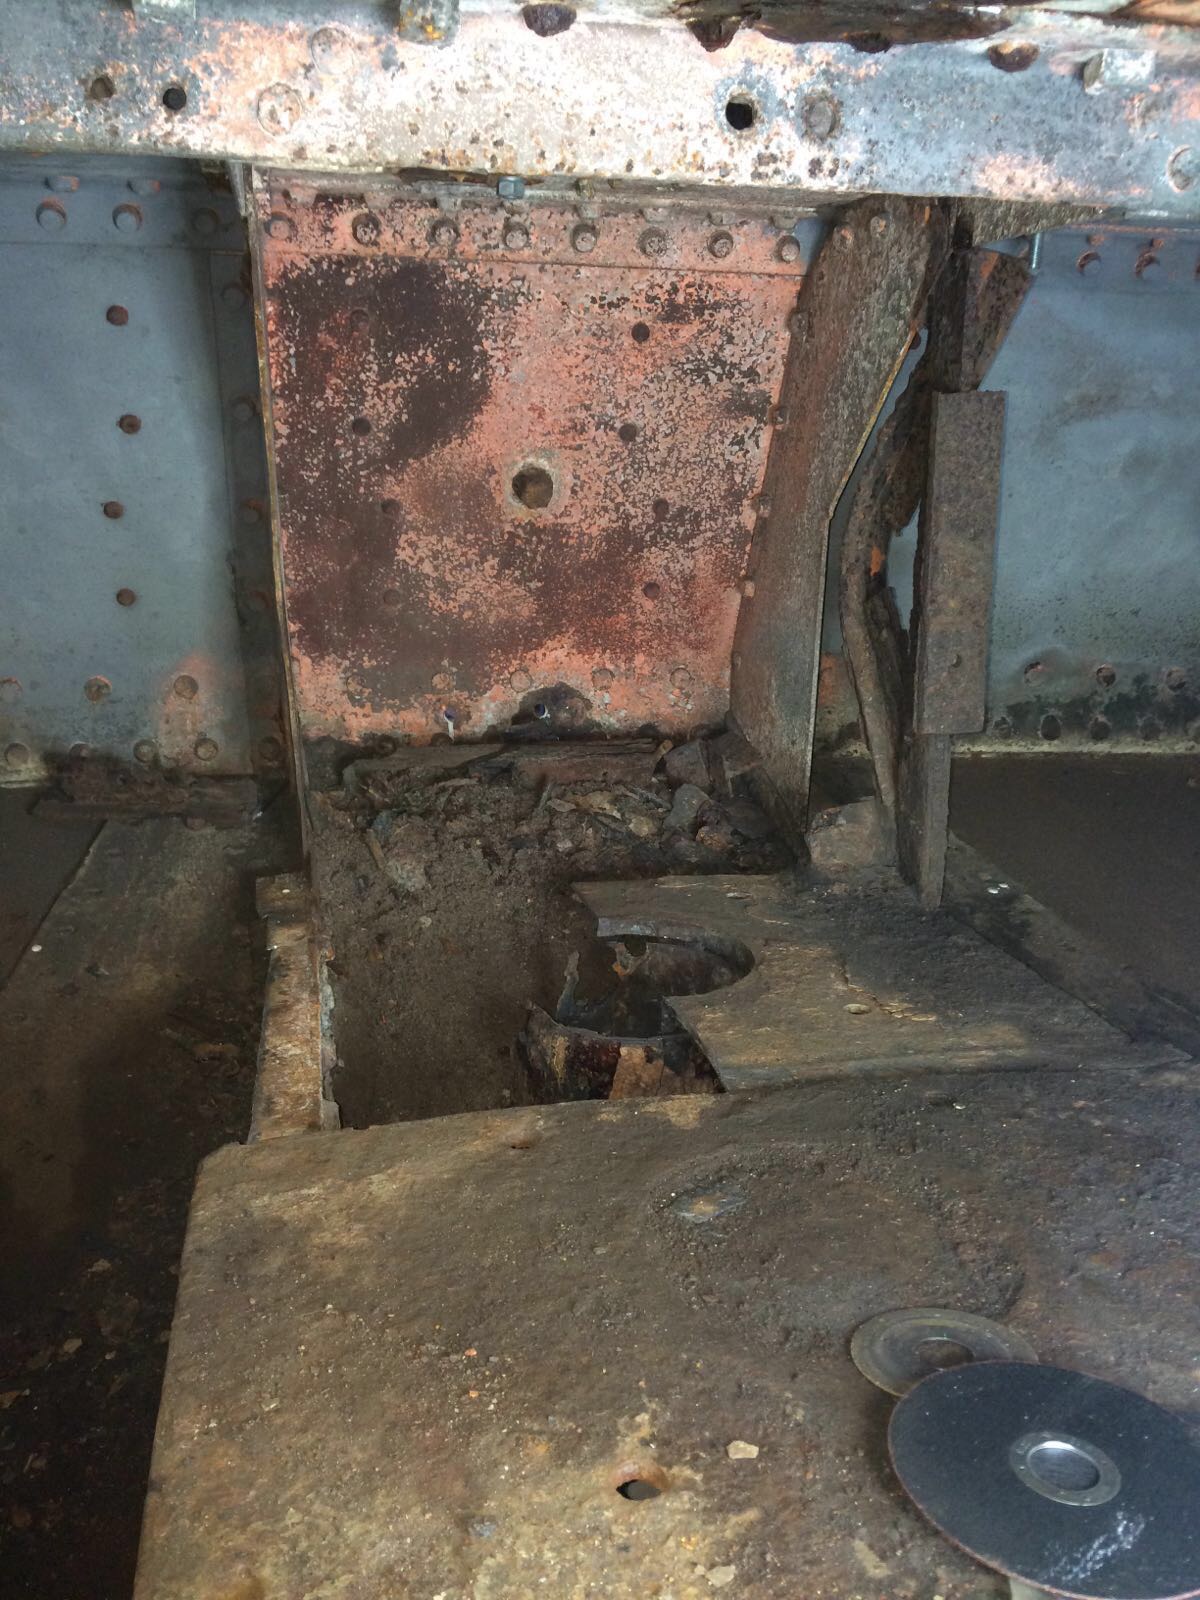
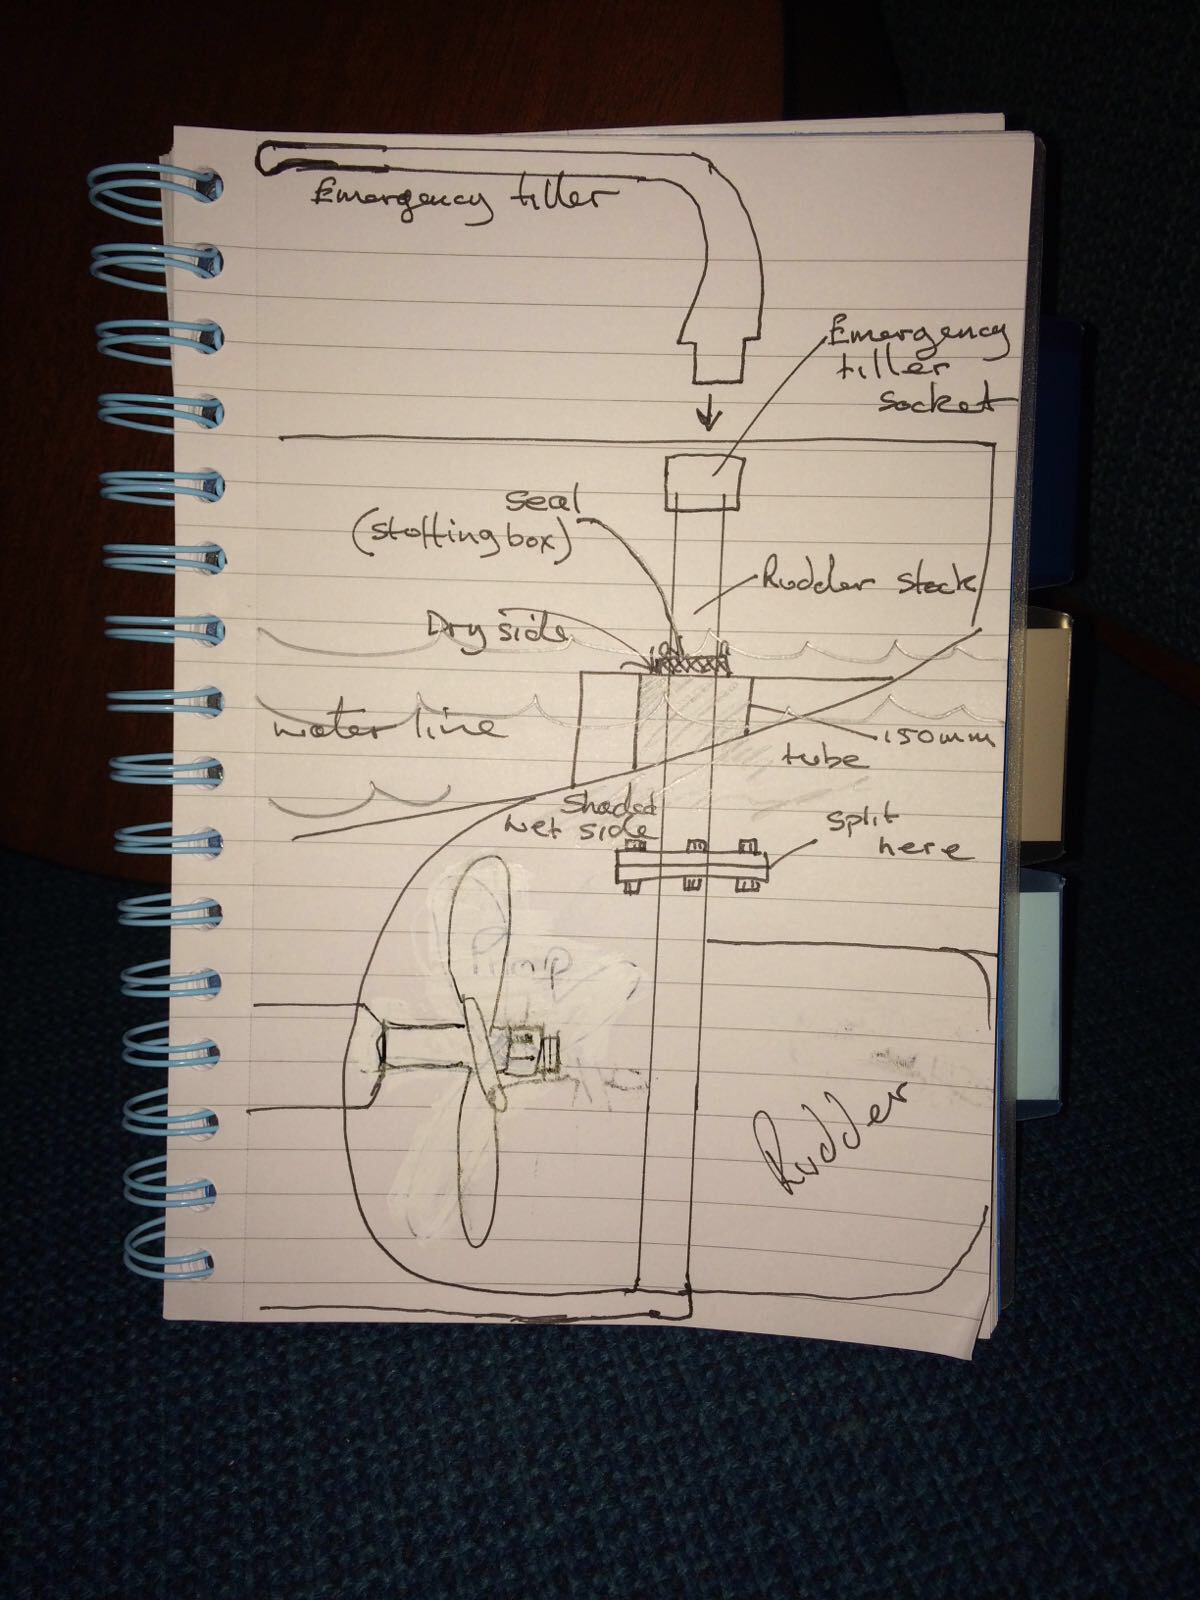
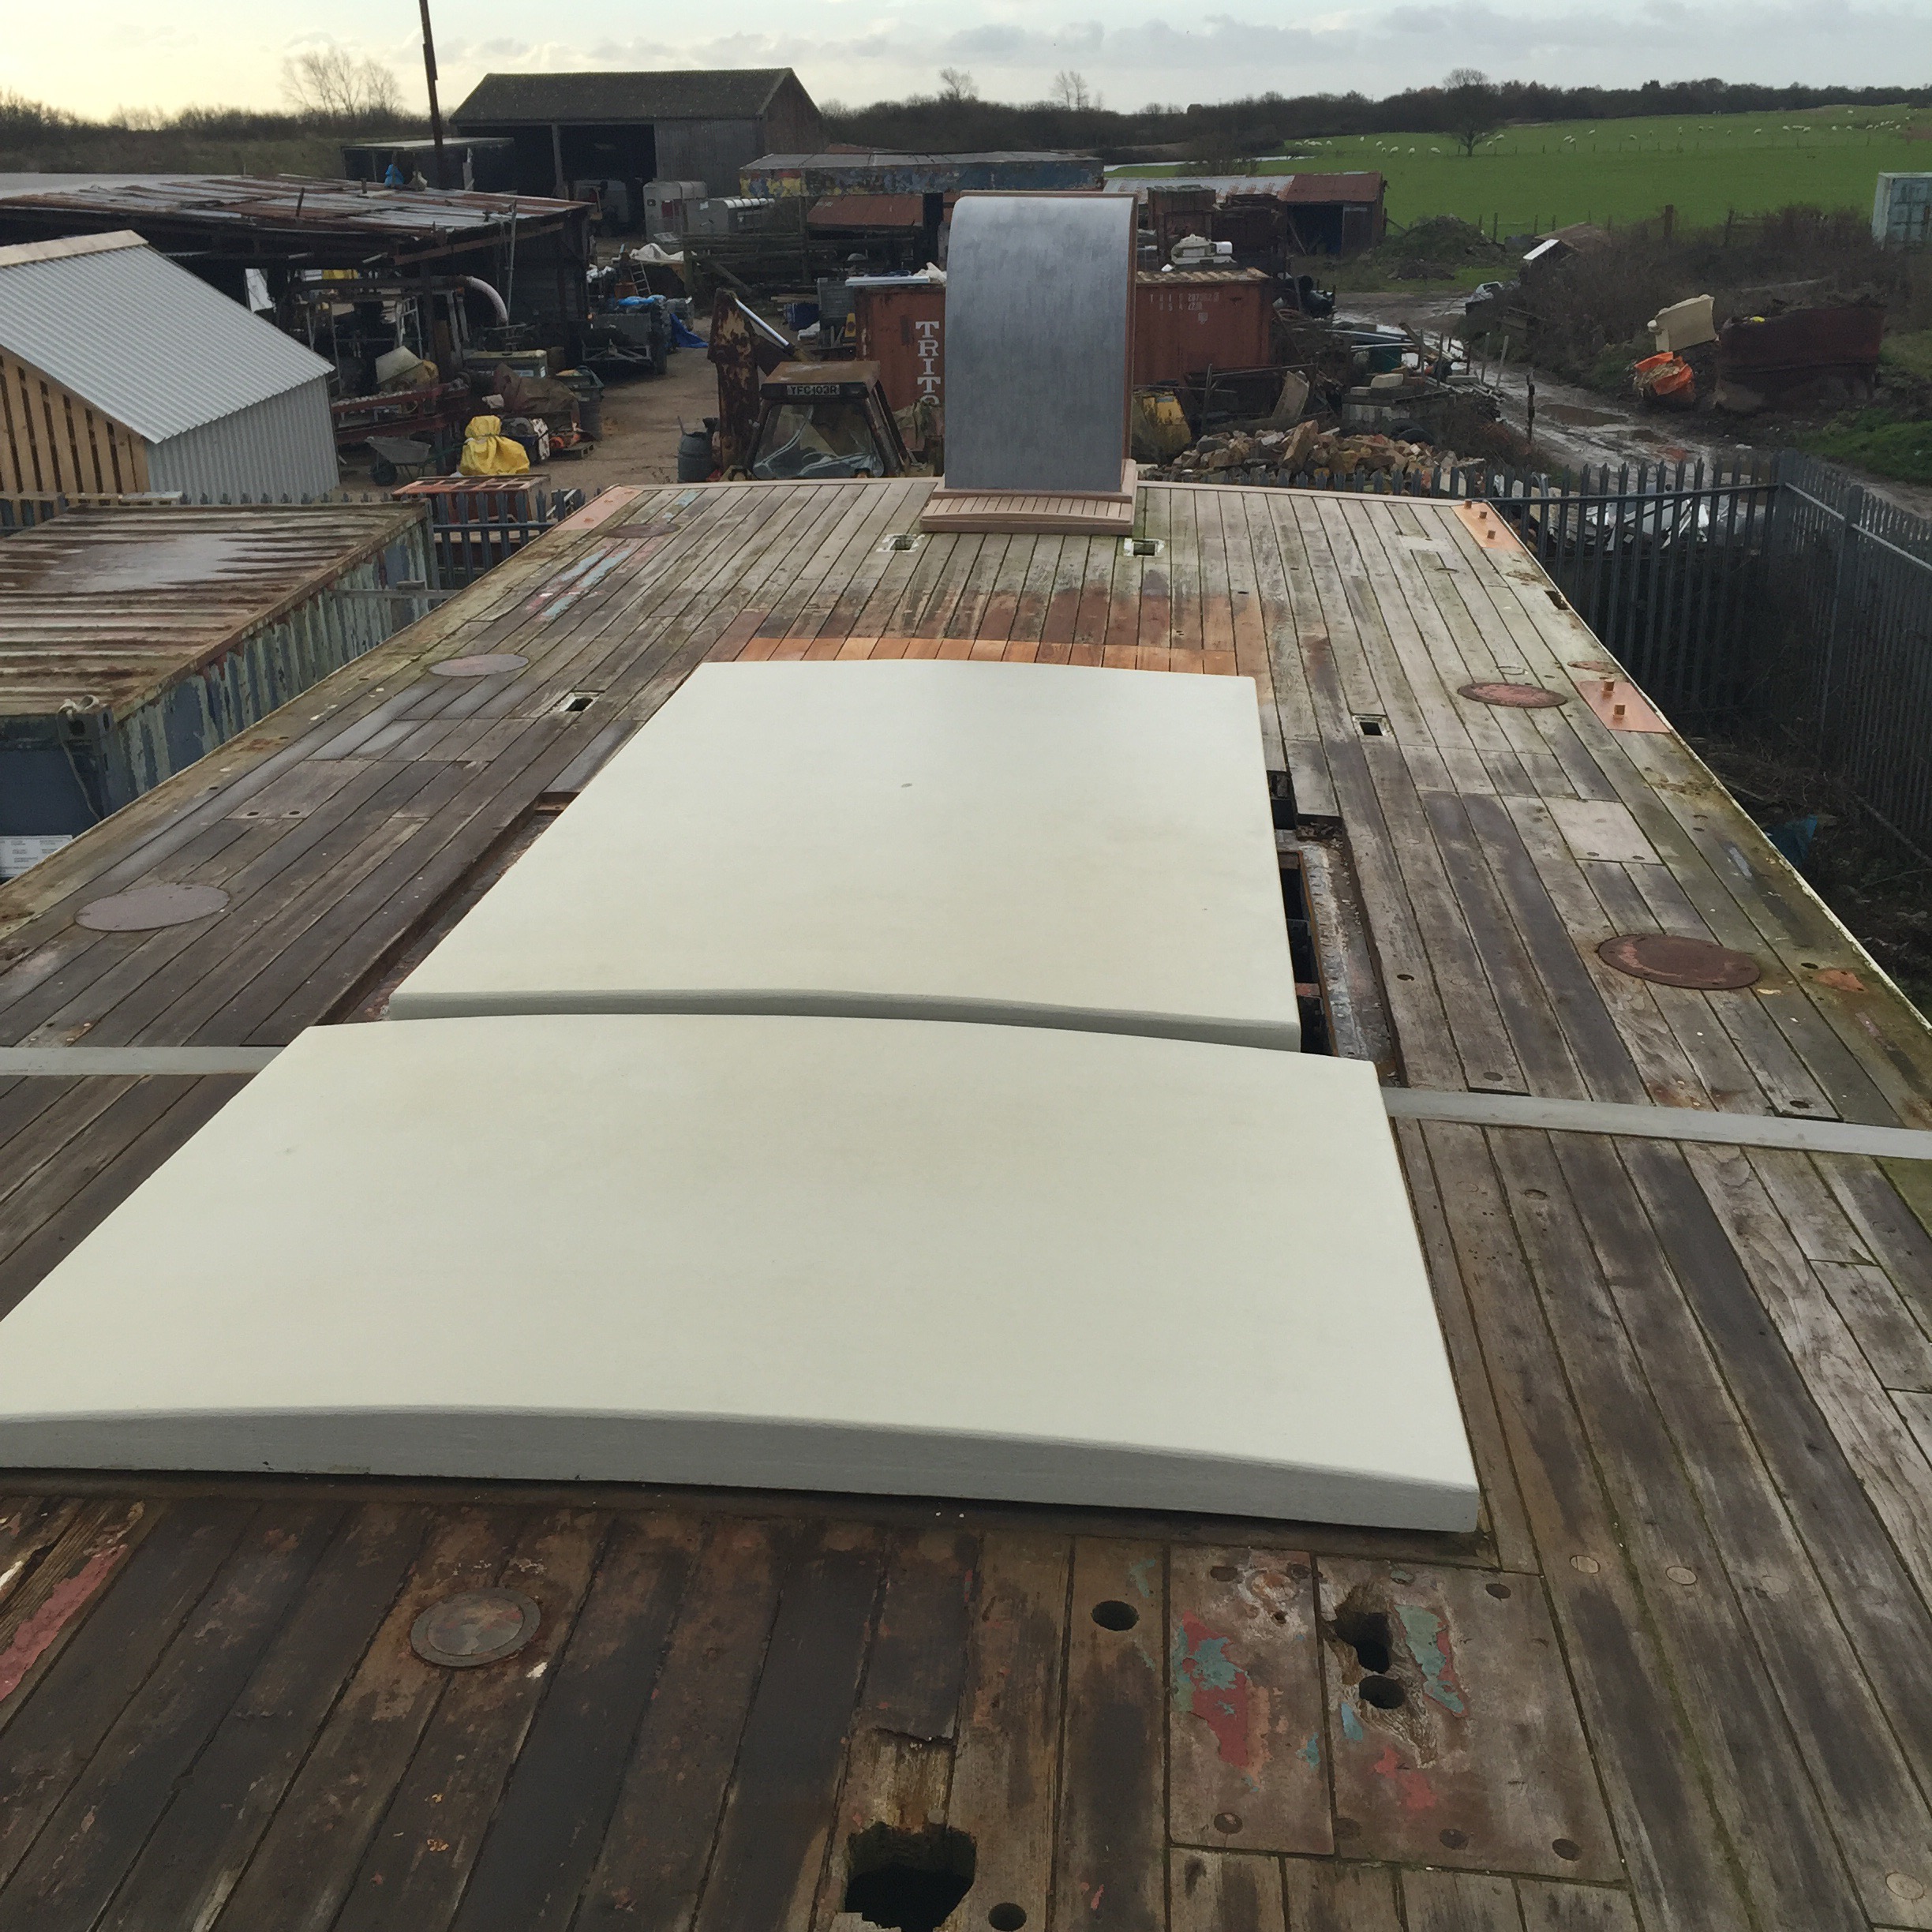
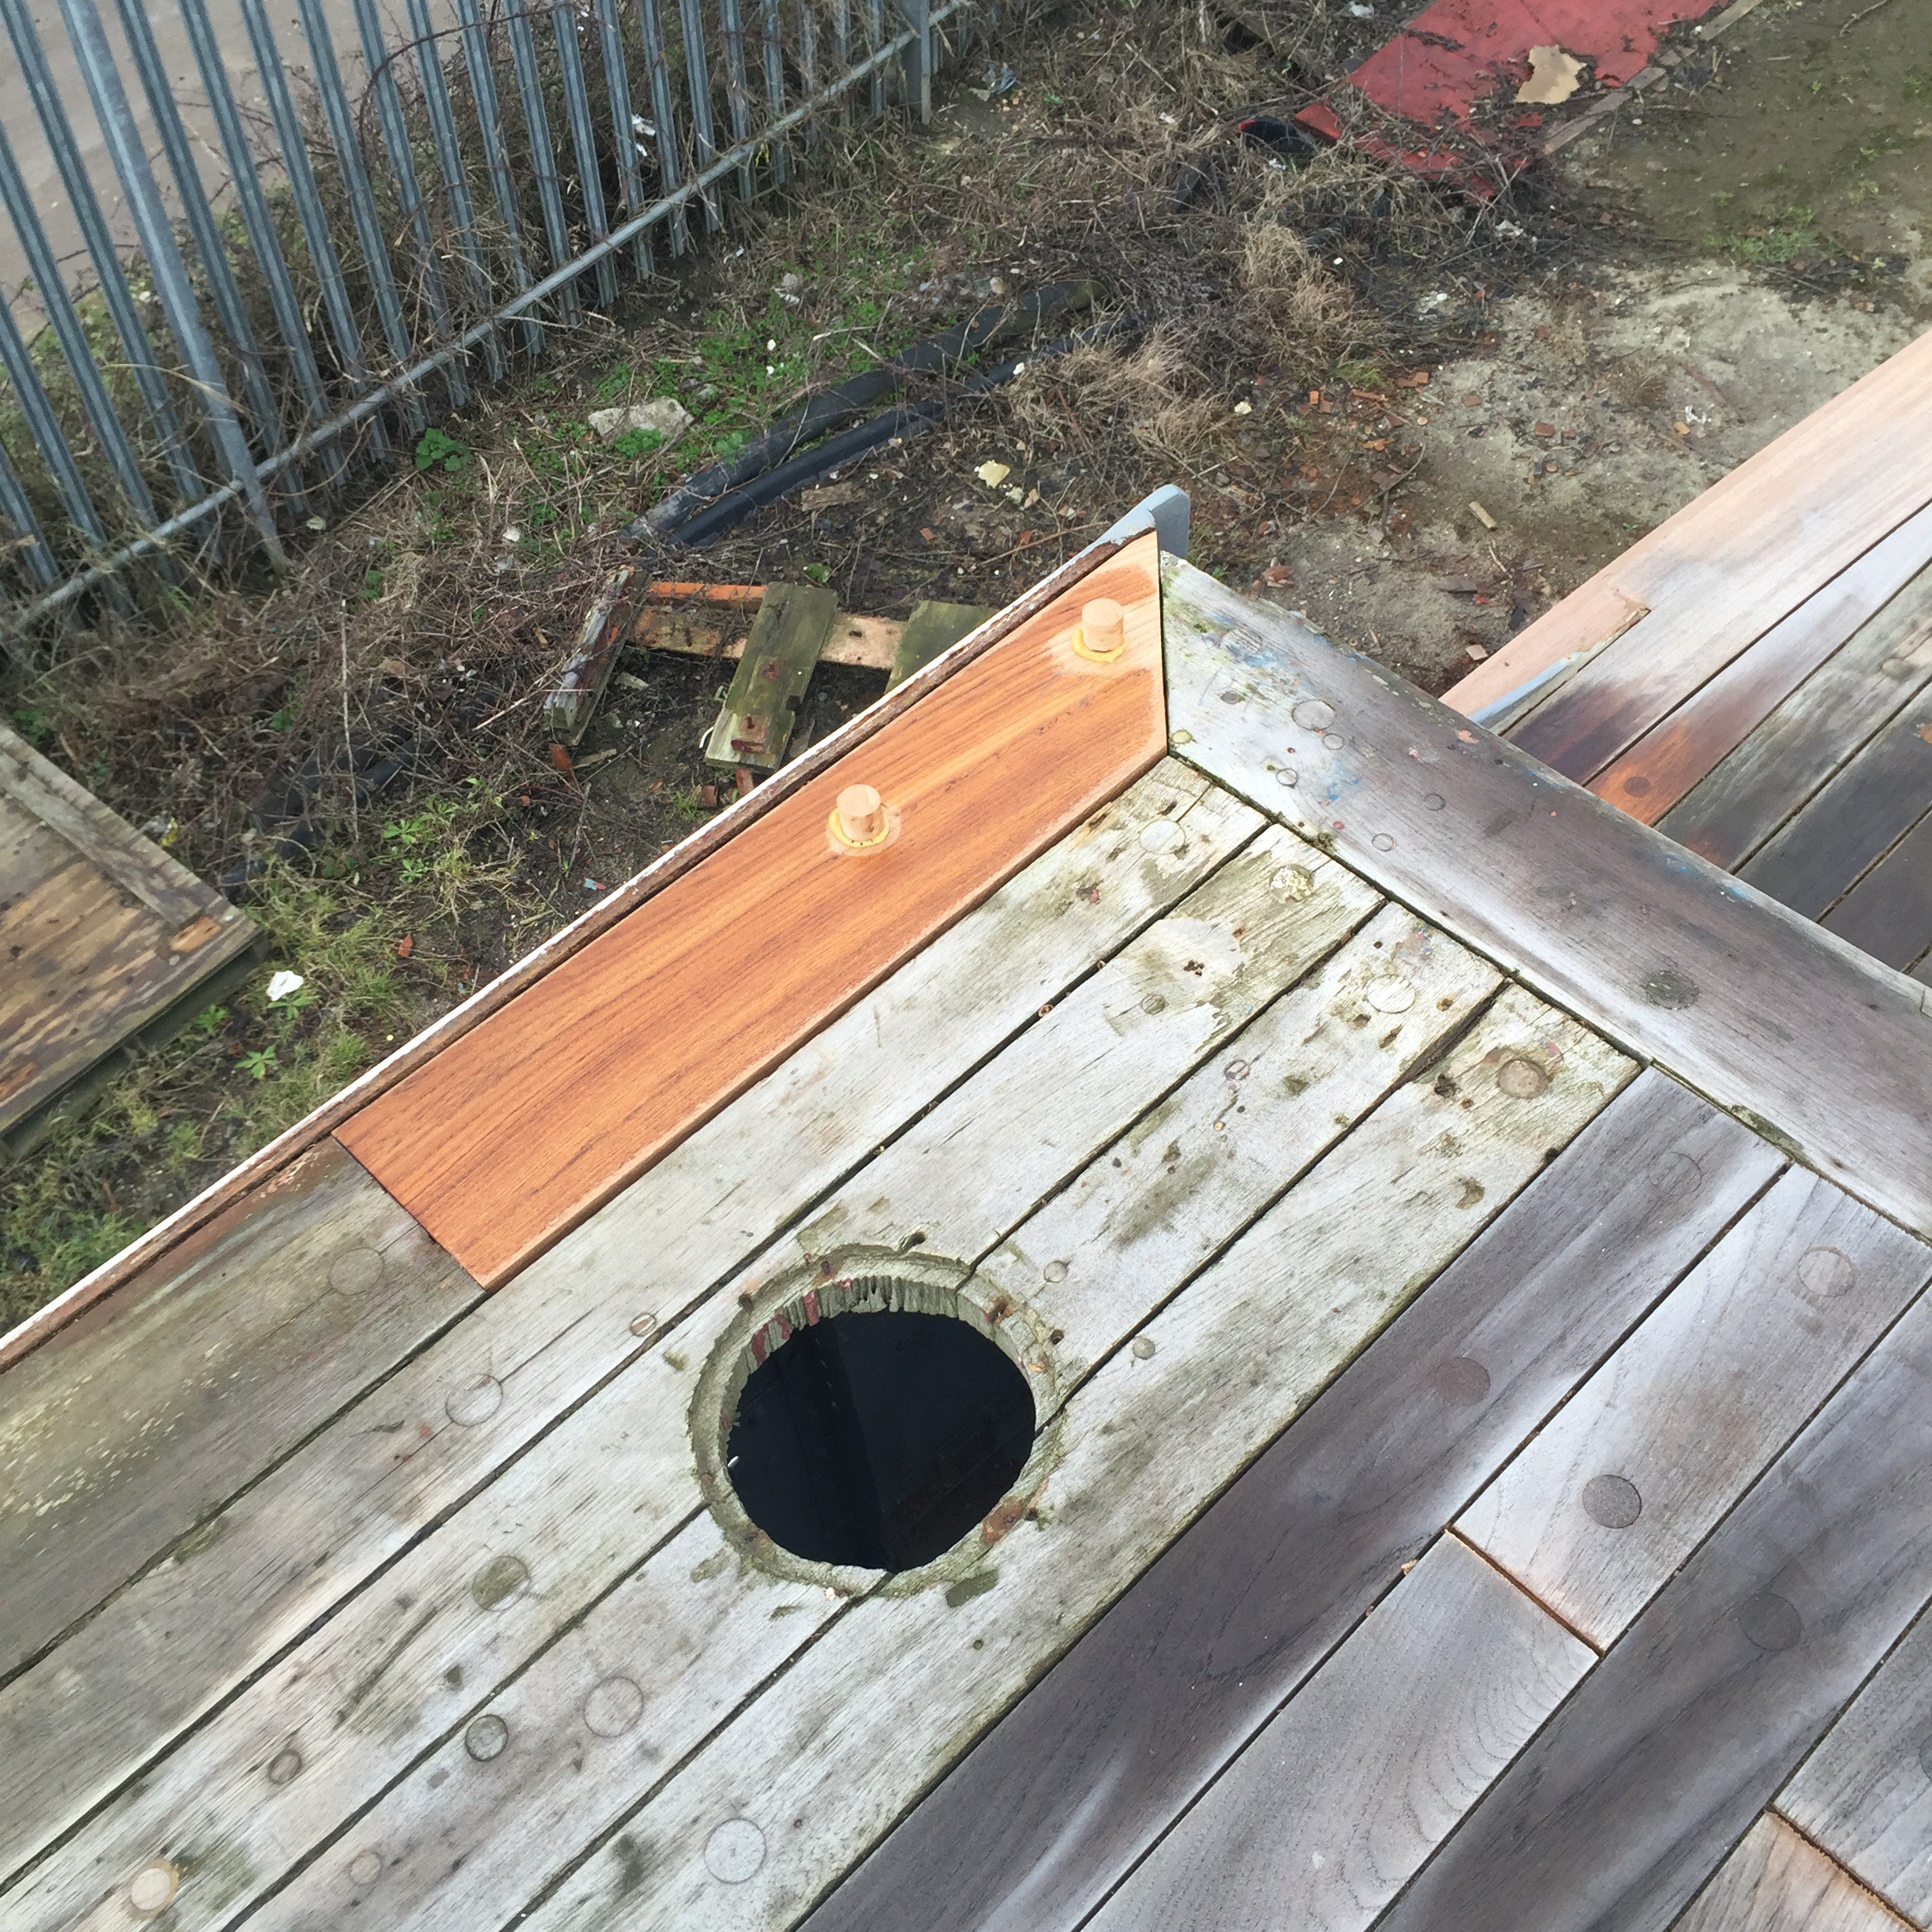
The deck is in pretty good shape but, where hatches and vents have been moved and where the pumps originally stood, there are some gaps and crappy inserts. Given many of these are circular, it seemed like a good idea to sink some circular deck lights in there. I grabbed some from Davey & co and Ian showed me how they are put in…

First they were put roughly in position.

 
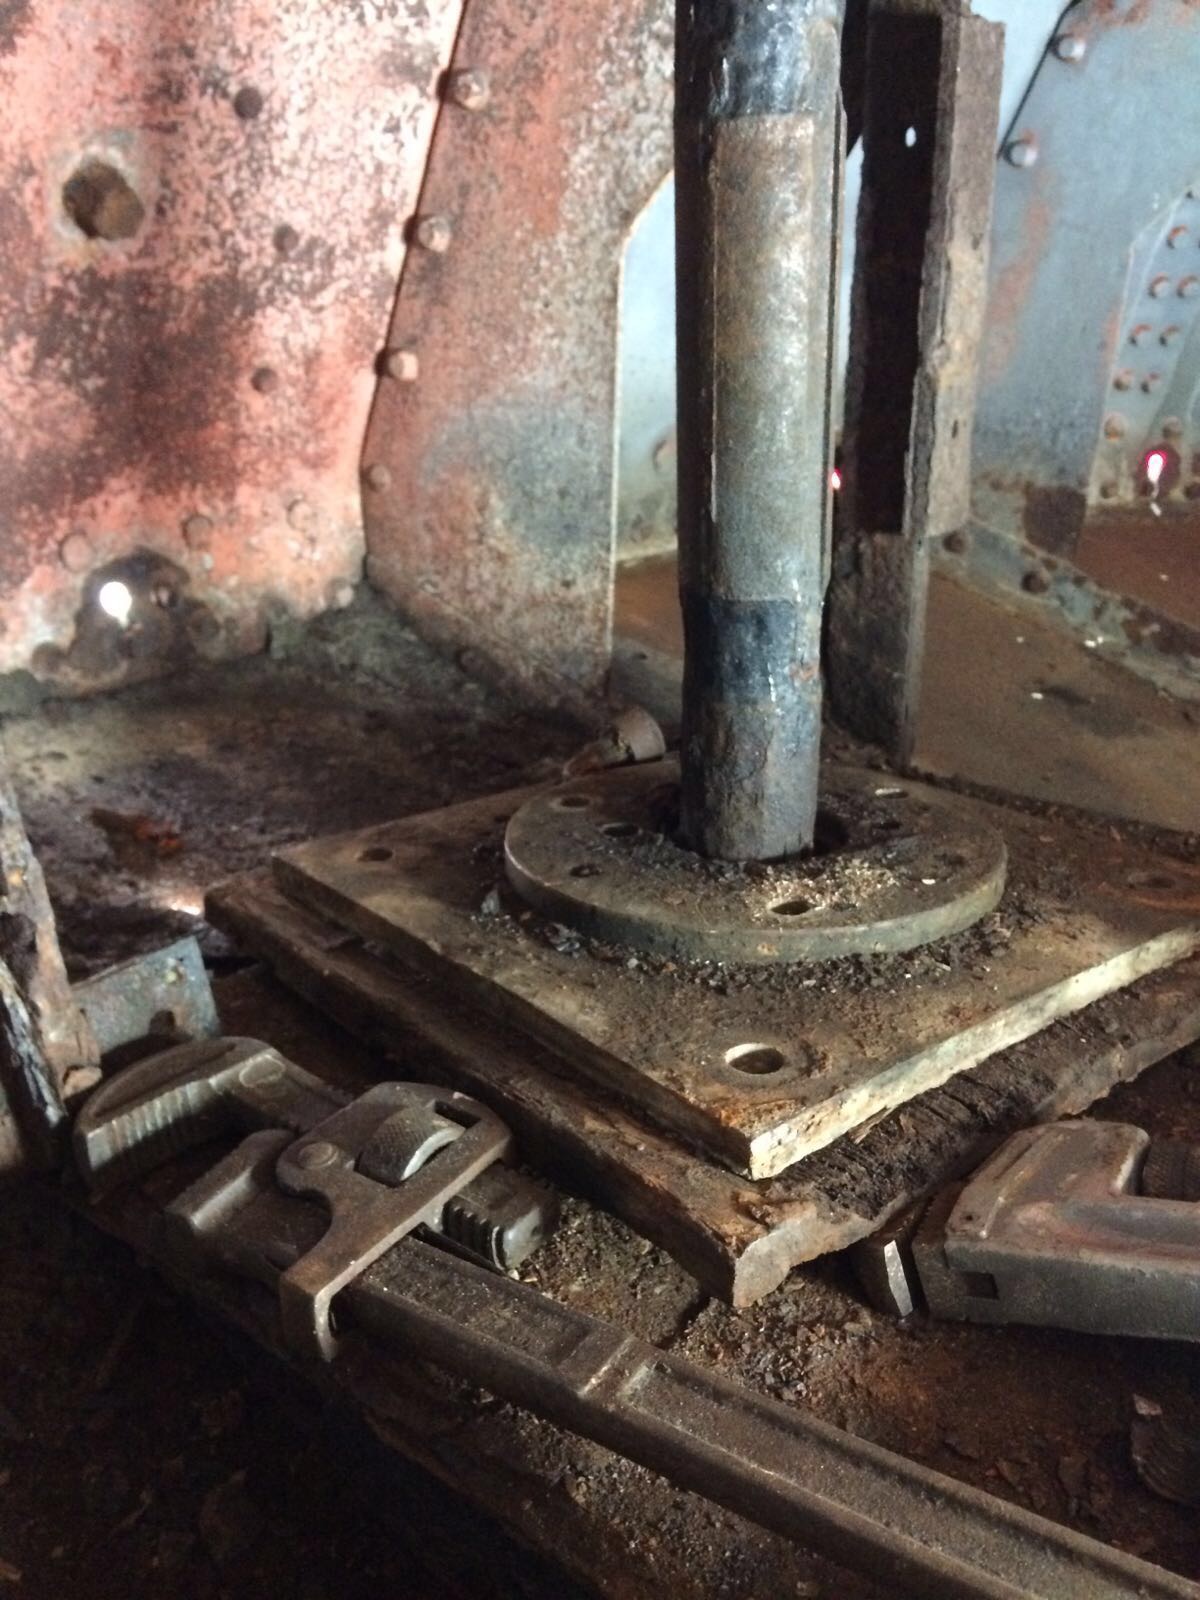
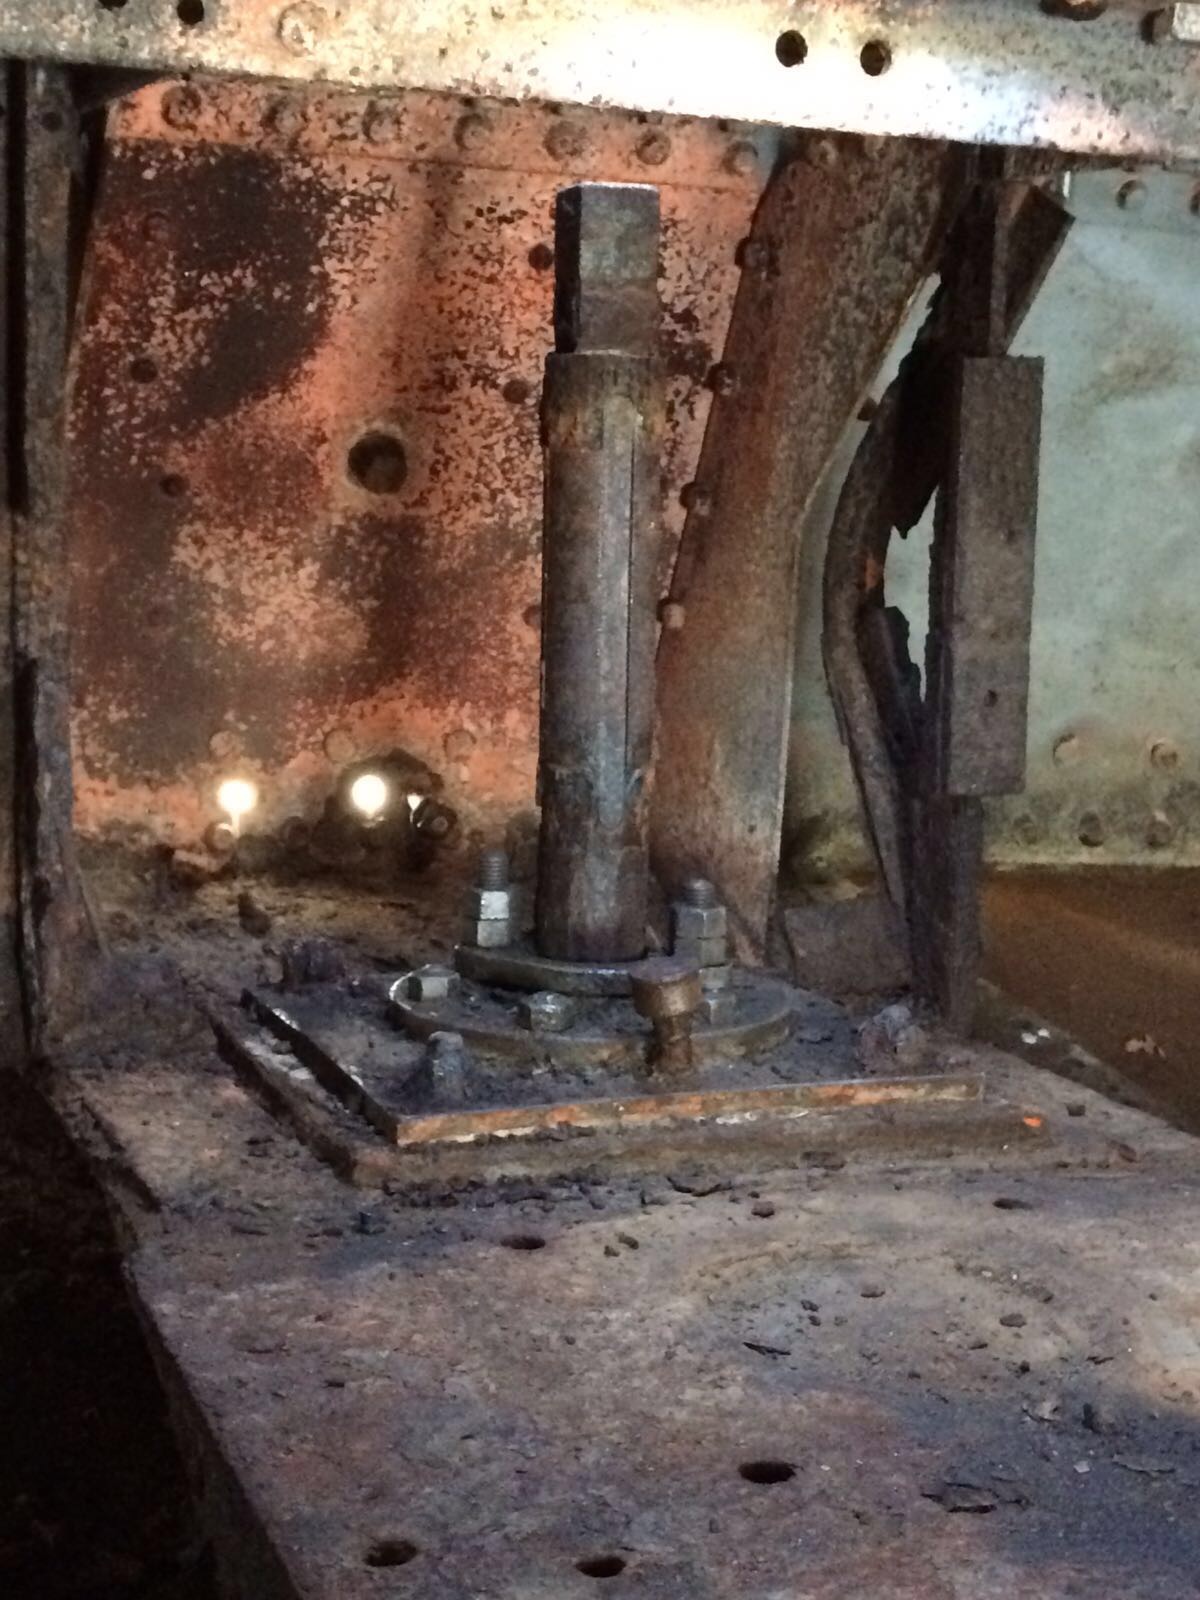
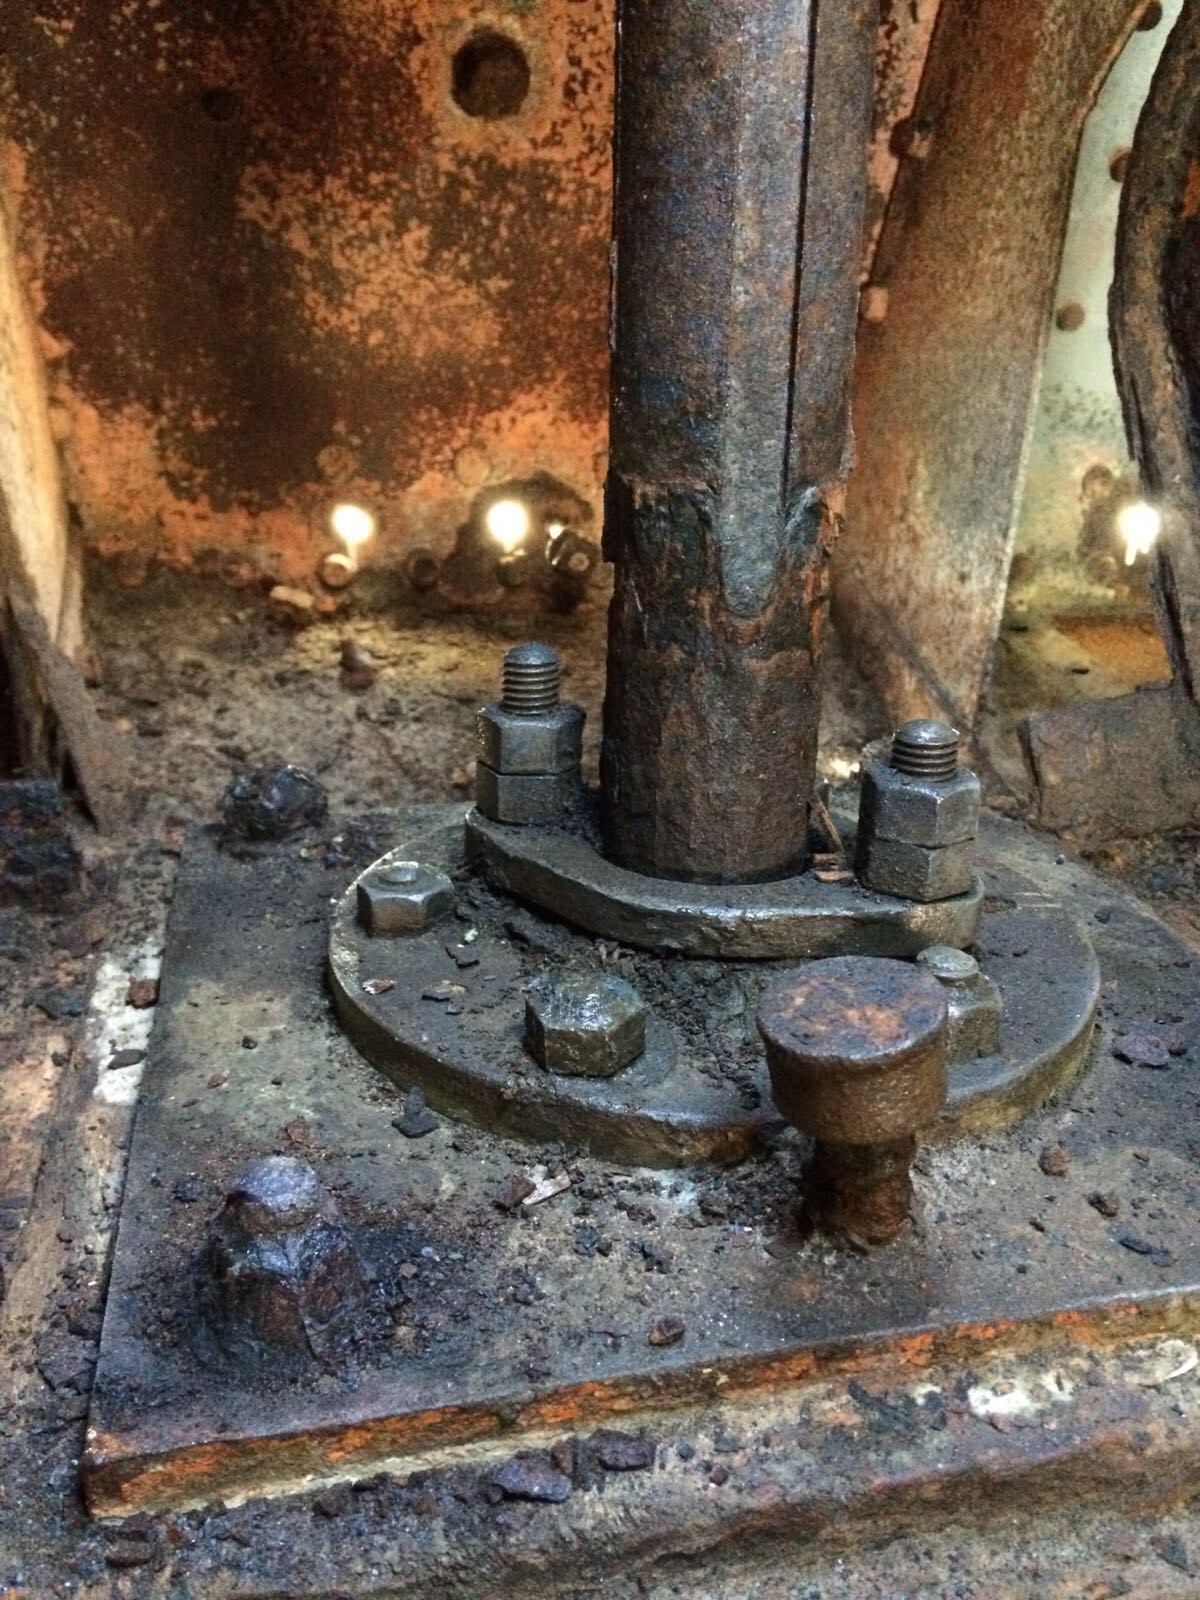
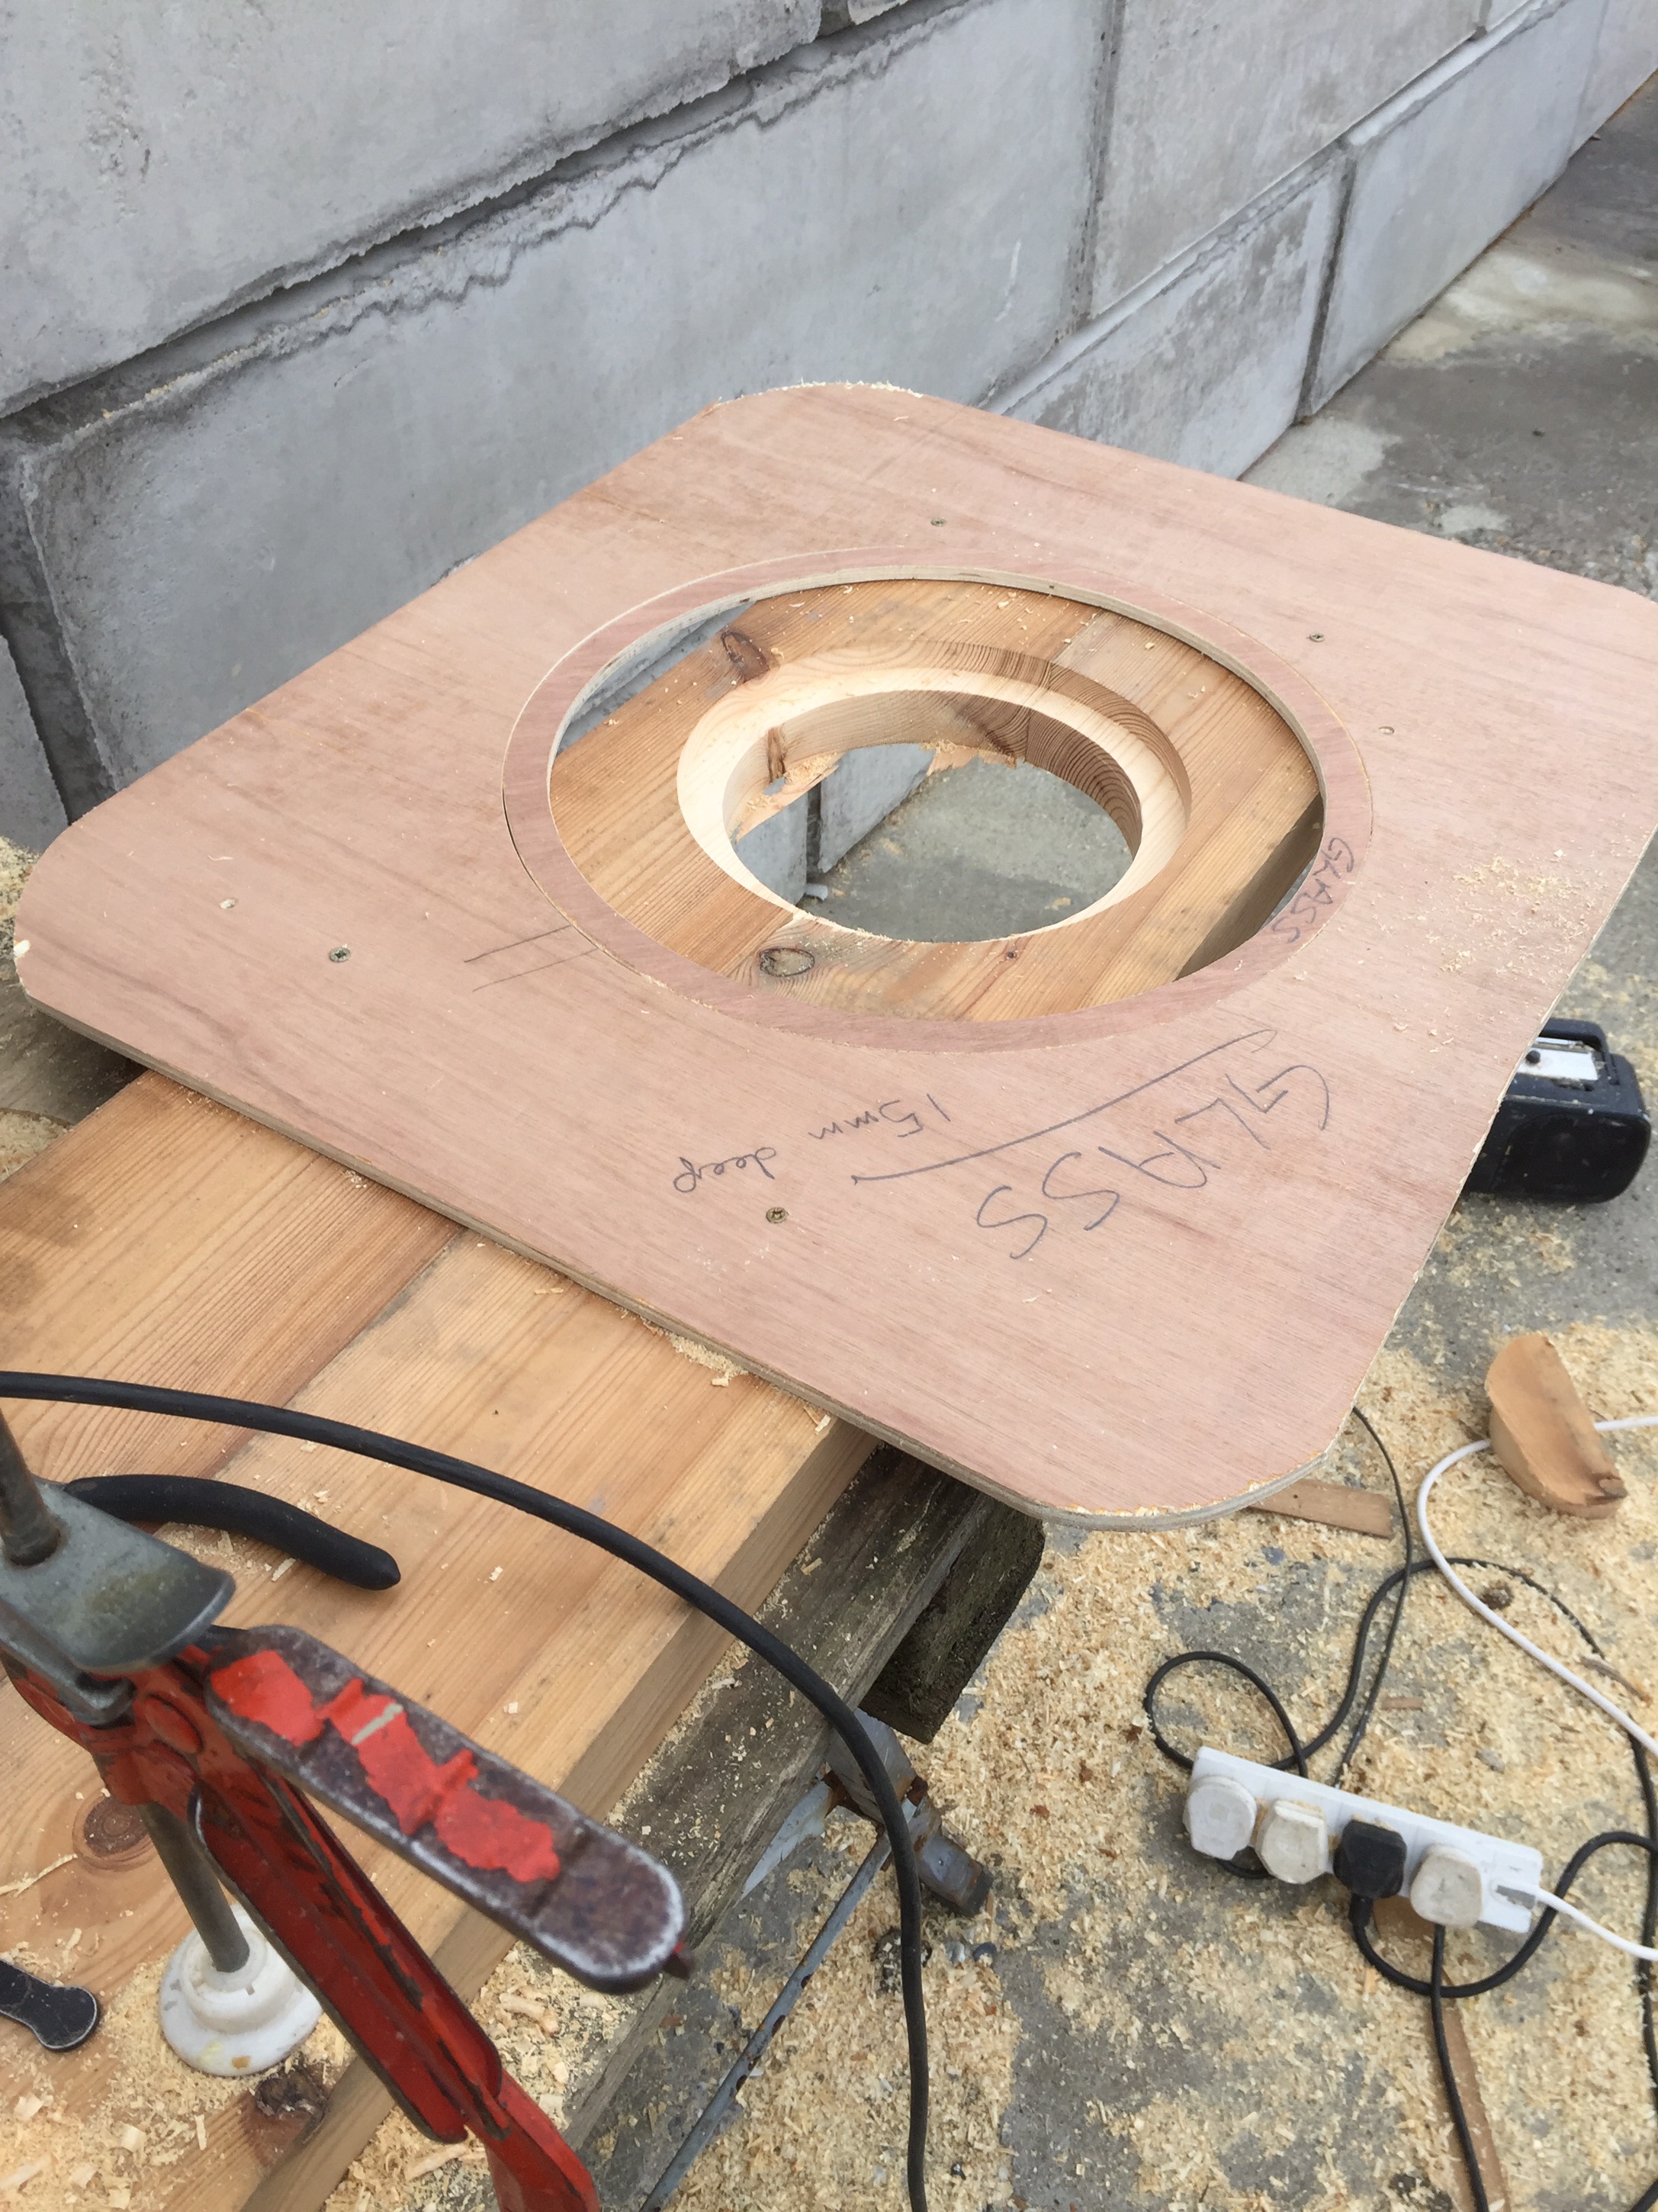
Ian then rigged up a template that would allow  exactly the right shape to be cut in the deck. The glass needed to be set into the deck so it sits on a recessed step. Then the brass ring sits on top to secure it in place. To get the dimensions right, Ian knocked up a rig to ensure the router was cutting the right shape to the right depth.
 
Then best to test it out on some spare bits of random wood rather than jumping in and trying it straight out on the deck. Slowly slowly catchy monkey.  
    

With a couple of adjustments, it’s on to the deck.


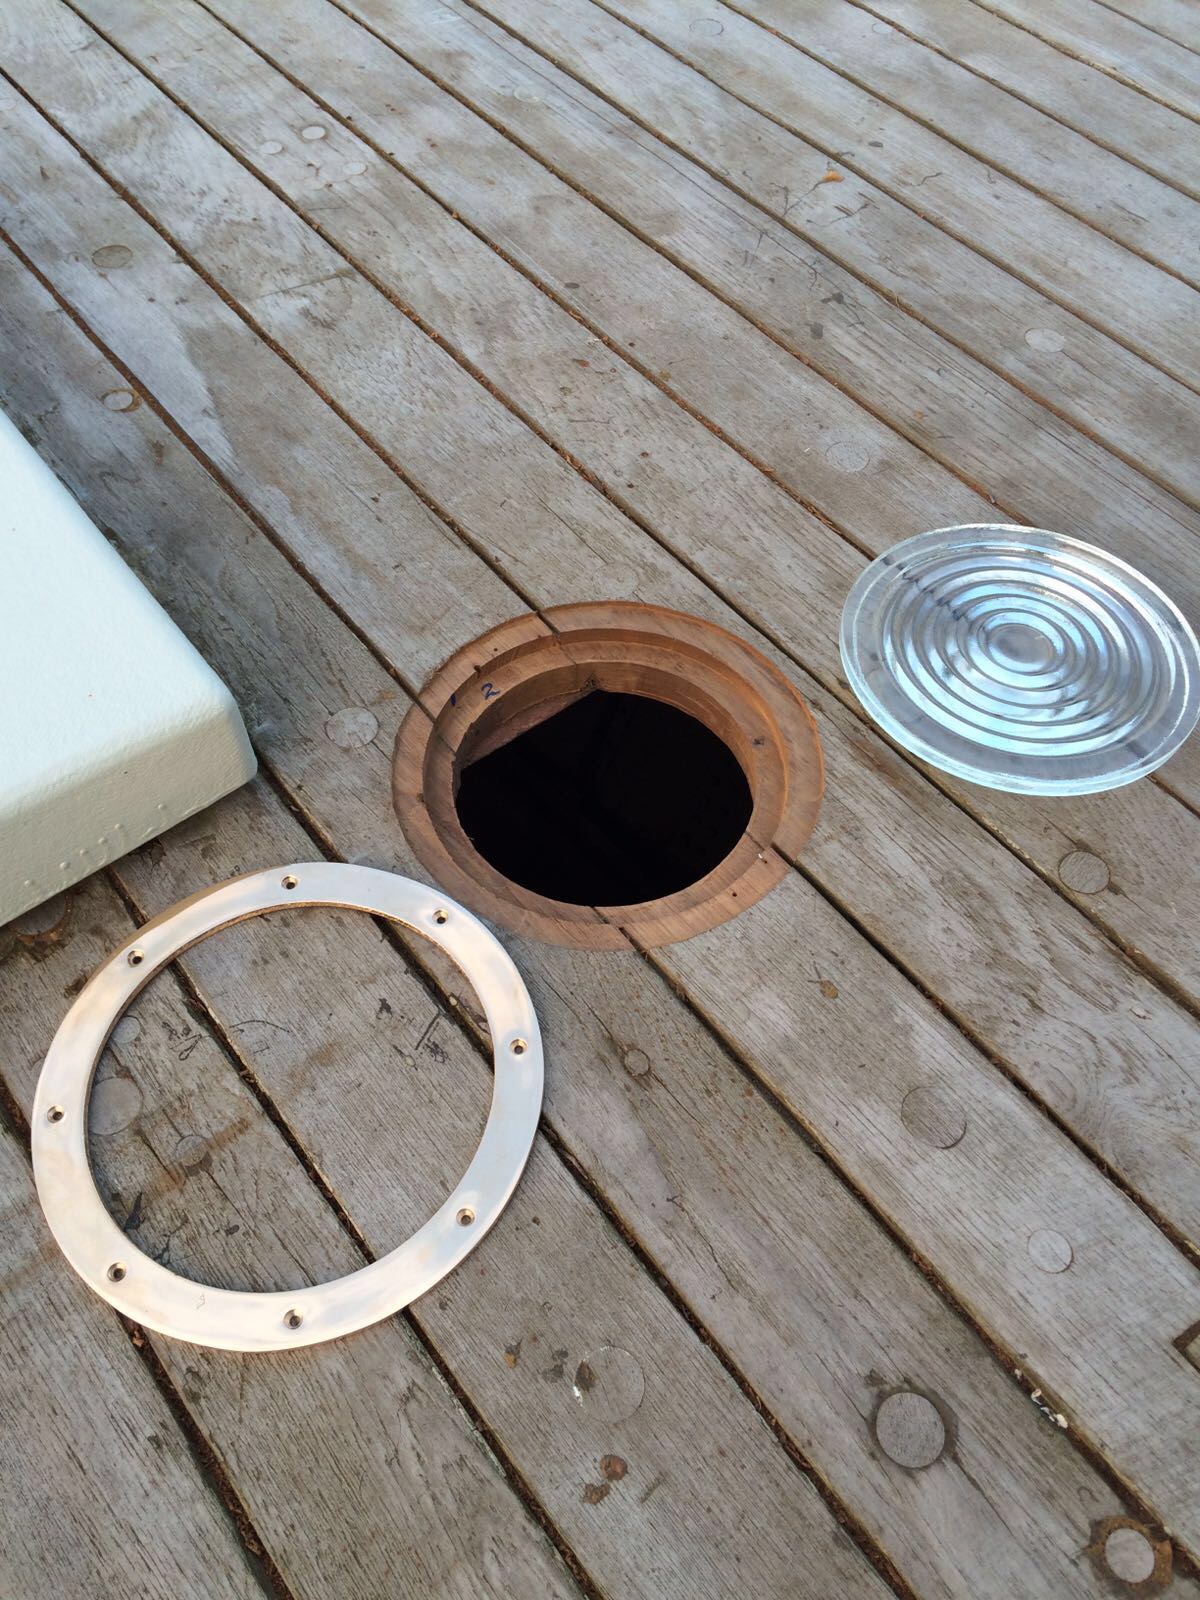
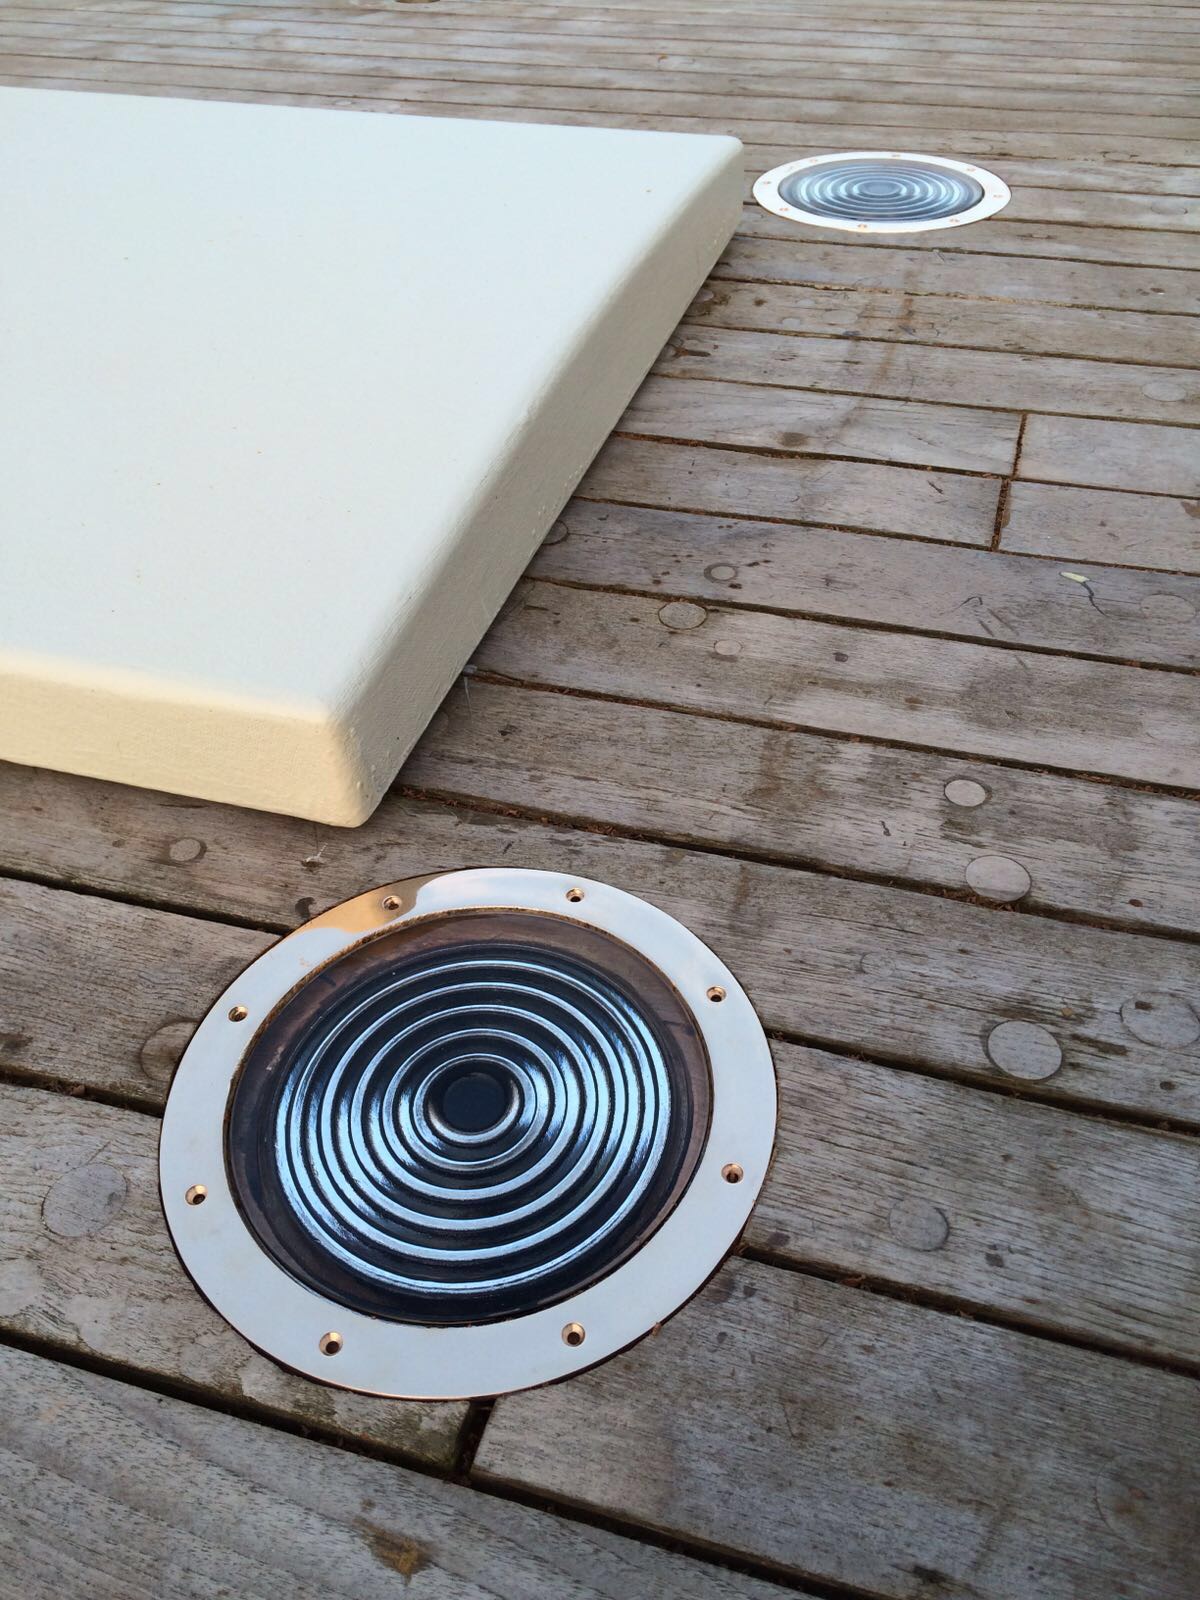
And they’re in and looking fabulous. These will be fitted for good once the deck has been caulked and sanded as the seams want to run under the decklight. There will also likely be some bedding compounds and such involved to get them shipshape and water tight.

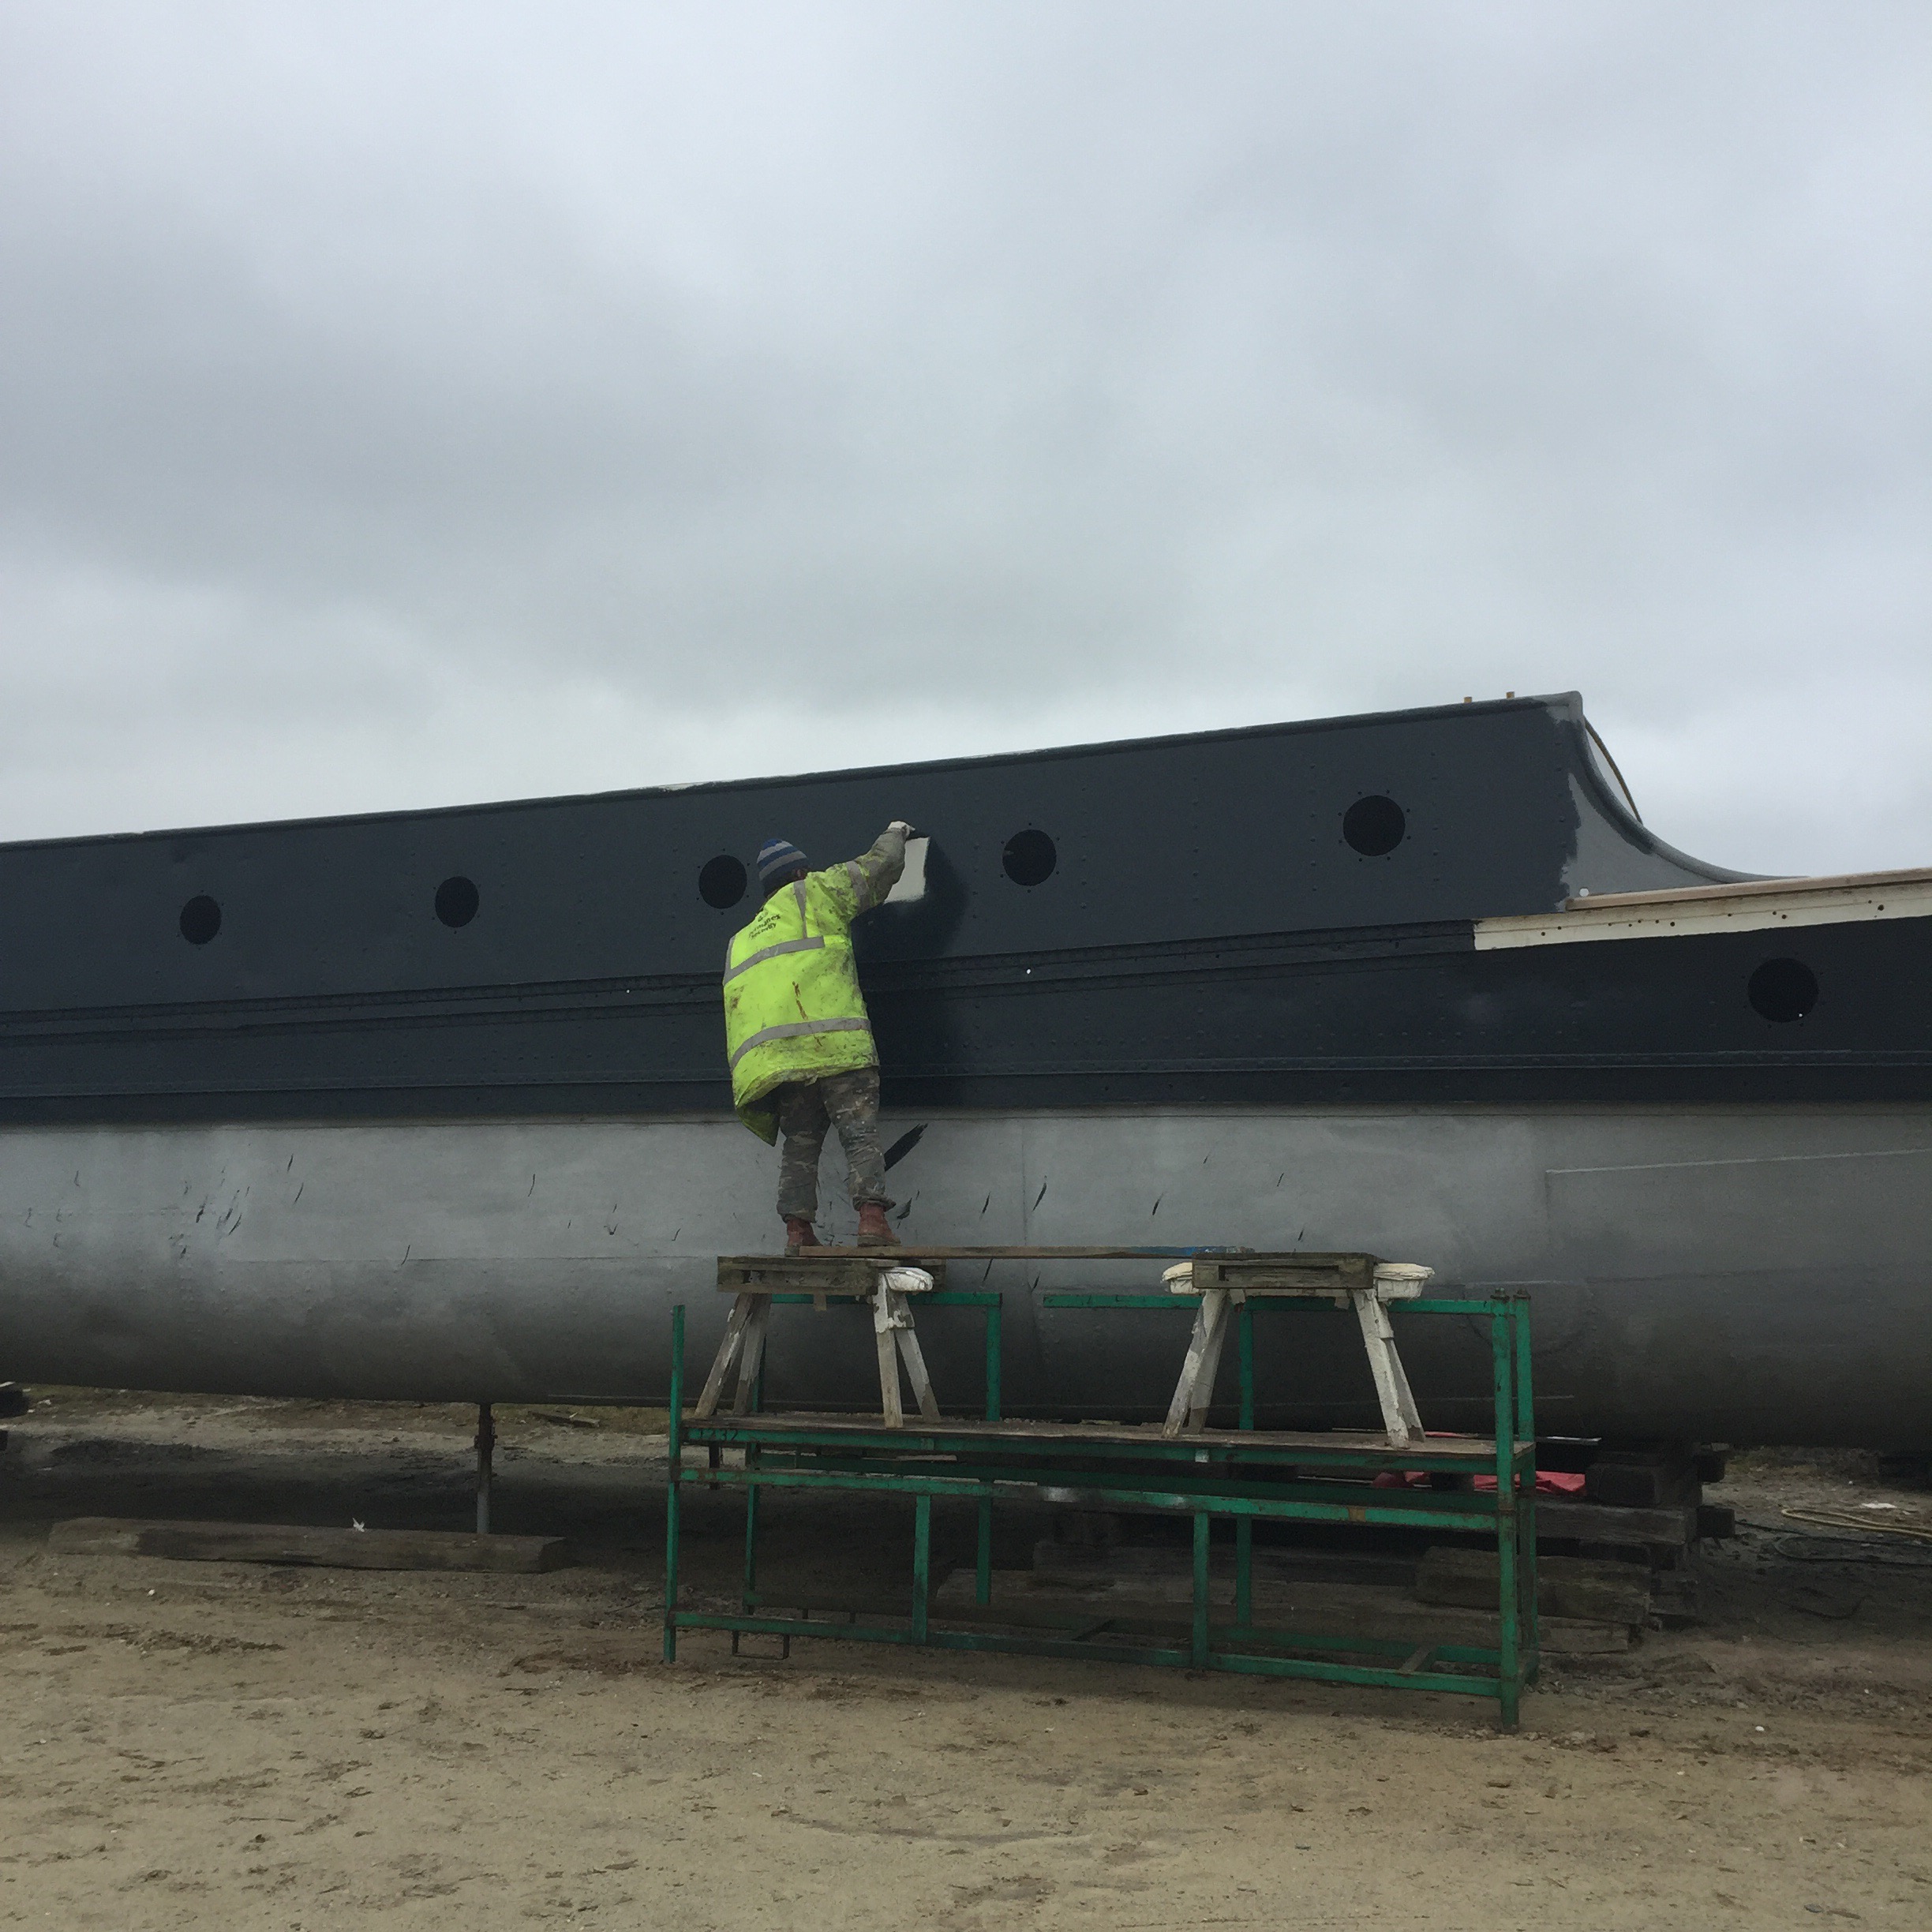
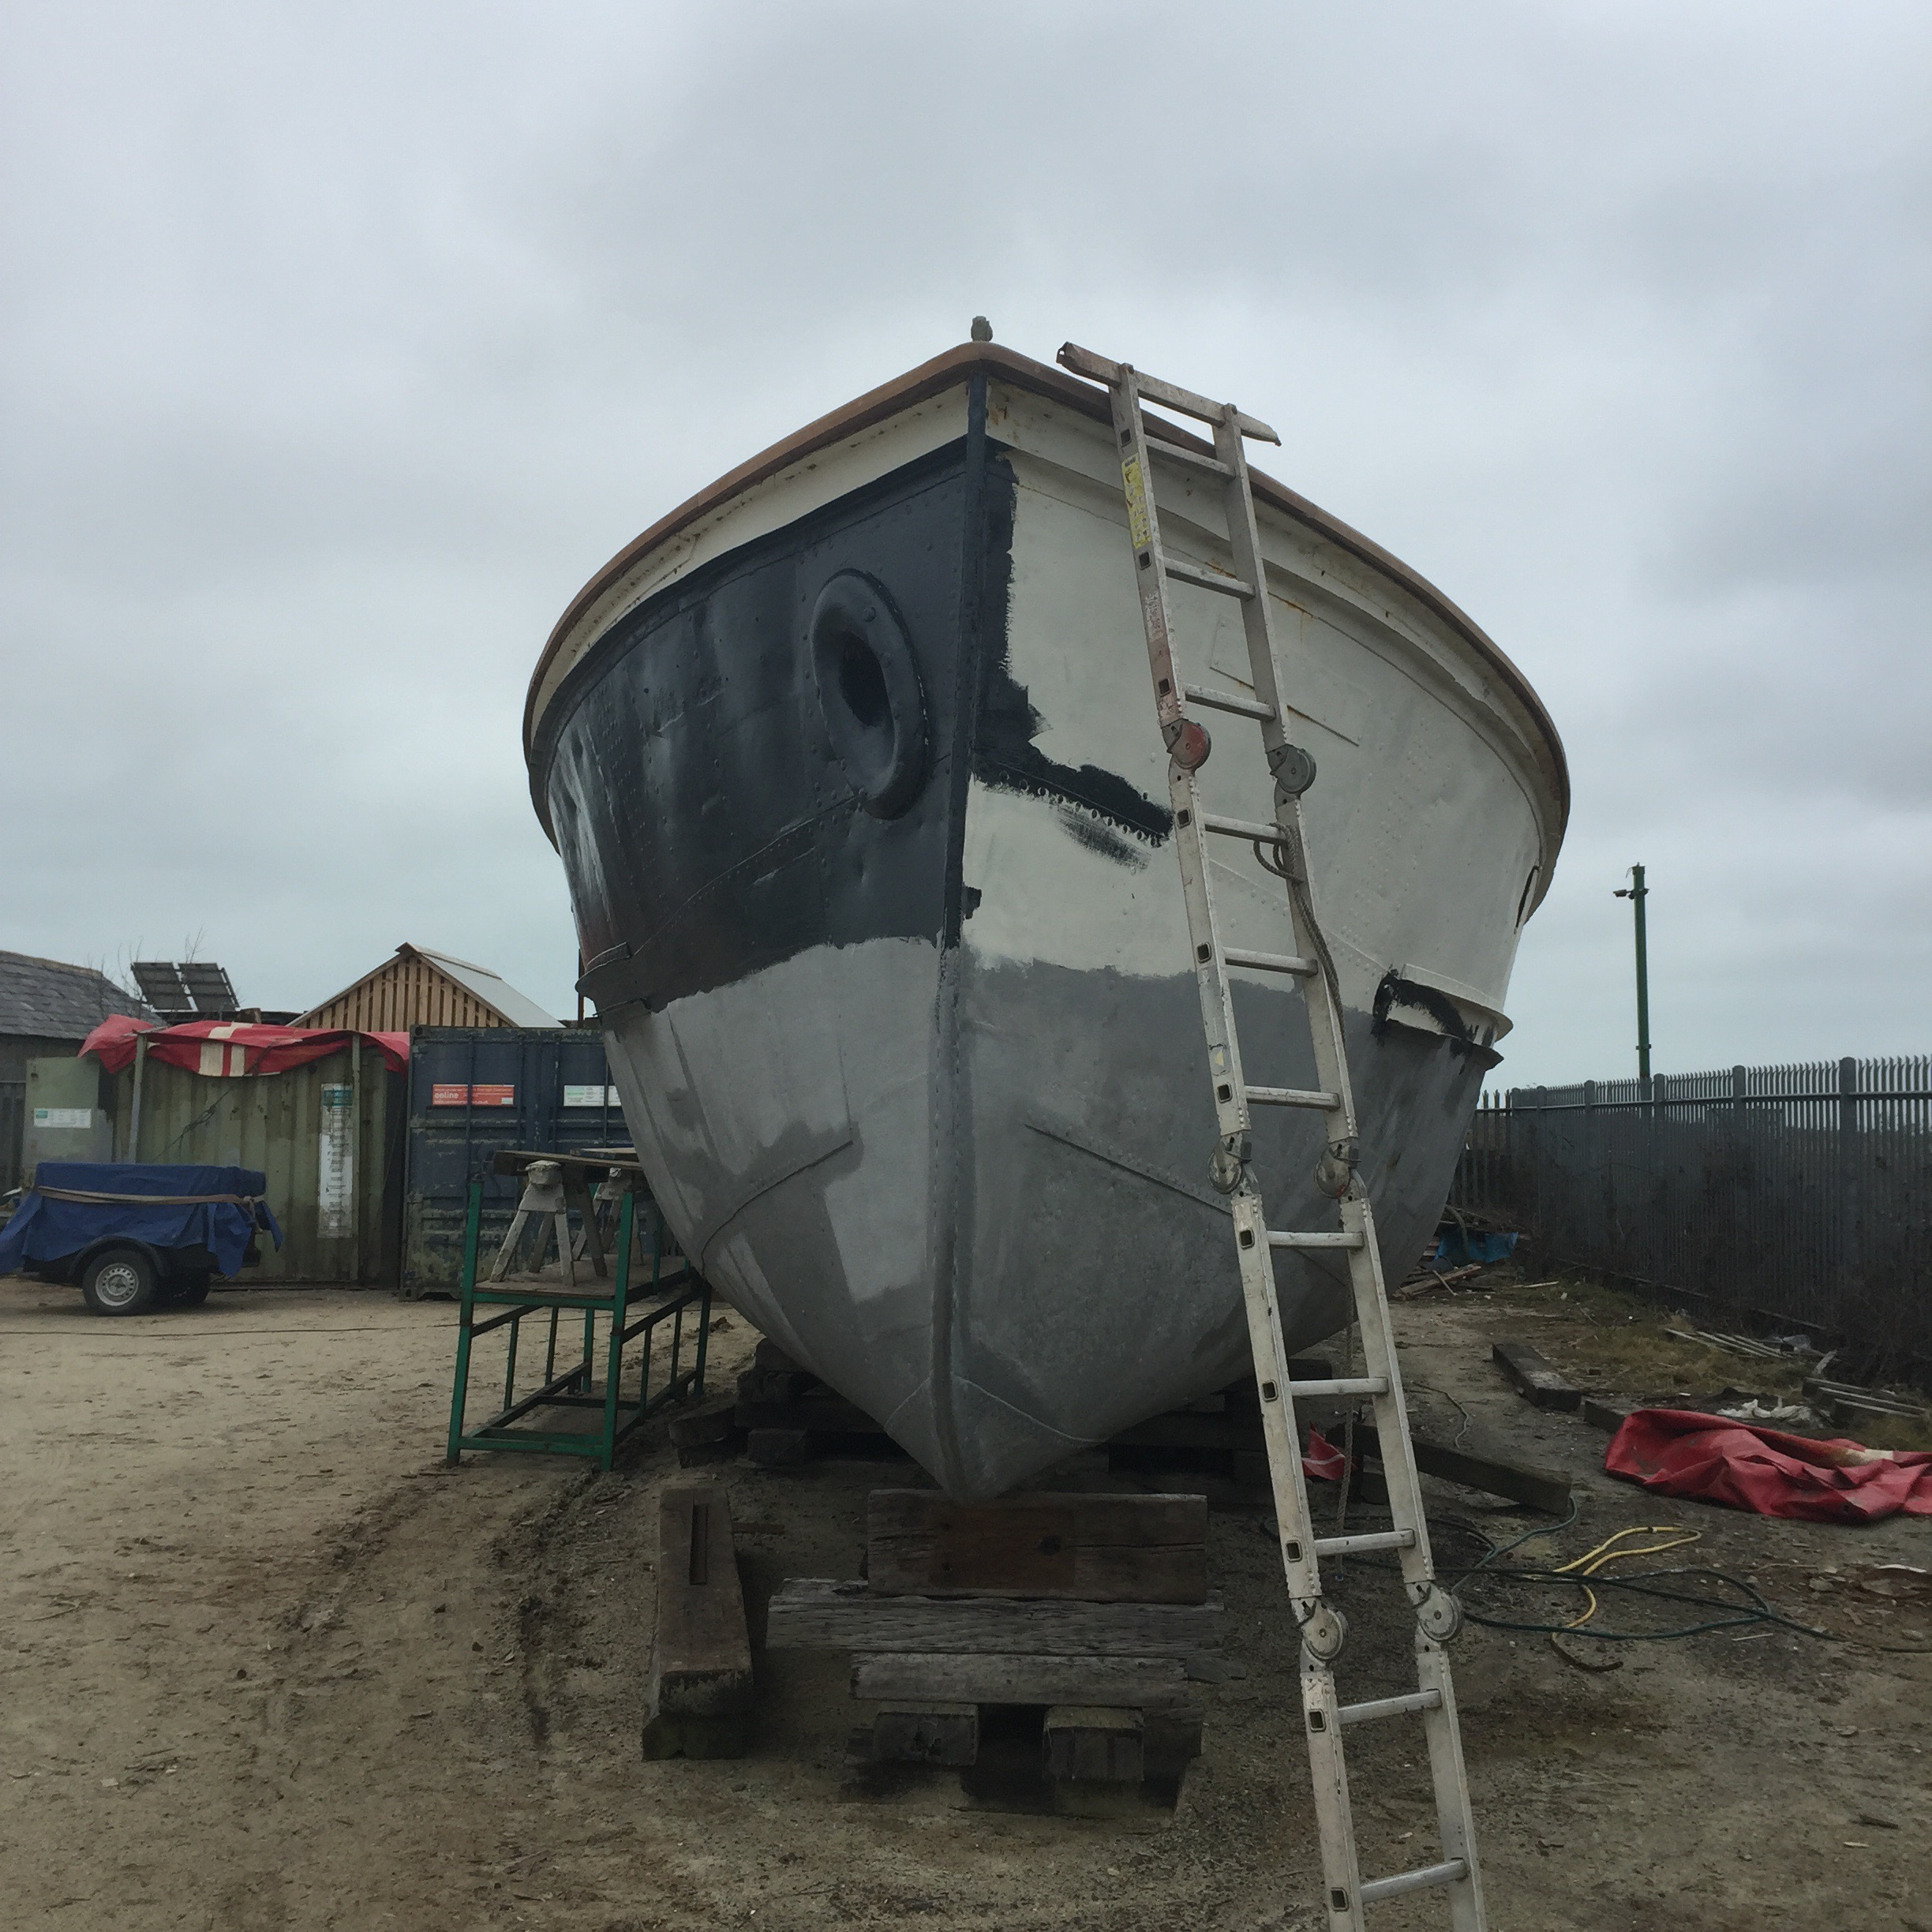
It’s starting to come together!!!


And the other side…

Another day, the other side of the boat to paint…


And something REALLY frustrating… Turns out 10 litres of paint is enough to paint the top sides port and starboard APART from a 3m strip at the stern… those with OCD tendencies or compulsive completer-finishers, please look away…


Next time… To be continued next week.

Other things

The other part of the project on the go at the moment is sorting out the steering set up. In short how the rudder is held down in place, how this connects to the steering mechanism and the boat itself, and how the whole lot is kept as dry and rust-free as possible. Easy right? As the old chain steering mechanism is to be replaced with hydraulics, it is a good time to ensure that all the posts and stuffing boxes and clamps surrounding the rudder are also rust free and in good nick.

I don’t know my stuffing box from my gland seal but fortunately I am in good hands. Here are some pictures – in the wrong order but it has been a long day – of the current set up and what needs to be done…

 
Installing hydraulic steering that attaches to the new rudder arm. This means I can get rid of the greasy chains that run through the boat and rely on a simpler and cleaner hydraulic tube system.  

The current internal set up, holding the rudder in place and connecting the steering. A bit rusty.


… Can’t remember what this bit is. I said I wasn’t an engineer…


Nor this… Will check with Ian.

    
Below is the plan Ian has come up with…


The pics below show how the rudder is held down and attached. These are pretty rusty so will be replaced.

    
And finally the stern tube as it enters the boat. This will be re-jigged to ensure the water stays out.   
There you go… I think I have my head around it all but all will become more apparent when it gets put together and I can see the new parts in situ.

Painters gonna paint…

 The weather has broken (fingers crossed…)
The paint has arrived. And I am pretty pleased with the colour.
And Gizzi has promised to keep out of the way.


So time to paint…


One half done and the port-side gets tackled tomorrow. Quite pleased so far!


The reason it stops below the waterline is because a different sort of paint goes below – a tide coat and then antifoul. Likely black.
  

And the winner is…

Raven… Having agonised over different greys and tried to consult a printed out colour book over Skype, Raven it is. Apparently it’s a cool dark grey. Should set the Windows off well and look good with the teak deck. 

The paint spec is hardtop hb. A satin finish so good at hiding the imperfections and pits on the surface. I am now well versed in winter thinners, evaporation rates and the “need to keep a wet edge”. 

If I hate it, then apparently fairly easy to alter the shade for the second coat!


Round up

 
I can’t lie, January is not a great time of year for all things boat. There is a reason why they built a windfarm in Rye and when the wind barrels in from the sea, the conditions can feel subarctic. Frozen fingers do not make carpentry an easy exercise and even the best winter thinners cannot cope with painting in these circumstances.  

That said, there has been progress. The deck is gradually being replaced and patched and repaired until now there are more finished, polished up bits than troublesome areas. As the teak we have is not unlimited, this involves careful calculations by Ian the carpenter about what to use where and how best to make use of different lengths.   

 Also, rather pleasingly different areas of the deck that had been replaced have weathered up beautifully turning from orange to buff through to an ashy grey.
 

In the process of replacing some rotten lengths, Ian even uncovered some of the elusive caulking cotton that escaped us before when we raked the seams over the summer. We only found enough for a very mean roll up but there is enough for a camberwell carrot here.  

So there you go…. The deck is coming along and is pretty much ready for caulking. Now we just need a couple of clear weeks of good weather for that to happen. Hopefully early March – we are praying to the goddess of spring to come early!!