More deck photos

I forgot I had these pictures of the deck work in progress. This shows the deck stripped of all furnishings, the wood being cut for size for the hatch, and the light sand that has been done so far. This has knocked off some of the paint but more elbow grease will be required to get the final remnants off.


Bert and May Inspiration

This weekend we went on a recce to east London to check out a tile showroom, Bert and May. I knew they also had a boat but turned out it was at the back of the showroom and they were perfectly happy for us to take a look round. 

It is about a 40ft barge painted black. The tiled deck is Not the look I will be going for but the interior was quite beautiful. Lots of lime washed wood cladding, a mega woodstove, and a fantastic use of the space. It was light and bright and felt really quite spacious. Take a look… 


Plugging the holes

The biggest job on the decks is plugging the many many holes. These are from where various fixtures and fittings have been added and removed and have created a colander-type effect. 

Fortunately fixing them is quite neat. New plugs are cut with a special coreing tool and fitted into the gap. These are glued in place and then trimmed so they are flush with the rest of the deck. The same plugs are used to cover the bolts used to hold the deck down.

The pictures below show how this works:   


The decks, the decks

it might be summer only in name, it might be raining in an apocalyptic style, and I may be holed up with a wracking cough, but fortunately work on the boat continues! These next few posts will be slightly out of time sequence but as they relate to different parts of the project, I don’t mind if you don’t. 

The biggest change is that after quite a false start (more on that later), work on repairing the deck has started. The replacement real arrived and looks lush…


Then work has started patching up the desk. The main area that needed attention was on the upper deck where there used to be a hatch. The old rotten bits of non-teak were removed and replaced with brand new bits.    

 Once cut to size, these were bolted in place to the cross beams. 
And then the bolts covered up with wooden discs which are glued in place and will later be finished flush with the deck.


 As with any job, you gotta check that the underneath side looks just as swish. And indeed it does! How beautiful is that teak?


(Big thank you to Led for taking the photos in my absence)


1966 pictures

Ben from the Liquid Highway blog – the oracle on all things Thames-related – has found another picture of Betty. Or more accurately, Queen Boadicia II , Bertram Rose , Beta III and Viceroy at Westminster Pier on May 9, 1966. 

Betty is the one nearest the camera on the right.


A further close up (thanks again Ben!) where you can see that the deck has been lowered for this stage of her life operating as a tour boat. There as also some rather striking railings around the edge and to hold up the canopies.i am pretty sure that the railing at the front of the raised deck holding the back of the canopy was still there when I first got hold of her.


We have windows

Not very easy to see, but the new sheet is in place to cover the gap where where the deck was raised and the holes have been cut for the windows. Starting to take shape πŸ˜€

  
 The welders have also dropped off the new hood to go over the entrance at the back. It’s looking very red and very smart.   

 
The rest of the day is being spent putting in another door to make the bathroom (or the opening to where the bathroom will be), cutting off a few bits and pieces. The kind of bits and pieces that I would likely clang my elbow on or get tetanus from. There are a few final patches to go in and she will be pretty much done (in terms of welding at least!).

Stanchions

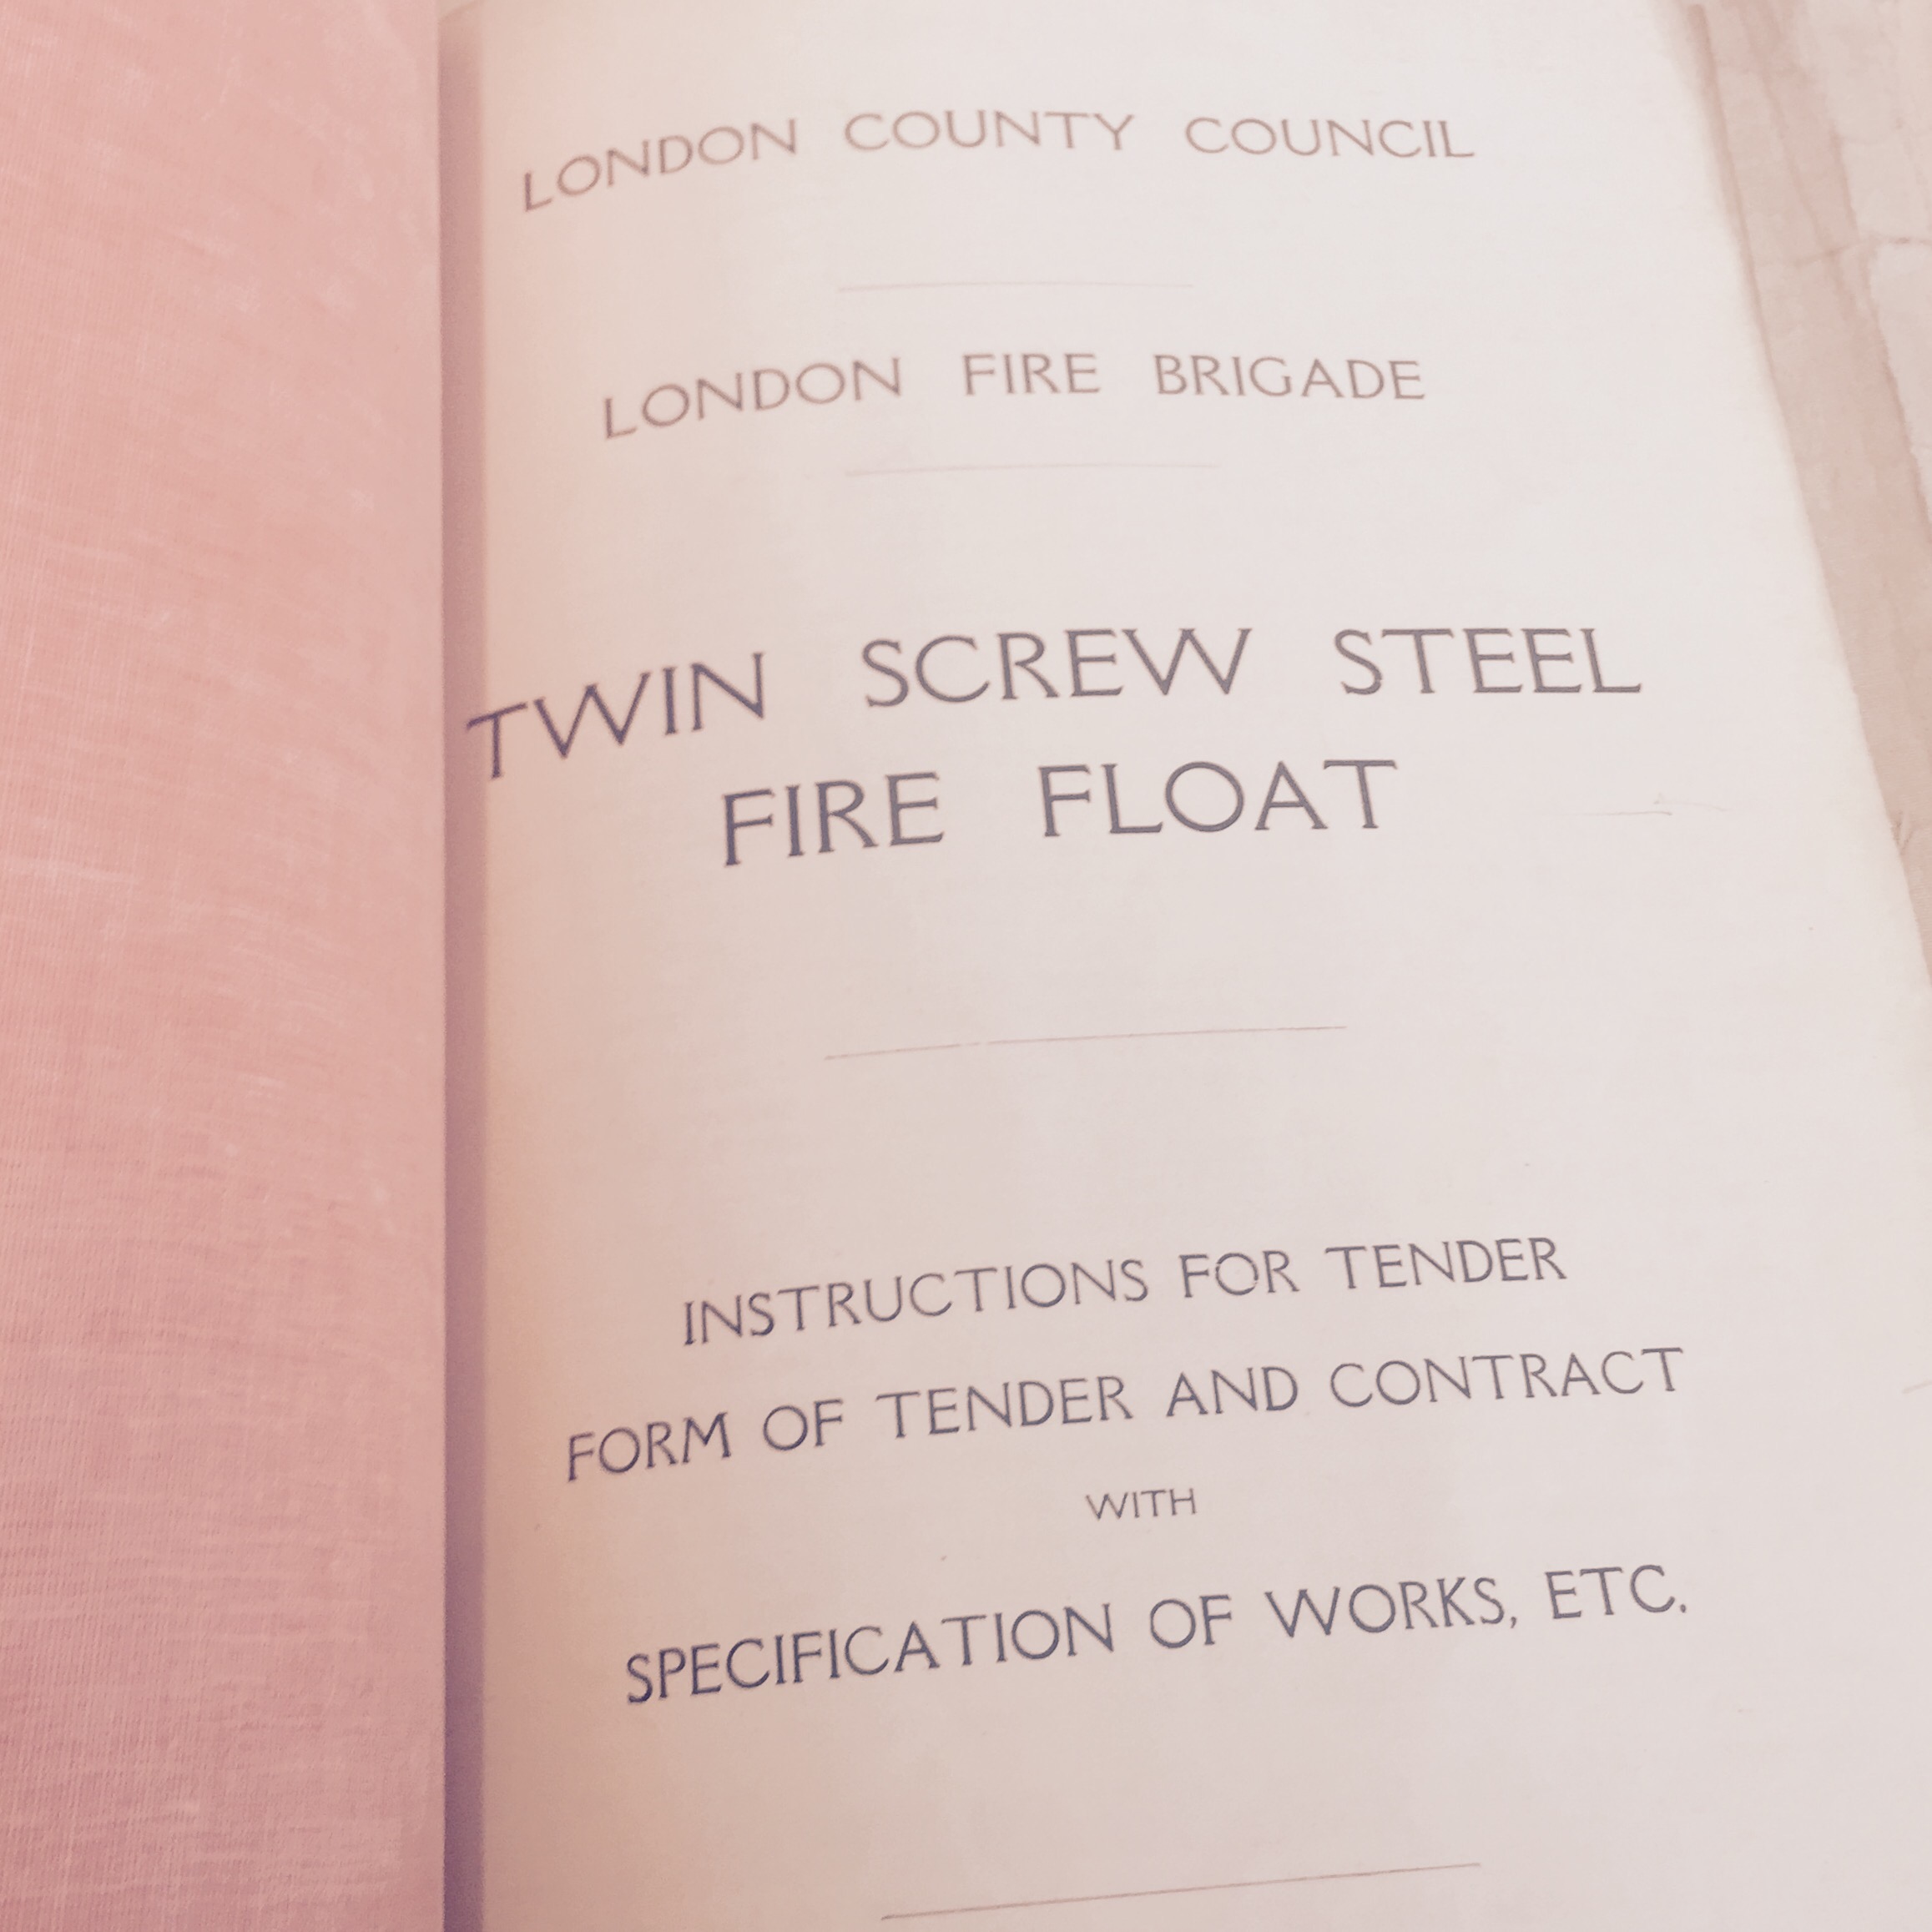
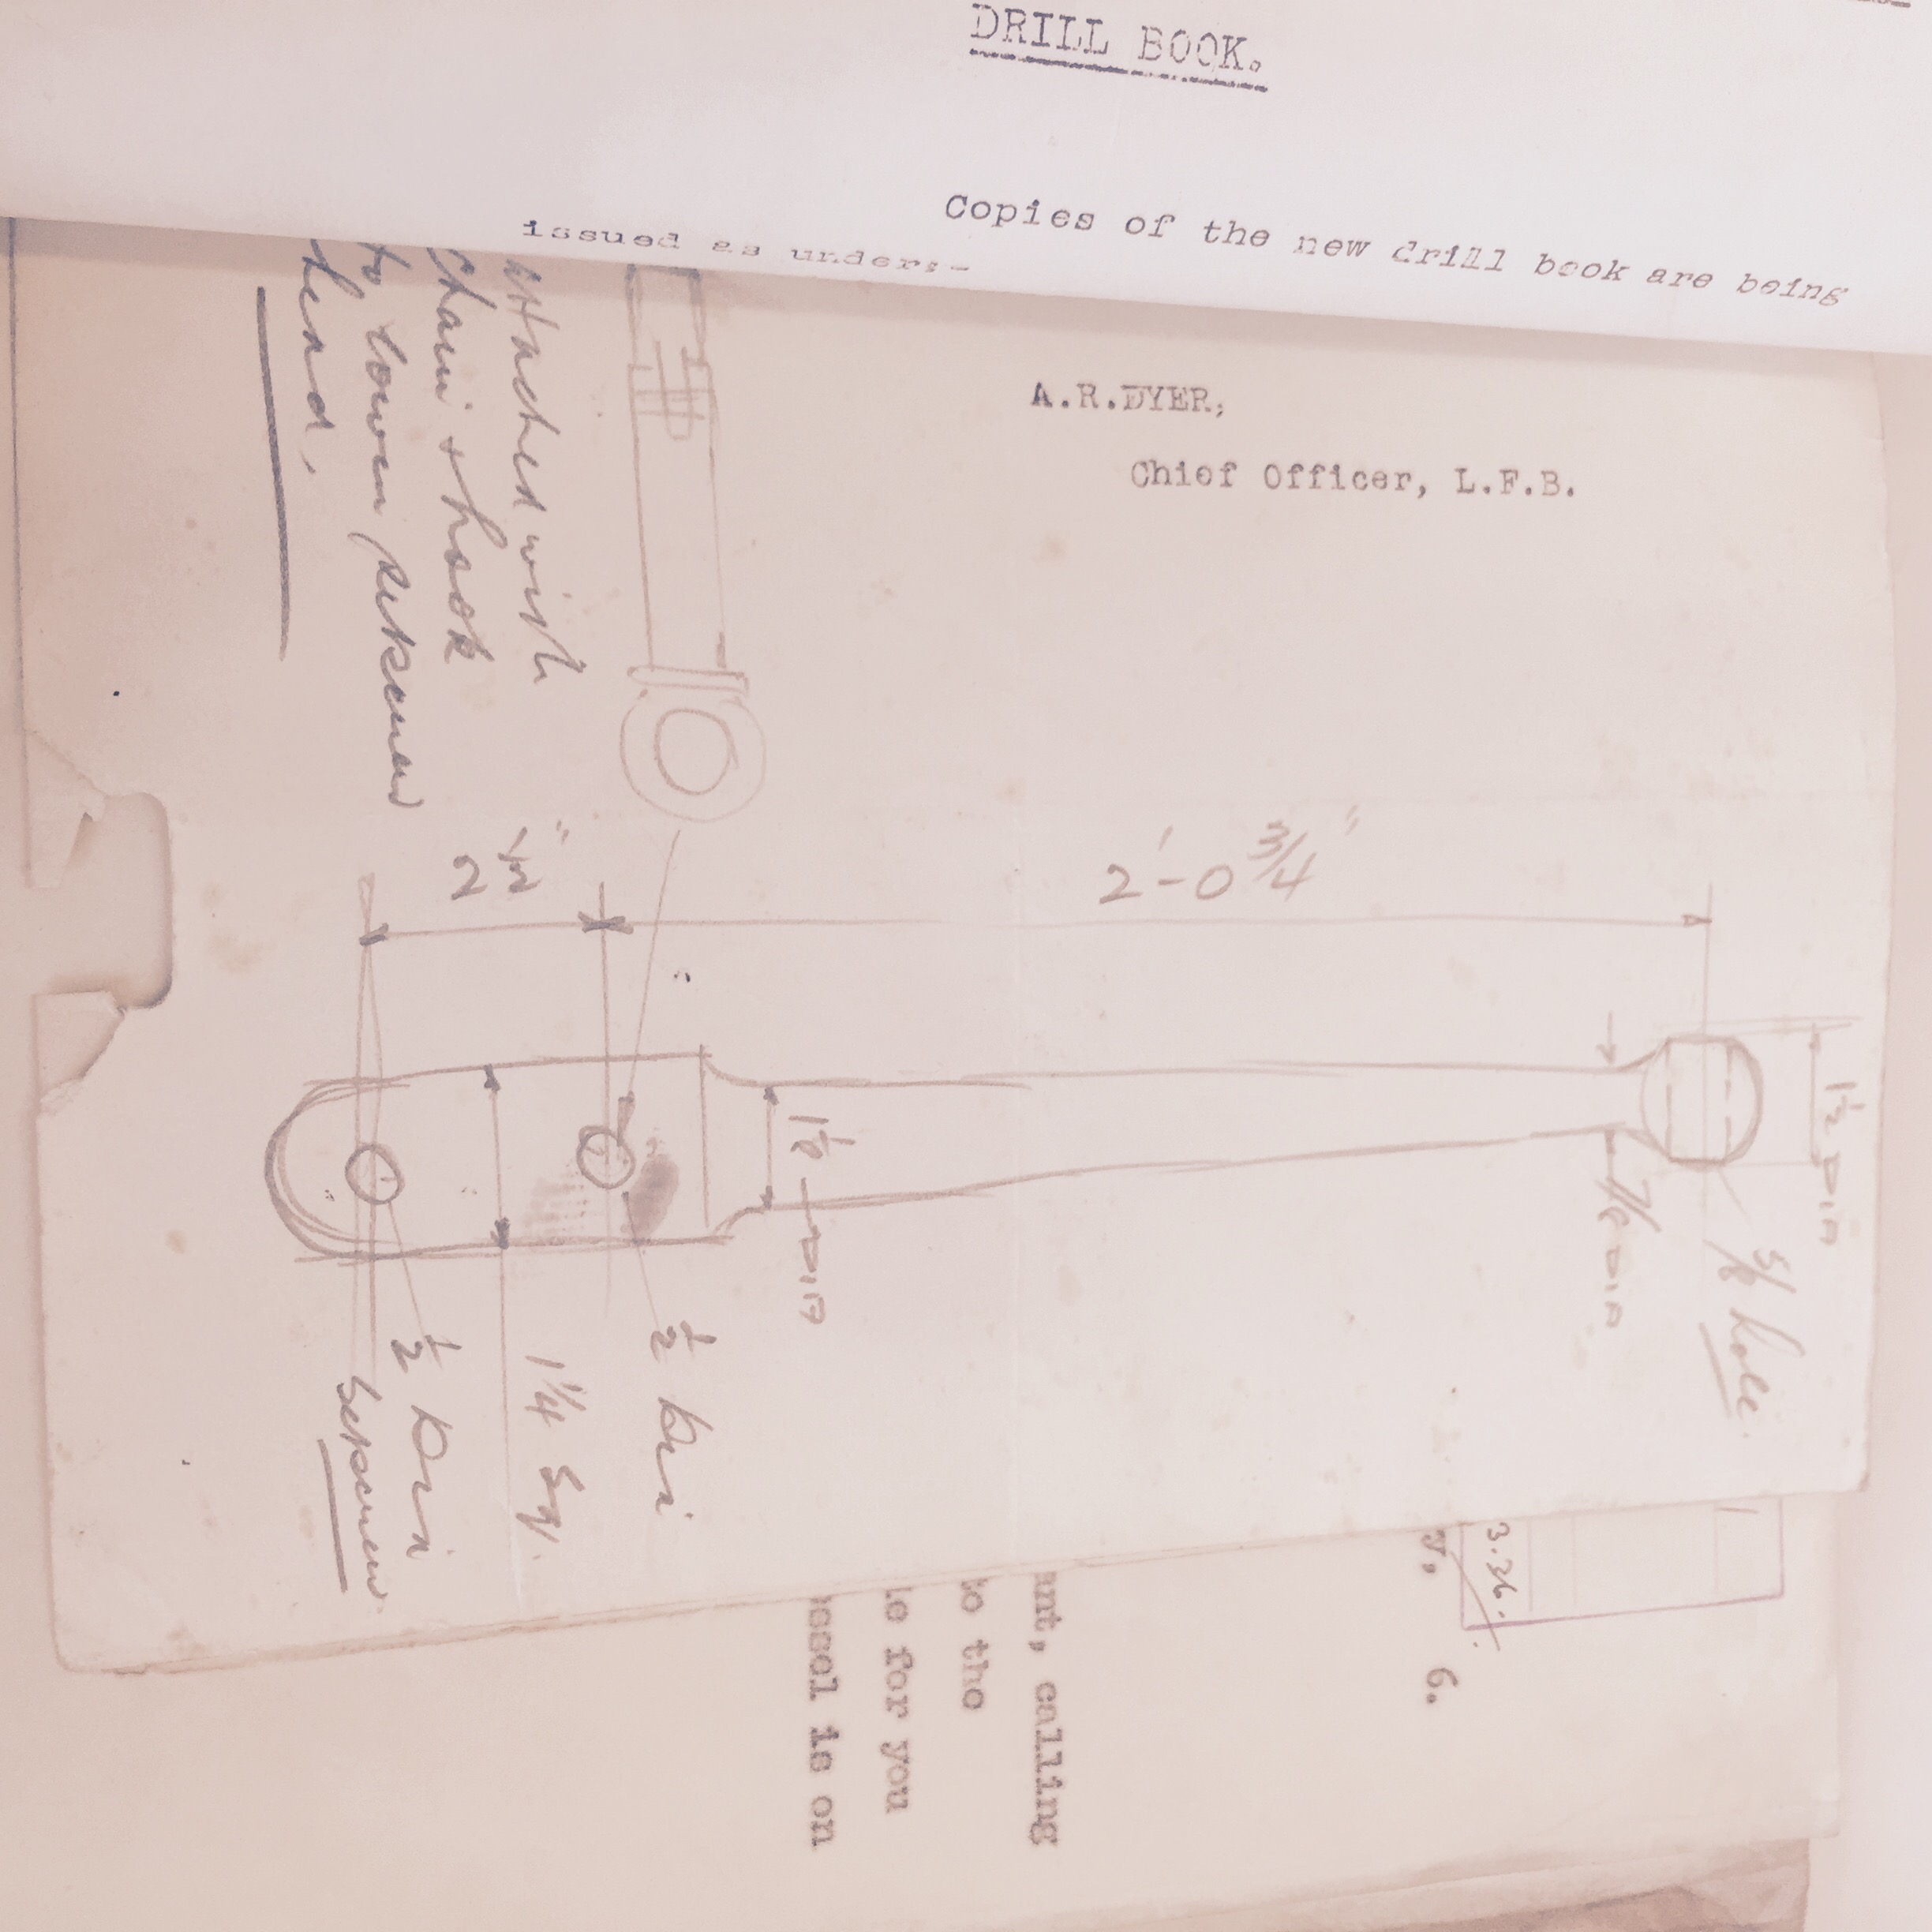
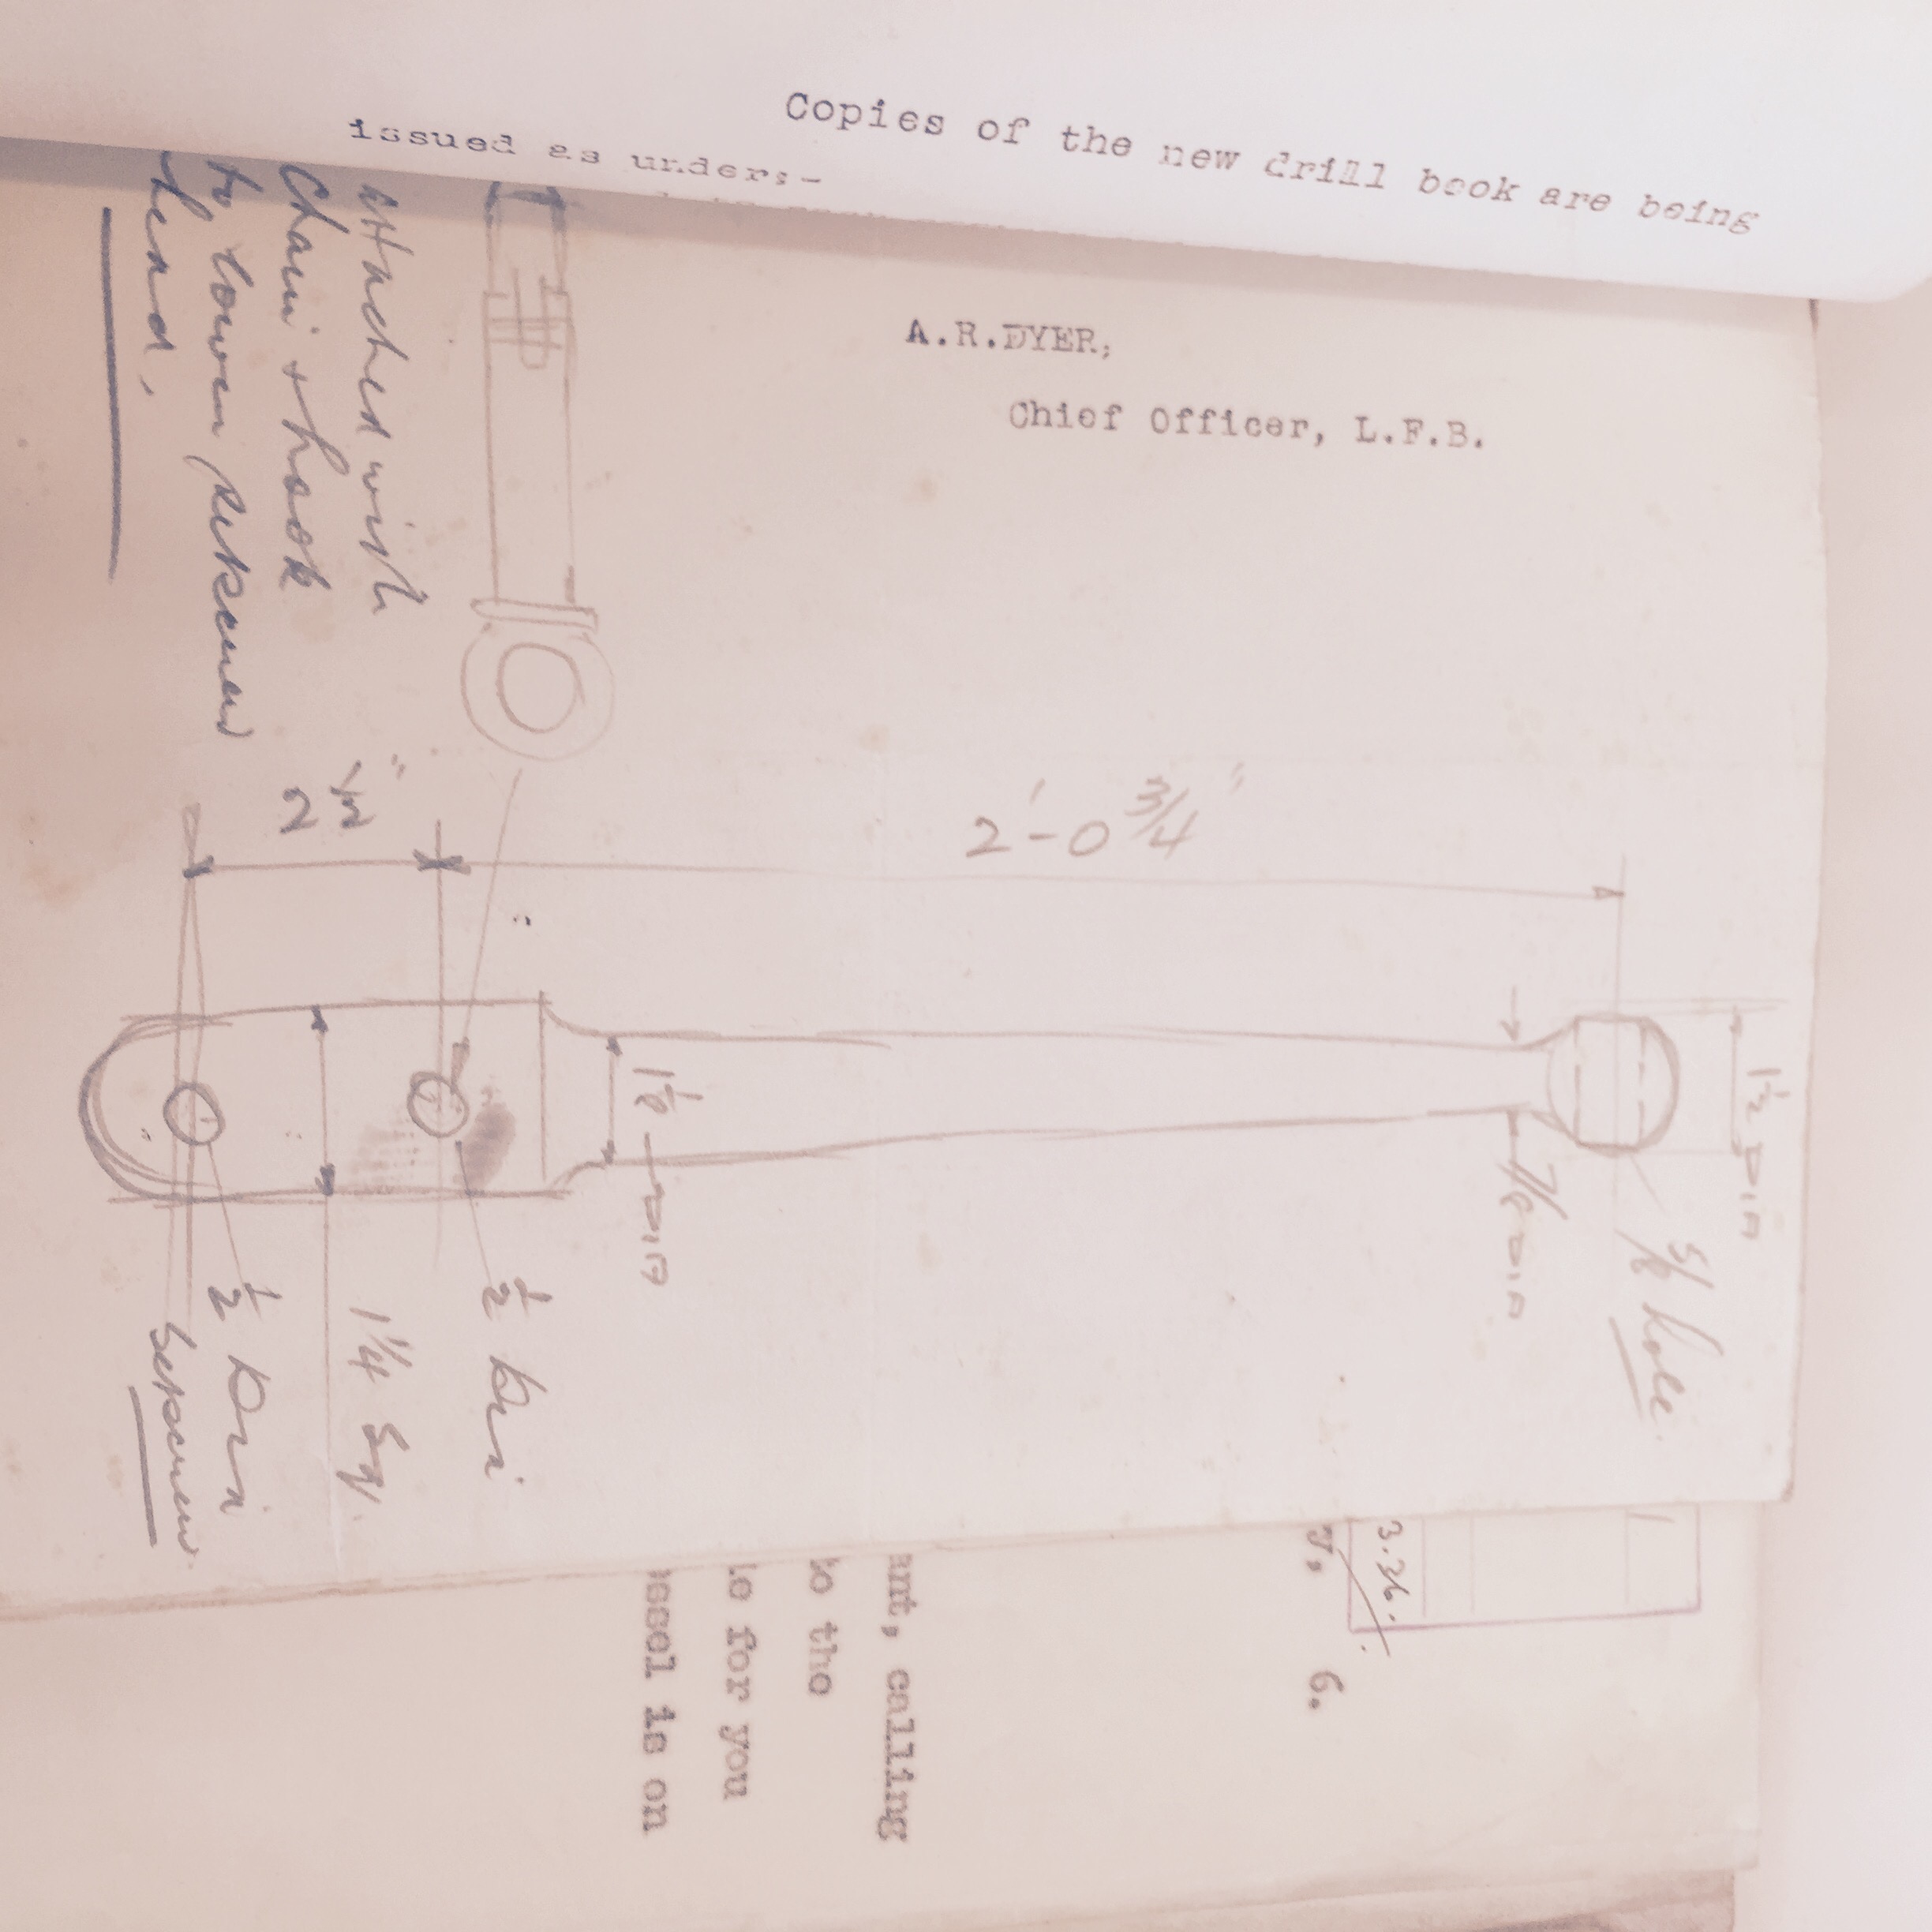
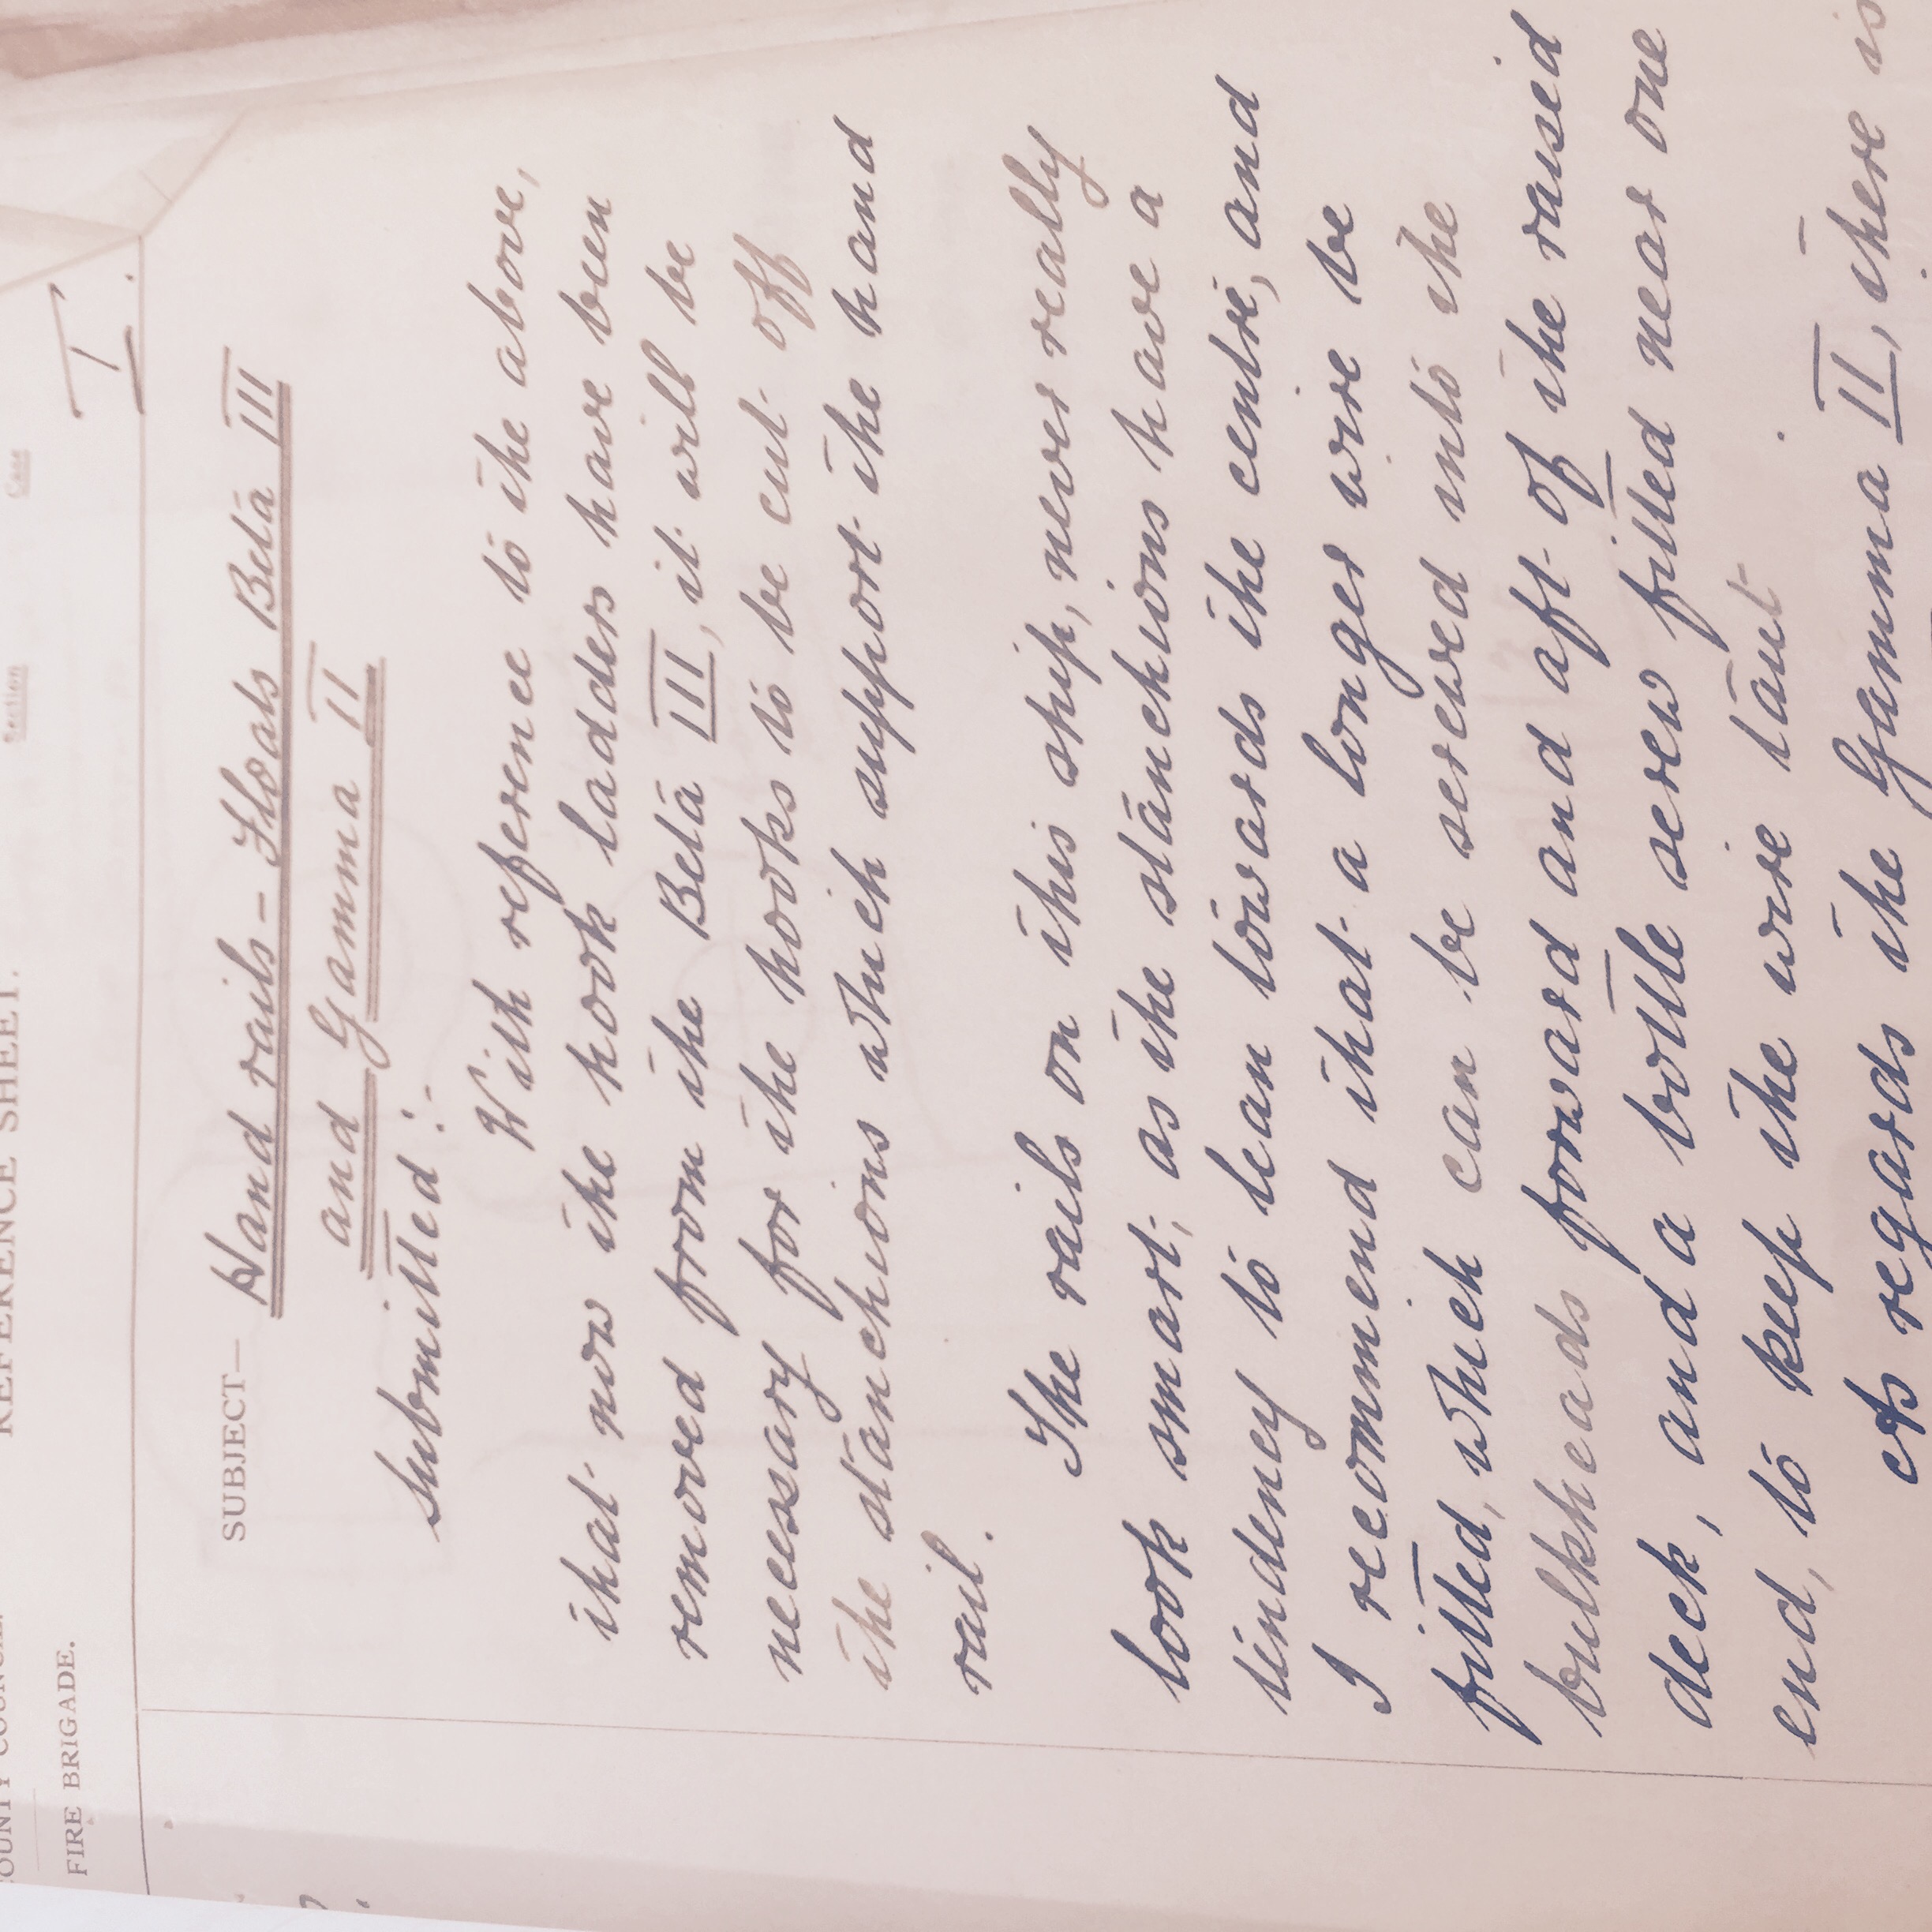
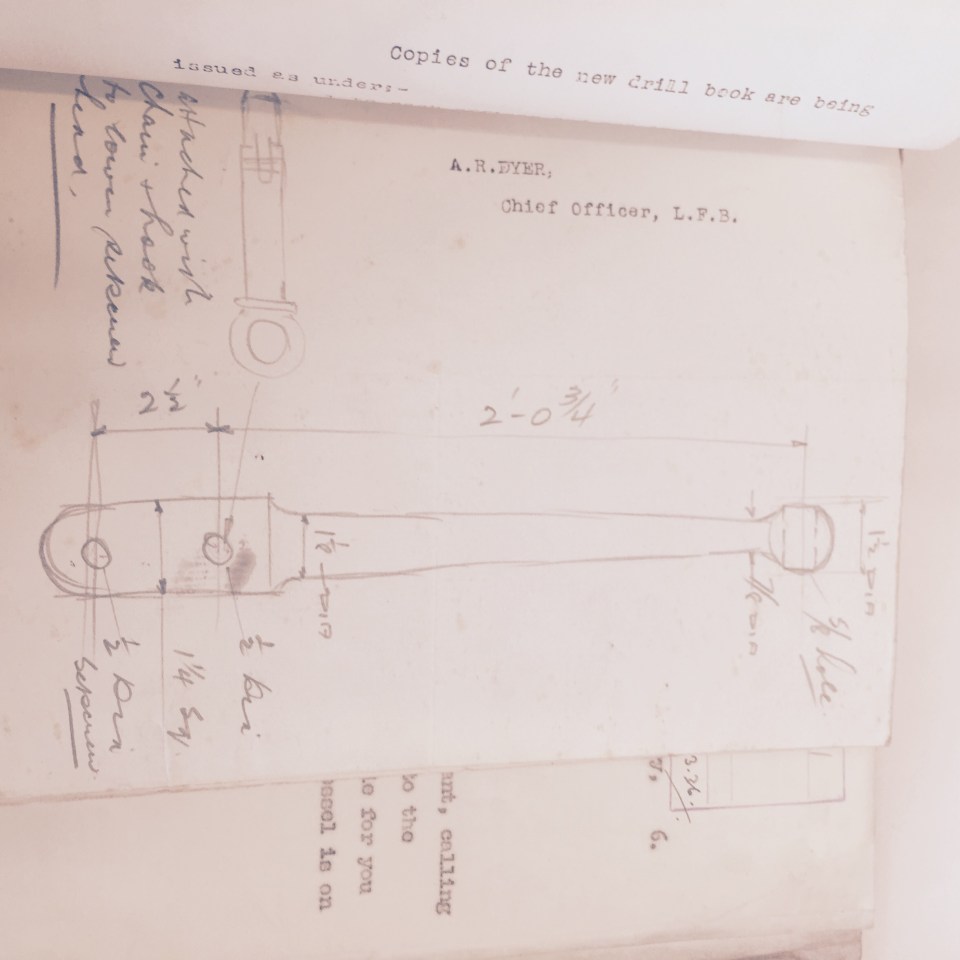
I was sure I had previously unearthed a diagram showing the design of the stanchions. Now can’t find it anywhere.  I headed back to the London metropolitan archives to see if I could find it in the beta 3 file and uncovered something…

 Not exactly what I was looking for but its a start. 


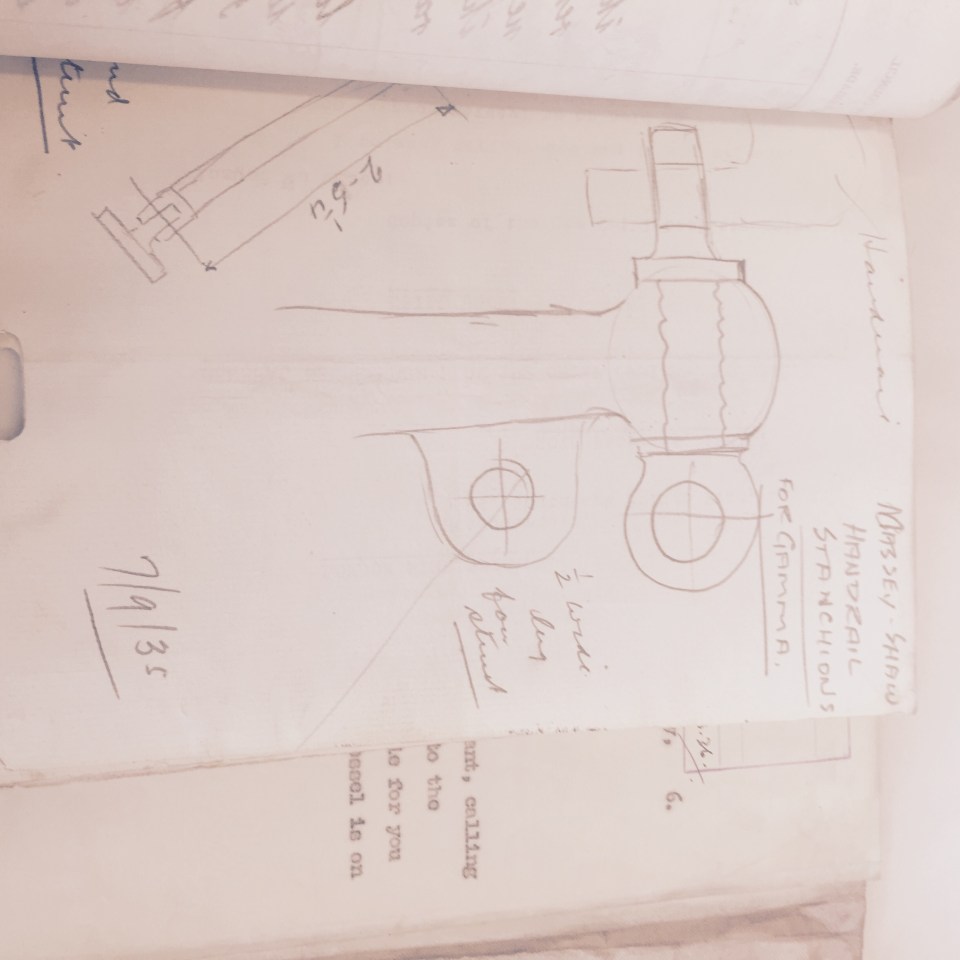
On my visit to Davey (more on this), Peter suggested that these stanchions were hinged at the base. This would make sense as they could then be lowered when the hoses were out and when the monitors started blasting water. Having a railing in the path of high velocity water could result in some unwelcome spray back.

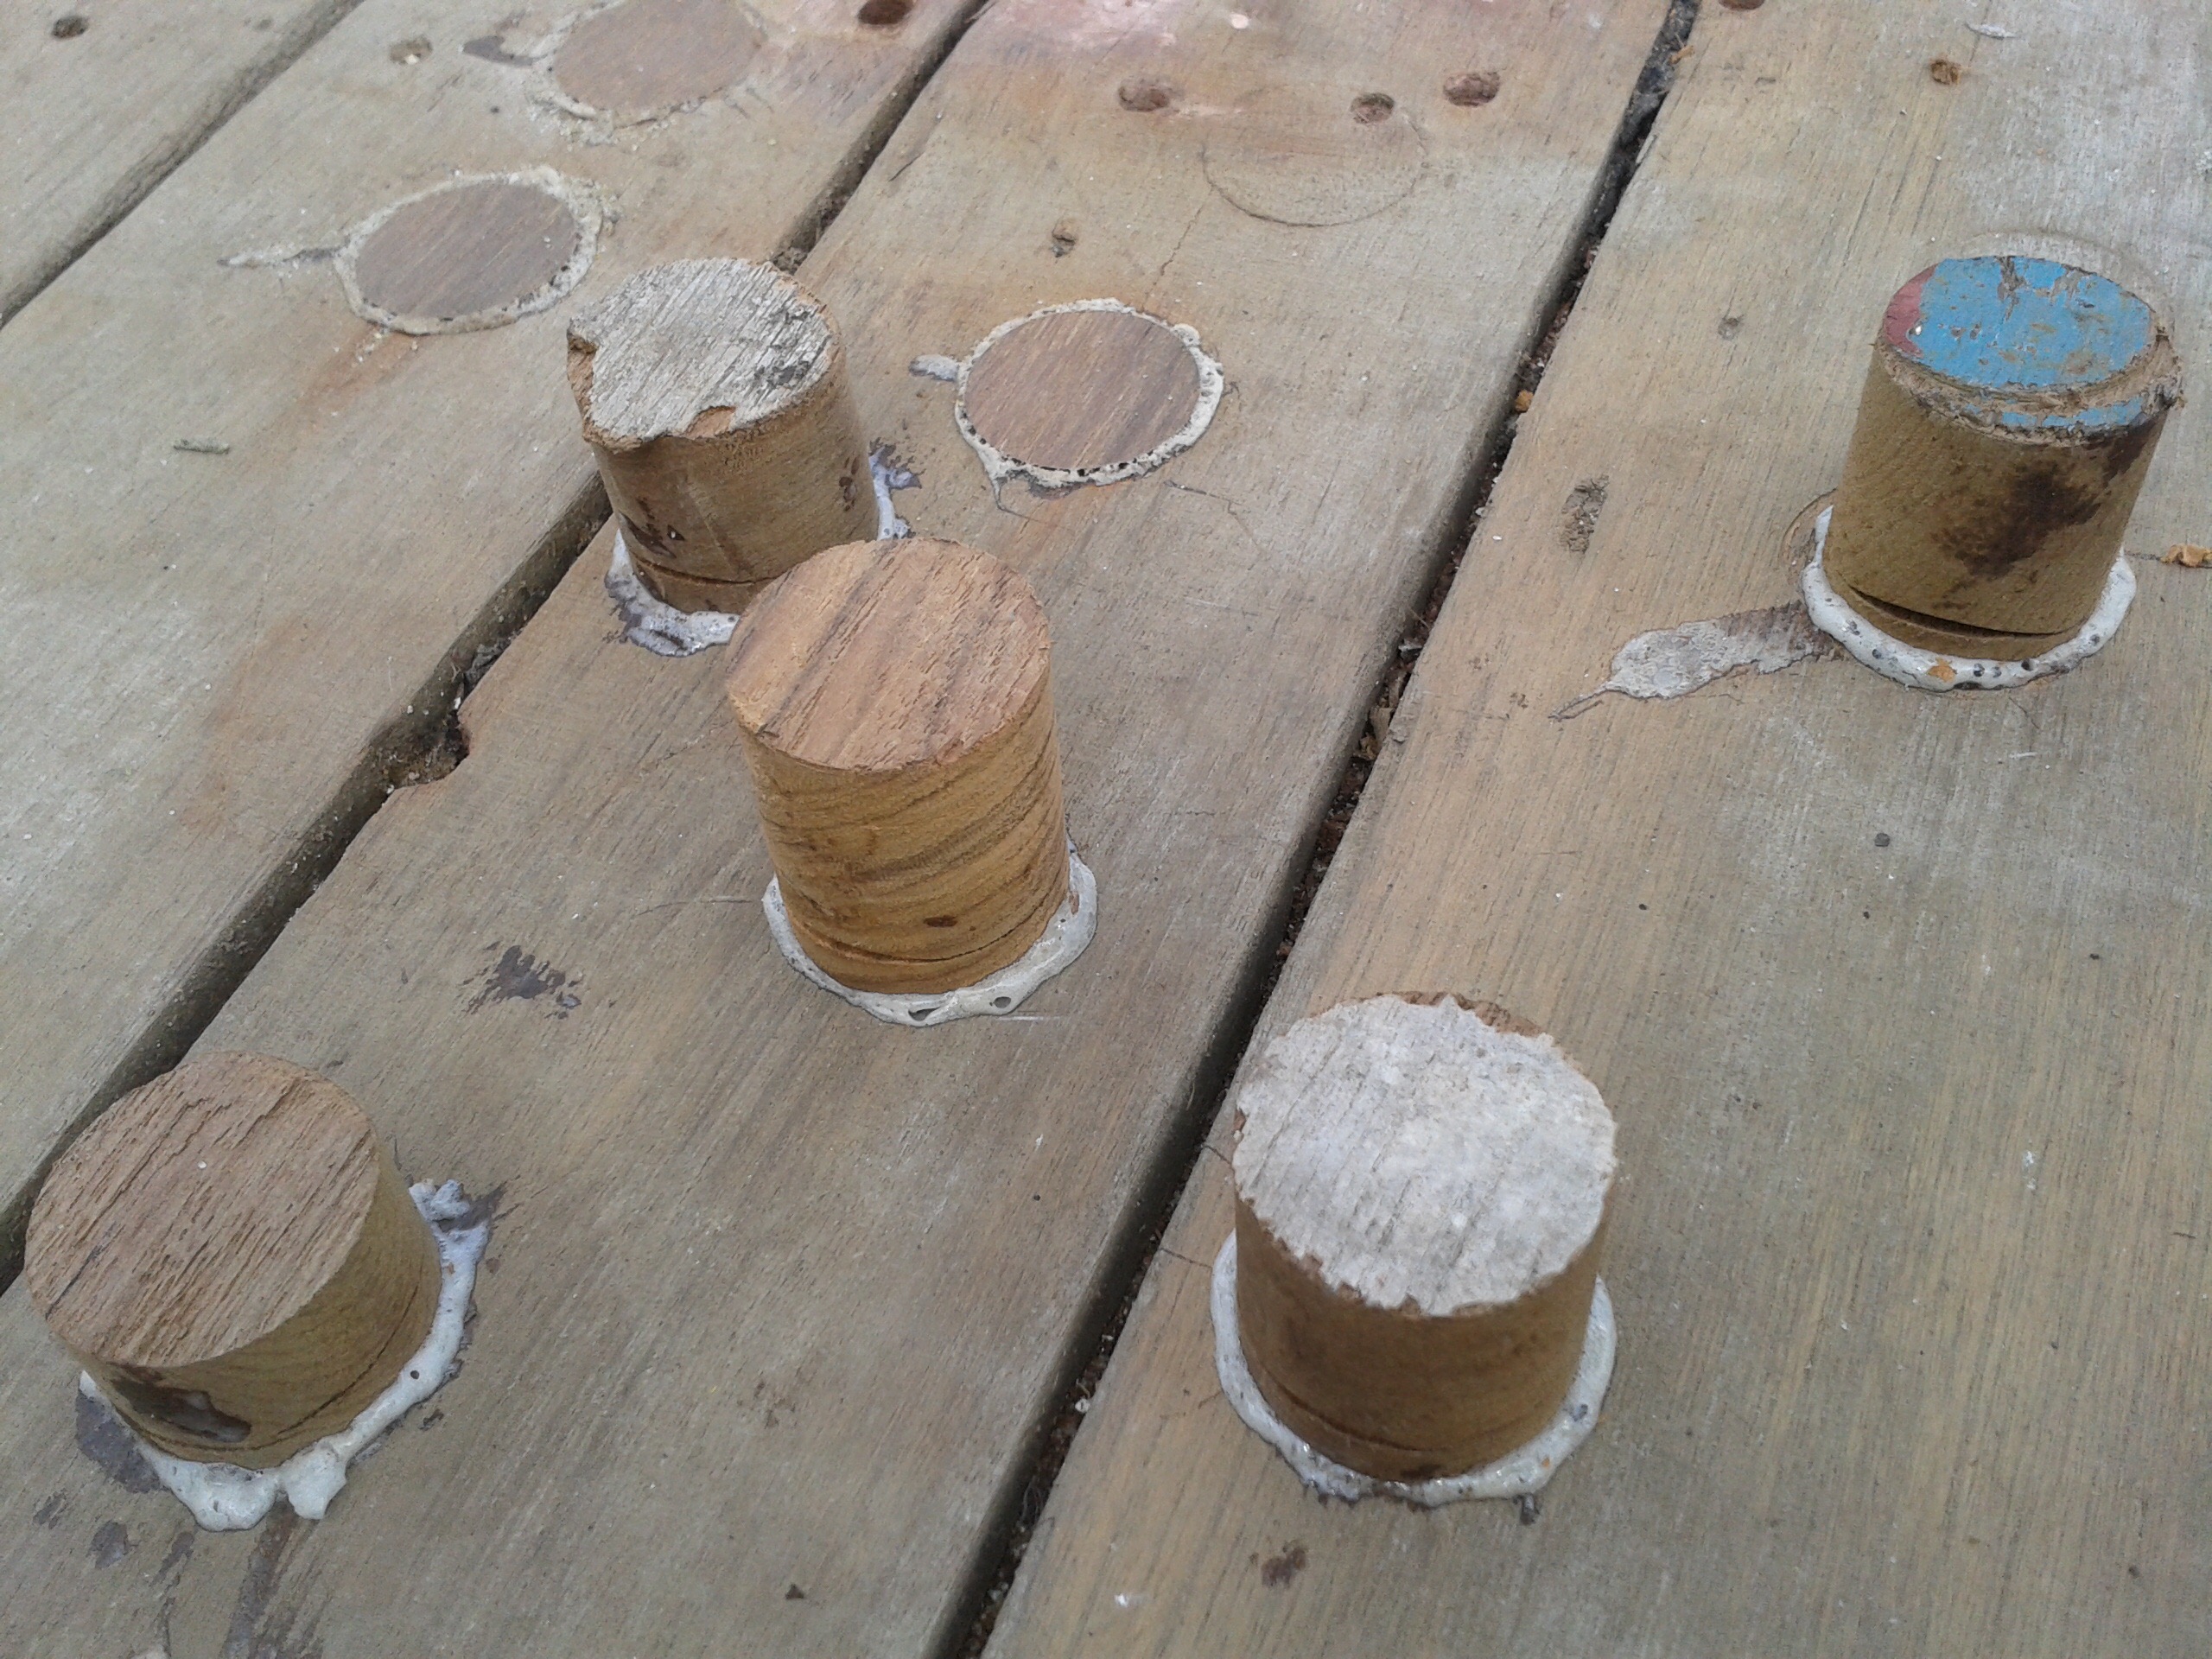
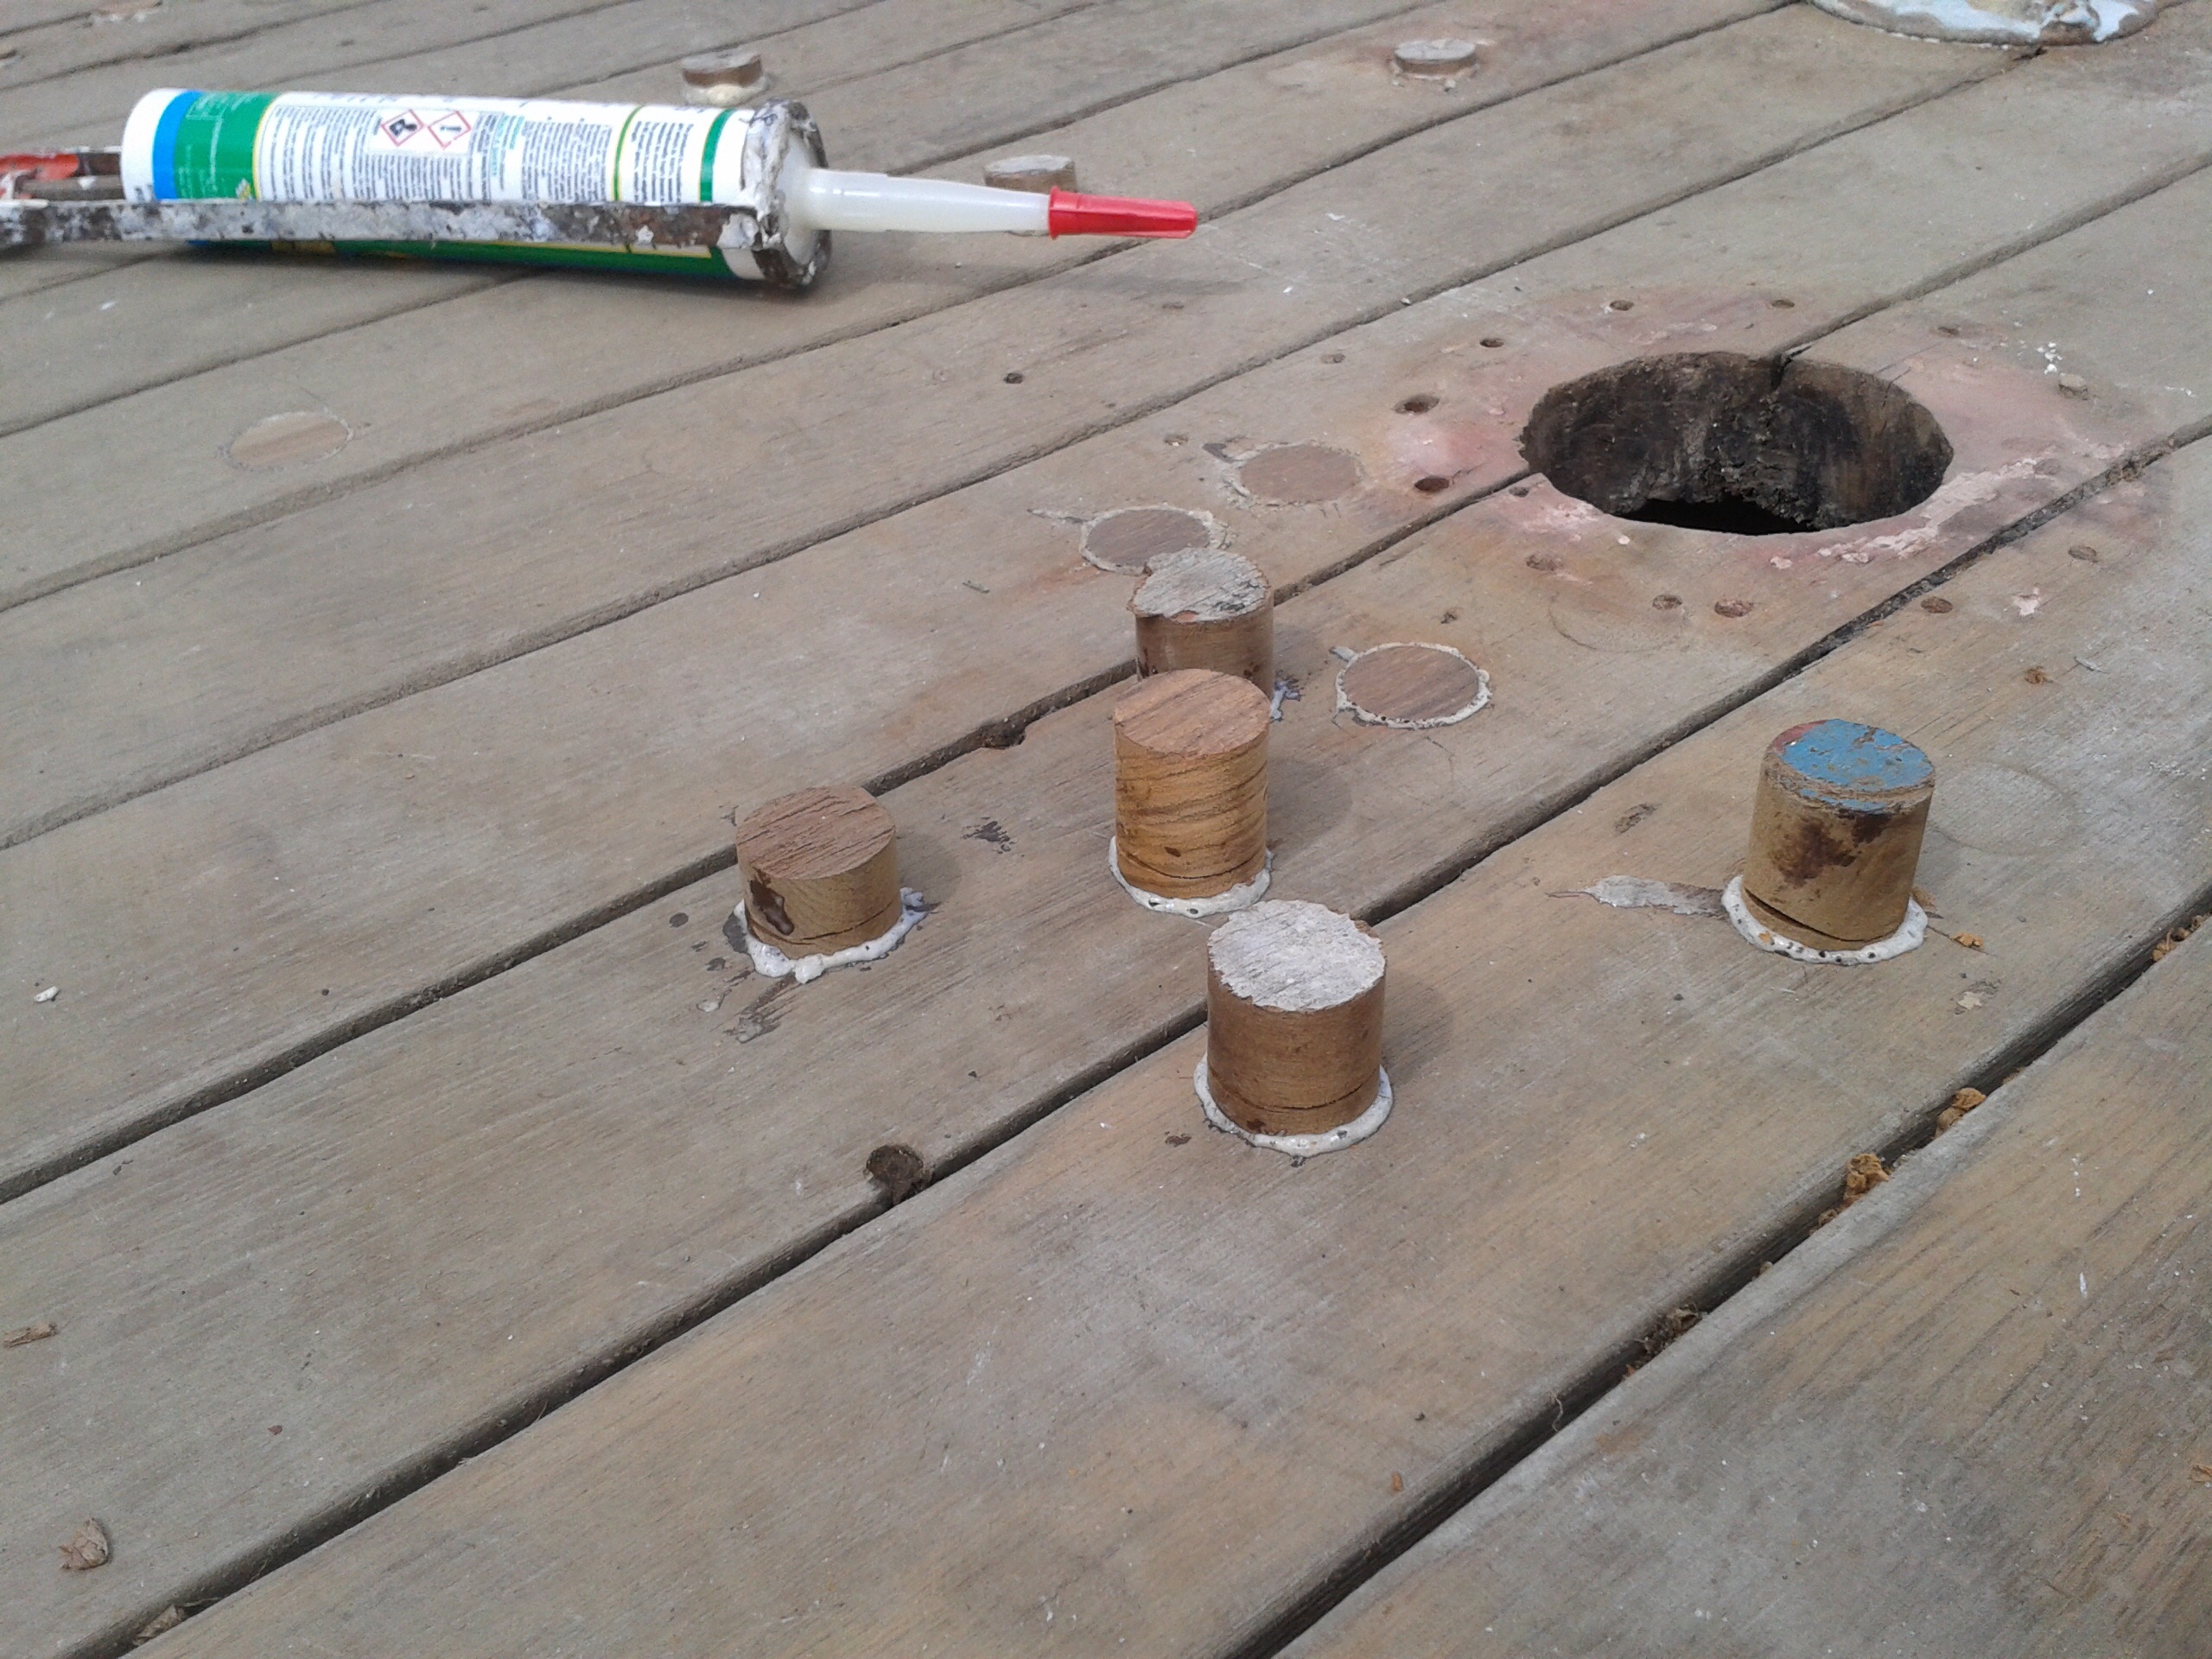
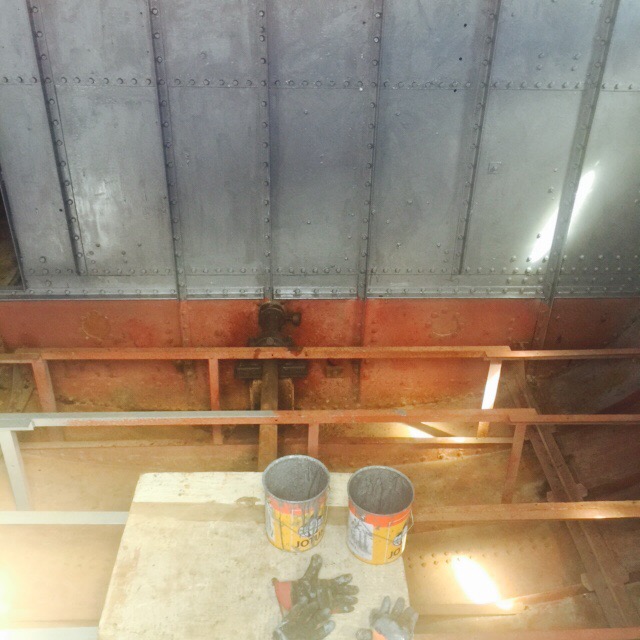
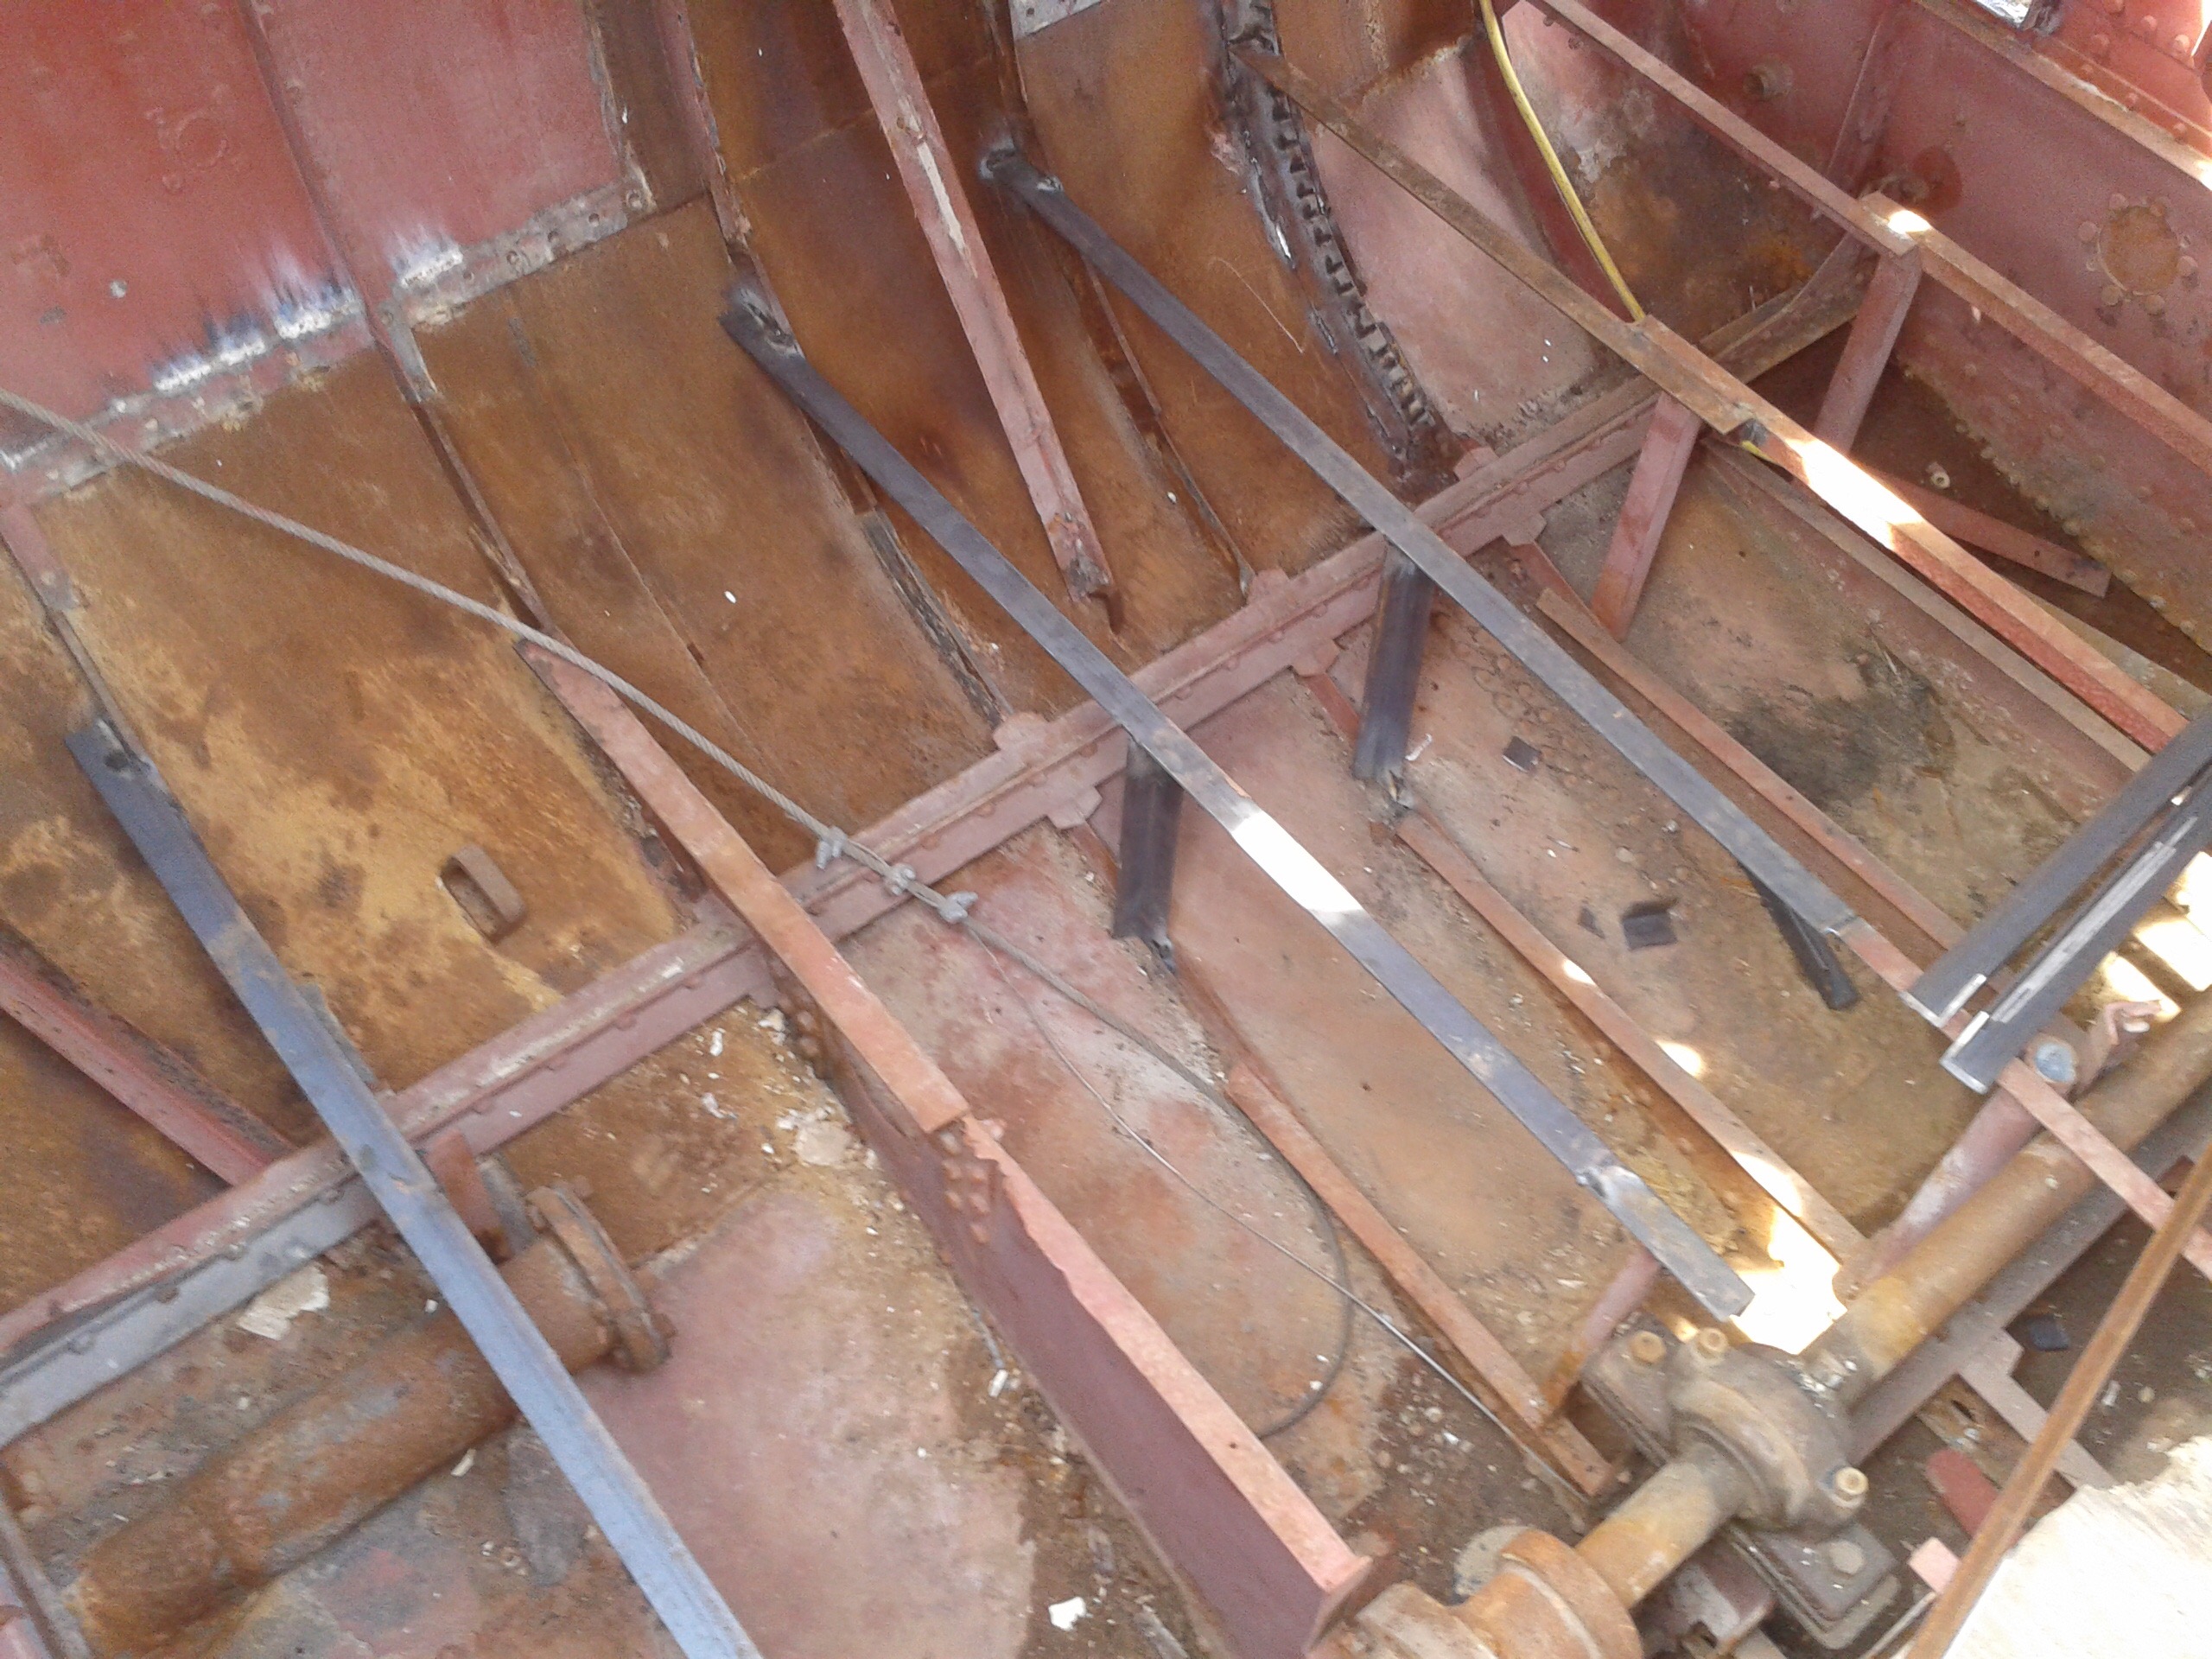
It would be good to get the proportions and overall style right for the stanchions but the hinge is probably surplus to requirements. There are some seriously smart off the shelf stanchions at Davey which have the same triangular base as the originals (there are now rusted stumps that were still attached to the deck but we’re definitely triangular). See excerpt from catalogue below…


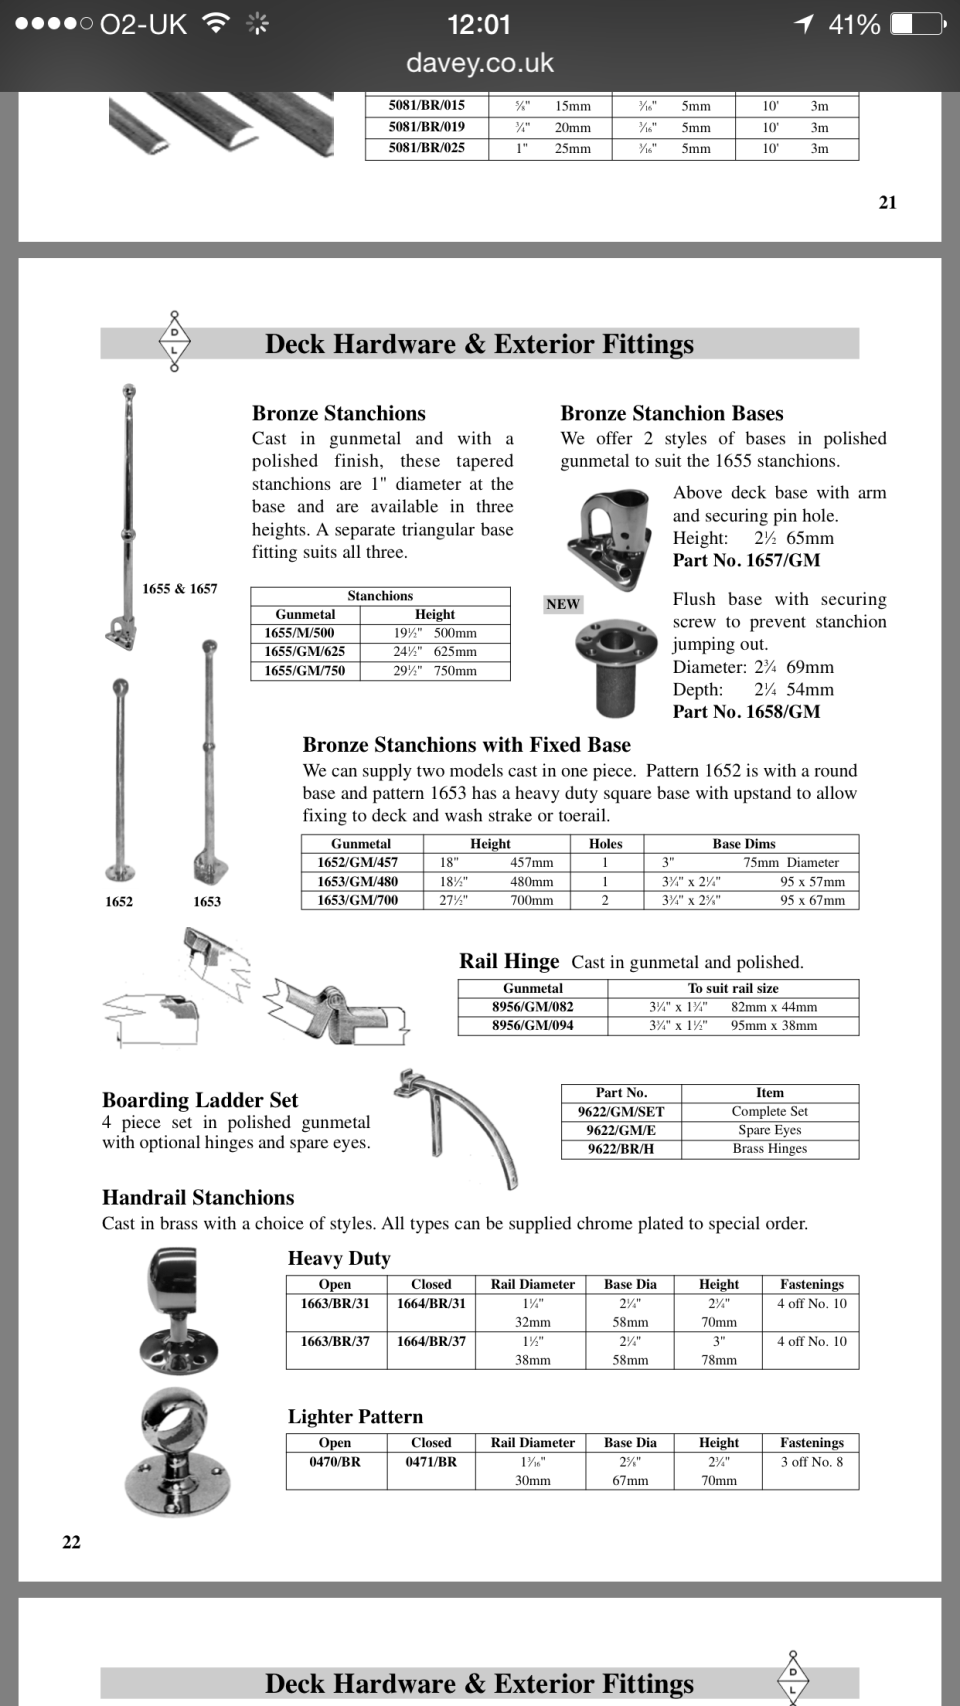
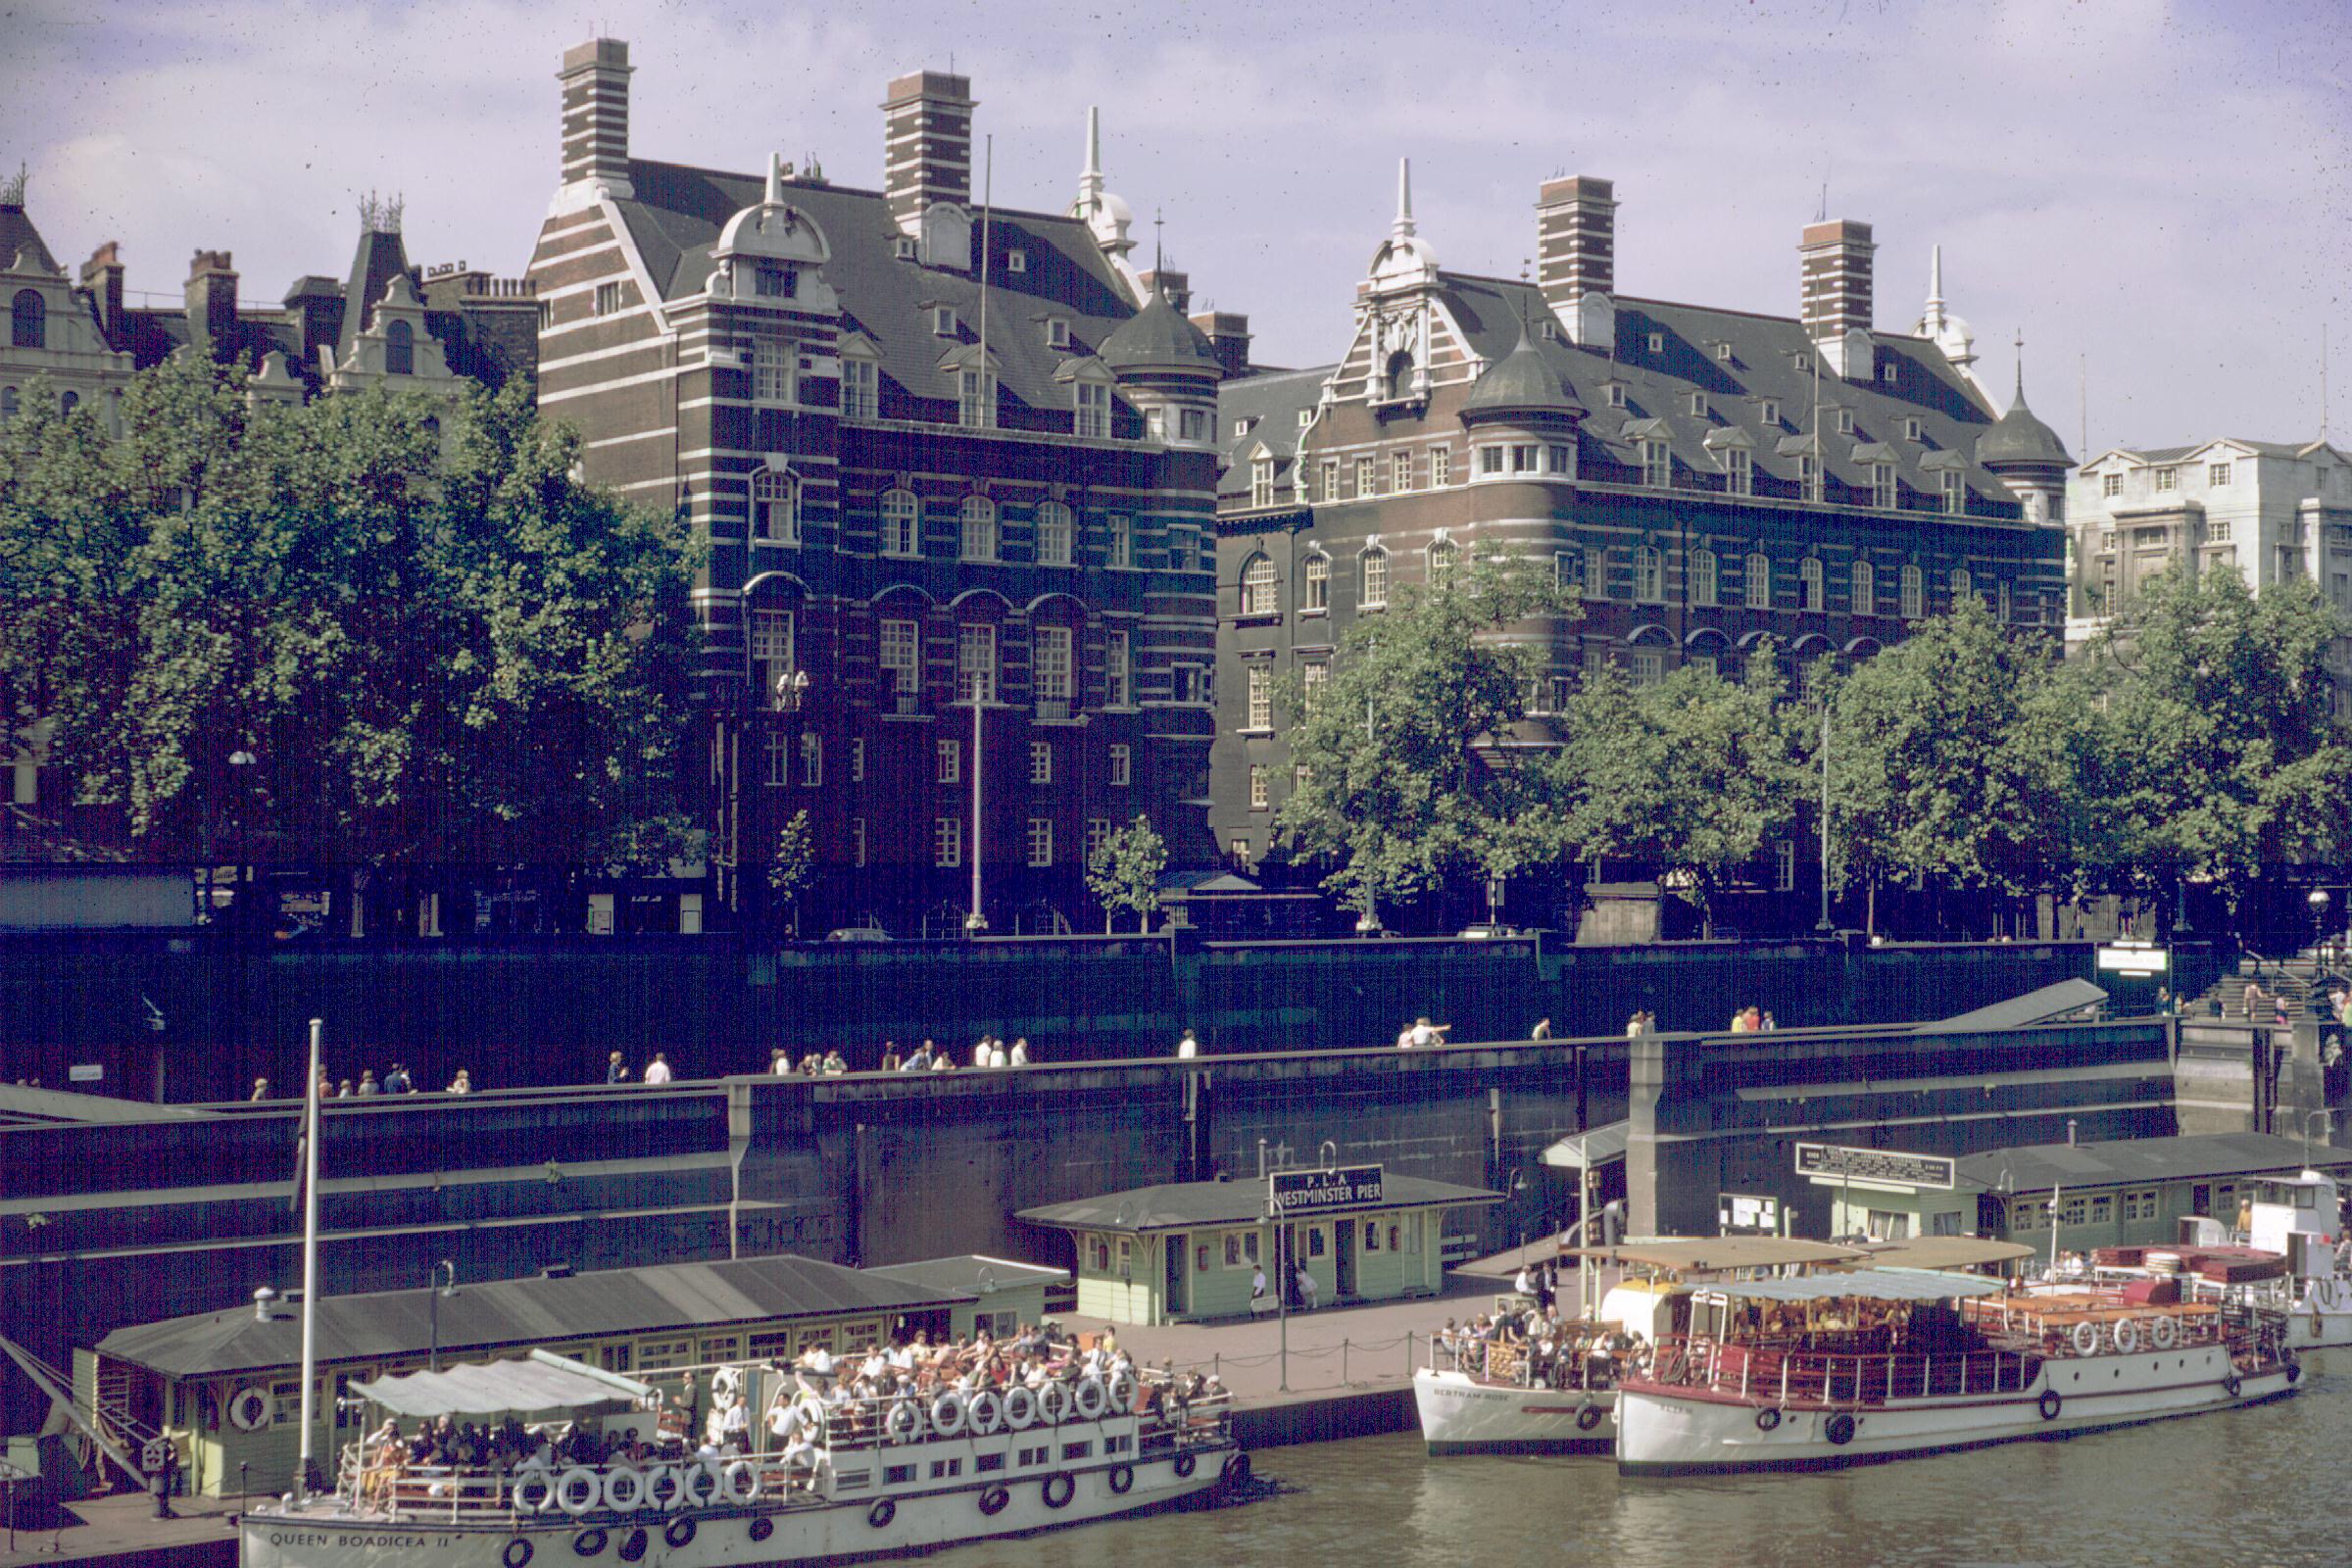
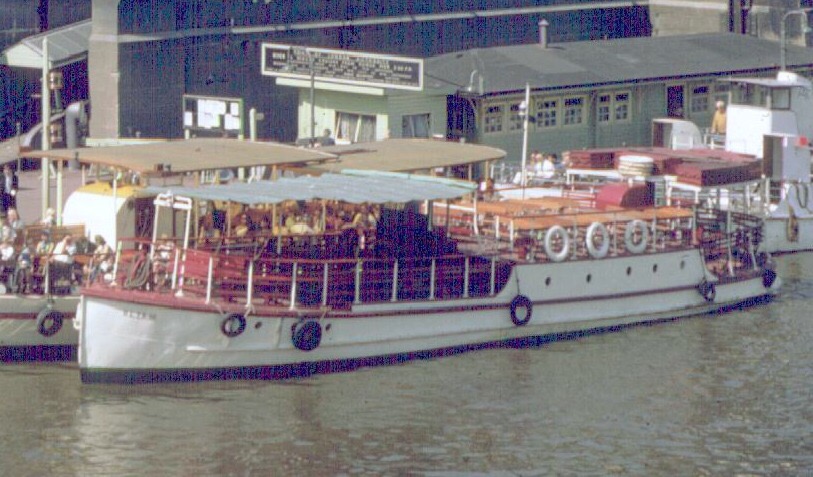
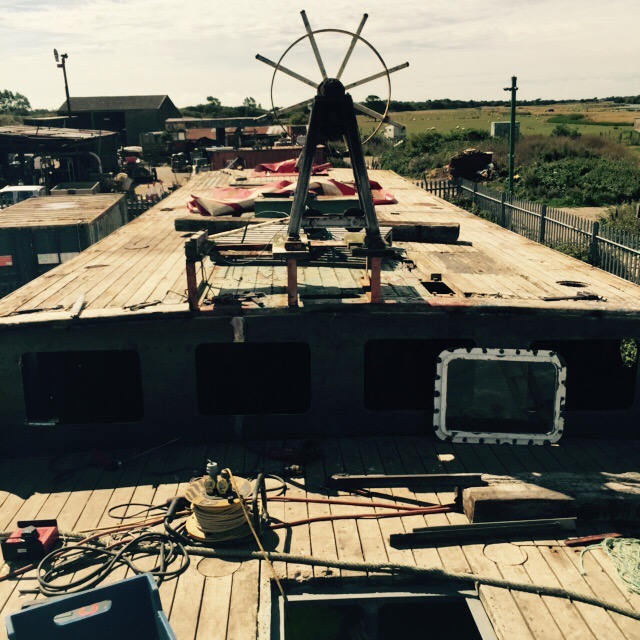
The stanchions aren’t as high as I had imagined – more knee to mid thigh height than waist height. When I think about it, this makes sense. They weren’t intended as railings and, at the same height or slightly less  as the top of the striker rail to the middle deck, these proportions make sense. Anything higher would look a bit odd and, given the boat sits pretty low in the water, not really necessary.

There’s the stanchion research so far…

Painting – fifty buckets of grey

  
 Finally slapping some paint on the old girl. A supremely difficult task given the angles, the structure built inside the bilge, and the sheer number of rivets to paint. The paint itself smells noxious and sticky and to get from section to section you have to climb over or through hurdle height structures. Tough stuff. 
That said the transformation is incredible. From rust bucket to sleek submarine…

From this…


To this…   

    
 All while wearing very glamorous breathing masks!  It wasn’t all hard graft. We managed to find time to fit in some swimming, dinner and a sunset. 😊