Author Archives: hellyboo

More margin planks

 
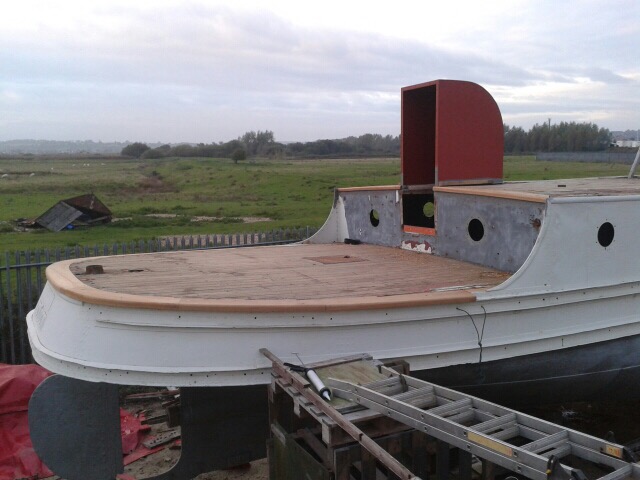
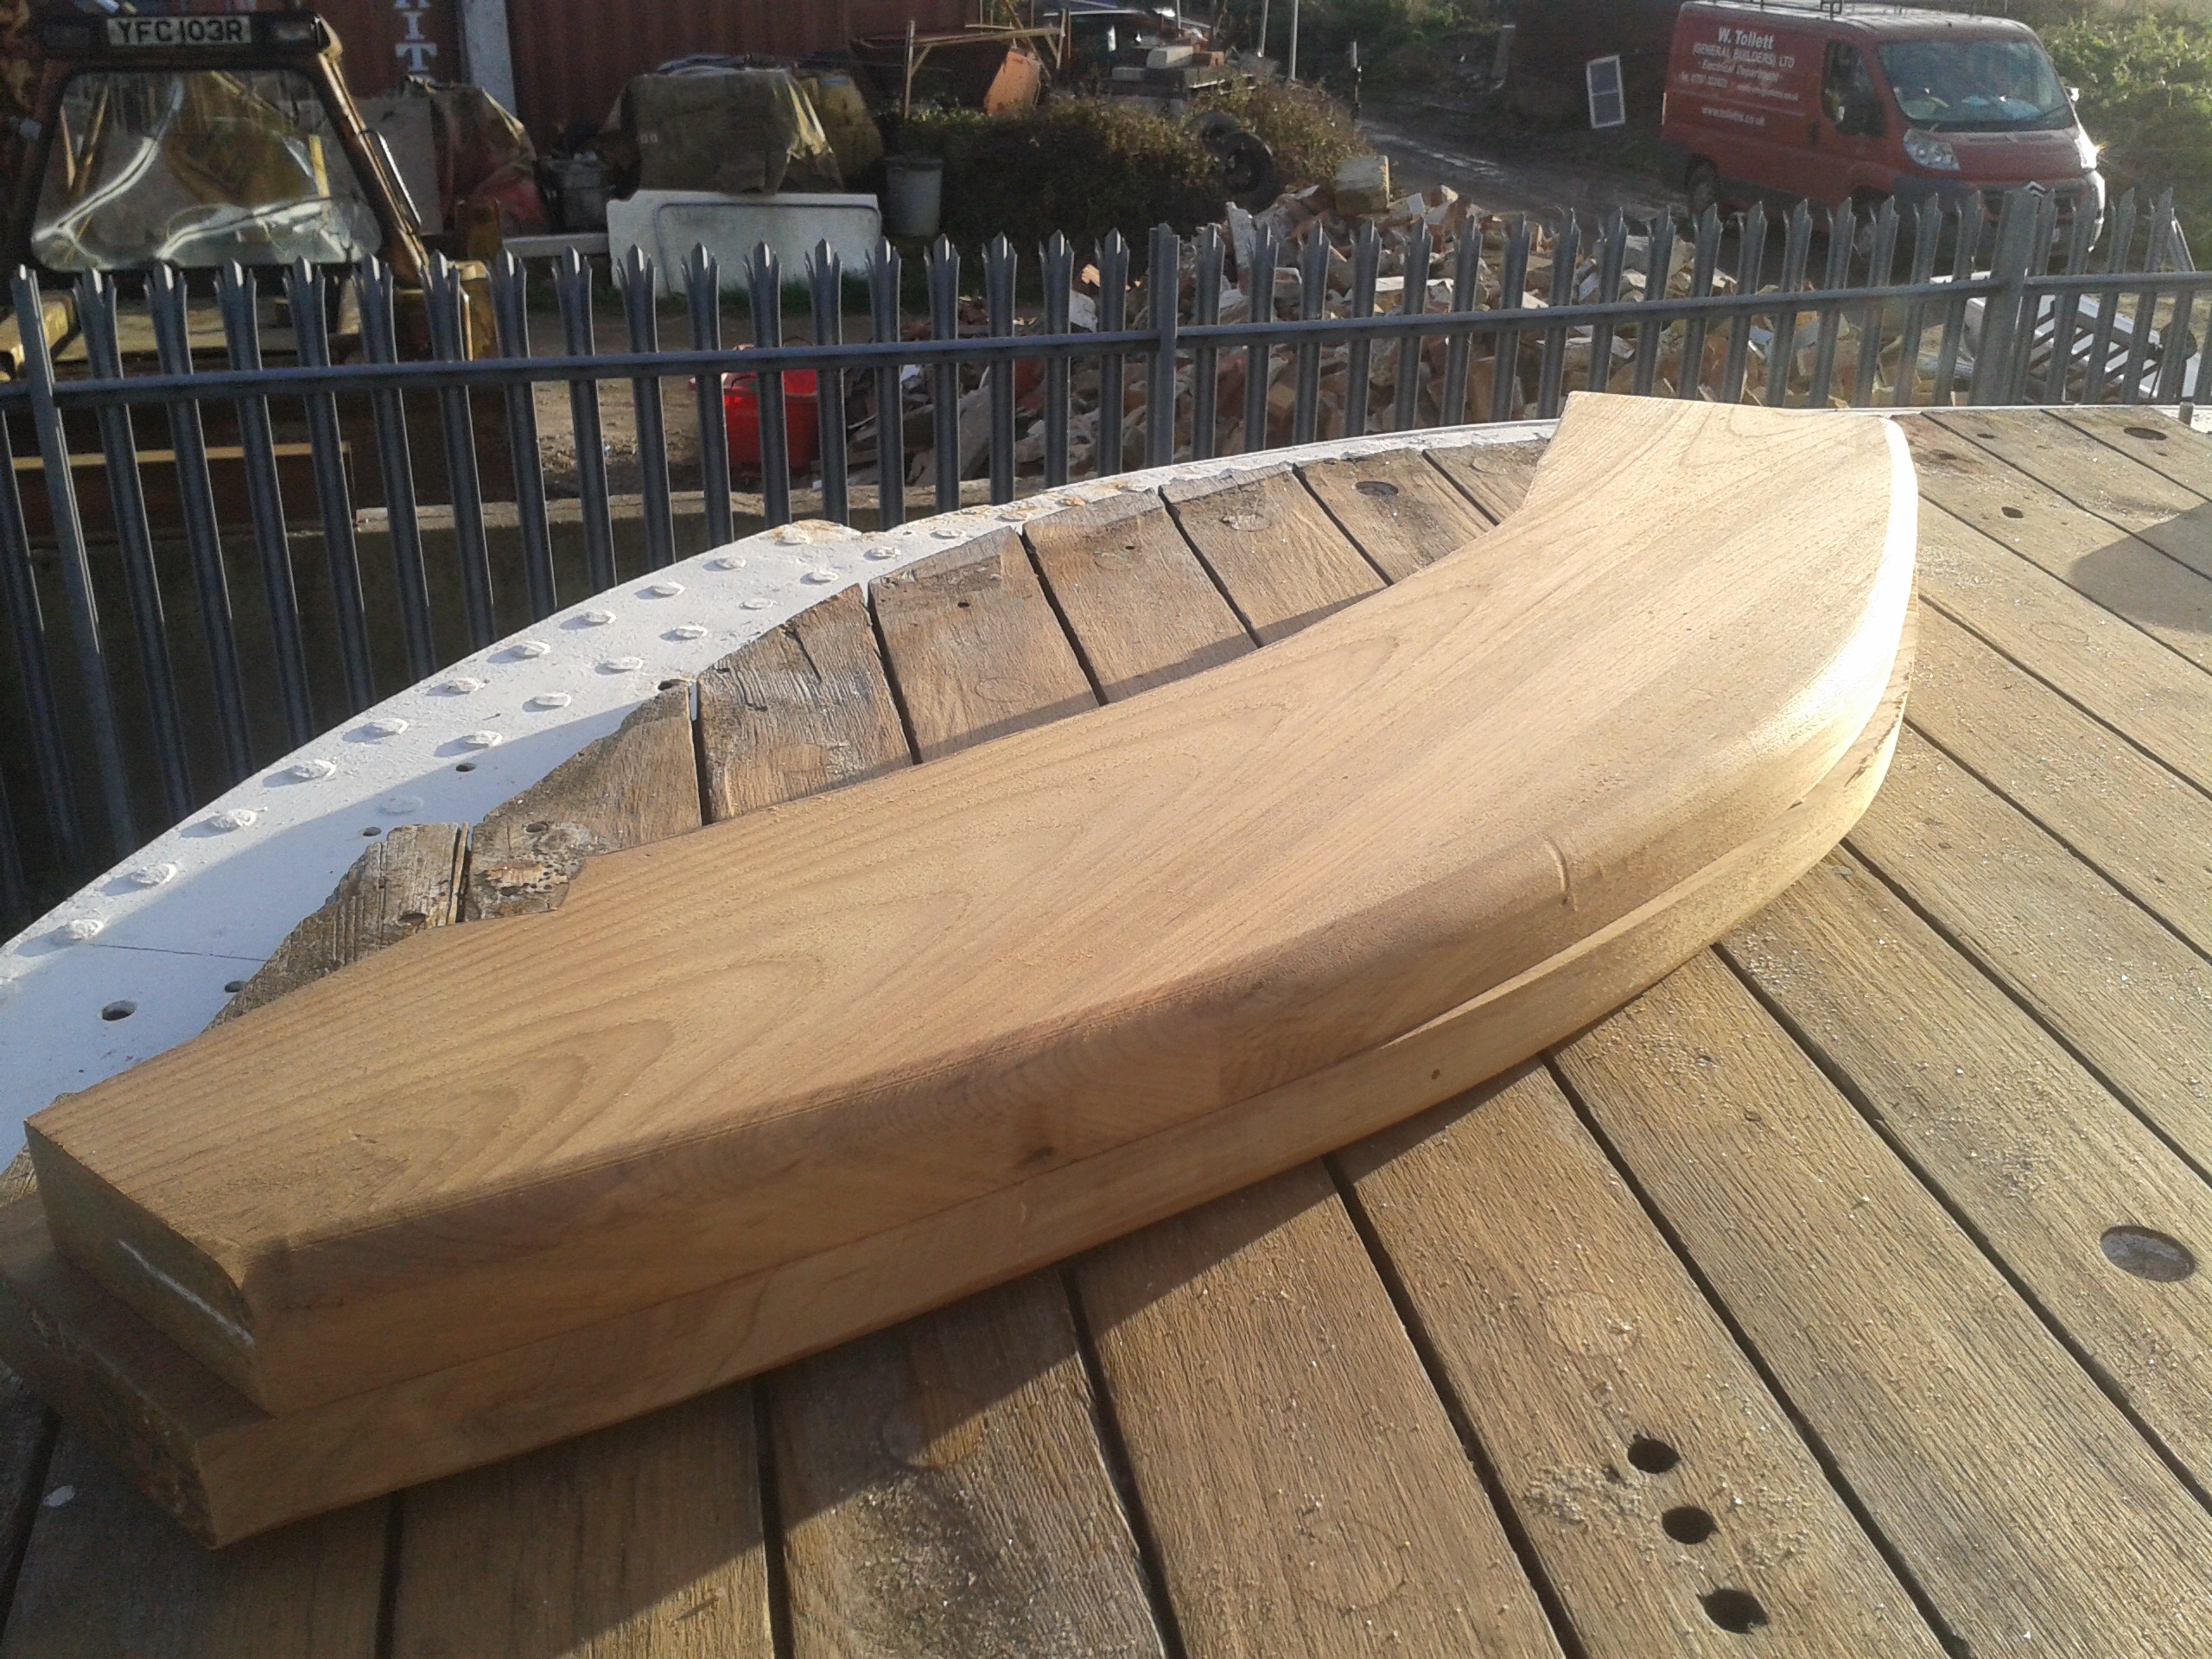
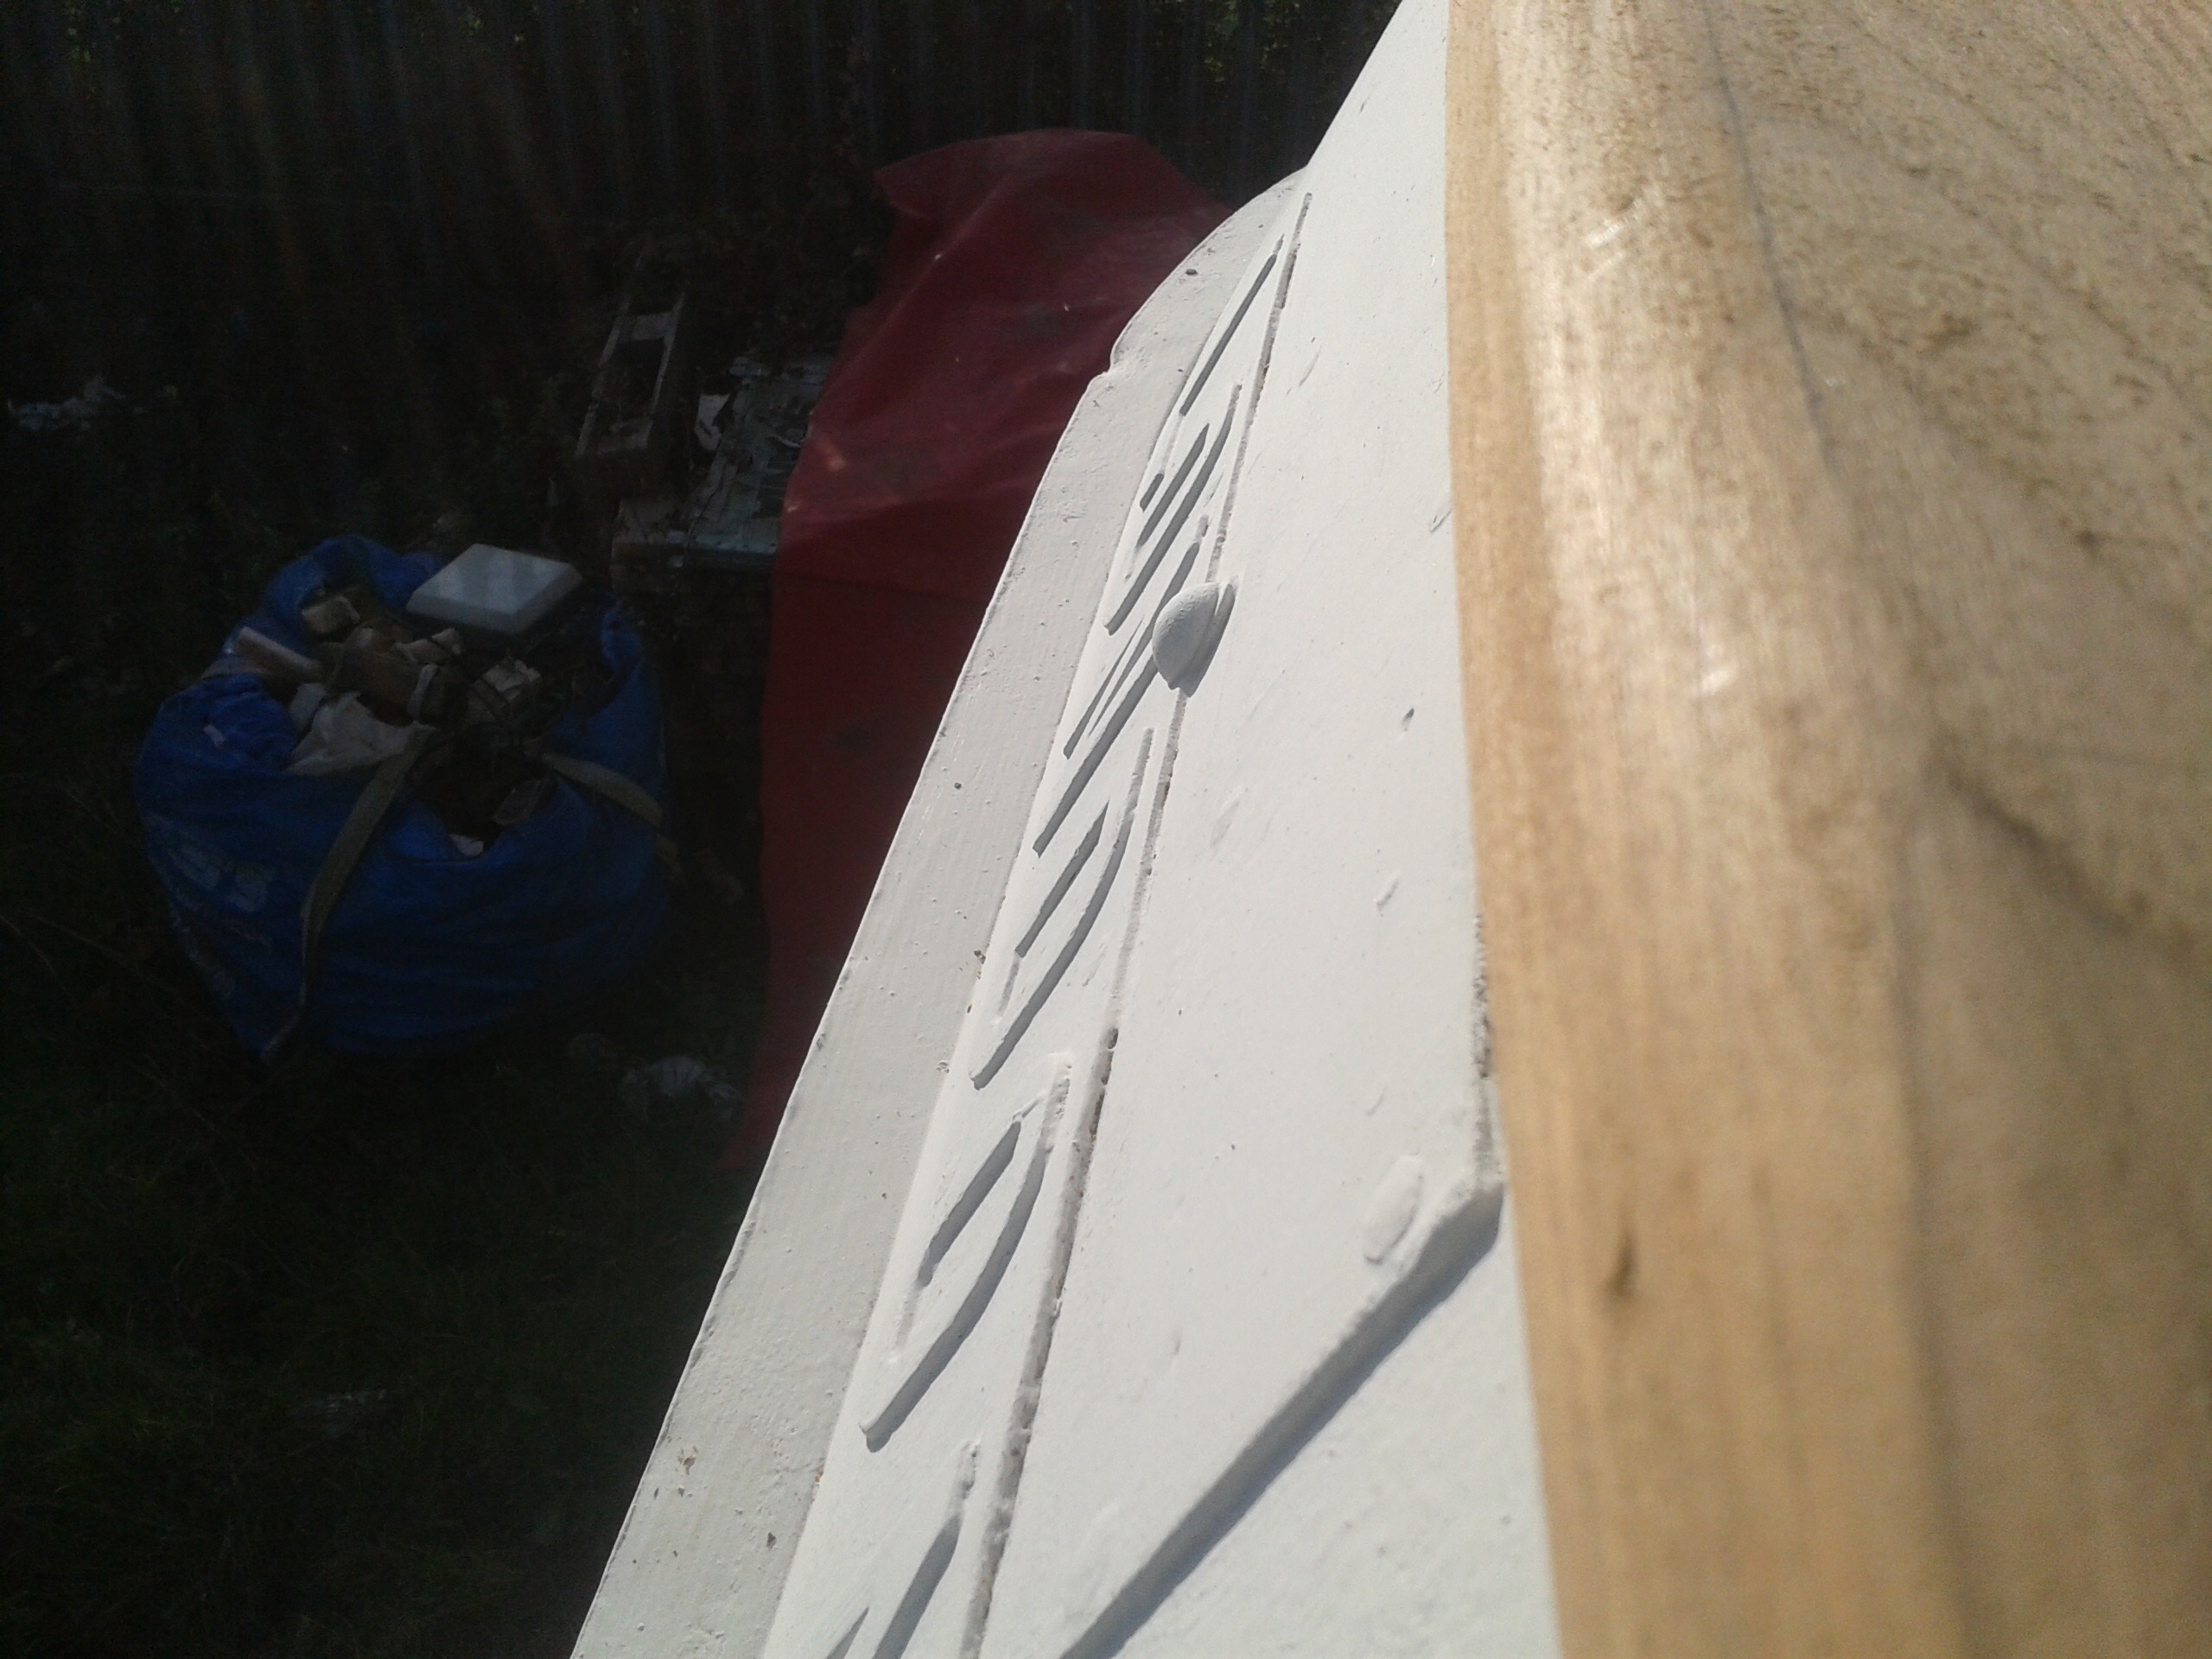
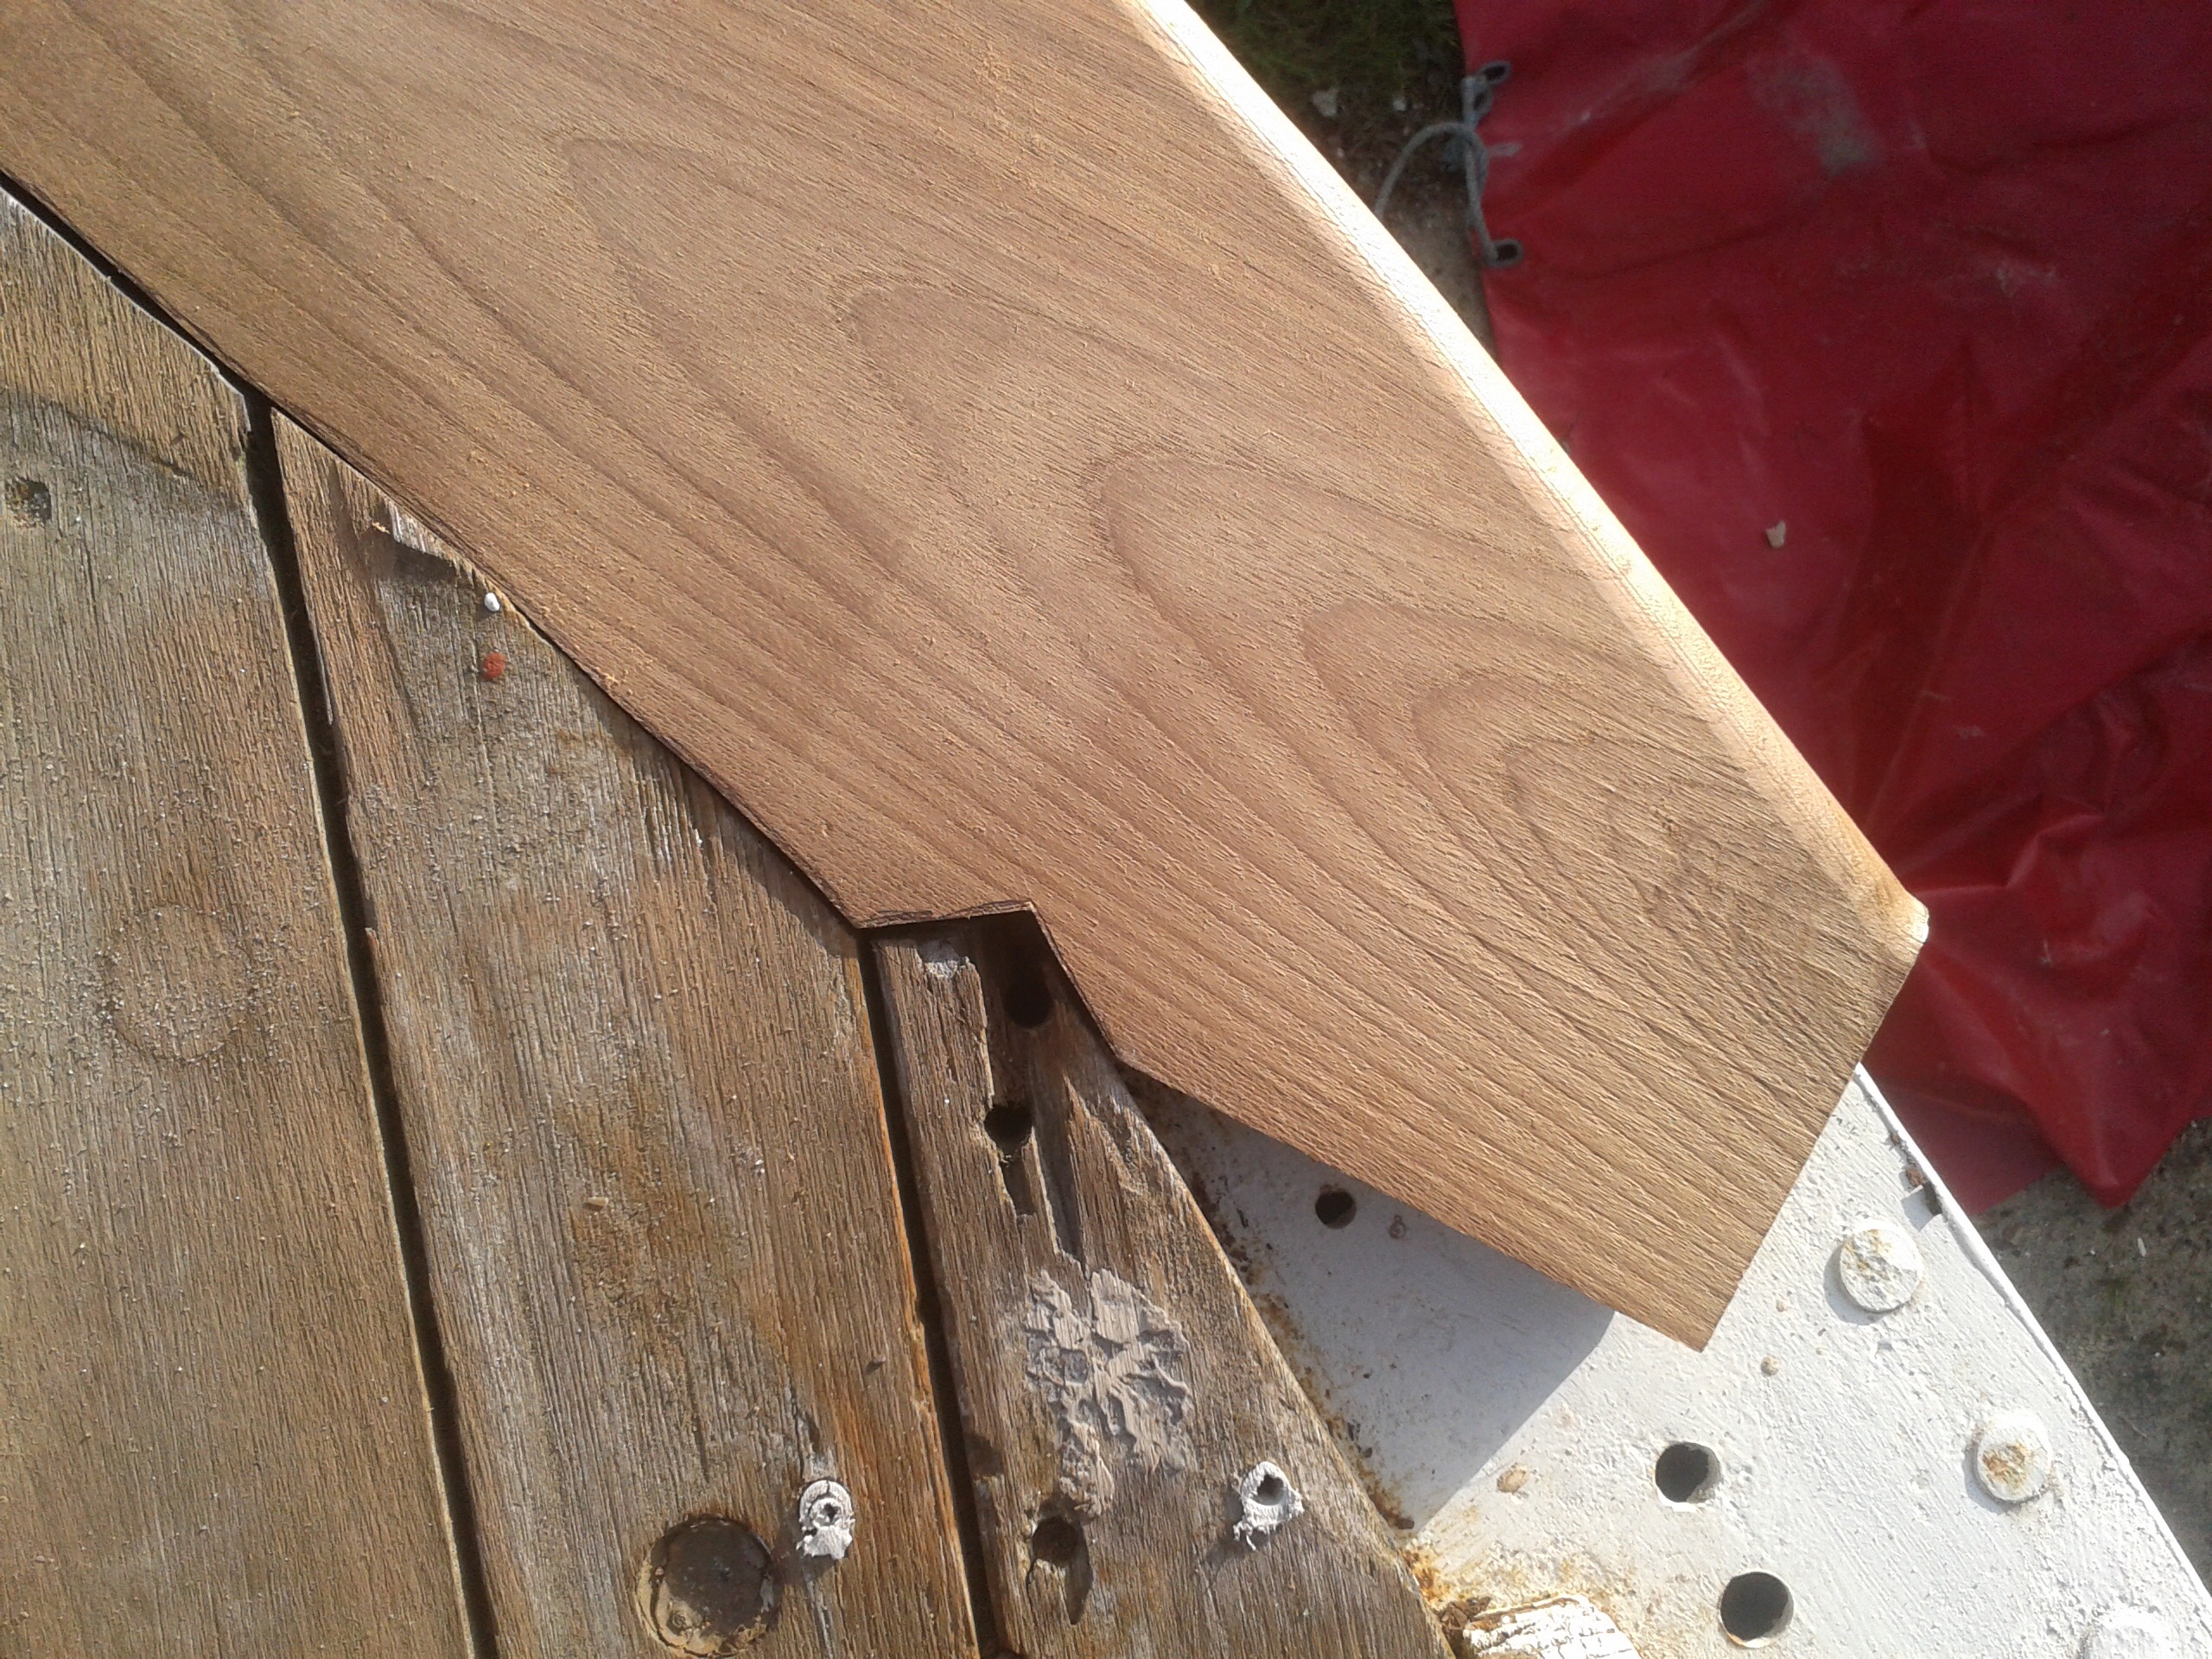
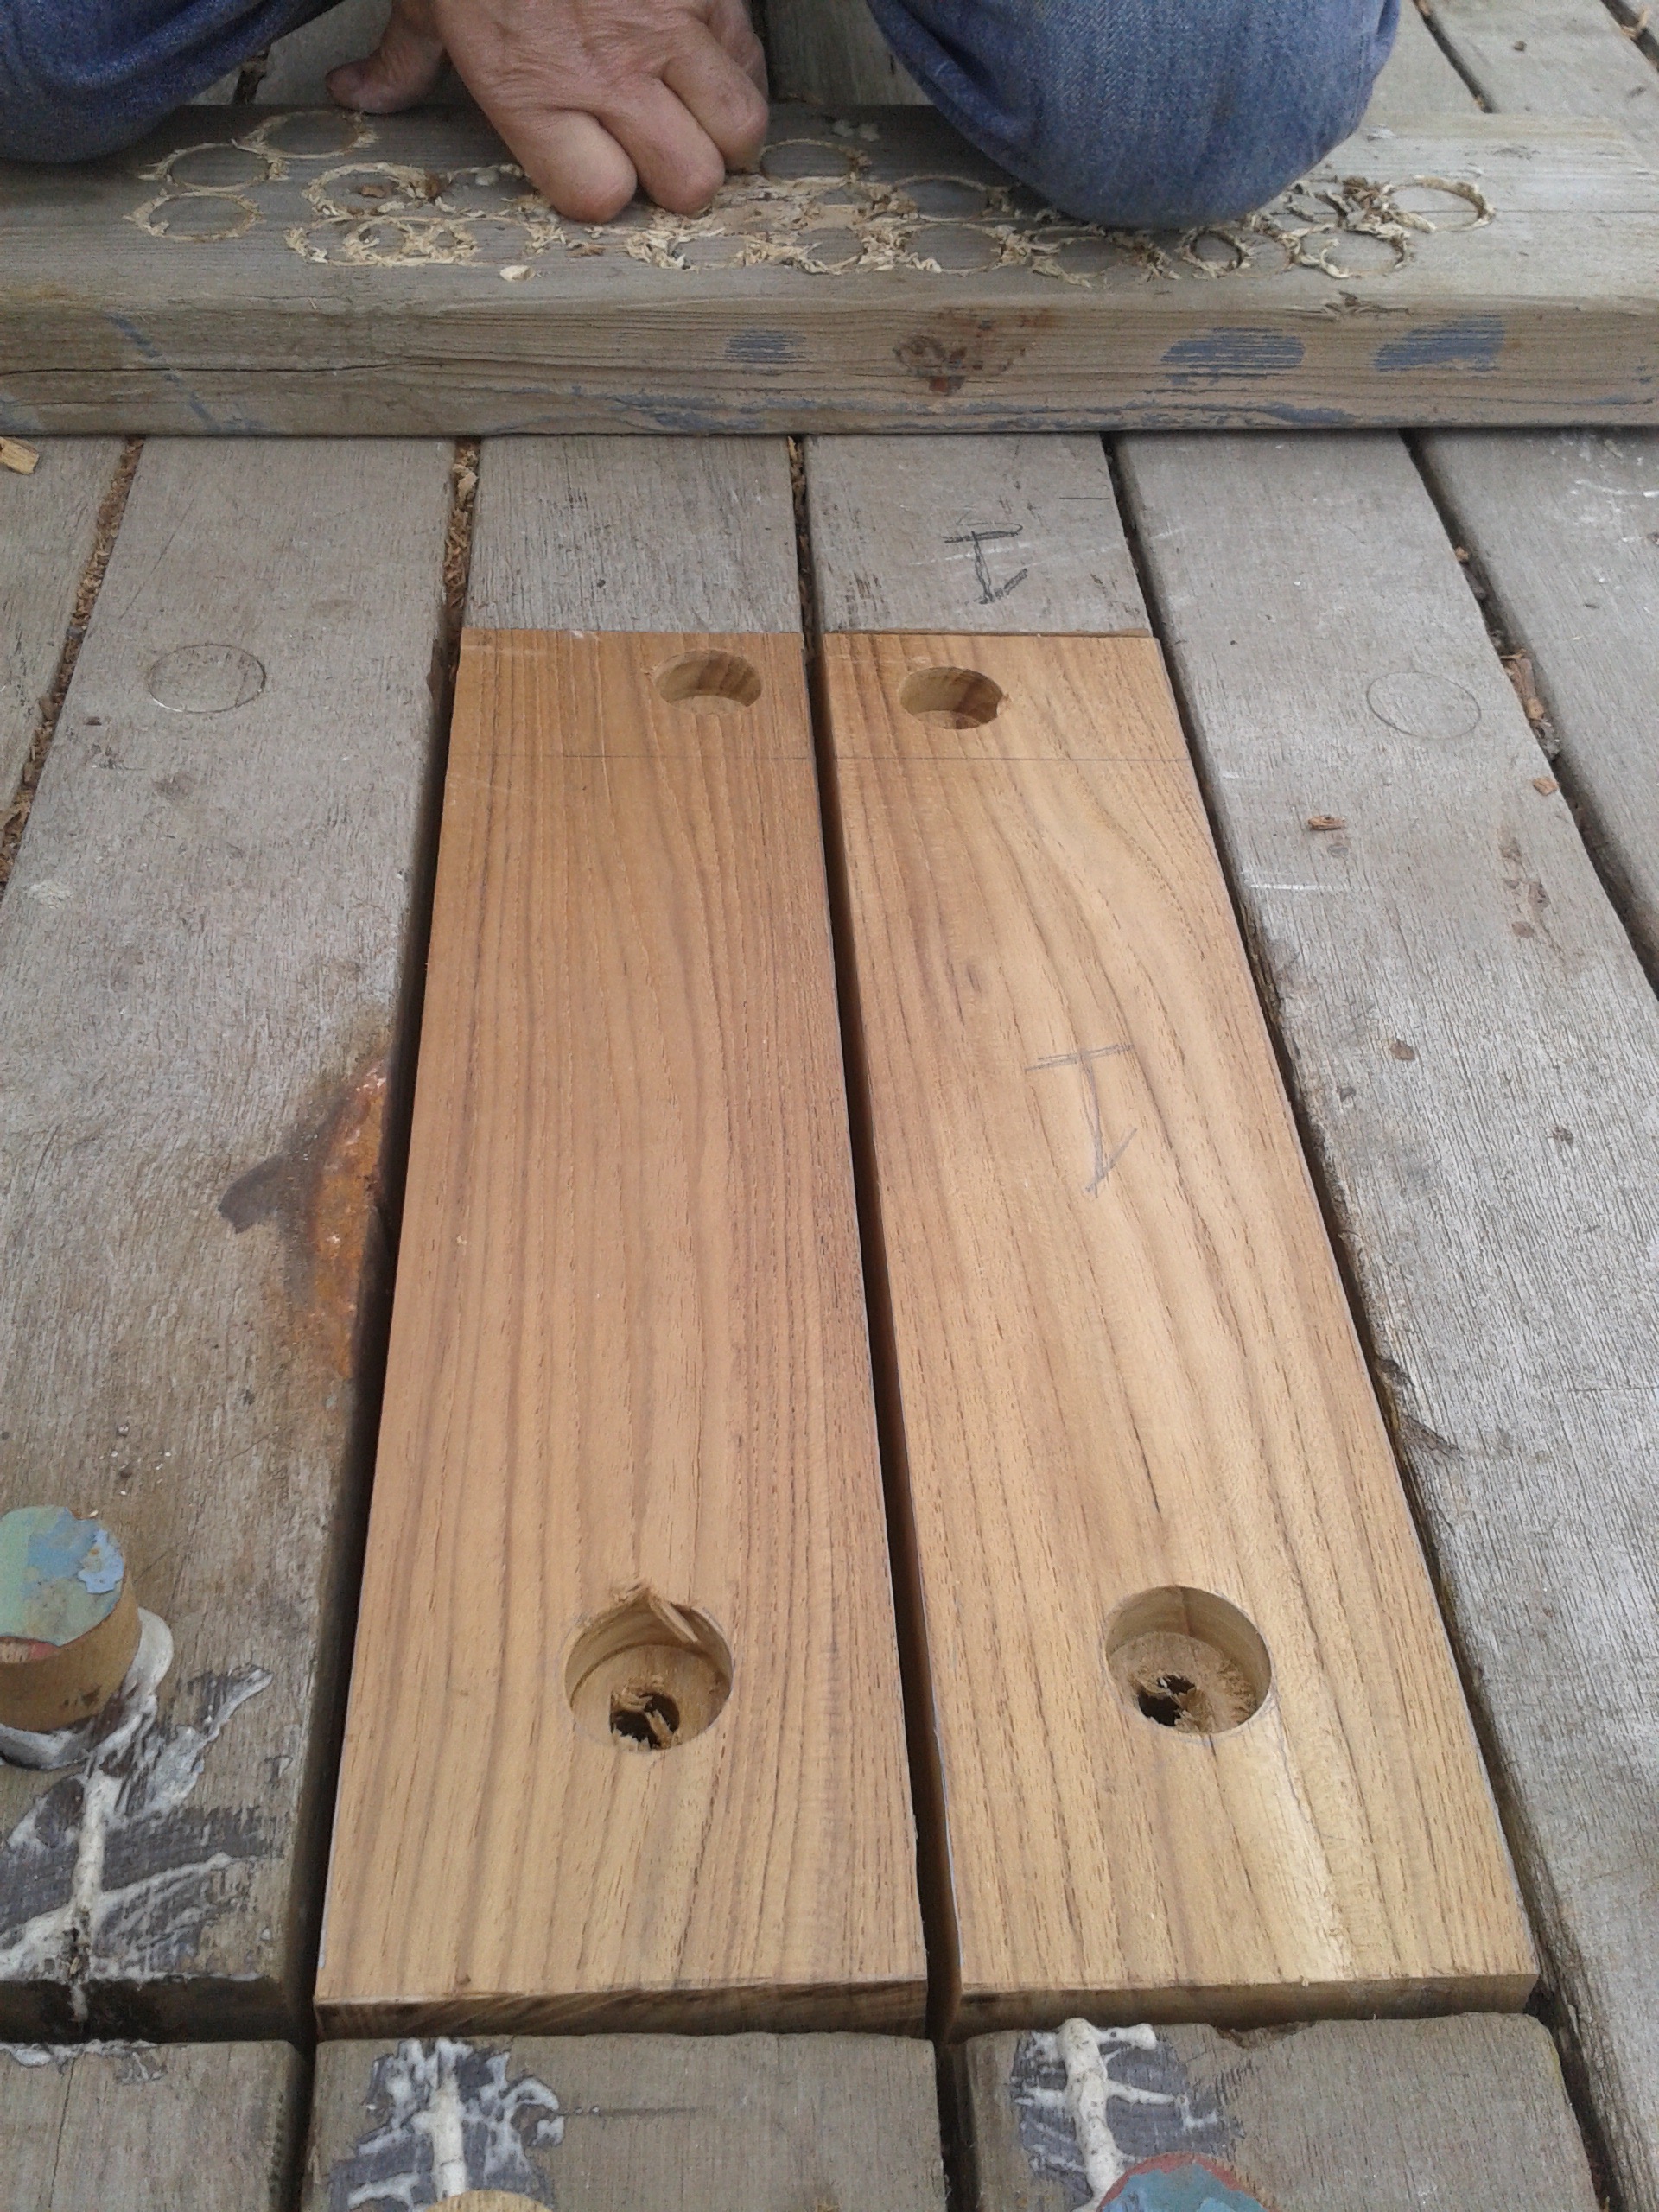
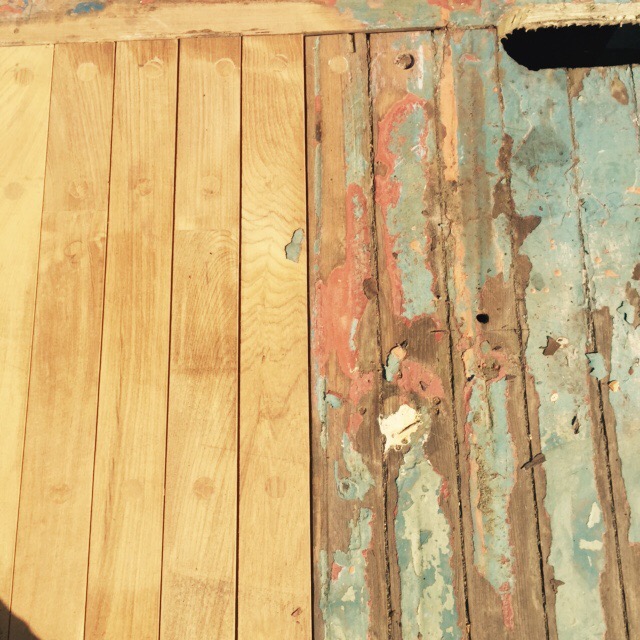
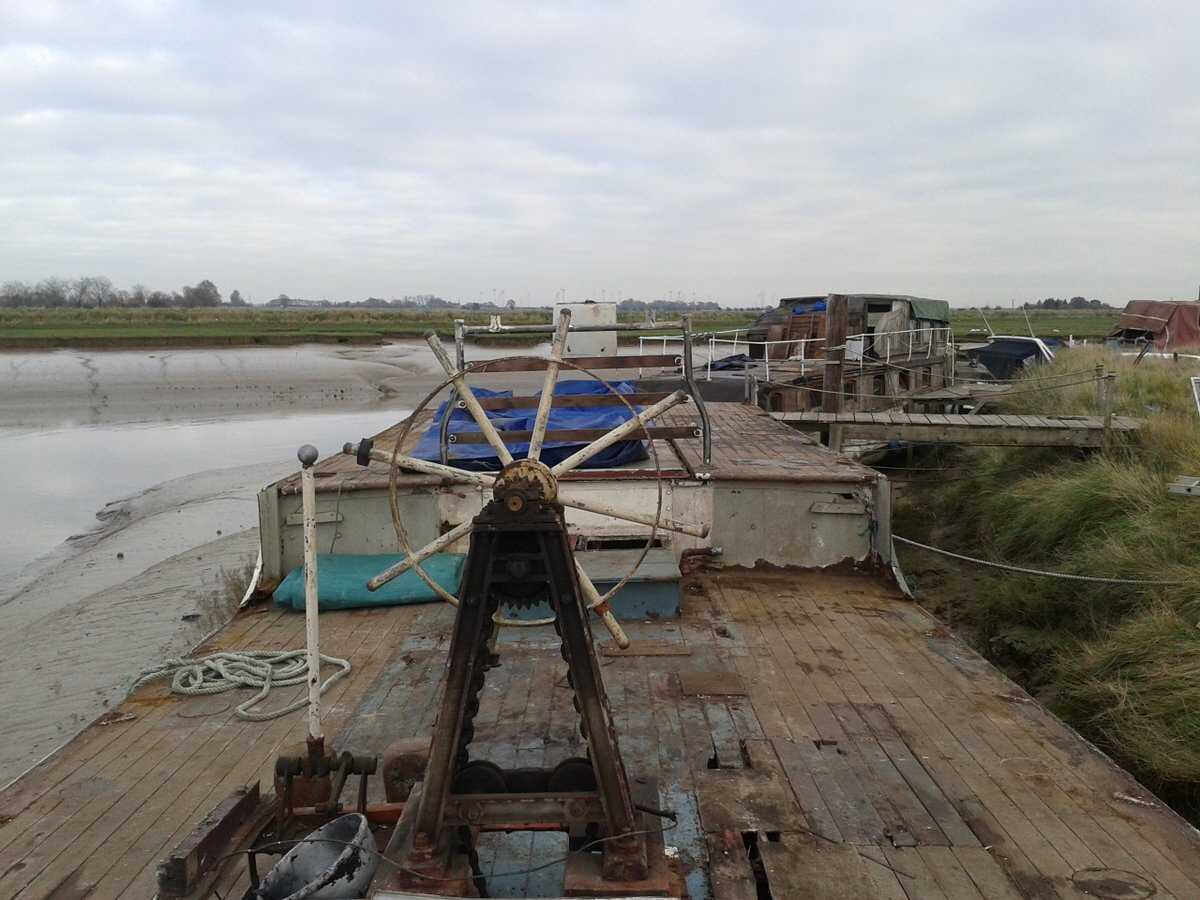
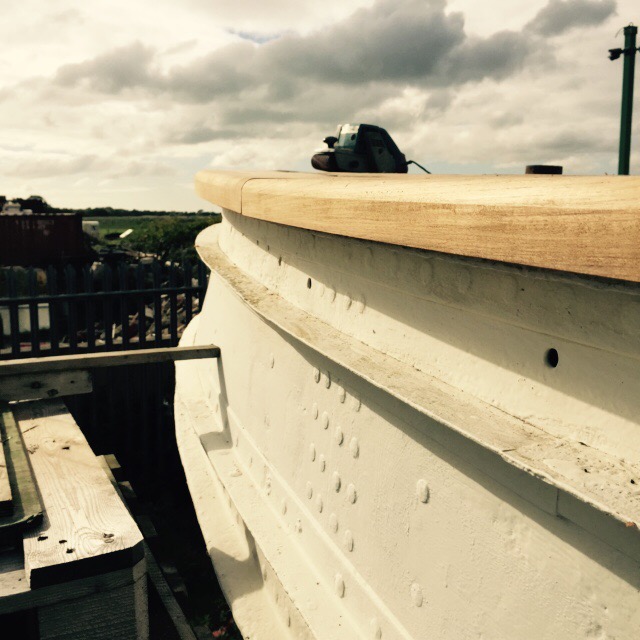
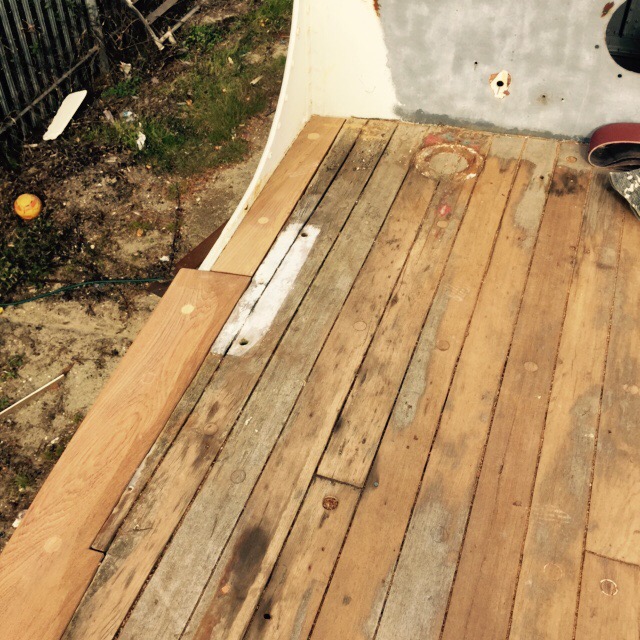
The new margin planks on the stern deck are looking cracking. The edges have been bullnosed and so they have a fabulous curve on them.   
    
    
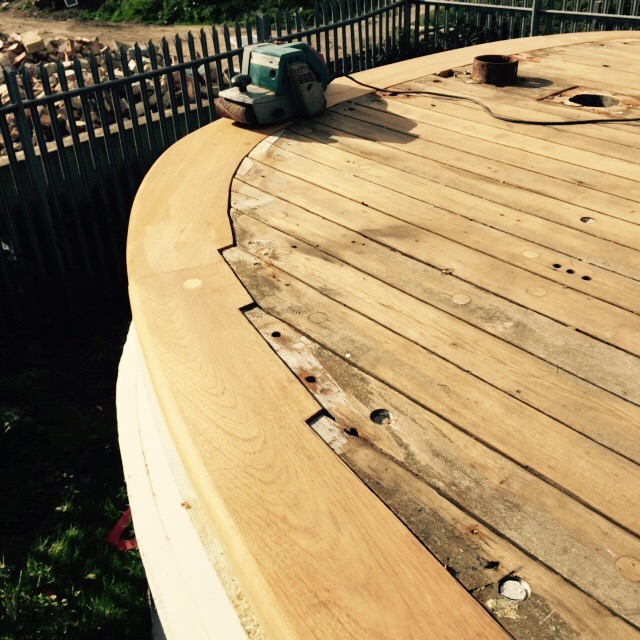
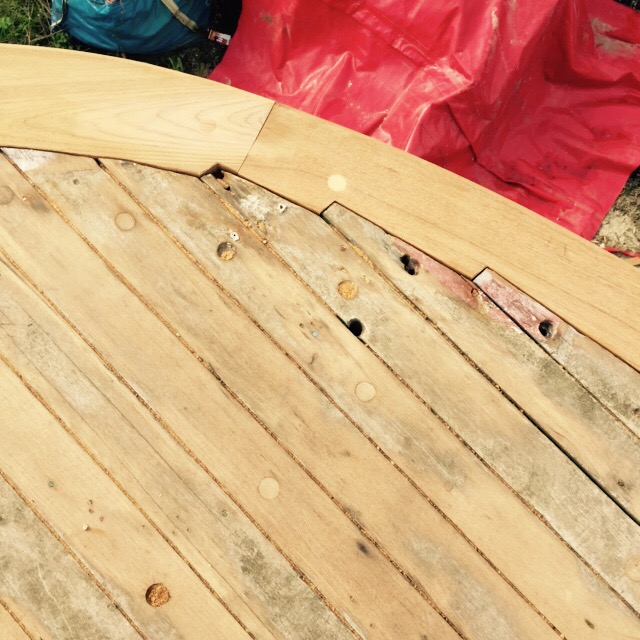
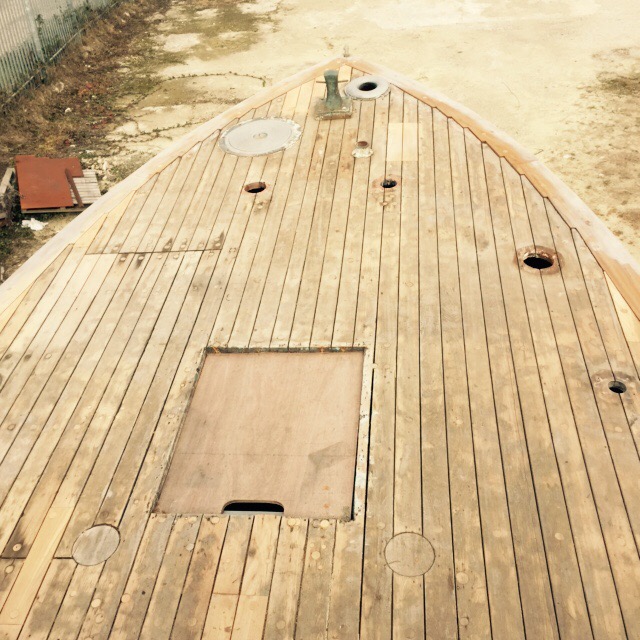
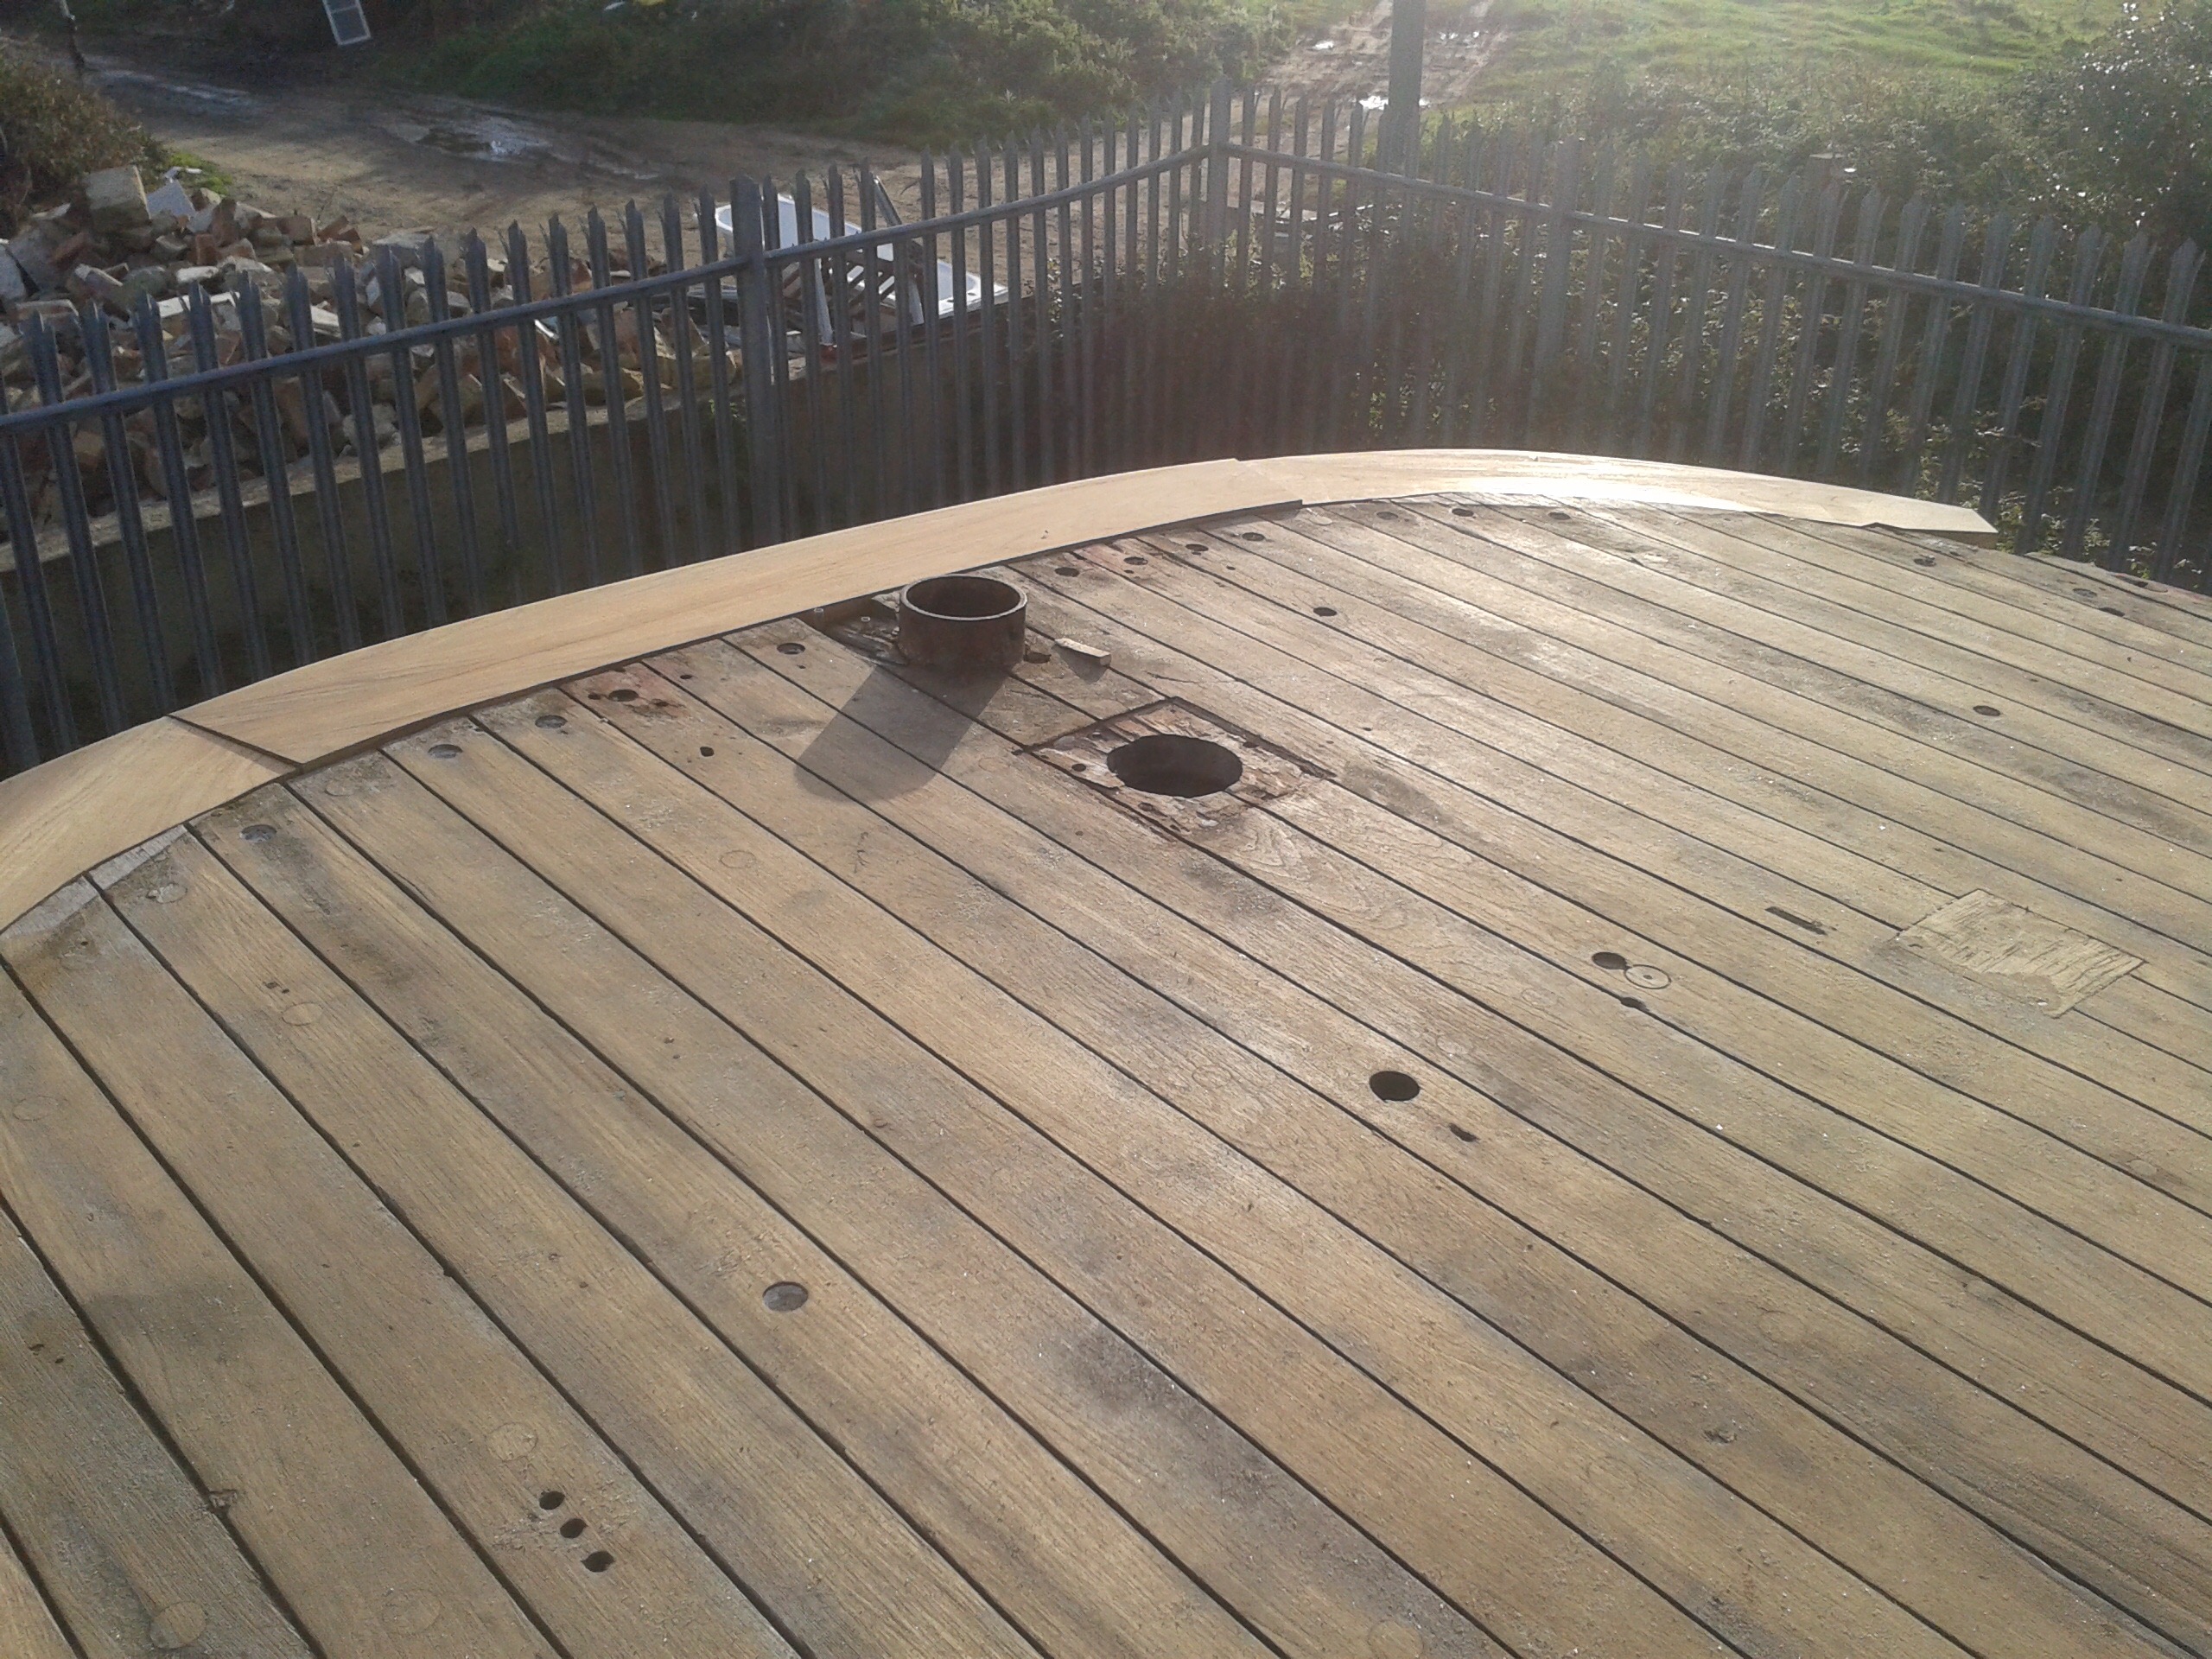
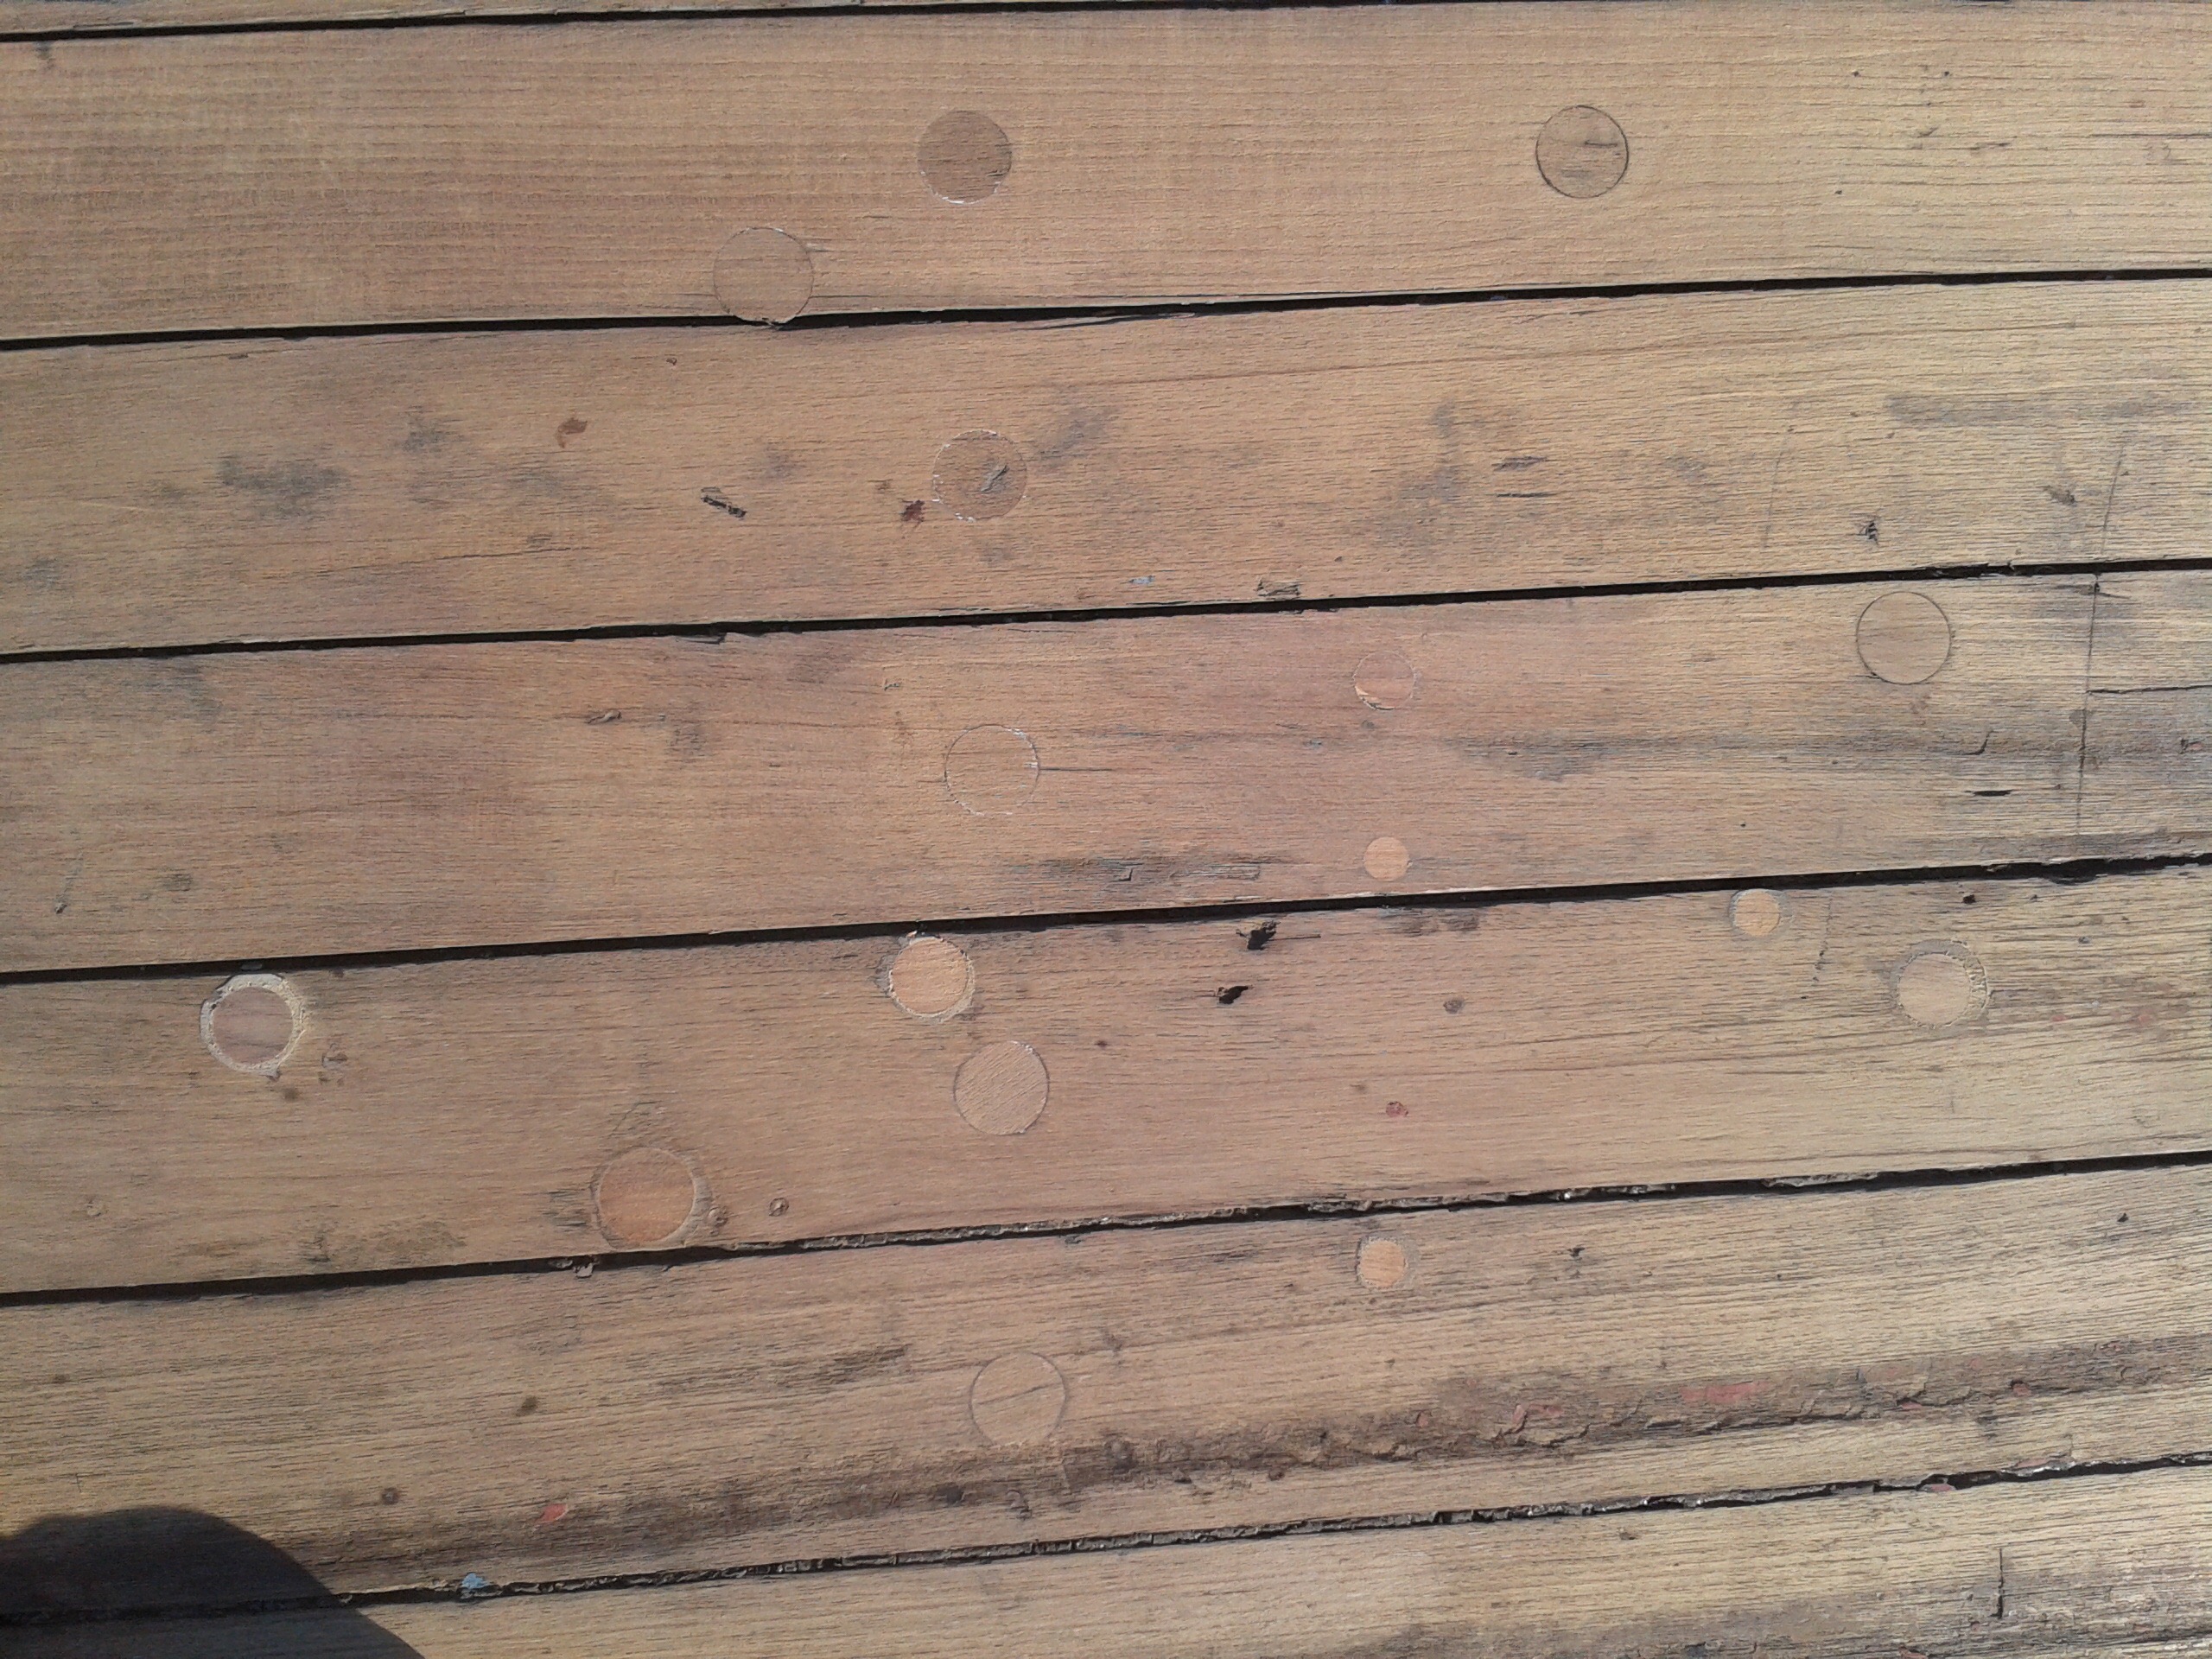
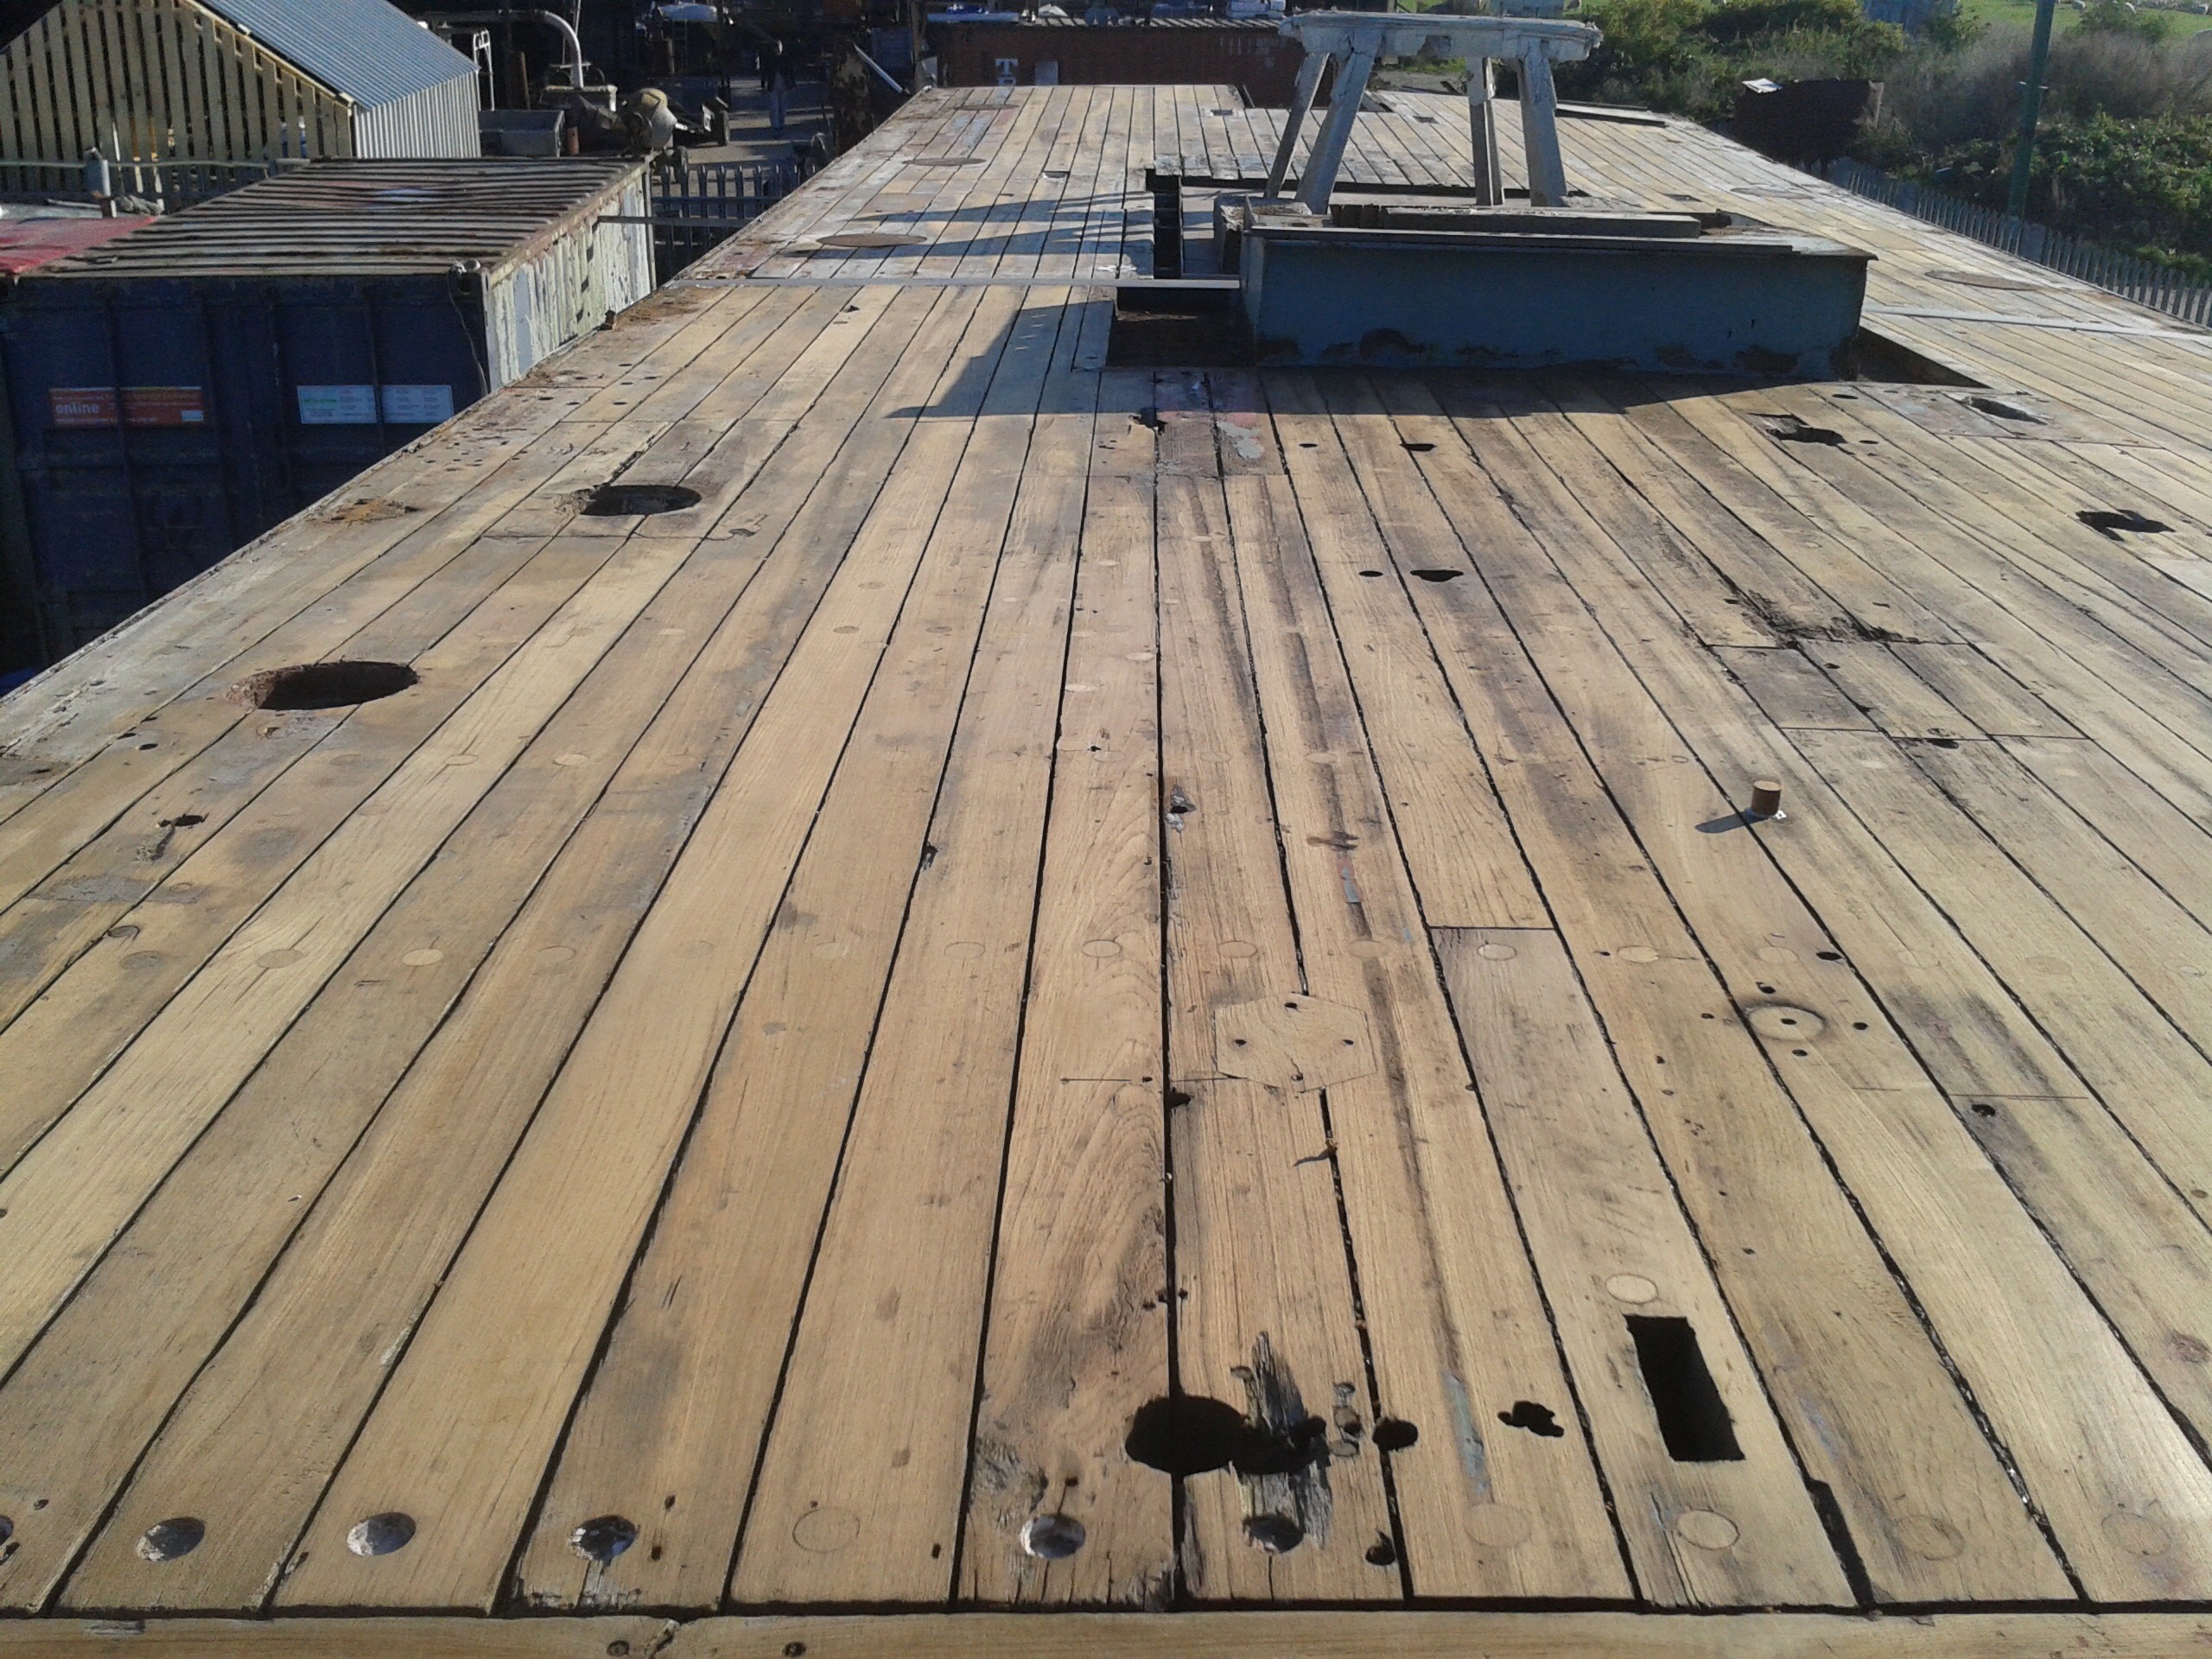
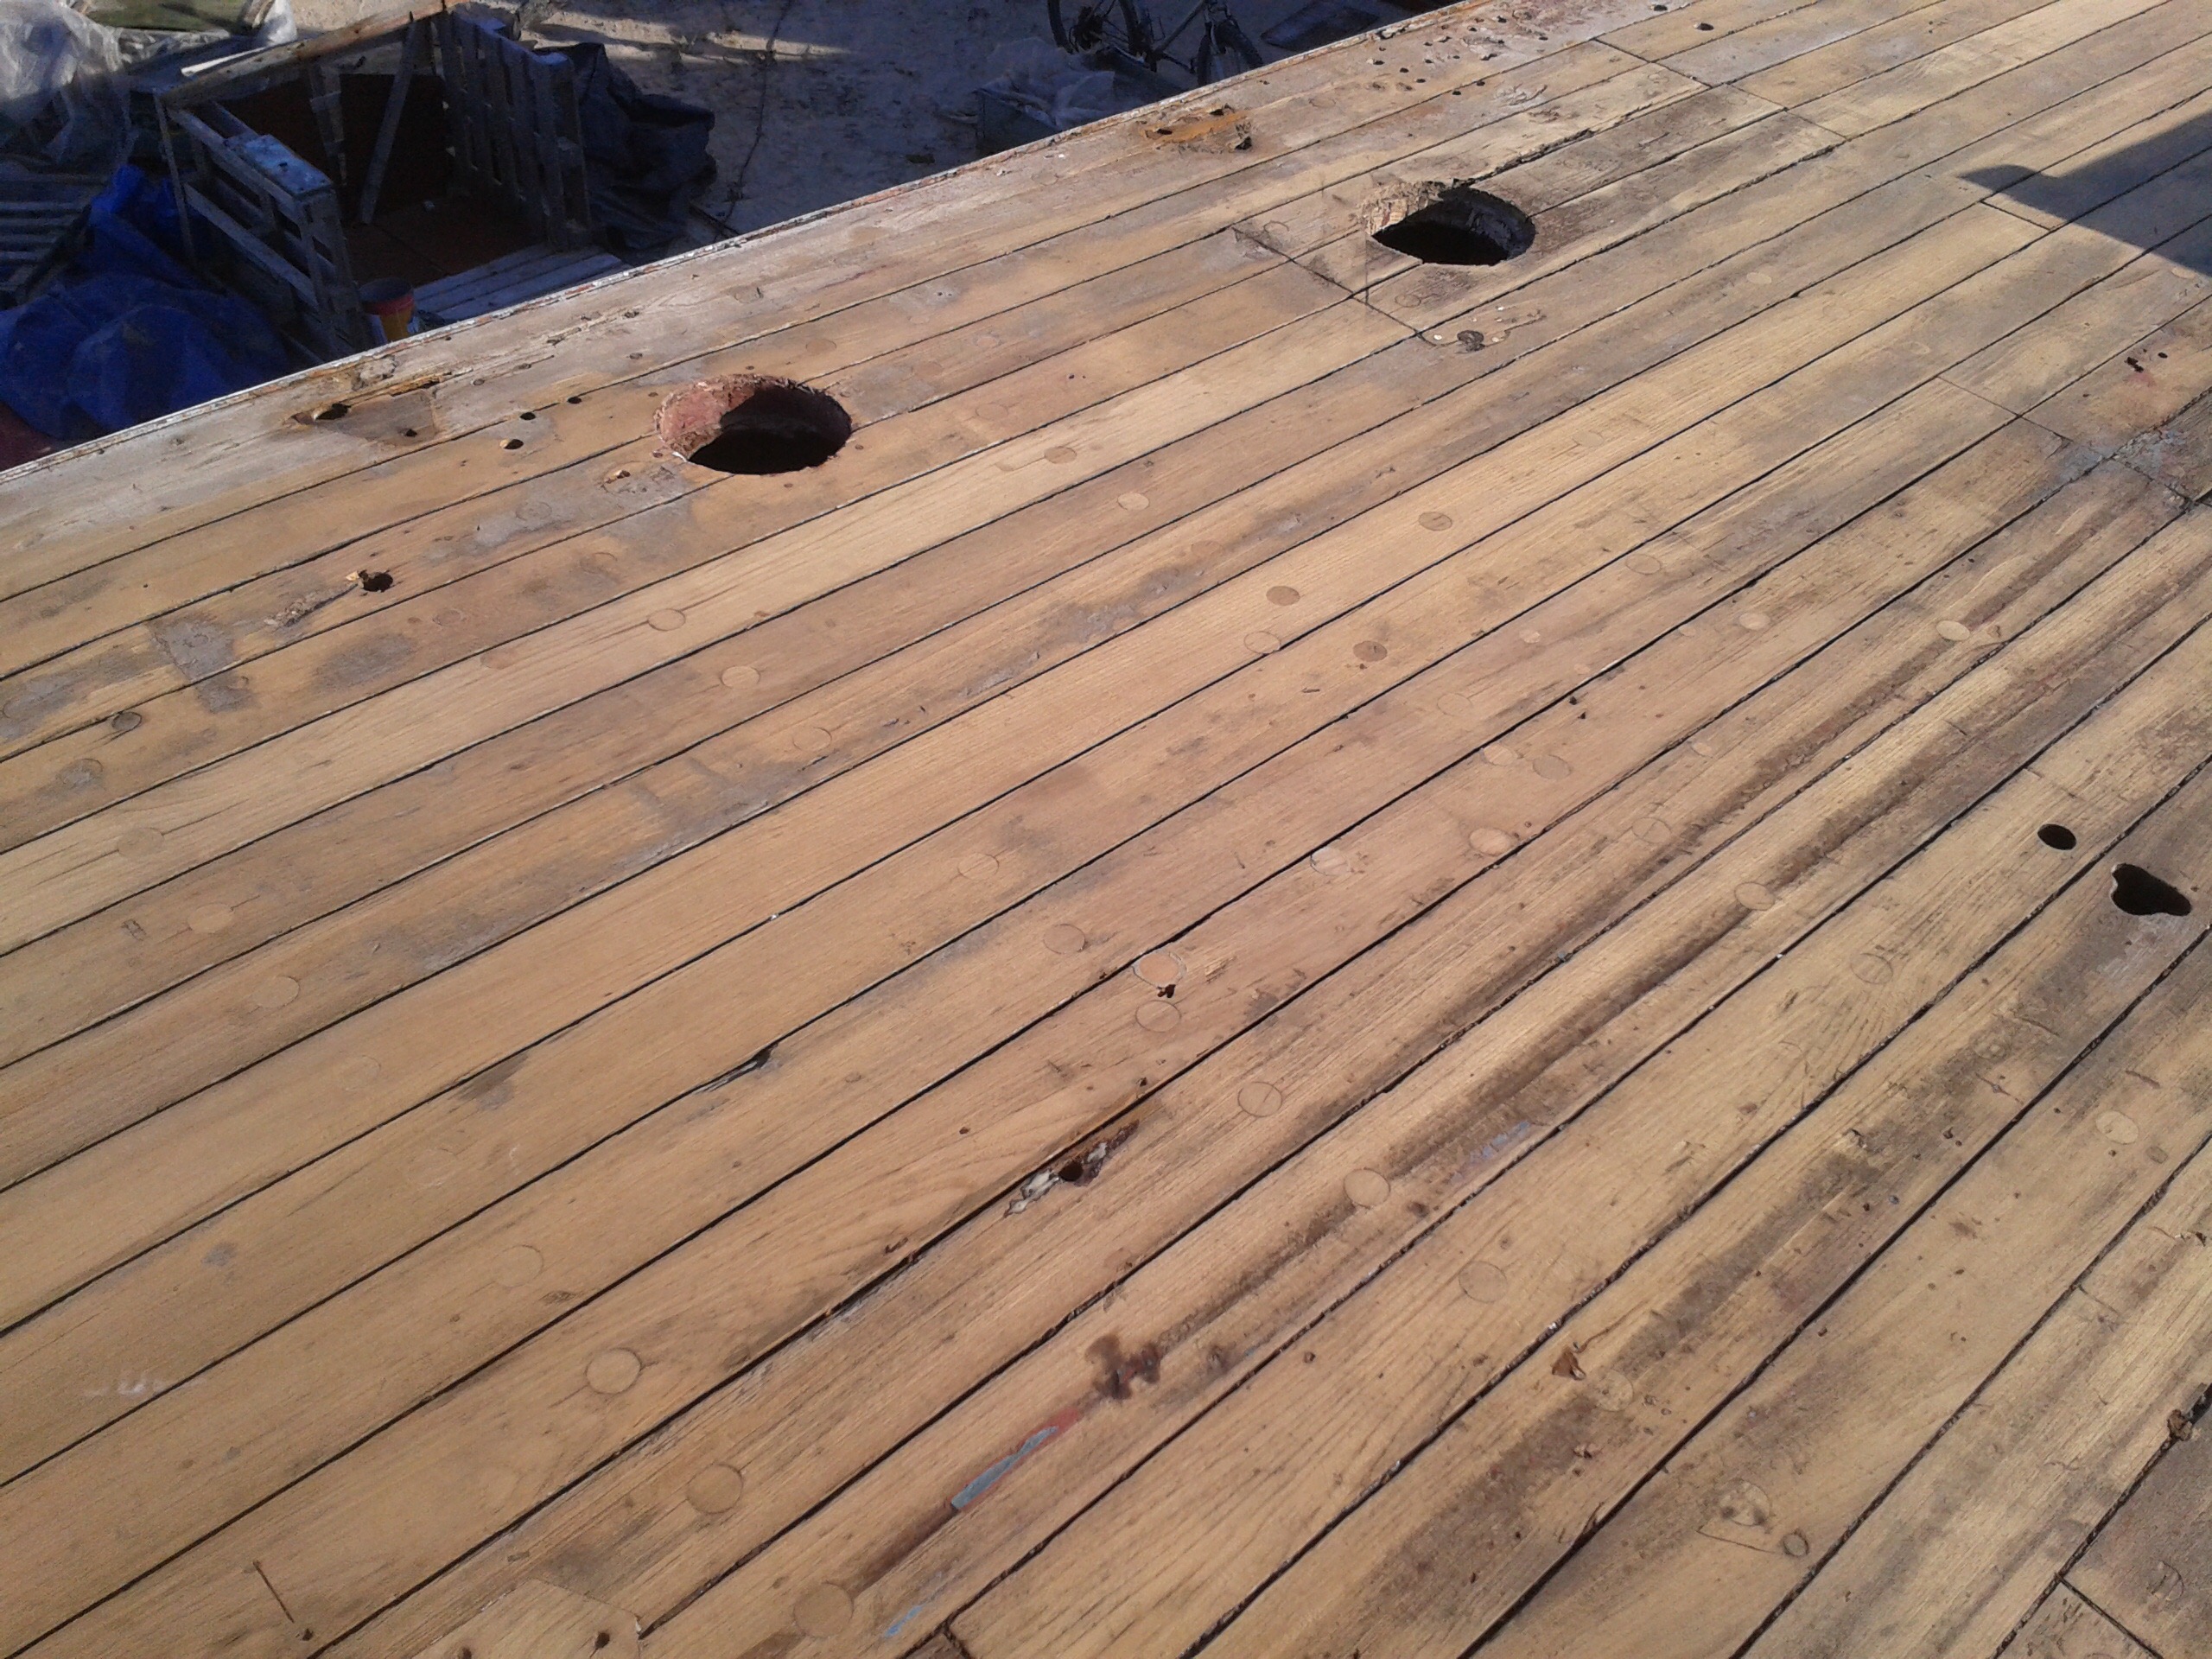
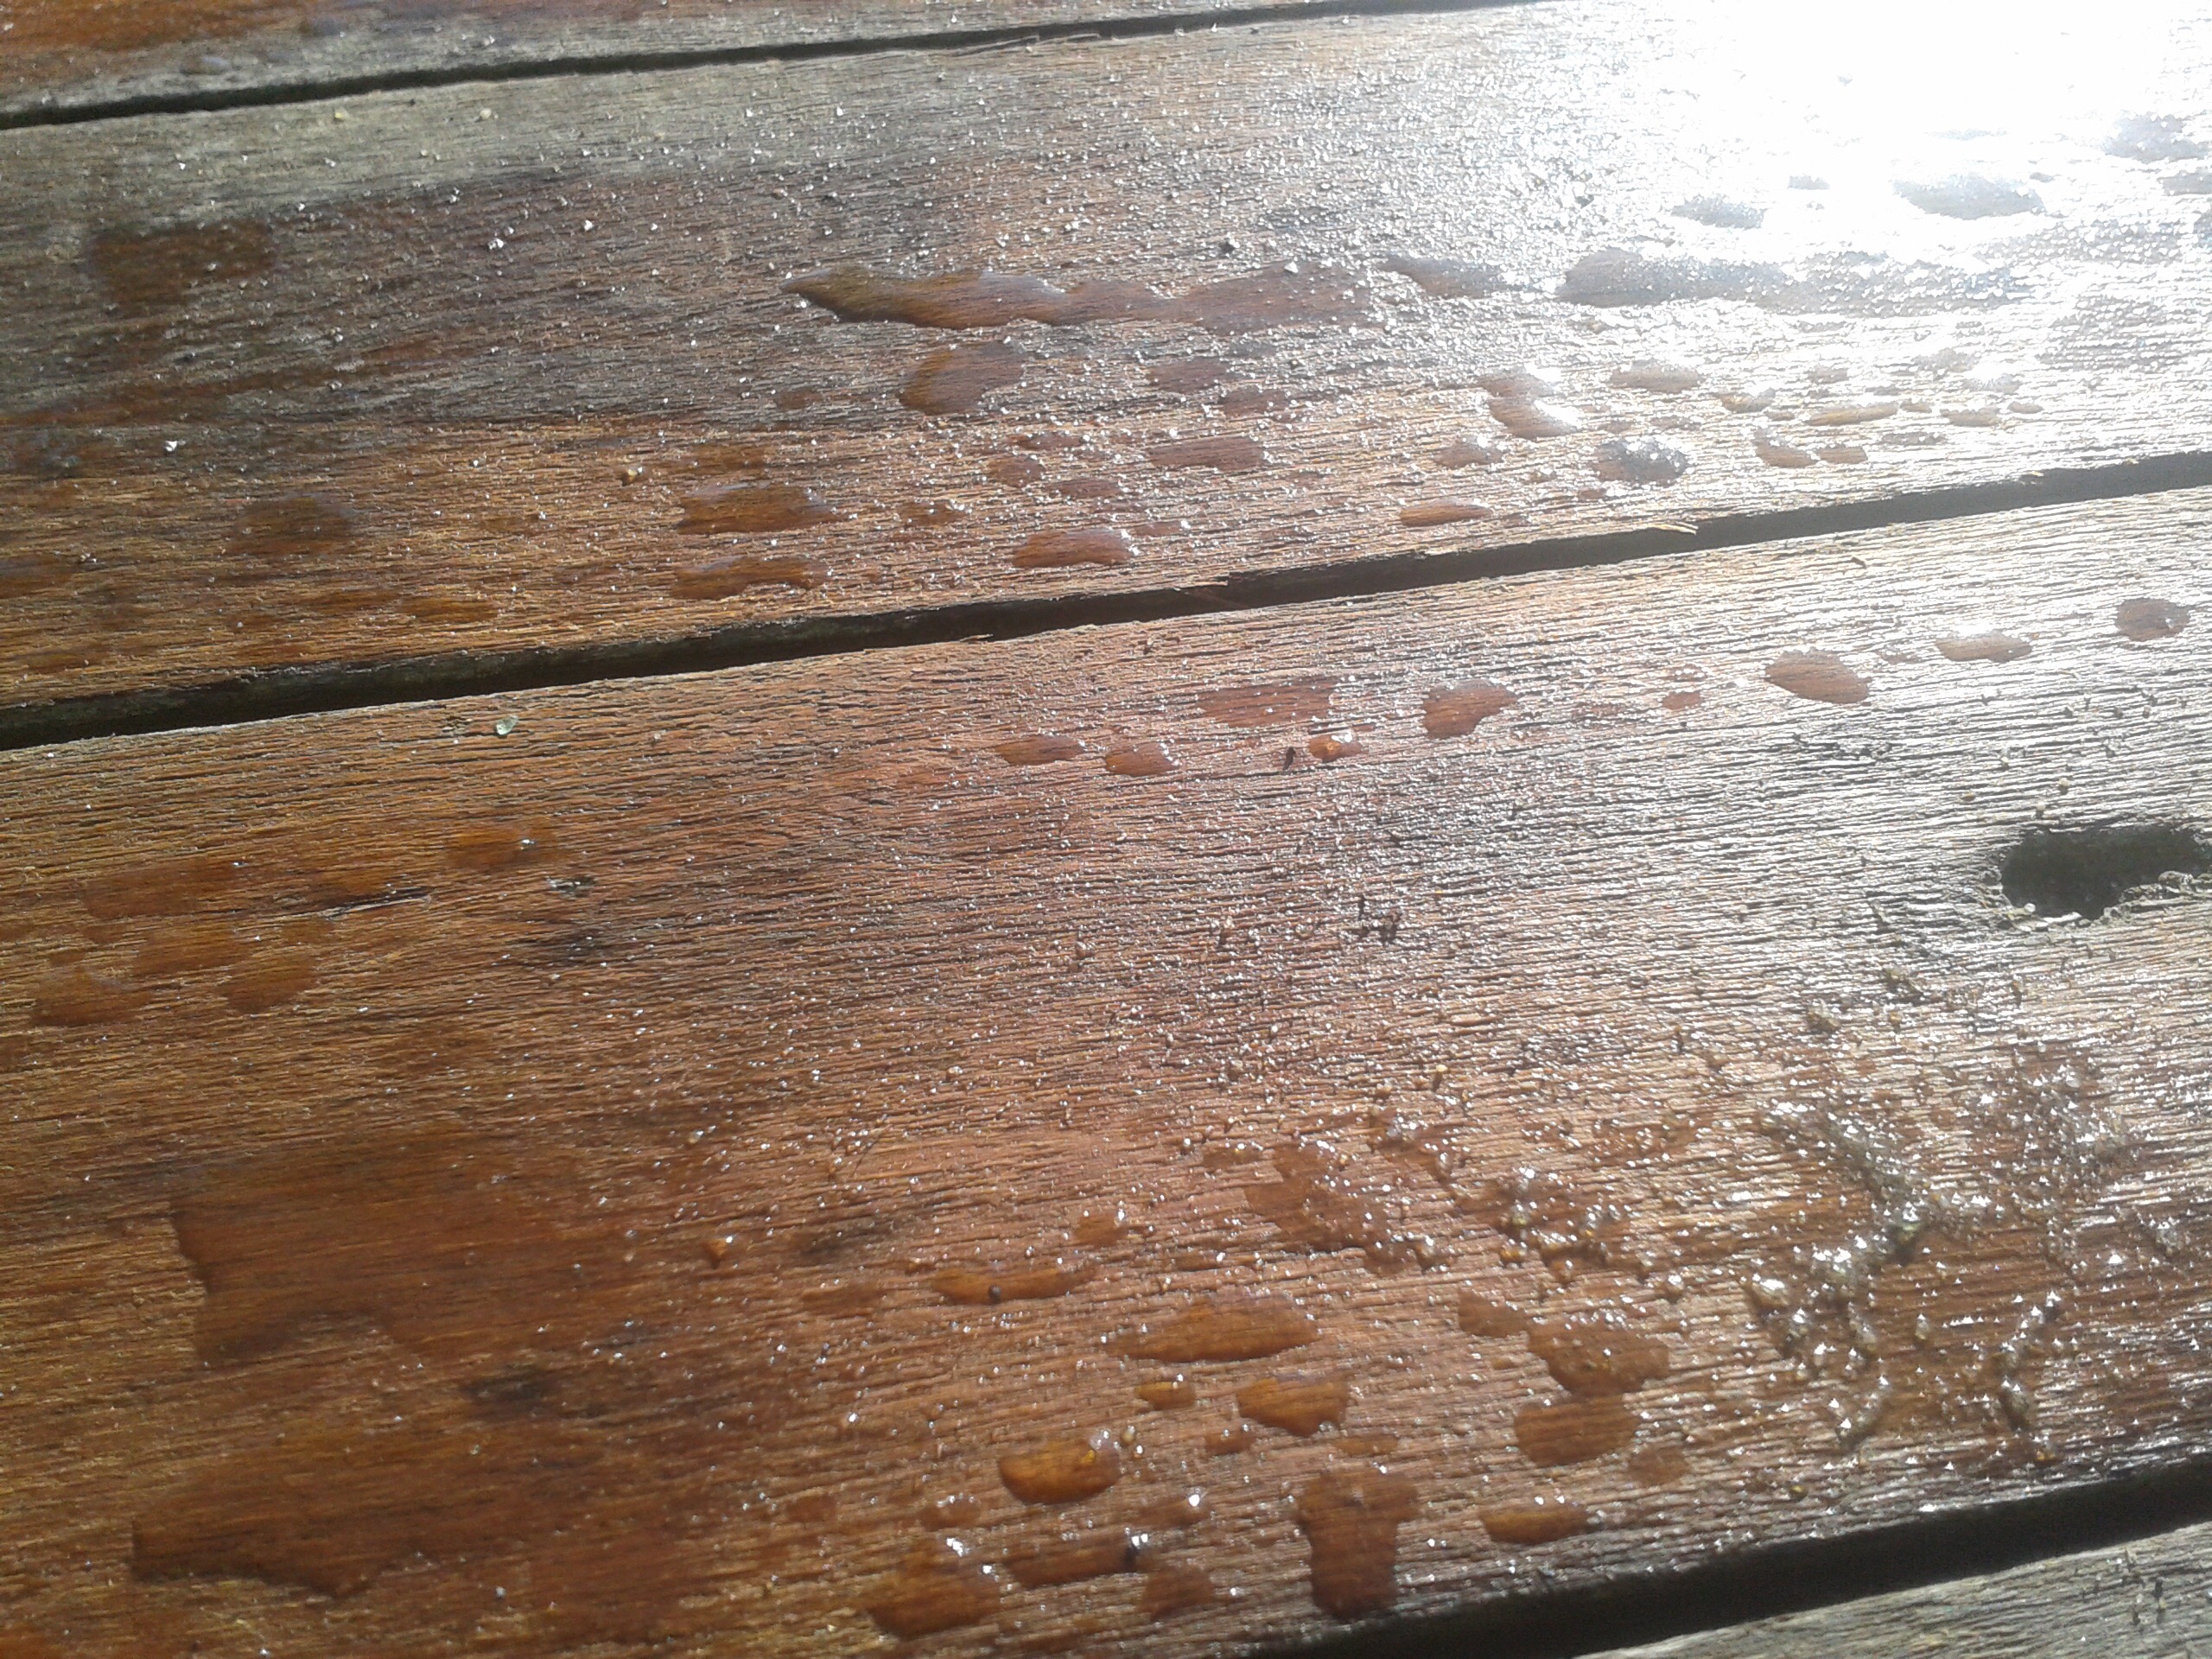
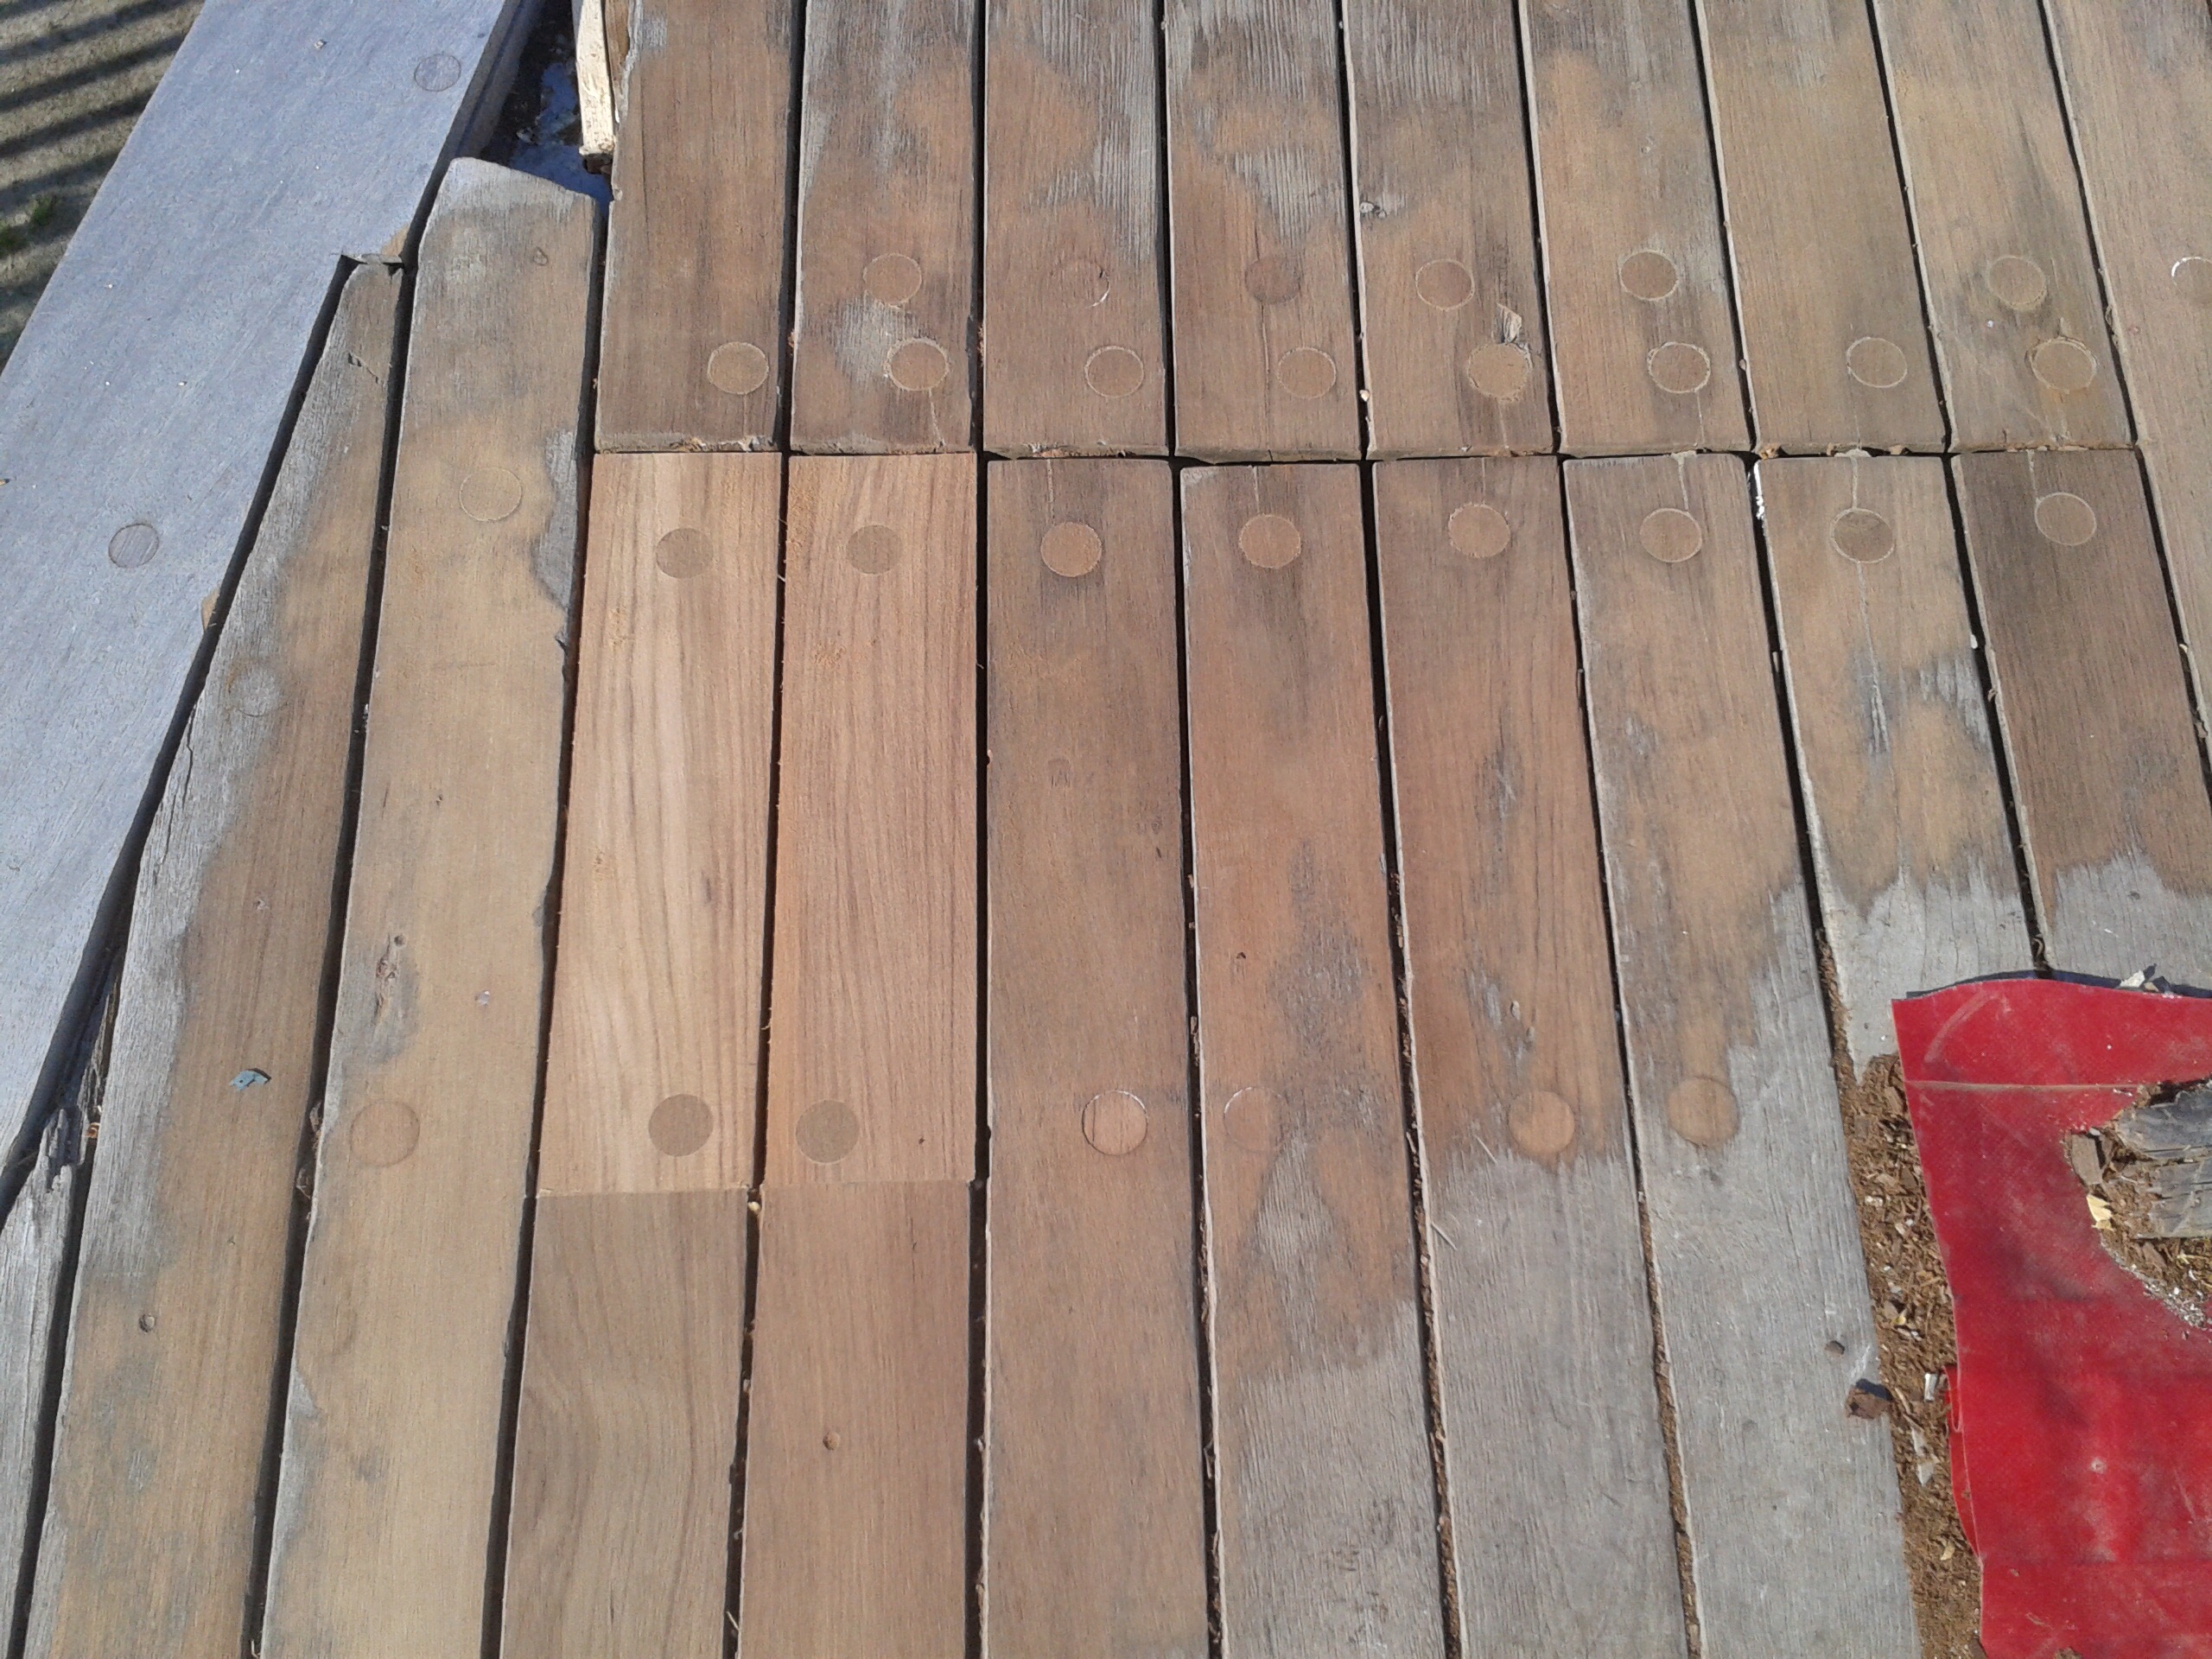
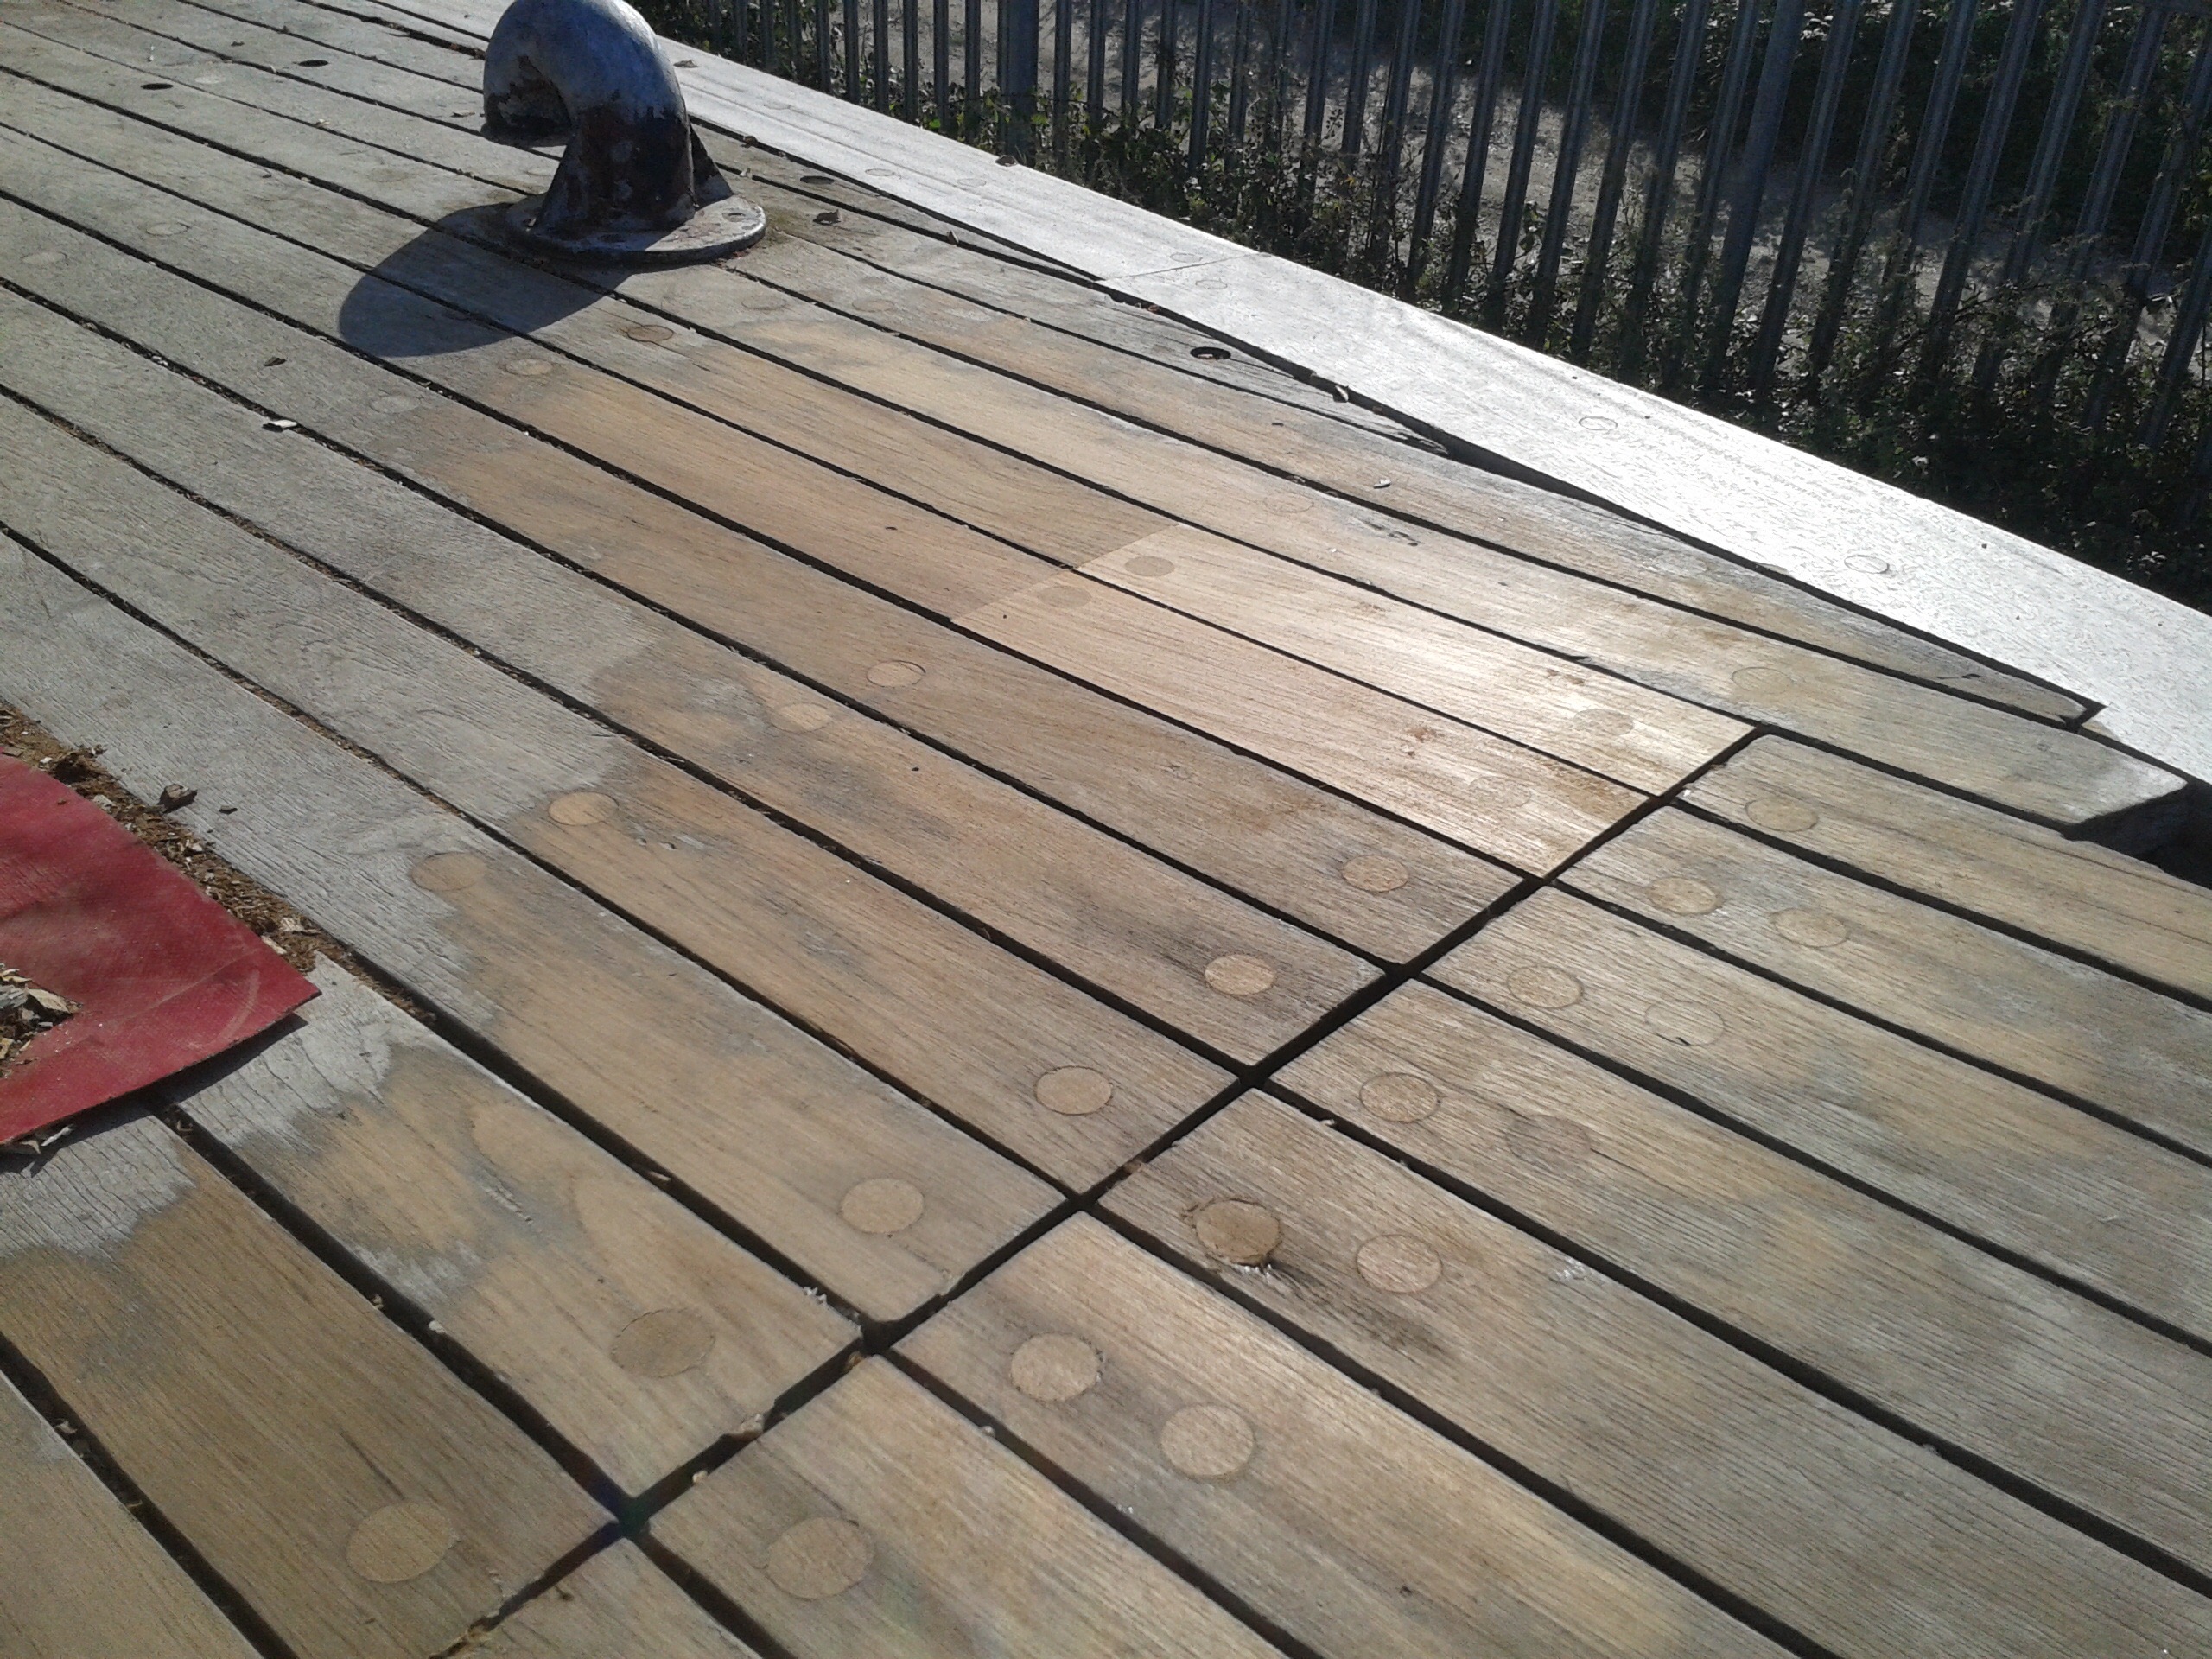
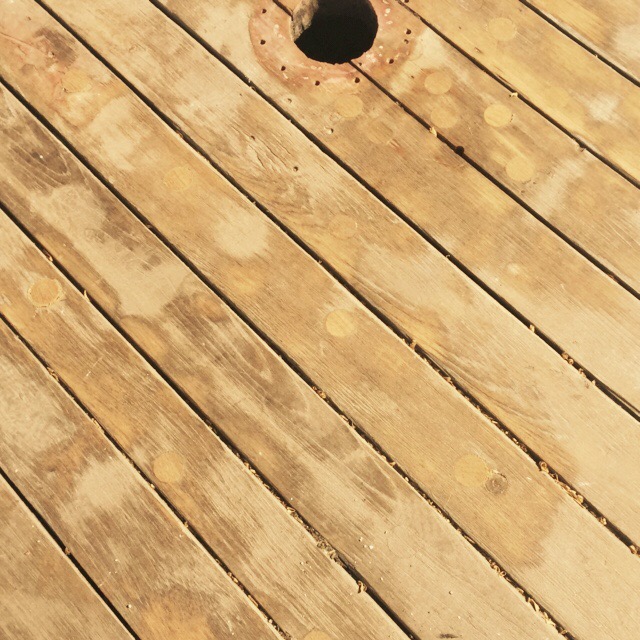
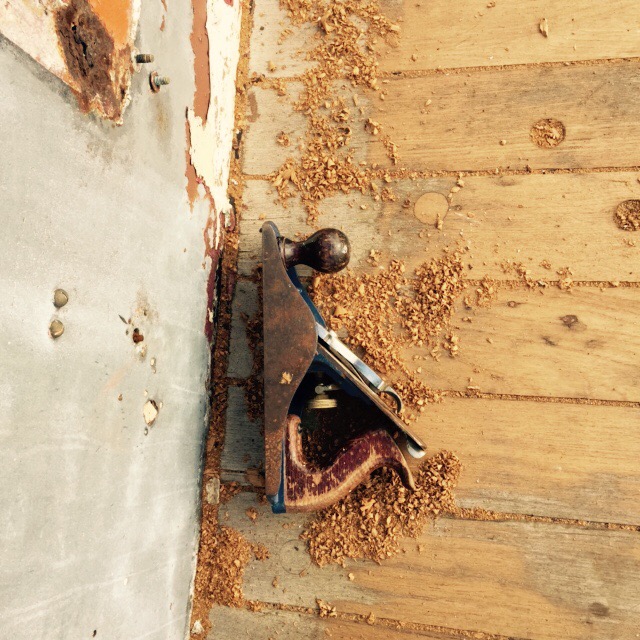
There has been a lot of work sanding and pelleting the rest of the deck and it is coming up a treat. The difference between the old and new teak is fading and it is all coming together. 


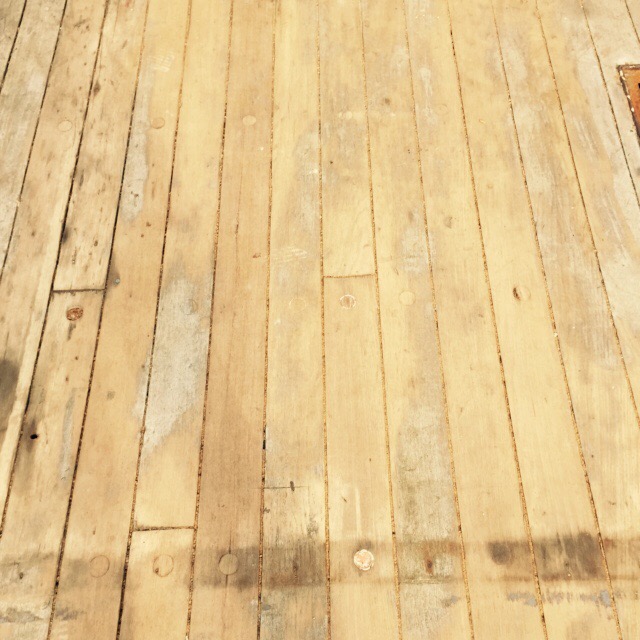
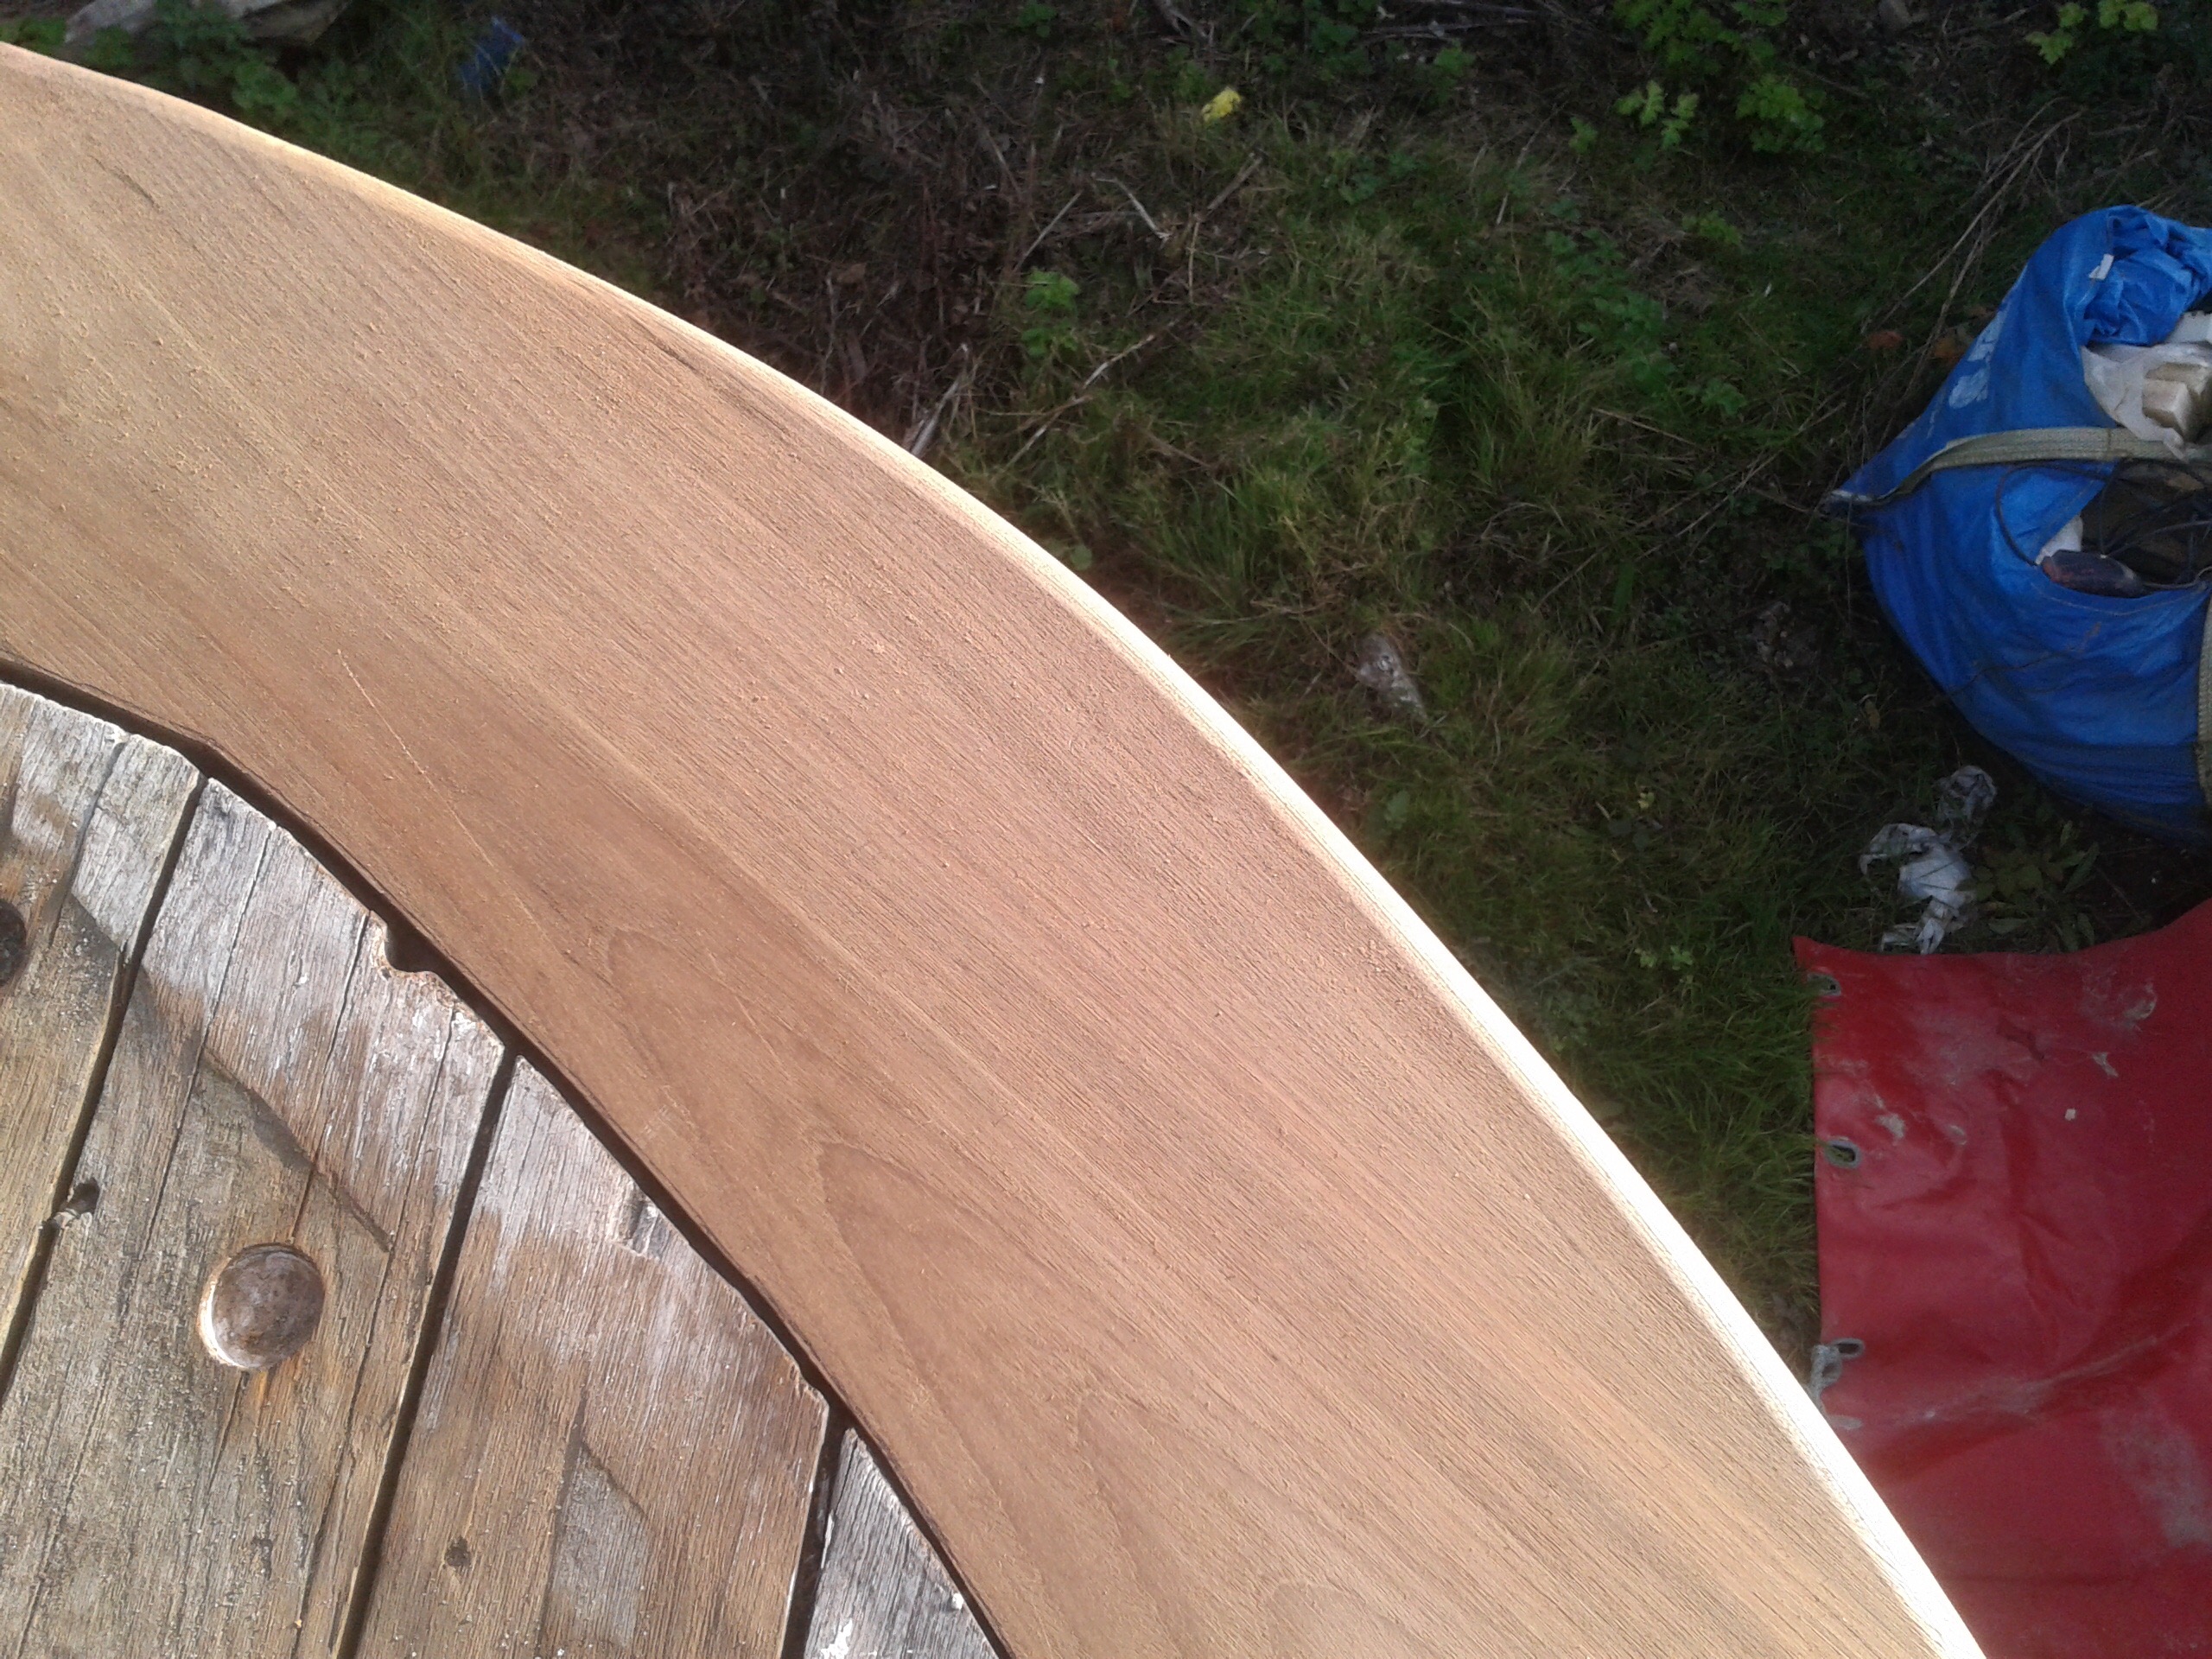
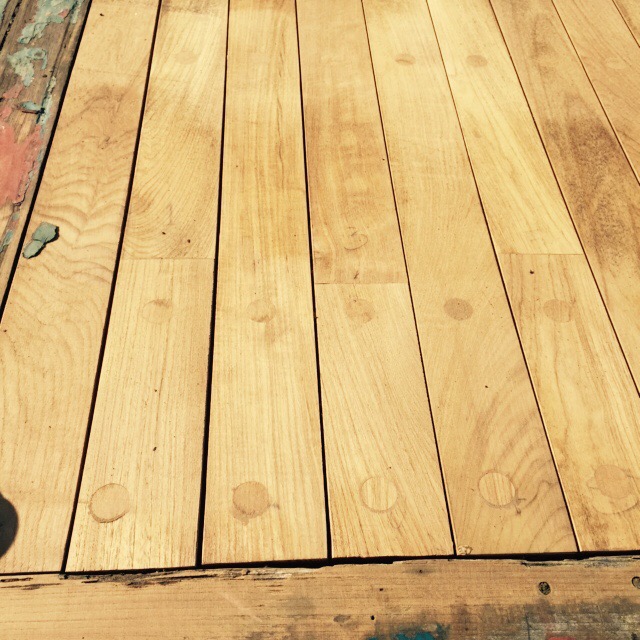
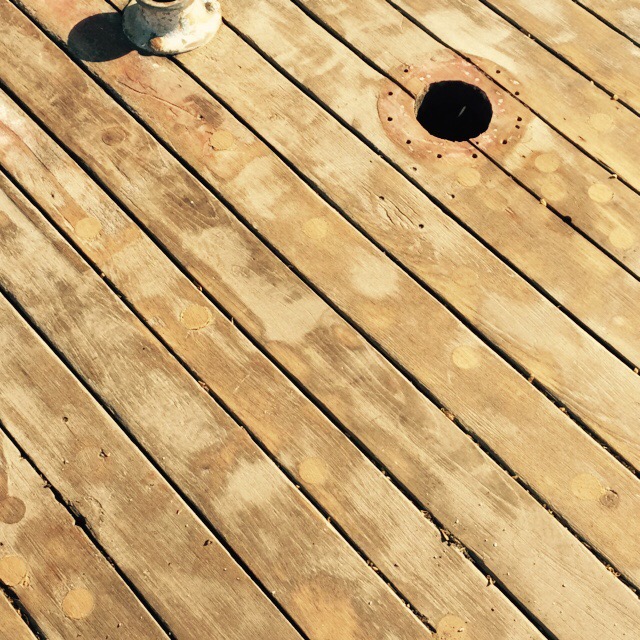
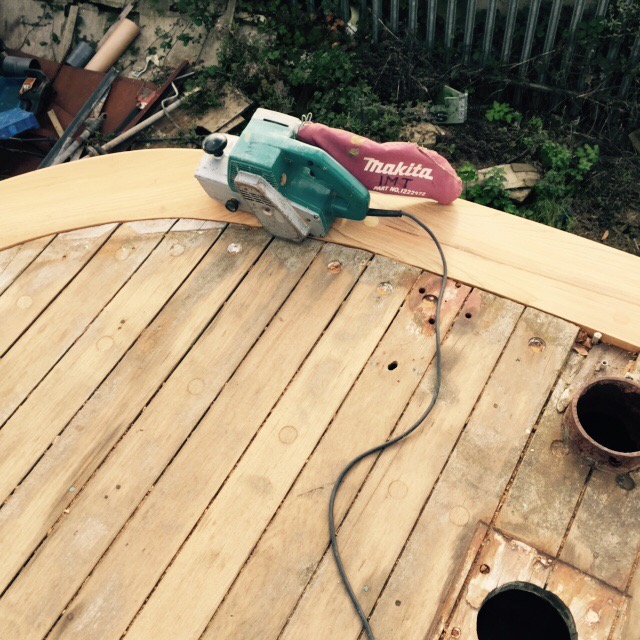
It looks particularly special on the bow deck:


More deck updates…

A further update from Led and Ian on the deck…. It has been a very good week for Betty!

The stern deck… “The offcuts are the bits on the bench. Not much waste at all considering the curve Ian put into the three caps. They will be used elsewhere”


“The battle of the mid deck has also begun. The photo shows it has been lightly sanded to show all the issues, and a section that has been plugged. There is a lot of plugging to do still, but the difference is hopefully clear in the pictures.”


“Two pictures of unusual things in or on your deck. First is a few bits of wire that seem to be very well embedded in the teak on the raised deck. The second is a thread of hemp caulking that i discovered in the bow deck near the old fuel filler cap.”


The deck prognosis

  
Quite poetic.

“The morning mist beading up on a teak board on your stern. The stern has been sanded lightly just to remove the crap, and in return we get to see that there is plenty of oil left in that old teak. Most of the stern deck is like this.”

Deck bore

Okay so now I’m definitely turning into a deck bore. But the photos I am posting show the nifty repairs that are part of the process of bringing the deck up to scratch. 

One section of the deck used to have a piece of metal on the underside holding different planks together in lieu of a crossbeam. This had been put in at some point when the layout of the deck had been changed to support a section where the joins hadn’t been staggered. This had completely rusted through so was removed by the welders. It was replaced with a bit of teak. The bolt holes were repaired and splits mended with wedges driven in to the seams to force the splits together while the glue dried. A couple of bits were replaced to cover the circular hole, new bolts were added and then covered with pellets. Pellets are also added on the underside to create a clean finish when it is viewed from below.

Beautiful craftsmanship and makes a real difference to this area of the deck.


More decks

I am in danger of becoming a deck bore. But it is looking pretty darn lovely. Here is a view across the patched hatch. It also shows the different qualities of the deck – the new wood, the aged wood, and the really dodgy paint covered bit.   

    
Parts of the deck have been lightly sanded to check on the quality of the wood underneath and to see how it will come up when finished. It still needs a bit of elbow grease but the signs are all good and it looks like it won’t look too different to the new section.

    
Some of the blue-grey paint peels off in sheets. The red stuff is harder and has over time trapped quite a bit of moisture beneath it.


The big move – December 13th

i have just been emailed a few more photos from the journey down the River Rother and the big lift. I am not sure whether I have posted these before but will stick them on here again just in case. It is also quite a good motivator to see how far we have come and the full extent of the work that has been done. If I knew what I know now about the condition of the hull, I think I would be looking even more terrified while at the helm!