Giving the boat a colonic

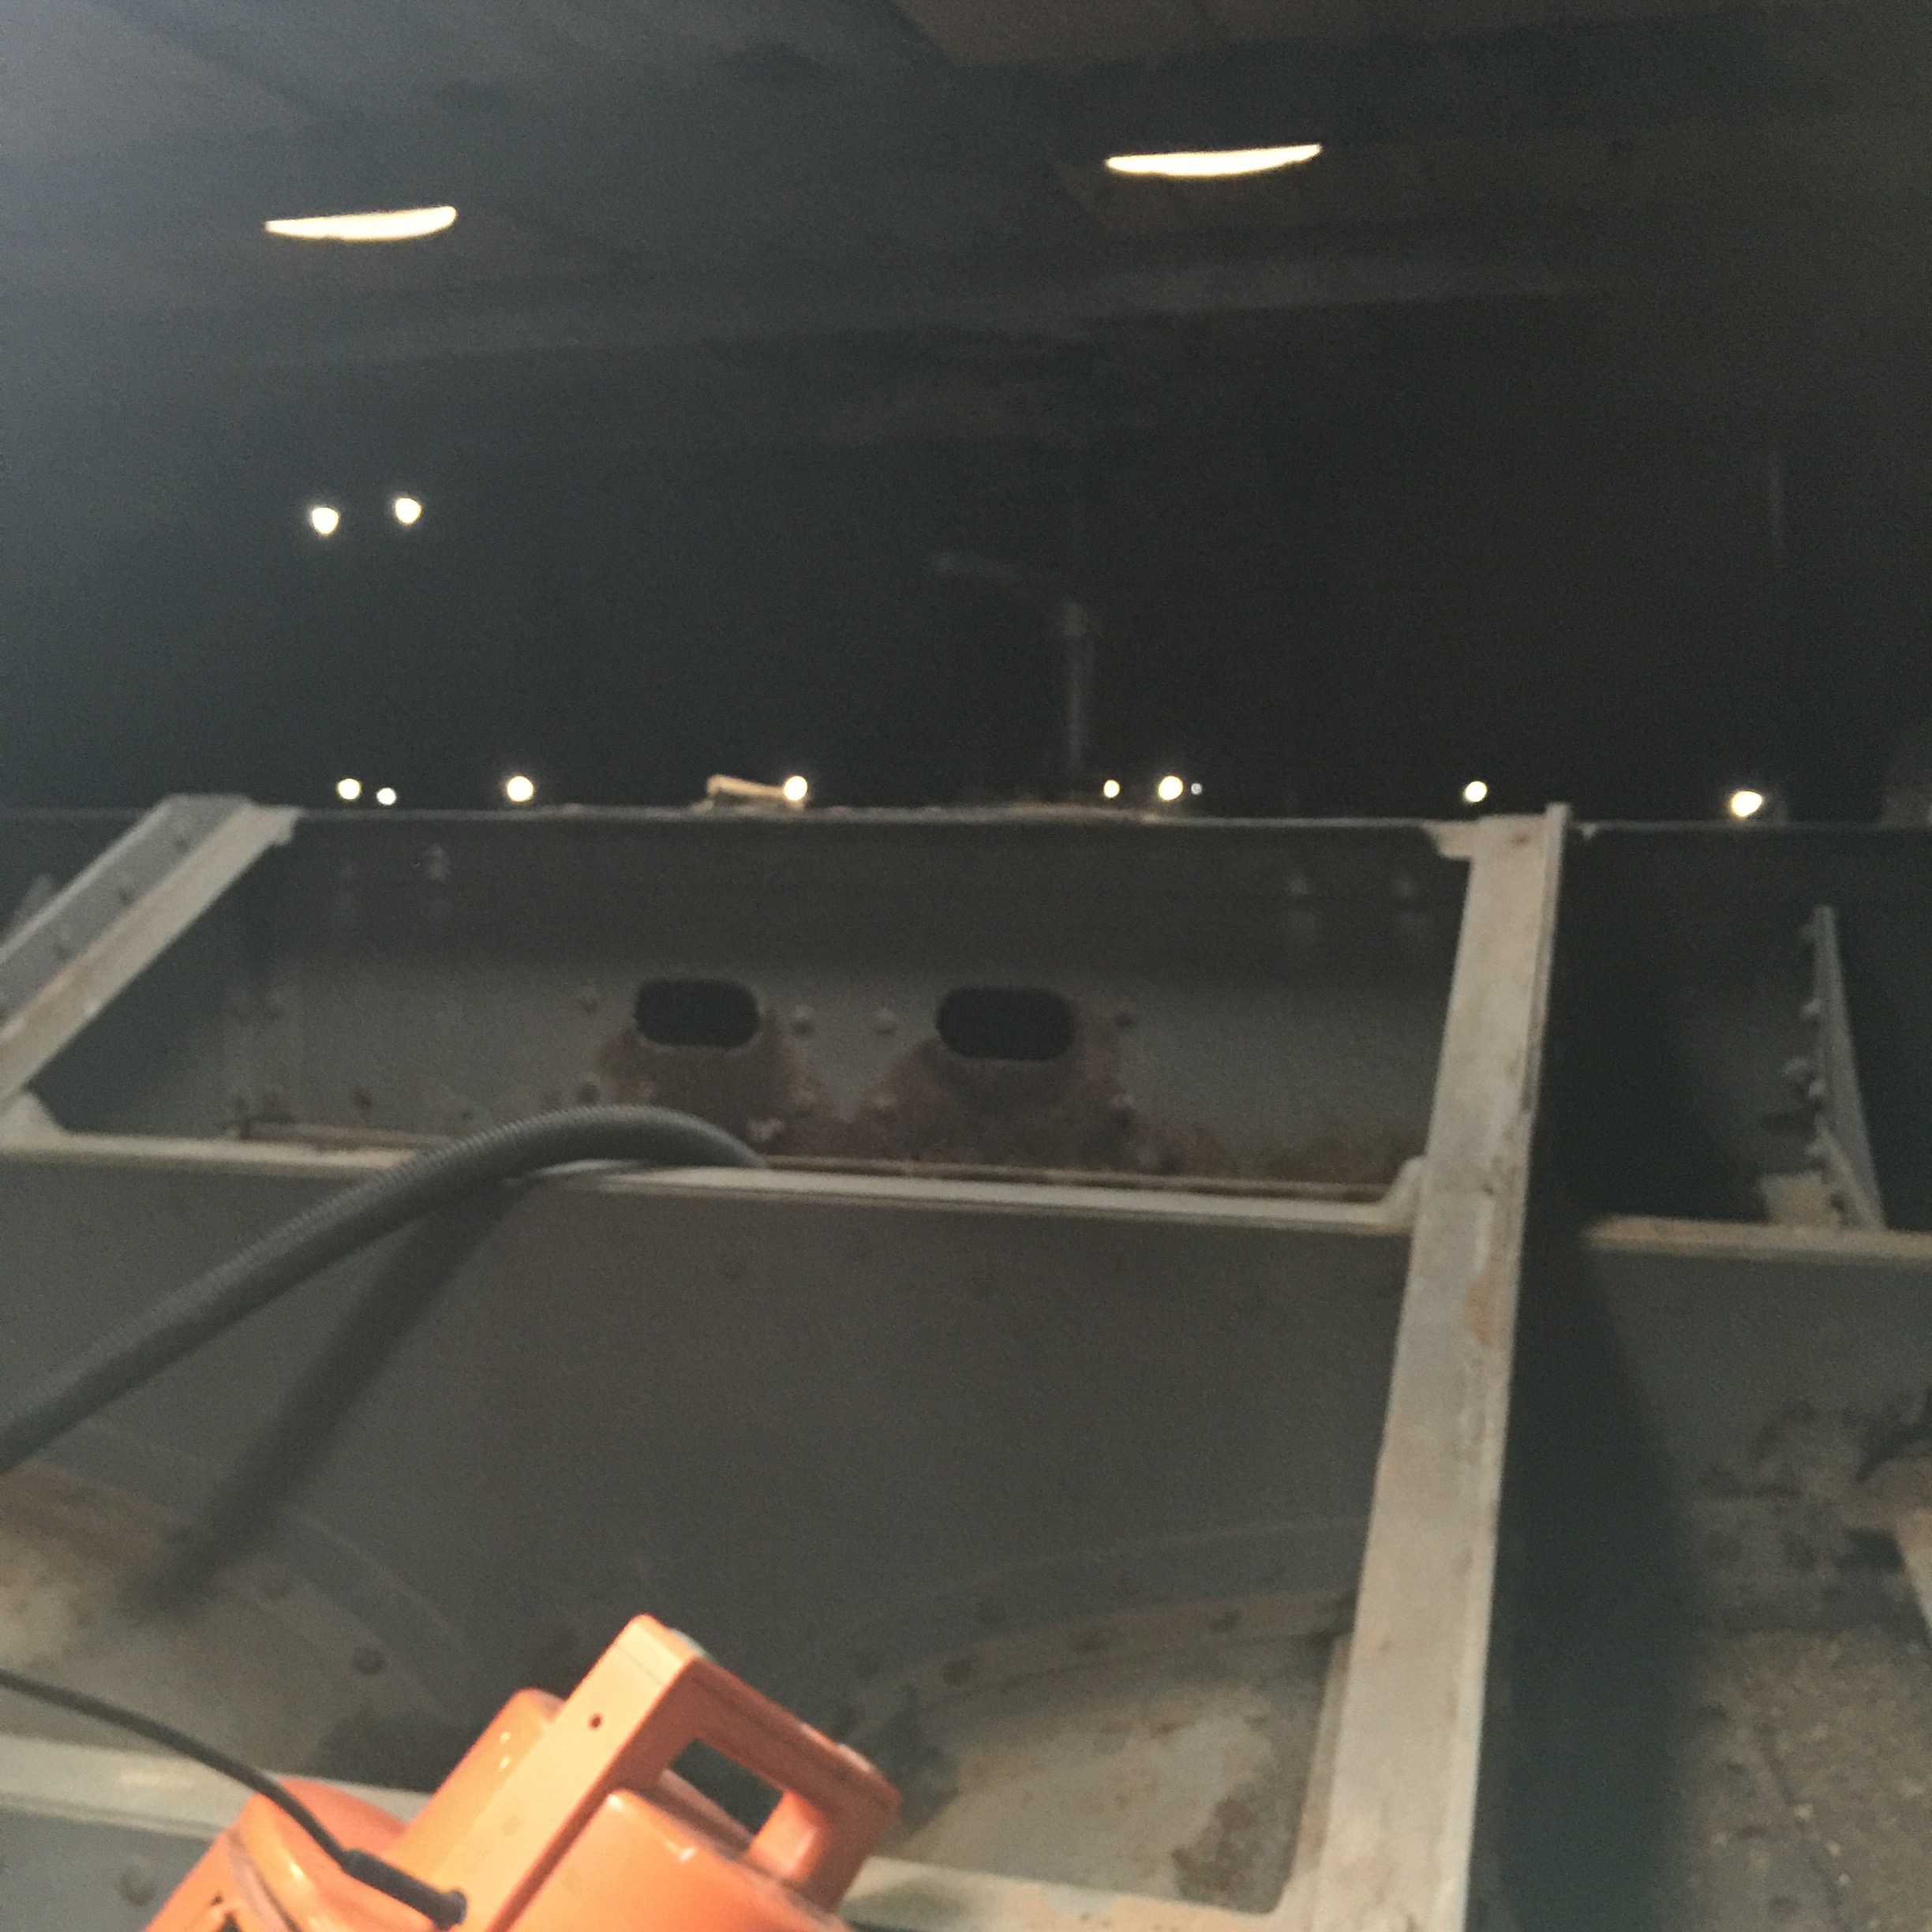
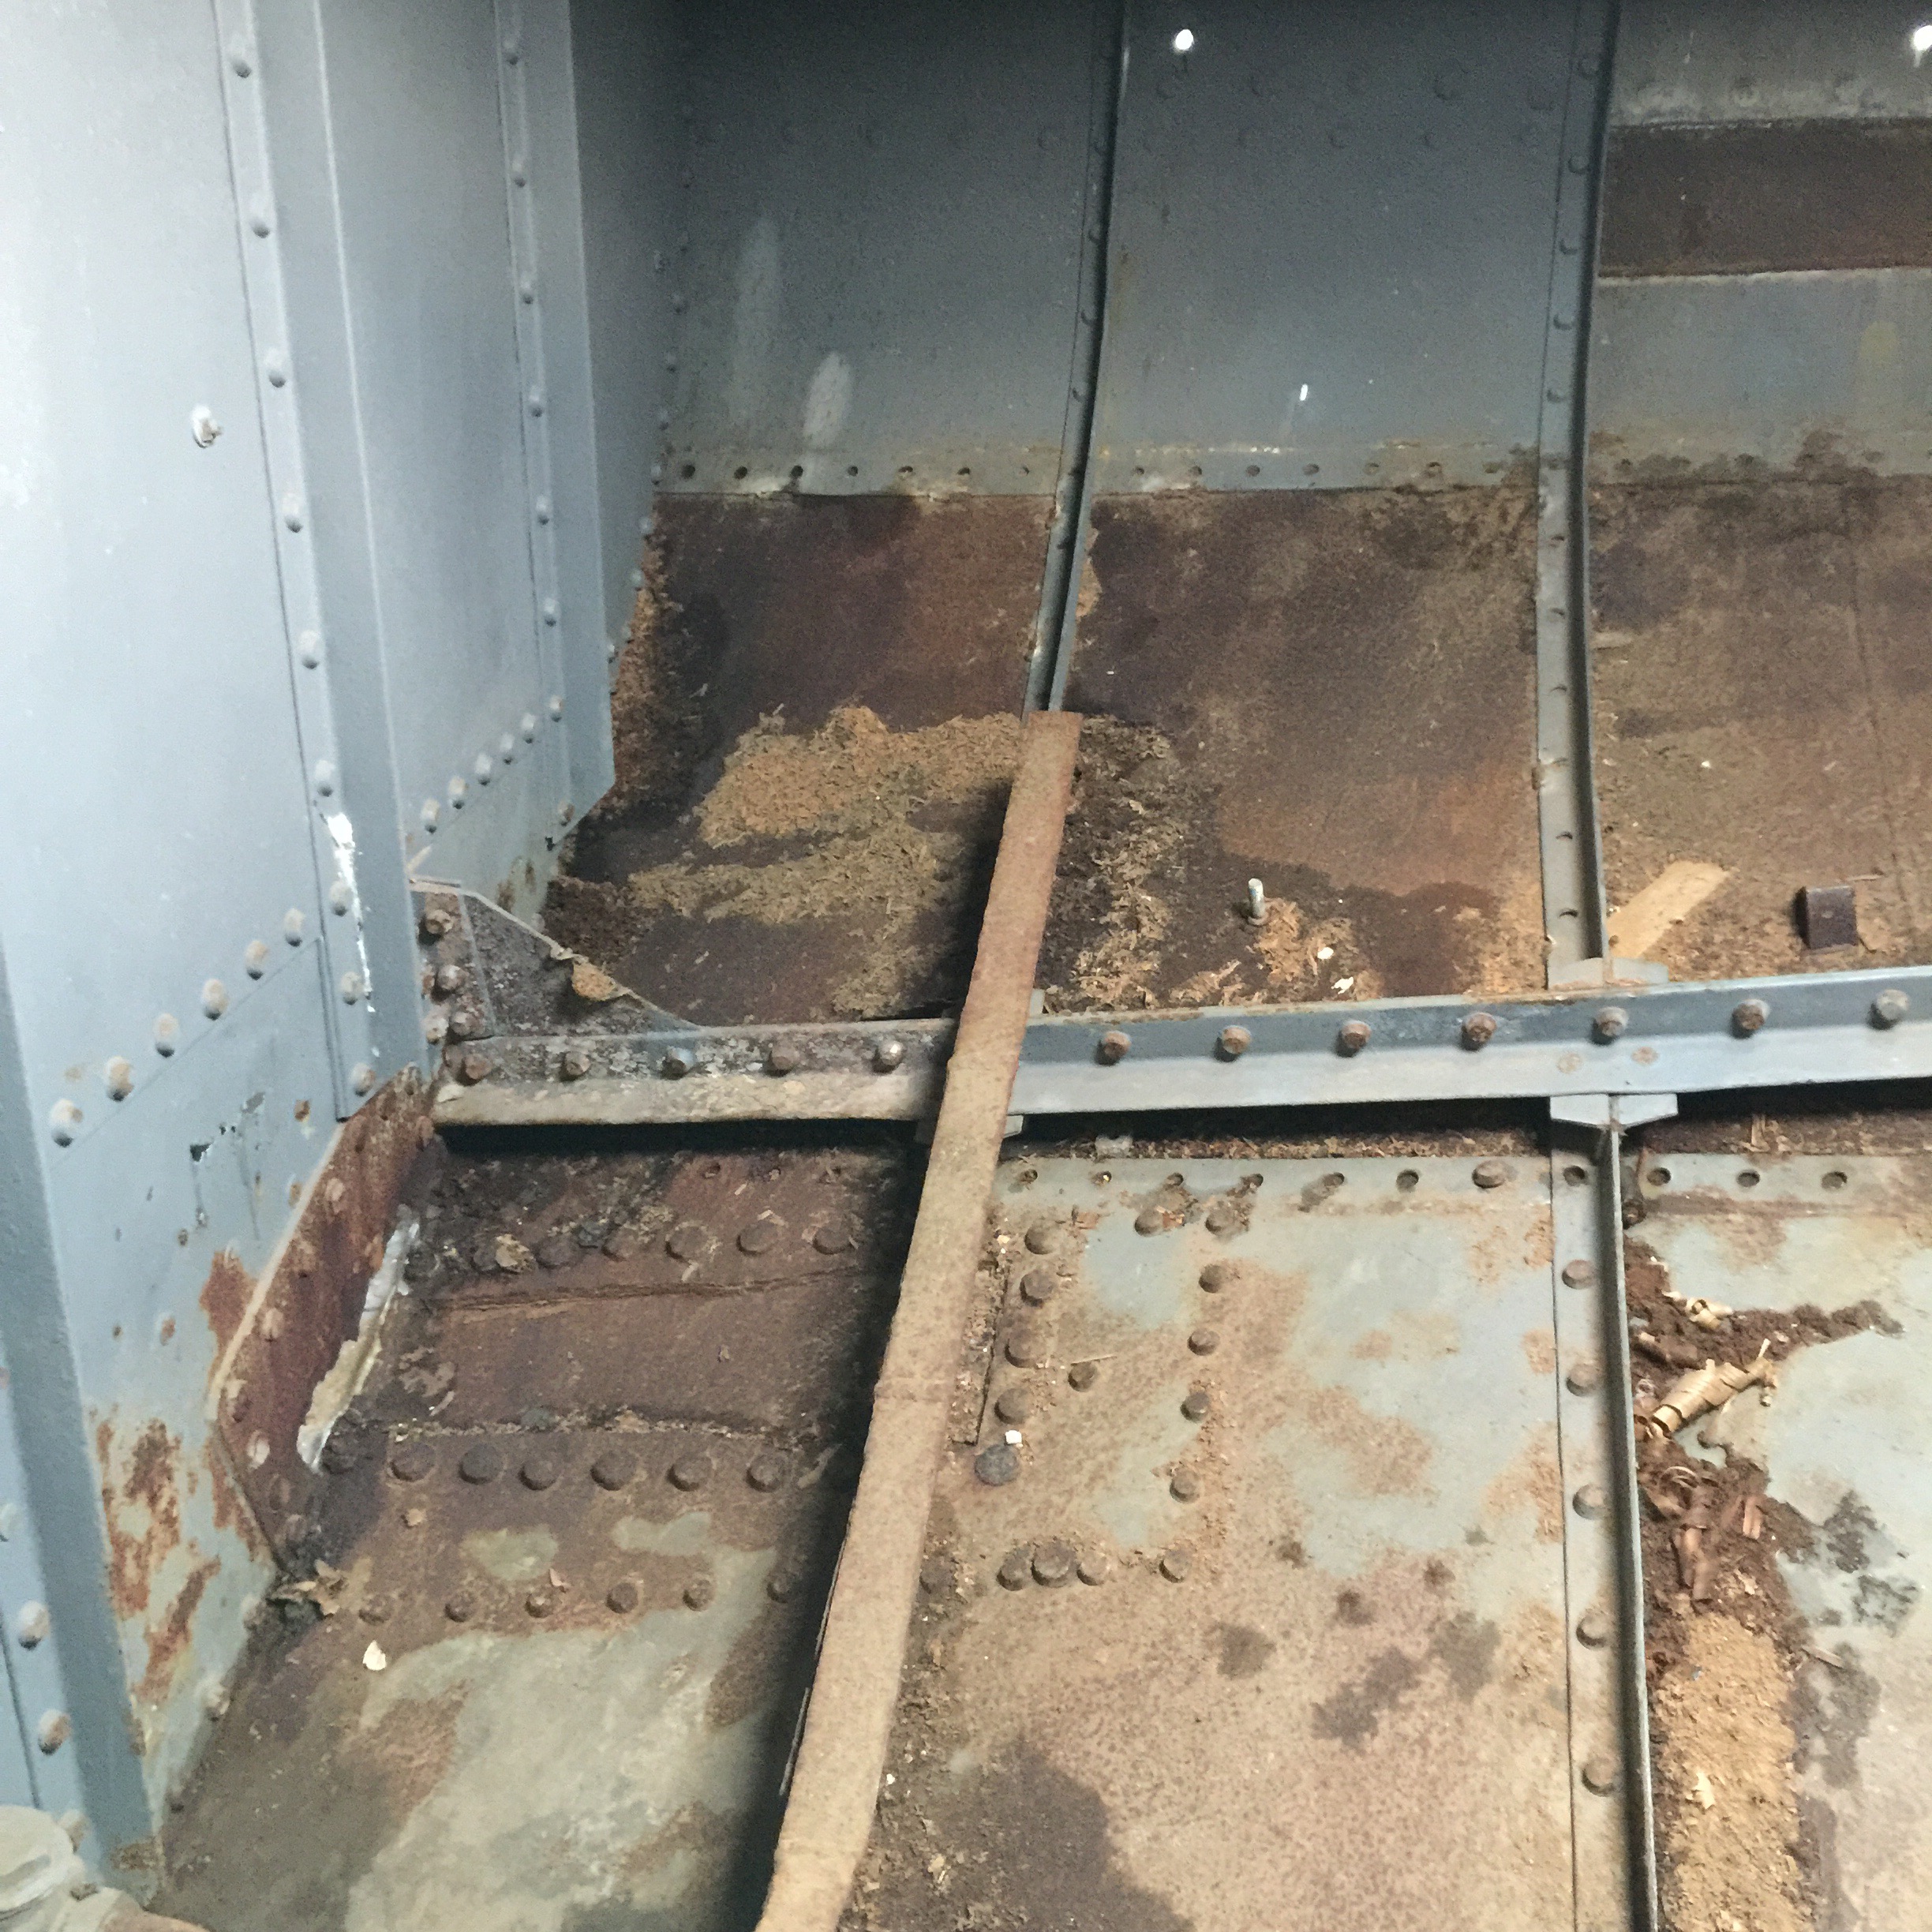
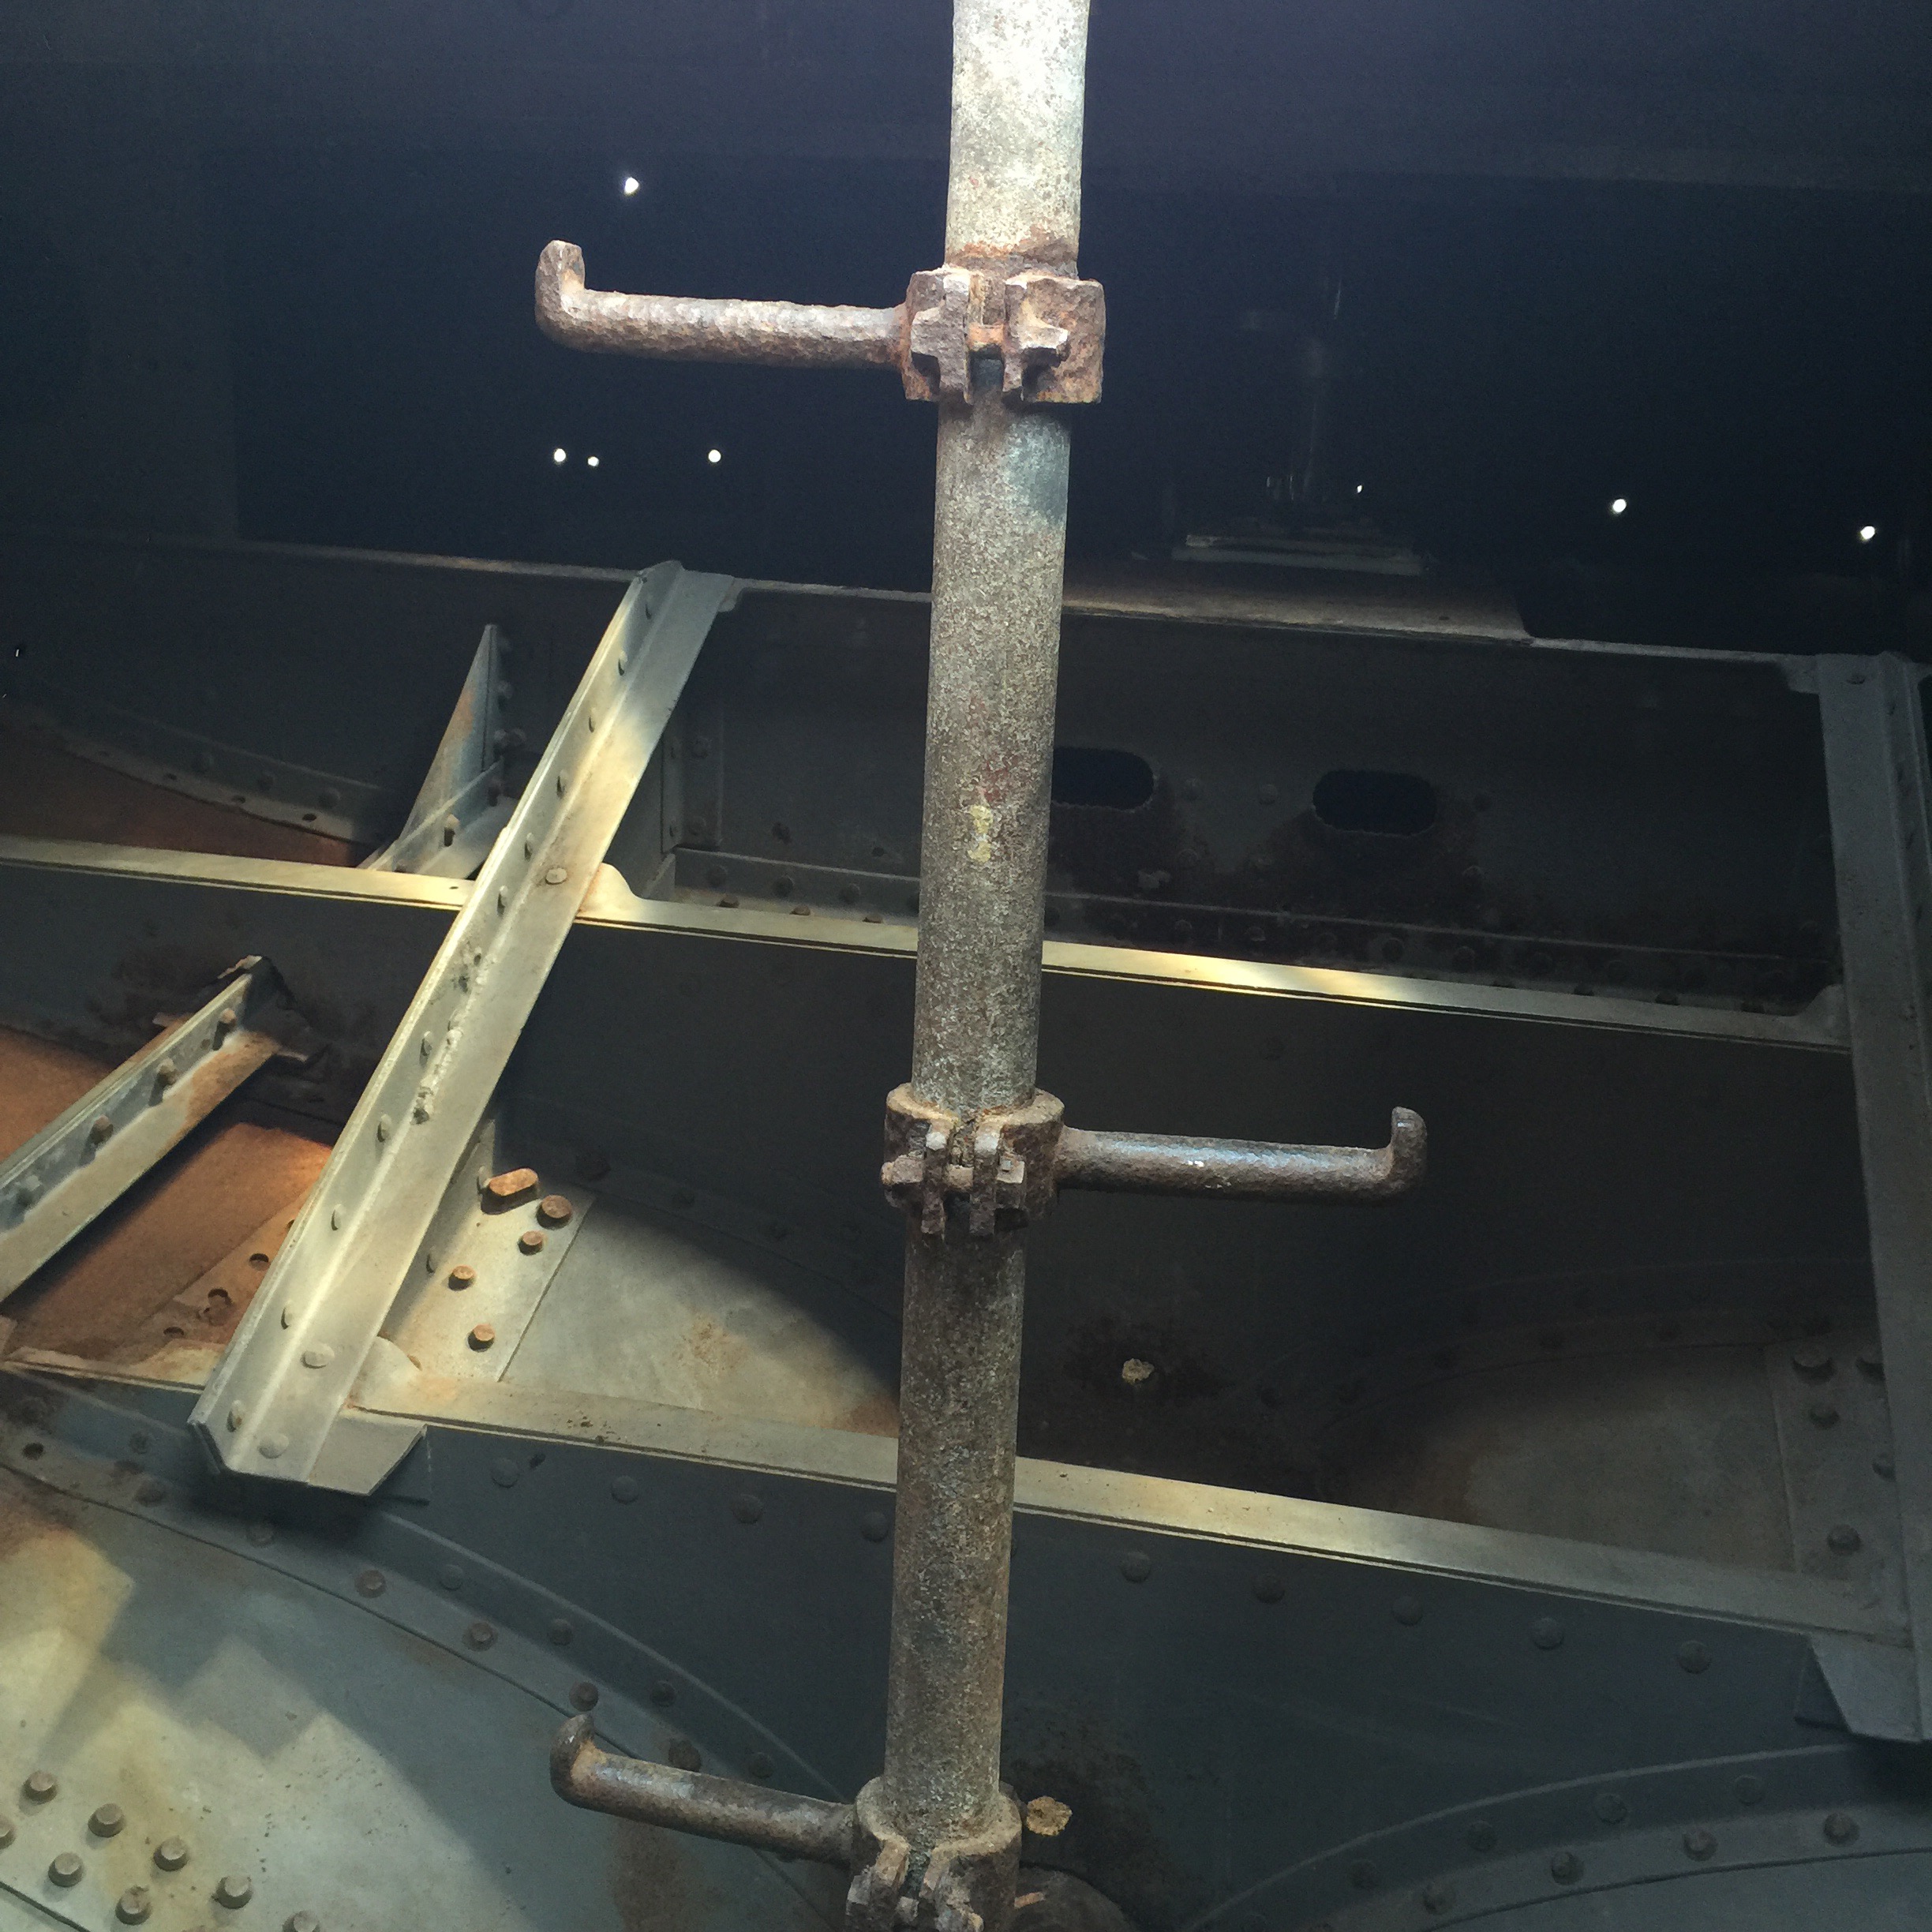
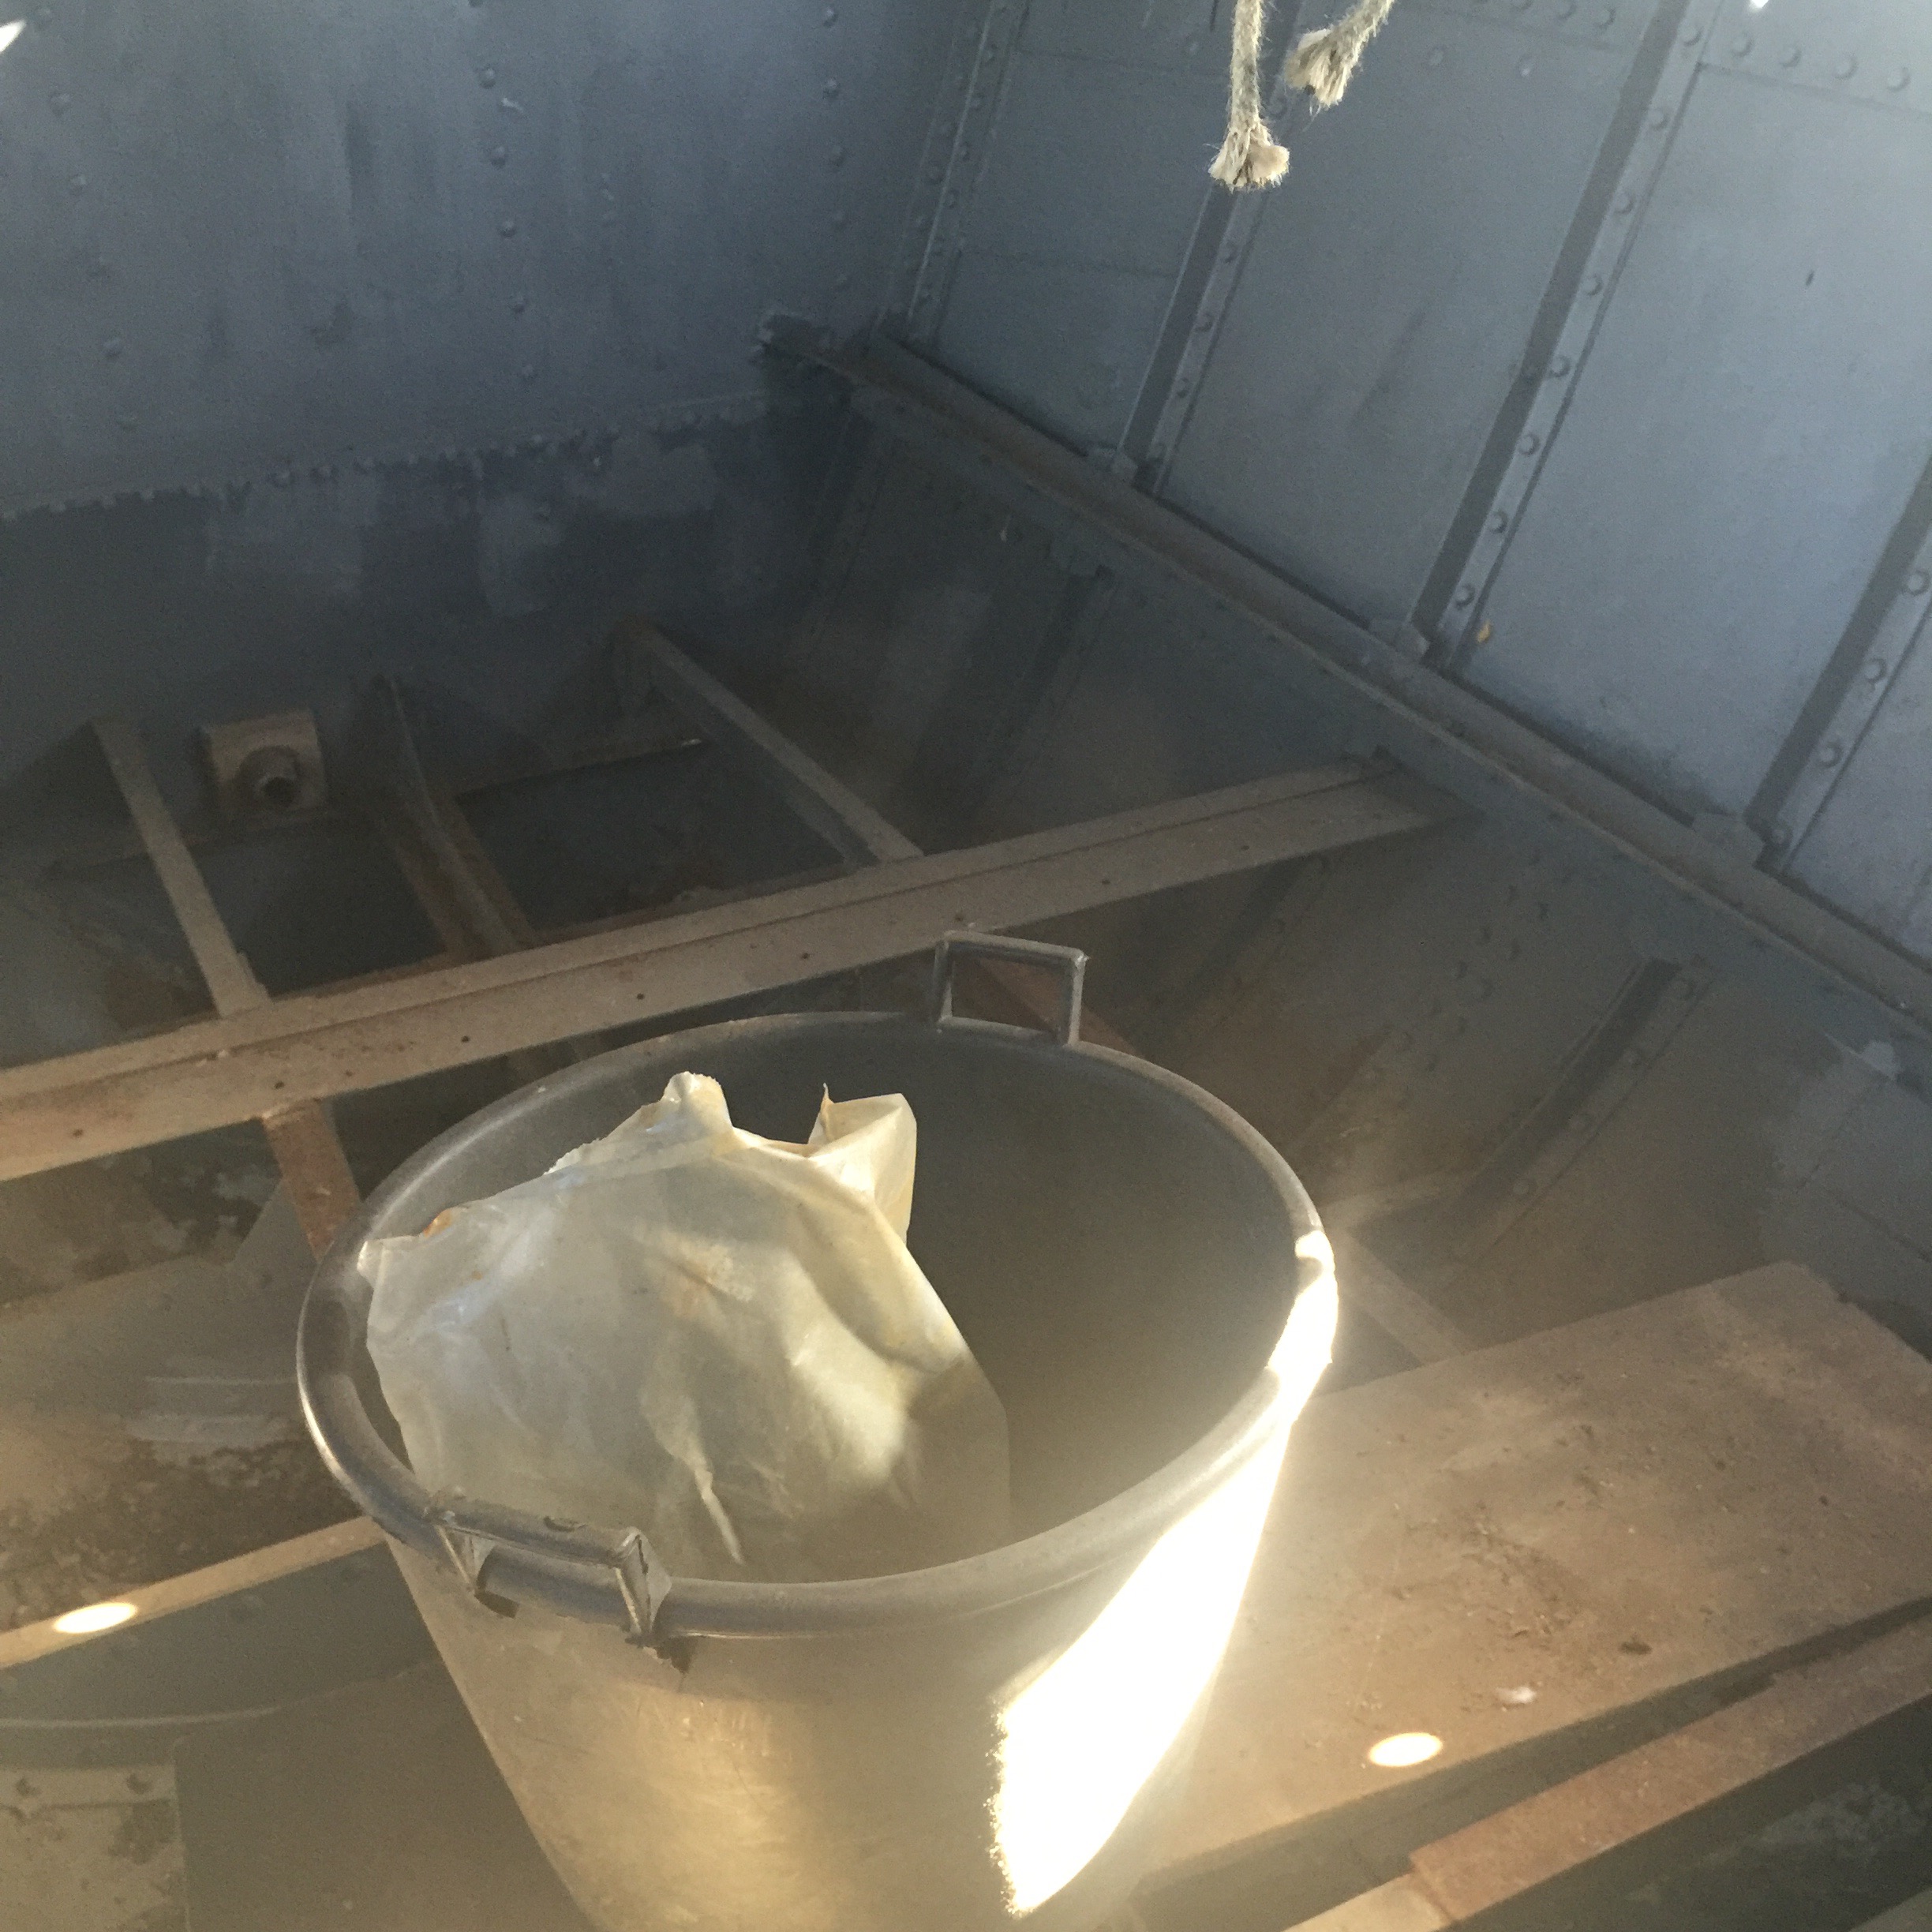
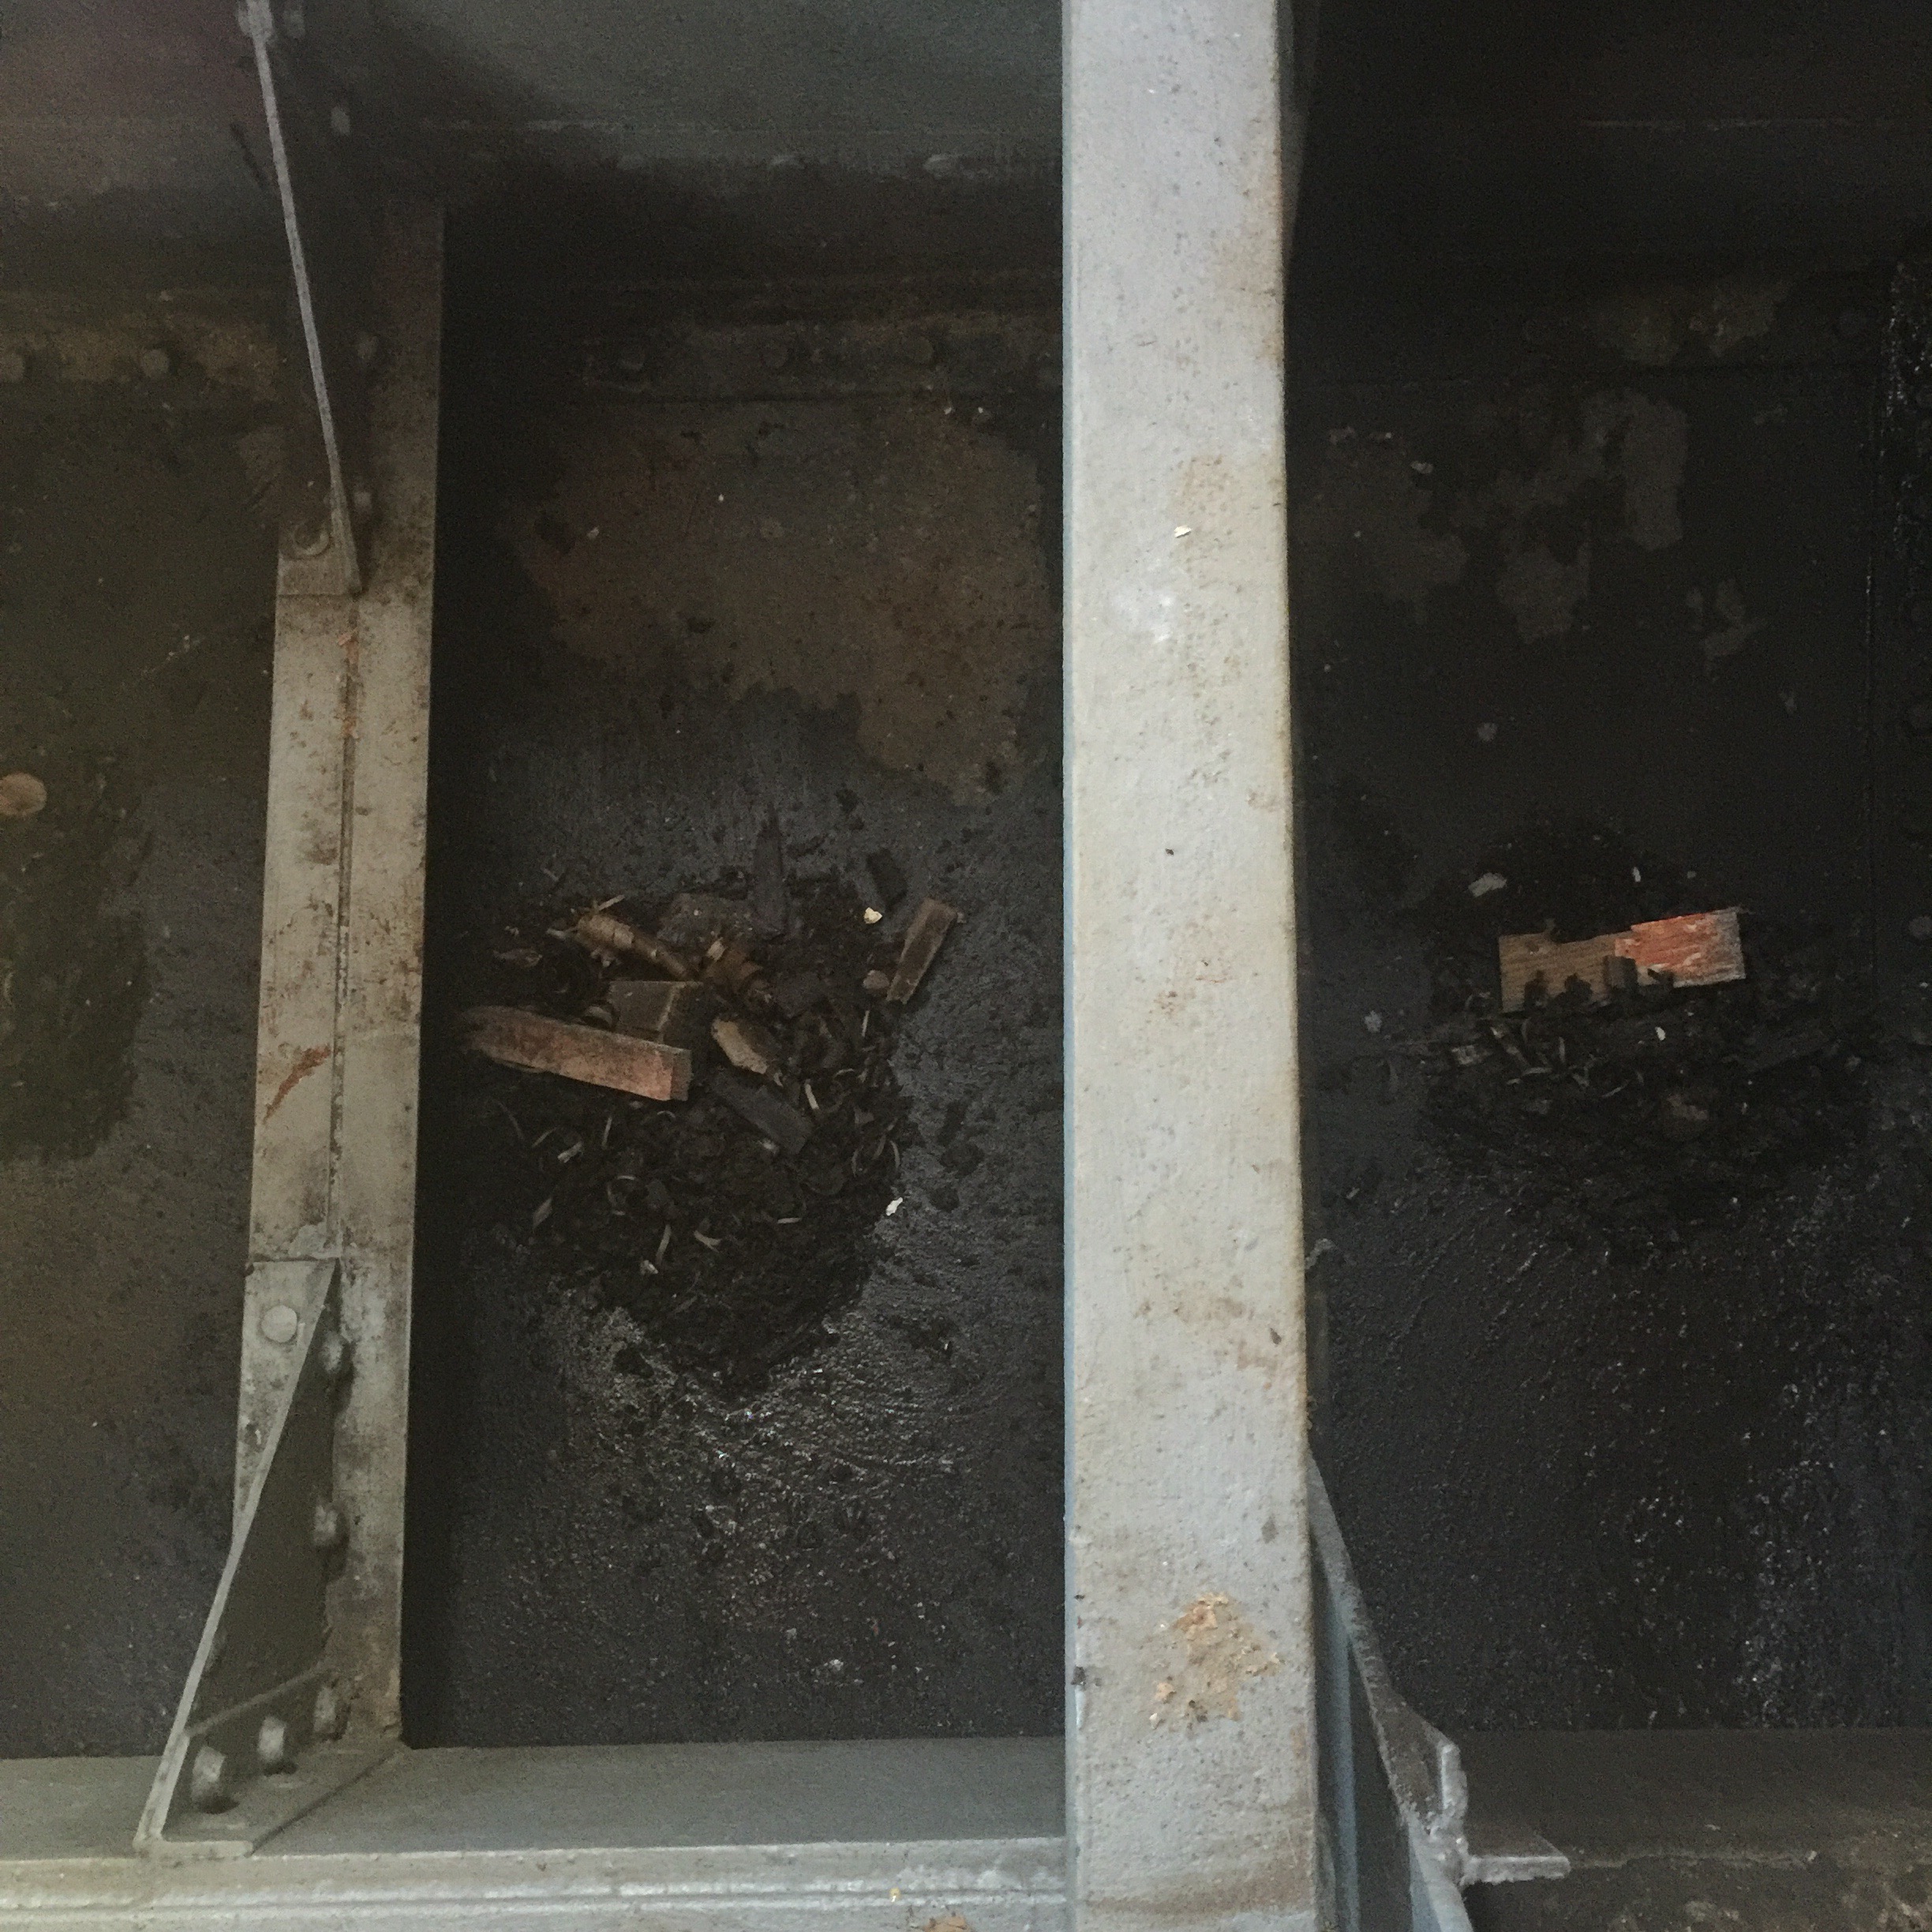
Next up on the “grim and slightly impossible jobs” list, cleaning the engine room. There is quite a lot of rainwater in there, some sand and a whole lot of greasy grime. I scooped out a lot of the debris a couple of weeks ago and then spent the first part of the day shovelling out 6 10kg bags of wet sand. Yup shovelling heavy sticky wet sand… But it needed more in the way of cleaning. Led had previously conducted some experiments with lenor and kitty litter and reckoned that creating something akin to a washing machine with the rainwater would do the trick…

  
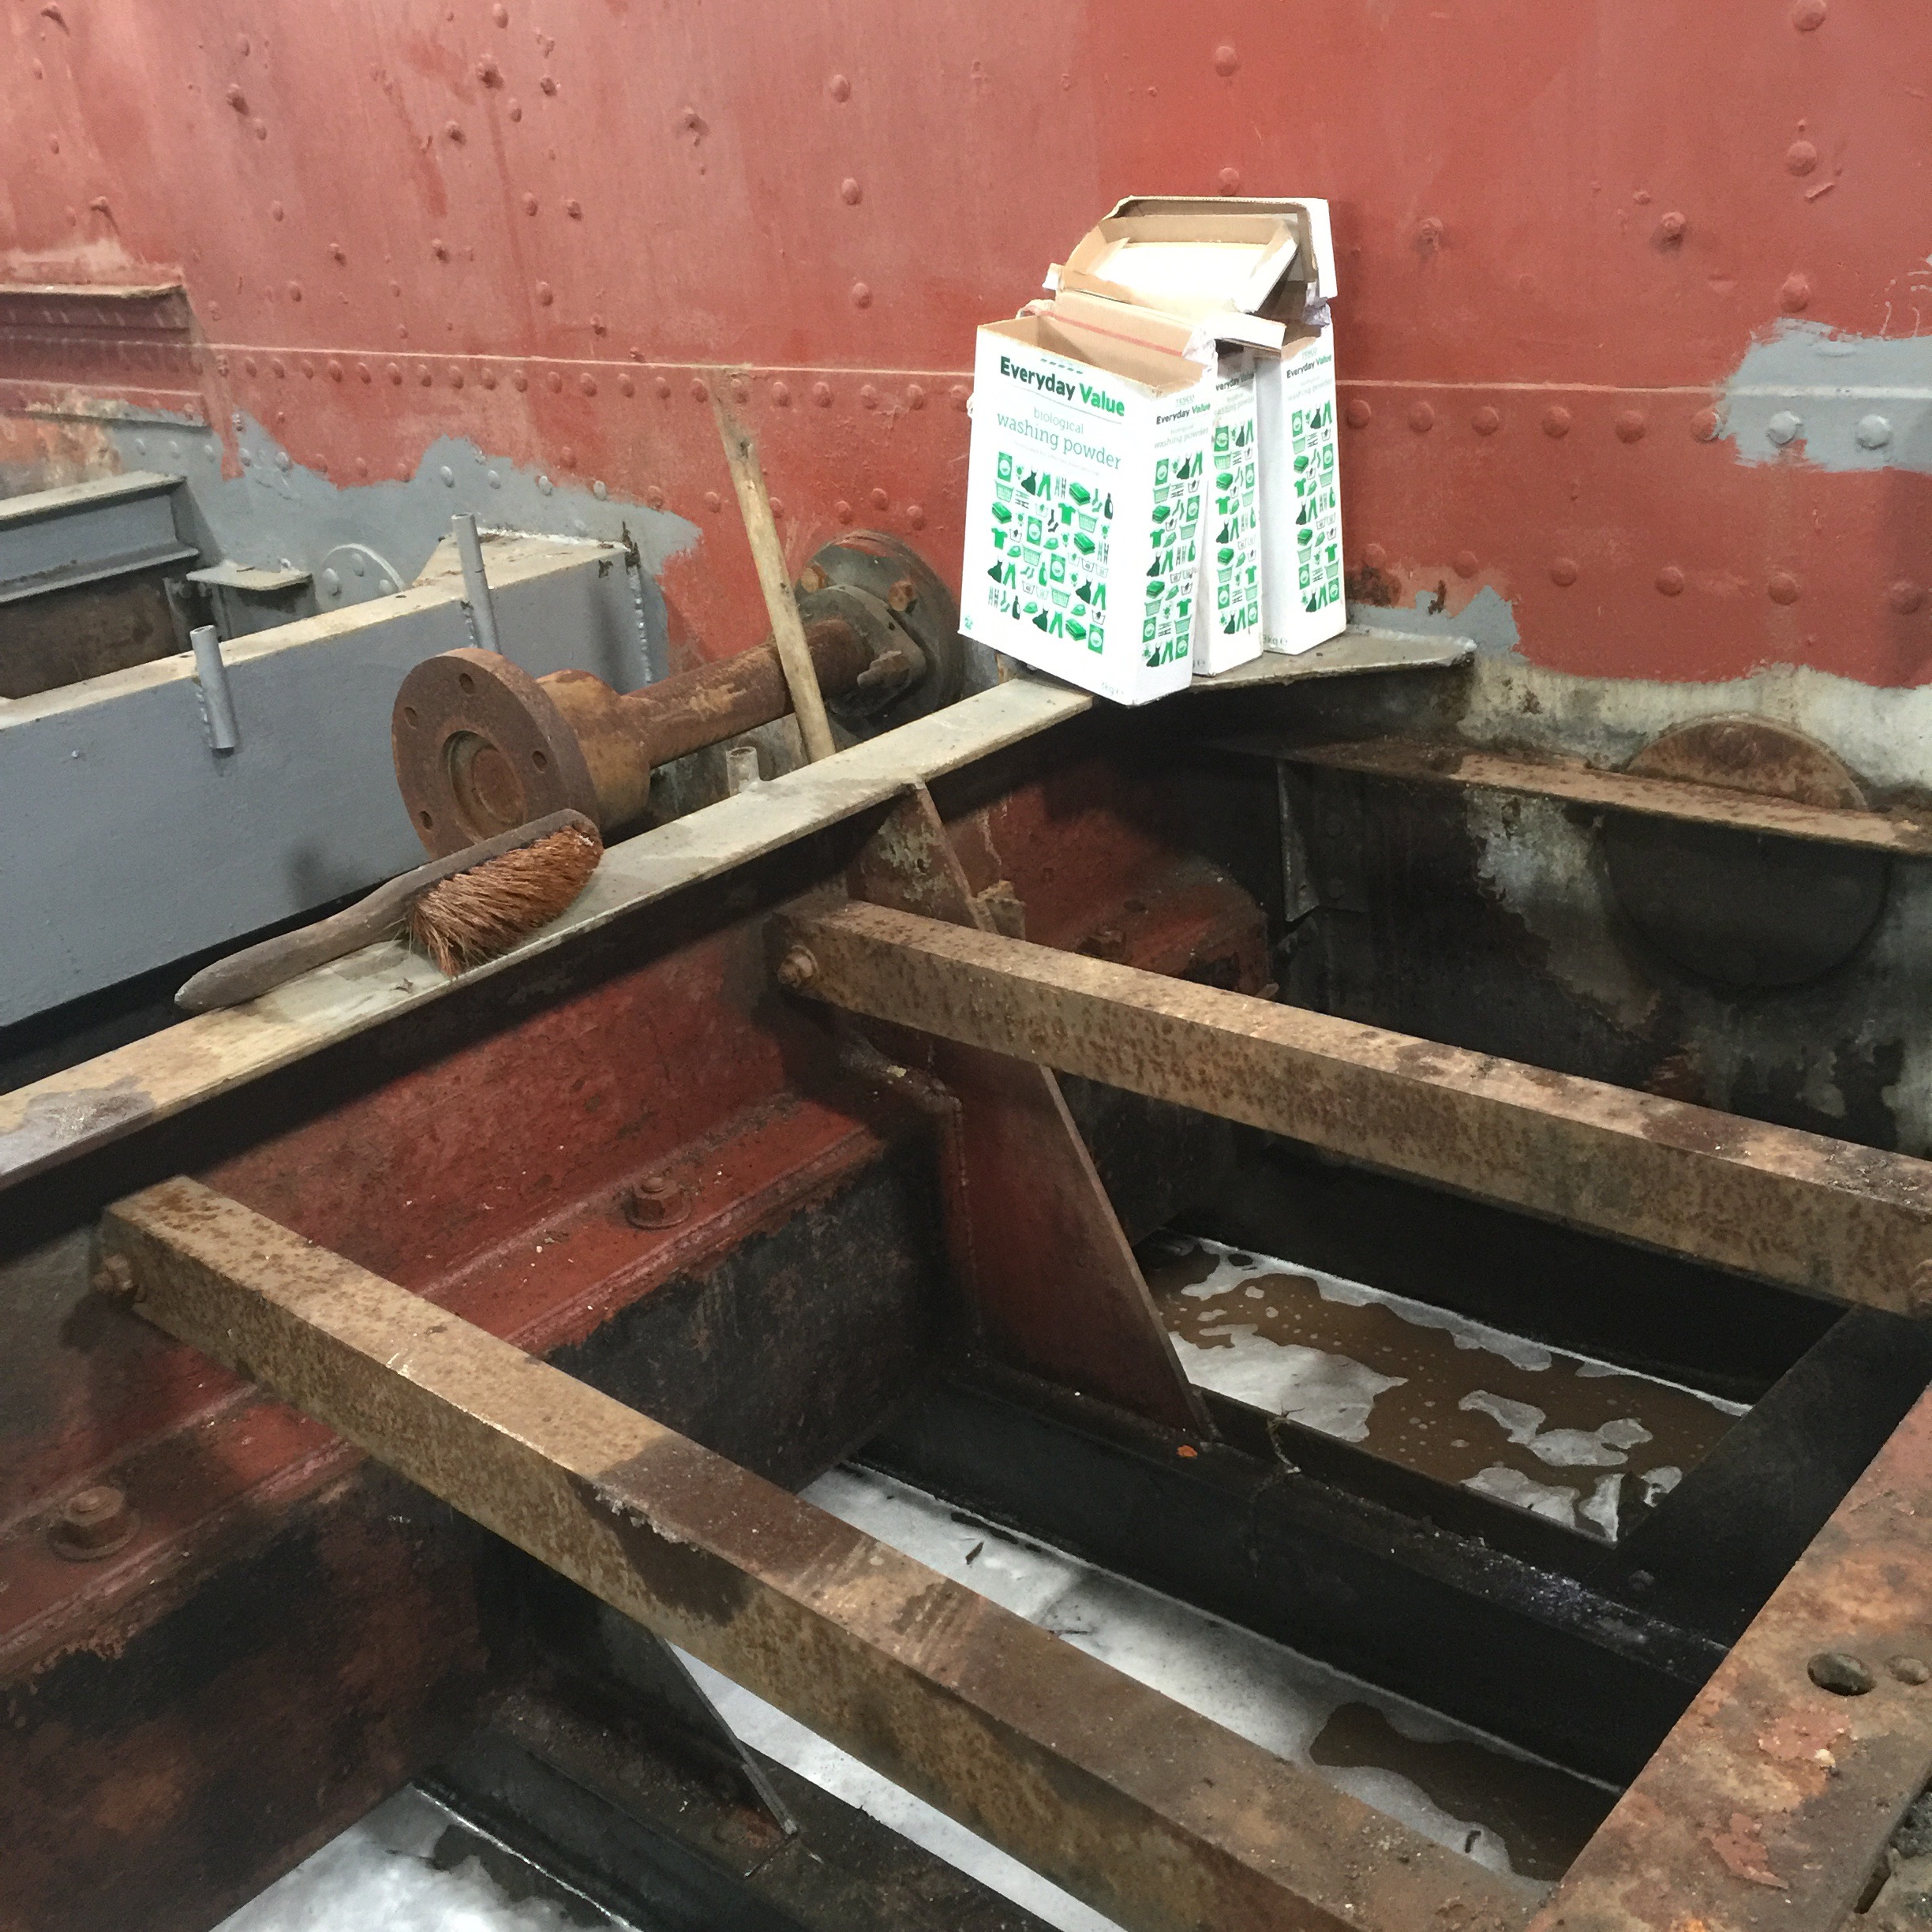
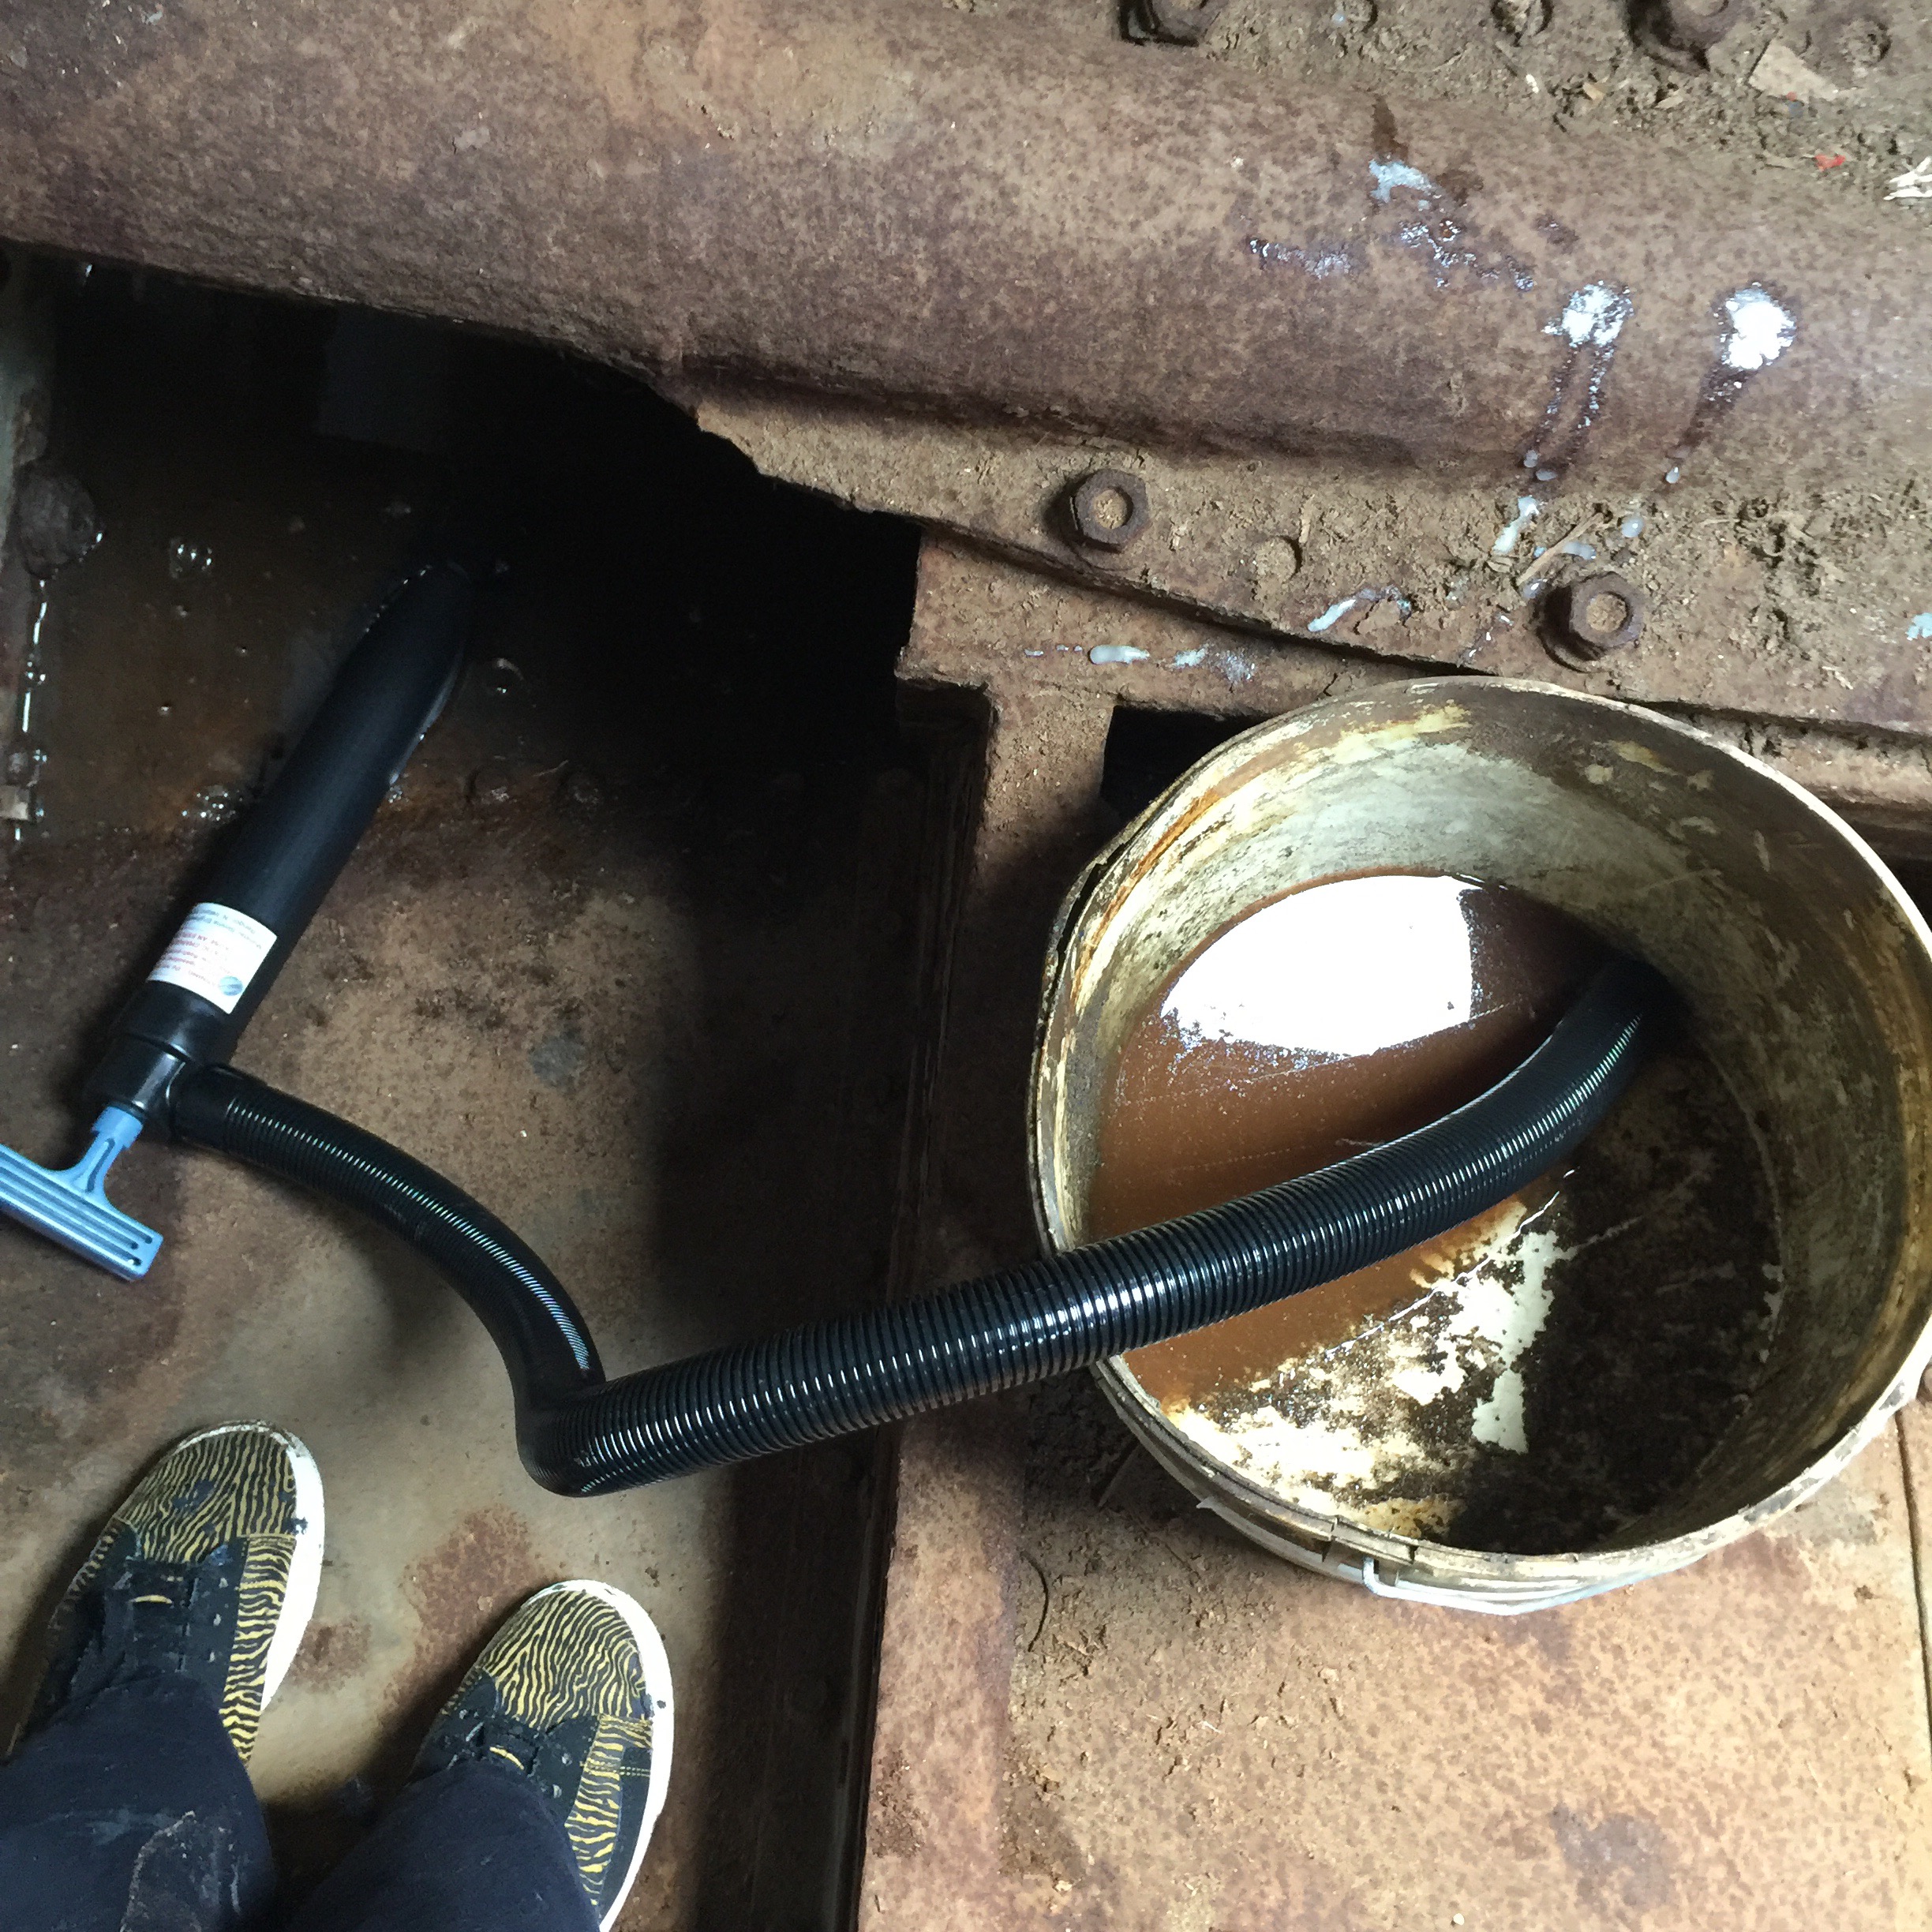
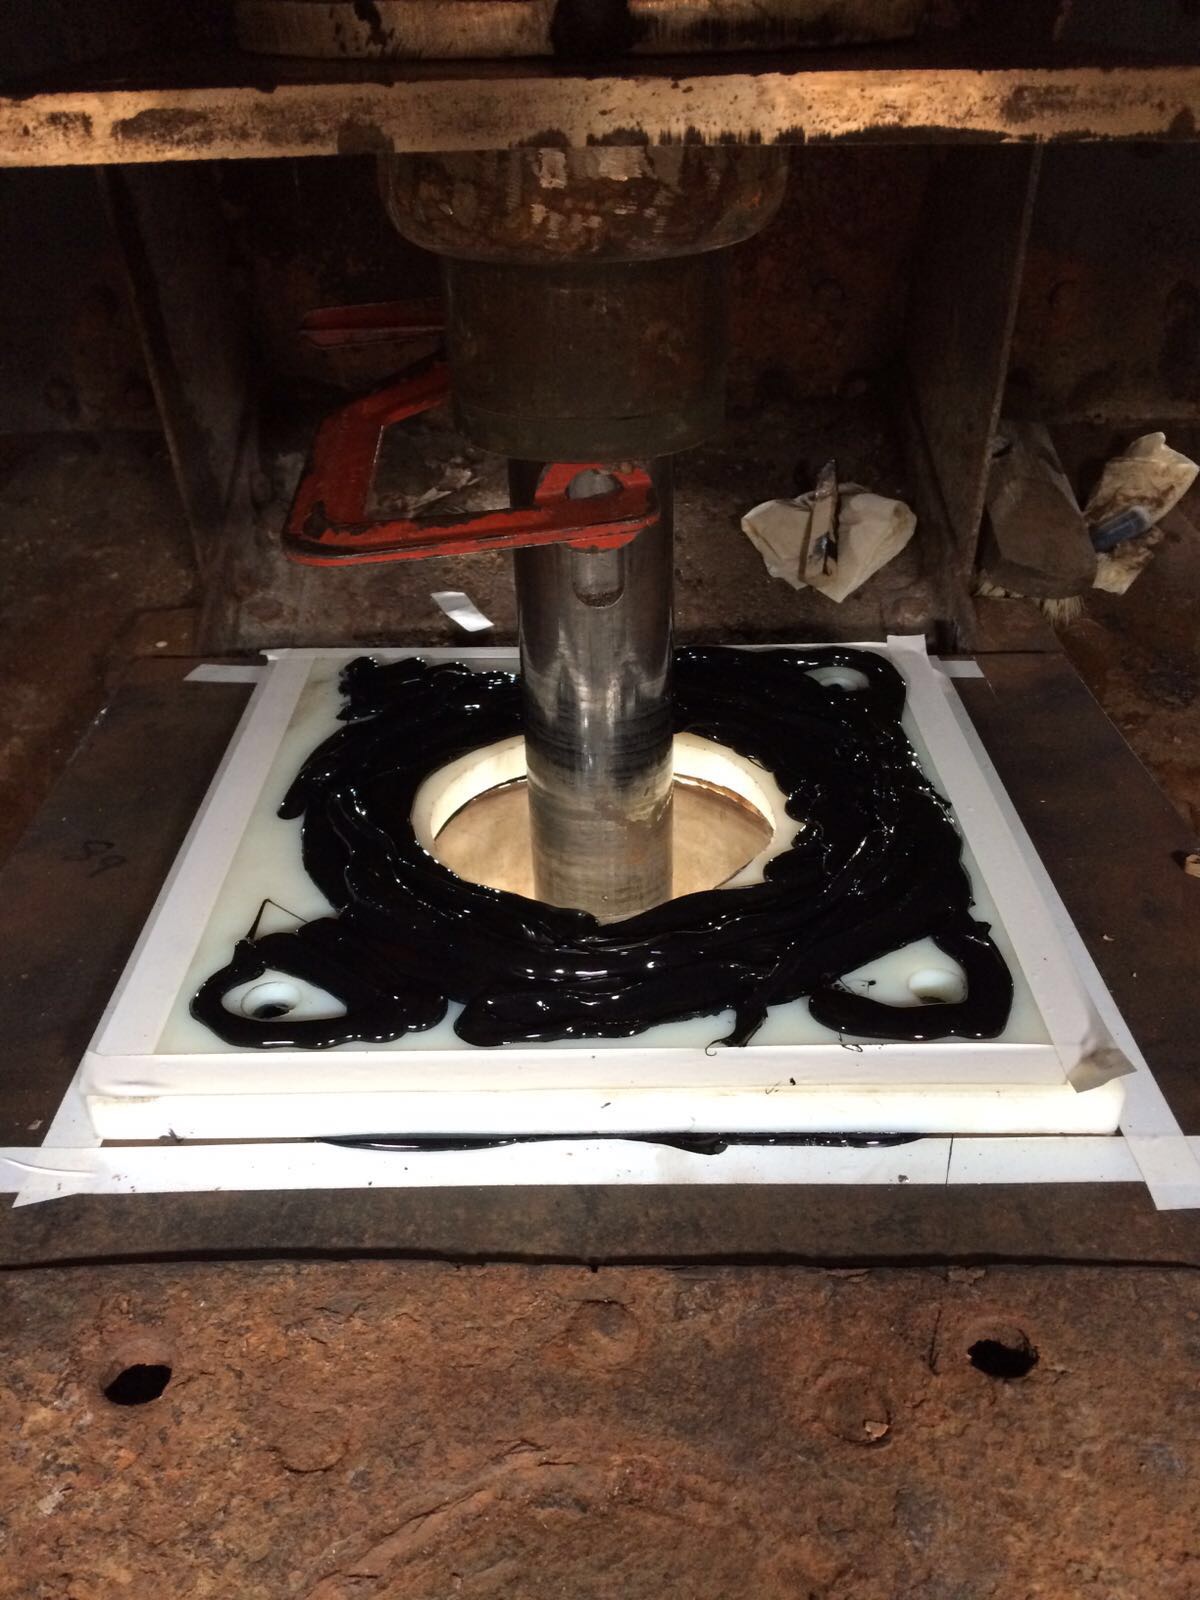
I sprinkled Four packs of cheapo tesco biological washing powder liberally round the engine room and gave them a bit of a swizz round. The beauty came with connecting up the new bilge pump and circulating the water and the frothed up washing powder round the engine room a couple of times, hosing down a lot of the hard to scrub surfaces, before pumping it out the side of the boat.


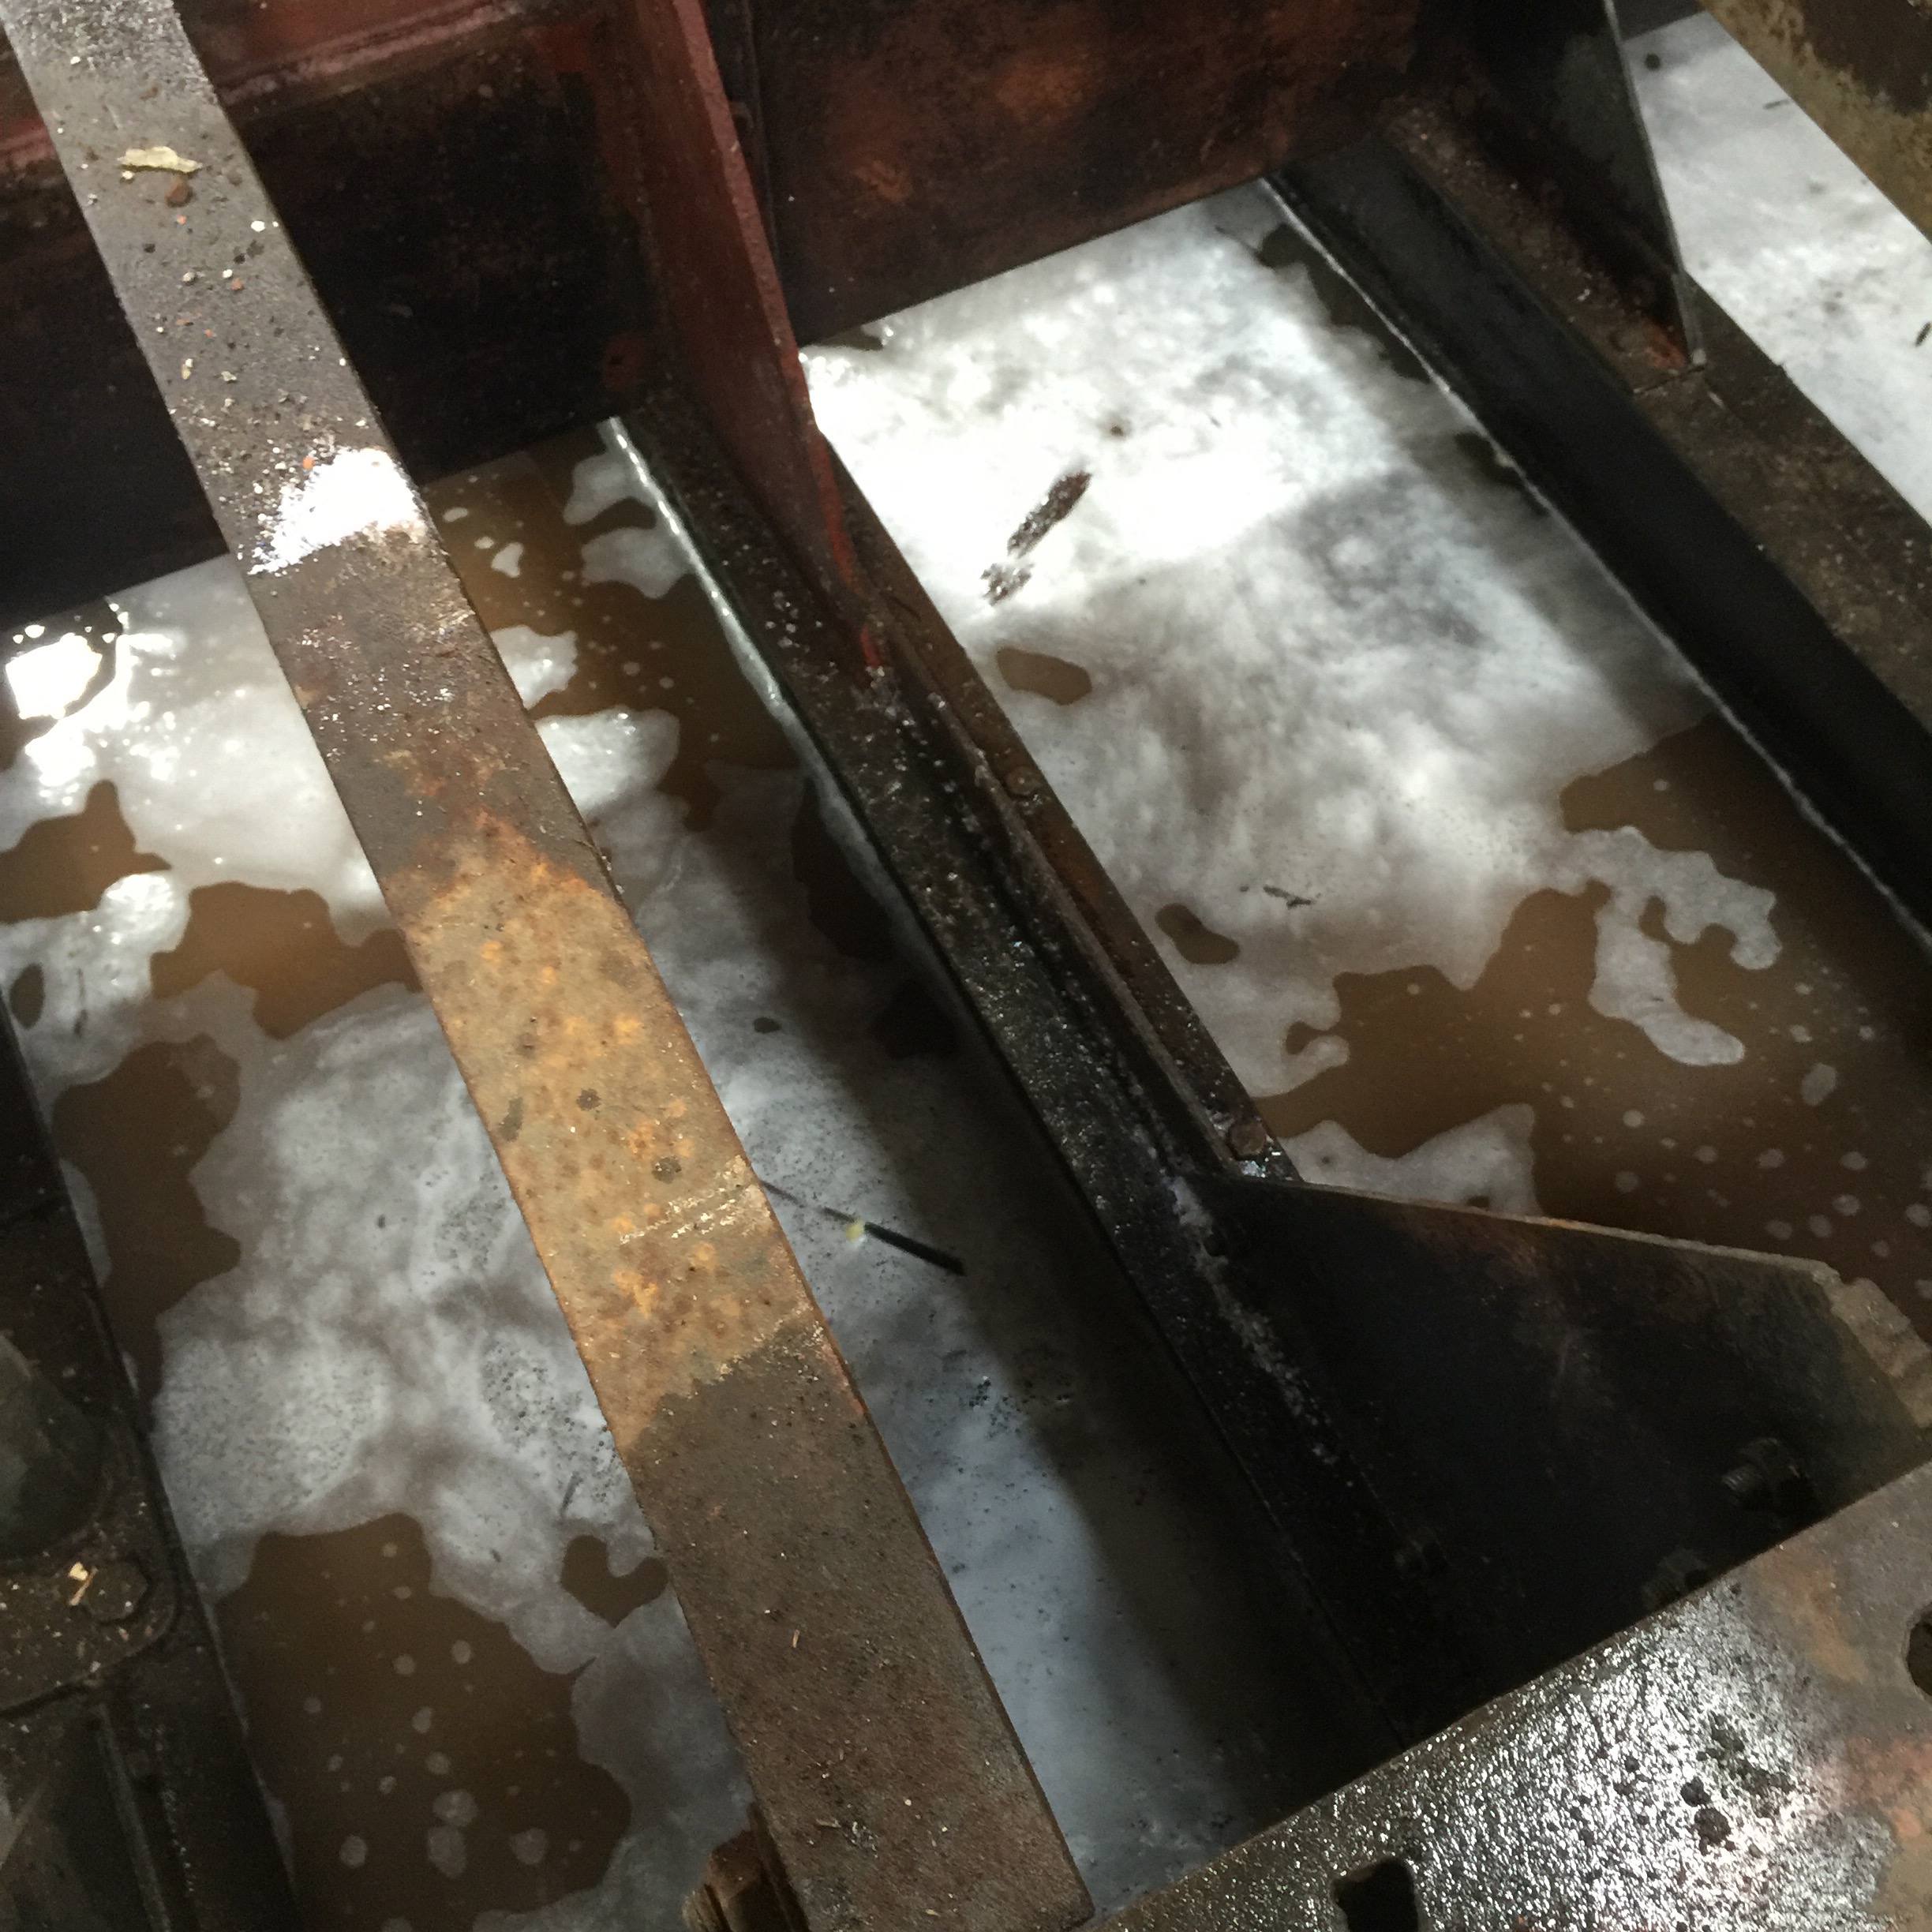
The whole process of pumping slightly murky water around did look a lot like a colonic. Although I do hope that in real life colonics don’t involve car batteries or give you as wet feet as I got.


Good news is that it actually blimmin worked. You might not think it but irons now pretty much up to scratch, falling into my category of “clean dirty”… Ie it looks a bit worn and battered but there are no falling off bits and when you rub it, it doesn’t automatically make whatever it touches black and greasy. Result. And best of all, it smells pine fresh!


Rust gunk up my nose

I had heard that the world of boats involved a lot of wearing white trousers, g&t in hand, while schweffing around on deck with tycoons and slebs. Turns out it actually involves a lot of scraping unidentifiable brown gunk from the bilge. A heady mix of fresh rust dust, old rust chipping a, sawdust and god knows what else that has mixed into a mulchy mess and stuck itself all over the bottom of the boat. And when you do it on a beautifully sunny day, the pain is even greater.


First you pump, then brush, then you scrape, then you go in with a gloved hand, and finally you Hoover. The end result is pretty pleasing.

 Proof it was actually me doing the grafting…

   
But after eight hours, you definitely deserve one of these…

 
Or two!  
 

The rudder and tiller arm

The engineering trickery is now complete and the new rudder stock and fixings are in place. This means everything is secured by non-rusty fittings, the tiller arm drops smoothly into the top of the rudder stock should it be needed, and there is an arm to attach hydraulic steering. 
The internal bits that I always forget the names for…. I know there is a quadrant, some sort of snuff box and a couple of glands. A bit like calculus, almost as soon as it is explained to me I forget how it works. Importantly it now does.  

 
The fixings on deck where the tiller arm drops in.

   
The arm on the rudder stock where the hydraulics can be attached.

 
A rather natty cap to cover the deck fixings.

   
A new bit holding the rudder down.

 
The tiller arm in situ. It might look unwieldy but the movement is smooth and requires no effort to steer thanks to all the mechanics being realigned, rust free, and clear of obstructions. Reverse might be a different issue as the arm could quite easily among round and crack you in the ribs. 

The theory

All the new bits of rudder shaft and tiller attachment were fitted over the last week (more on that later) and, in order to fit them in, it was necessary to cut a slightly larger hole in a bit of deck that had been caulked and sikaflexed. The bit cut away gave a cut through view of how the deck will look… 
This section is a new bit so has a straight seam rather than the “y” shaped seam in most of the deck. None thesis the principle is the same. The depth of the seam is plugged with the caulking cotton. This helps plug up the depth, provides a barrier should any water get in, and is a flexible material allowing the deck to shrink and expand as the weather changes. The sikaflex (historically this would have been tar) sits on top and – crucially – meets both top edges of the deck either side of the seam. The cross section shows that this has worked as planned. Best of all, when I tried to pull the seam apart and tugged and twisted it in ways that the deck would never actually move….  It was stuck fast and didn’t budge an inch. Good stuff indeed!

Random orbital reviews 

  
Need a random orbital sander to sand the sikaflex off the deck and bring it up to scratch. The randomness of this type in f sander gives a more even finish than a belt sander. Nabbed this one from Amazon (🙌🏻 to Amazon prime).

Fortunately didn’t pay any heed to Cherry’s review… I ask you? 


This week, shovelling more shit

Another day mucking by around in the bilges. First the rust and pig iron was shovelled from the depths of the boat, then a second round of decayed metal debris, then shotblasting sand. Now its sodden sawdust and deck debris at the bow, and grease and sodden kitty litter from the engine room. 

It is quicker than it sounds – speeded up by the thought that this is really the last time I will have to do this – and quite easy to do. The best method is just to put some thick rubber gloves on and scoop with your hands. Turns out you can happily touch anything when you have gloves on – as I am sure anyone in the medical profession can attest to.  

About 6 10kg bags came out in a couple of hours. It just needs to dry off a little more and I can take the Hoover to it. Ultimate cleaning.