How have I not seen this??

http://youtu.be/hZ4YBU9xakg
Part of the restoration of the Massey Shaw on the Discovery Channel. Lots of great footage and even more interesting to see with first hand knowledge of Beta III. Just very relieved I don’t have all the fire pumps to contend with. Now I just need a member of Madness to front my project 😄.

The programme manages to over simplify things pretty spectacularly… They distill the refurb into four things to fix, the rubbing strakes, an engine and some sort of bell system and don’t look at the hull or paintwork at all. If only!! Think I may have to steal the design for the glass lanterns over the engine hatch though.

Massive thanks to Dug for flagging this up to me. 

A few final deck photos…

A few final pictures as I am trawling my phone for photos of work in progress. 

The hatches in place and a large section of deck being replaced. The before…

  
And the after… You can also see how there is a little more in-filling to be done around the hatch but this needed a few bits of metal to be cut away first. This is half way through as the pellets are yet to be cut down and sanded.   
This piece of wood replaces a duty bit of metal that was doing the same job. It covers up a join in the metal where the deck has been reconfigured. 

  The inside view up of the barrel section I mentioned in the previous post. It has been lightly oiled and looks pretty darn smart.  

Imagine when all the deck looks like the bit below…
    

 Using router to produce uniform joint to all planks and capping.

.M


 Lots of photos of blue skies…. And finally a picture of a gap under the door frame being filled. 


My favourite detail

As you might have gathered, there are lots of holes to be plugged on, inside and underneath Betty. Depending on the material and location, this involves a certain amount of creativity. A lot of the larger holes on the deck will be plugged with deck lights while the smaller ones will be pelleted. 

There was an unusual gap behind the hatch which needed to be filled but not necessarily with glass.
 The perfect place to use up all the small offcuts of teak from other places of the deck. These were joined in a barrel shape to allow water runoff.  


And then bedded down and fixed into place.


The spacer plugs were then removed and the gaps were caulked. And it looks pretty darn good!!


The cover was caulked with sikaflex, the same stuff that will be used to caulk the rest of the deck. I had thought it would have a gummy, more flexible texture but it tries incredibly hard and rigid, almost like the rubber on a plimsoll. The neat black lines look incredibly smart. Part of this is because the caulking is on clean cut seams – I don’t anticipate it will be able to get quite as slick an effect on the rest of the deck!!

November – December deck catch up…

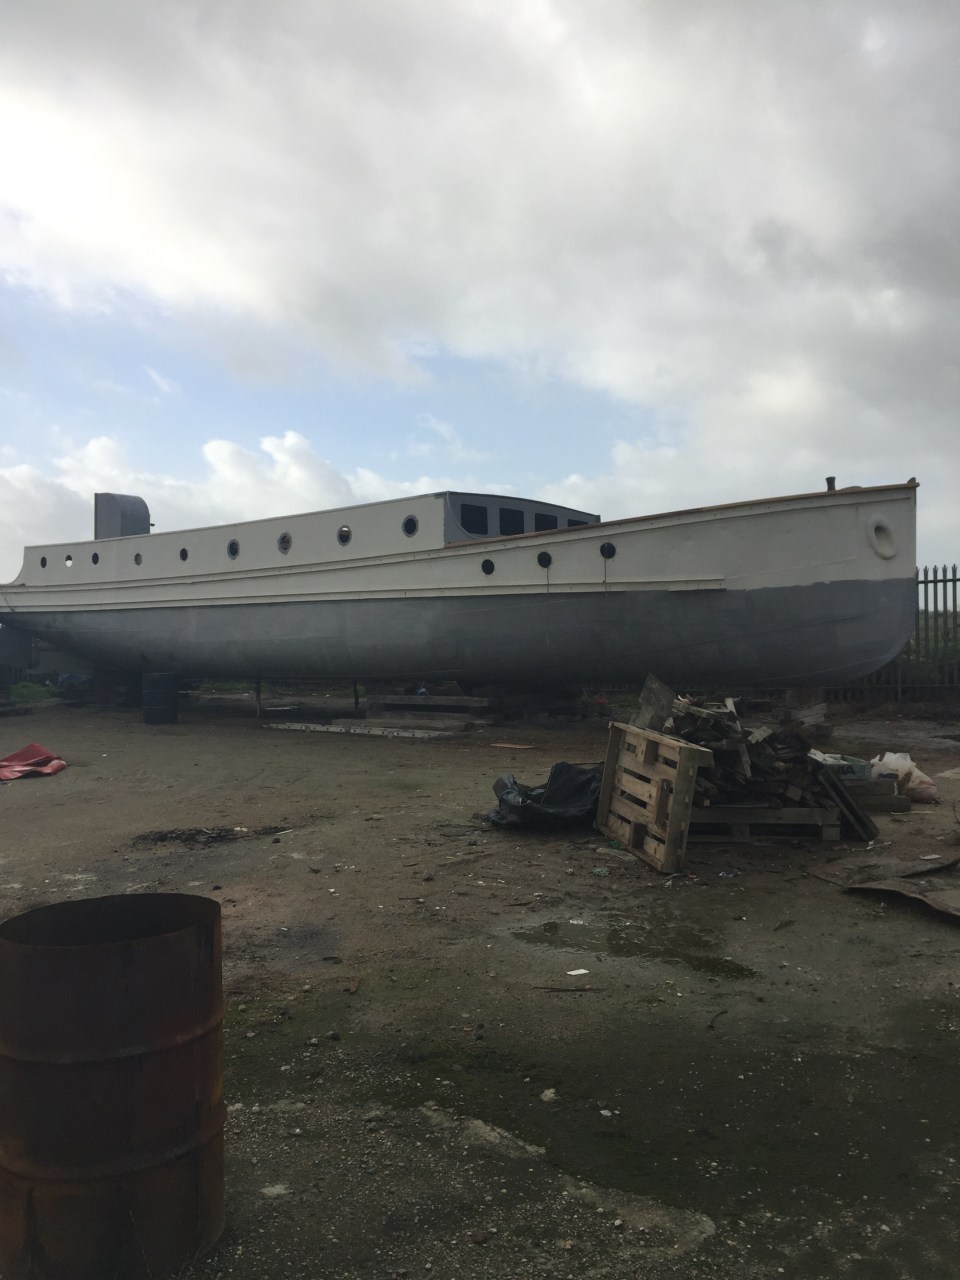
A lot happened in November-December and all progress was duly photographed. I just failed to upload the photographs on to the blog… So here goes.. 

 
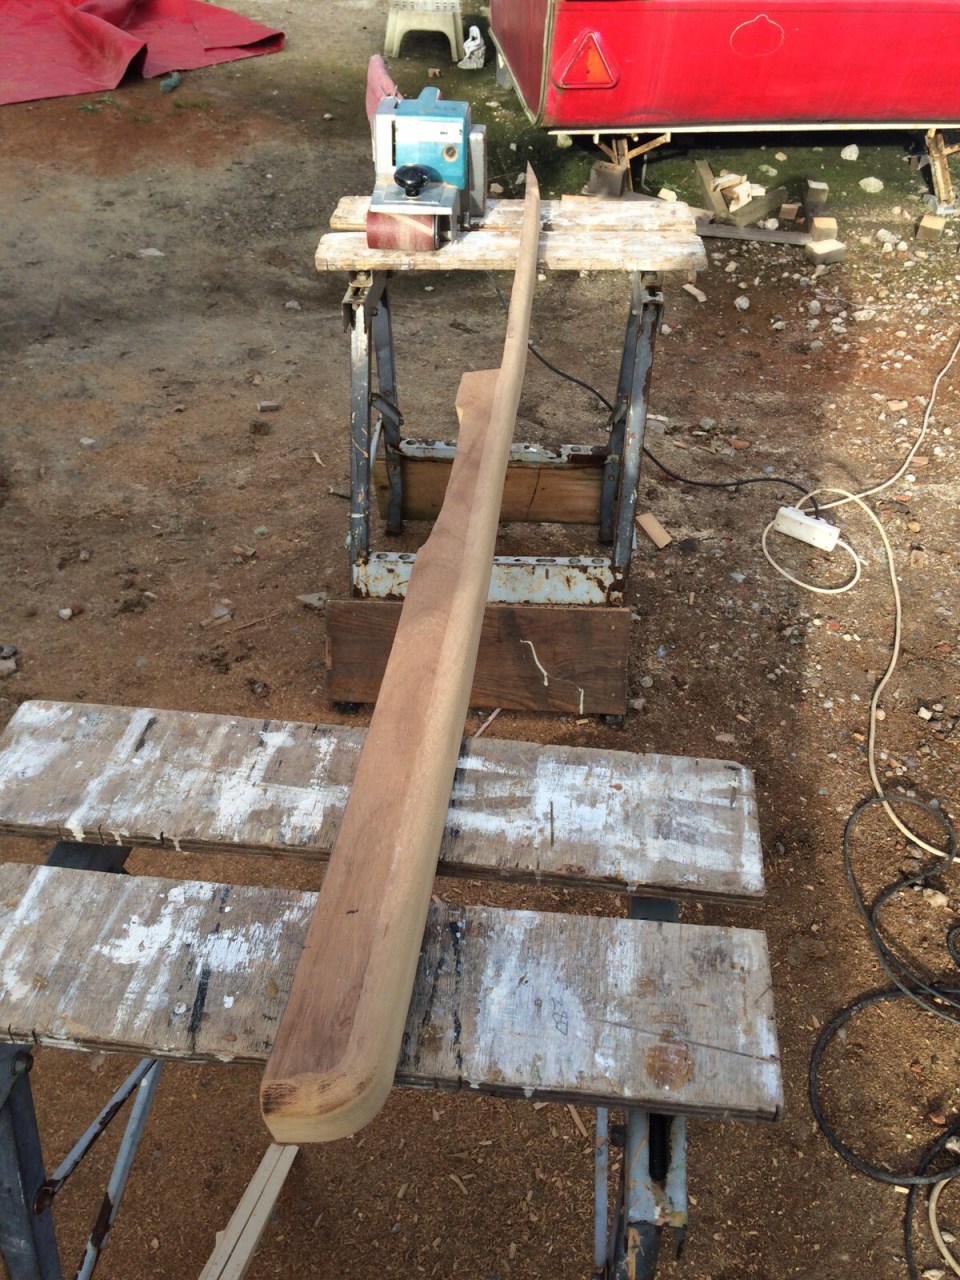
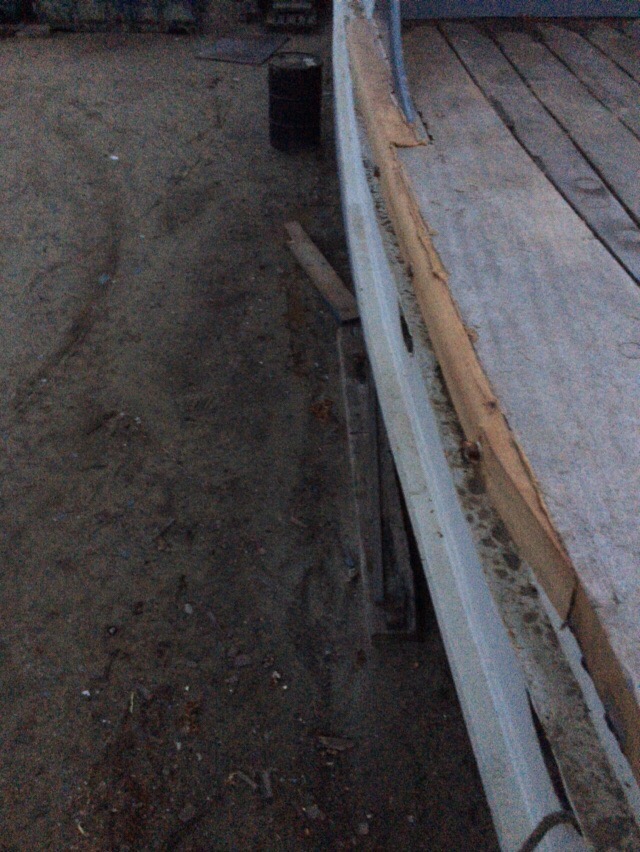
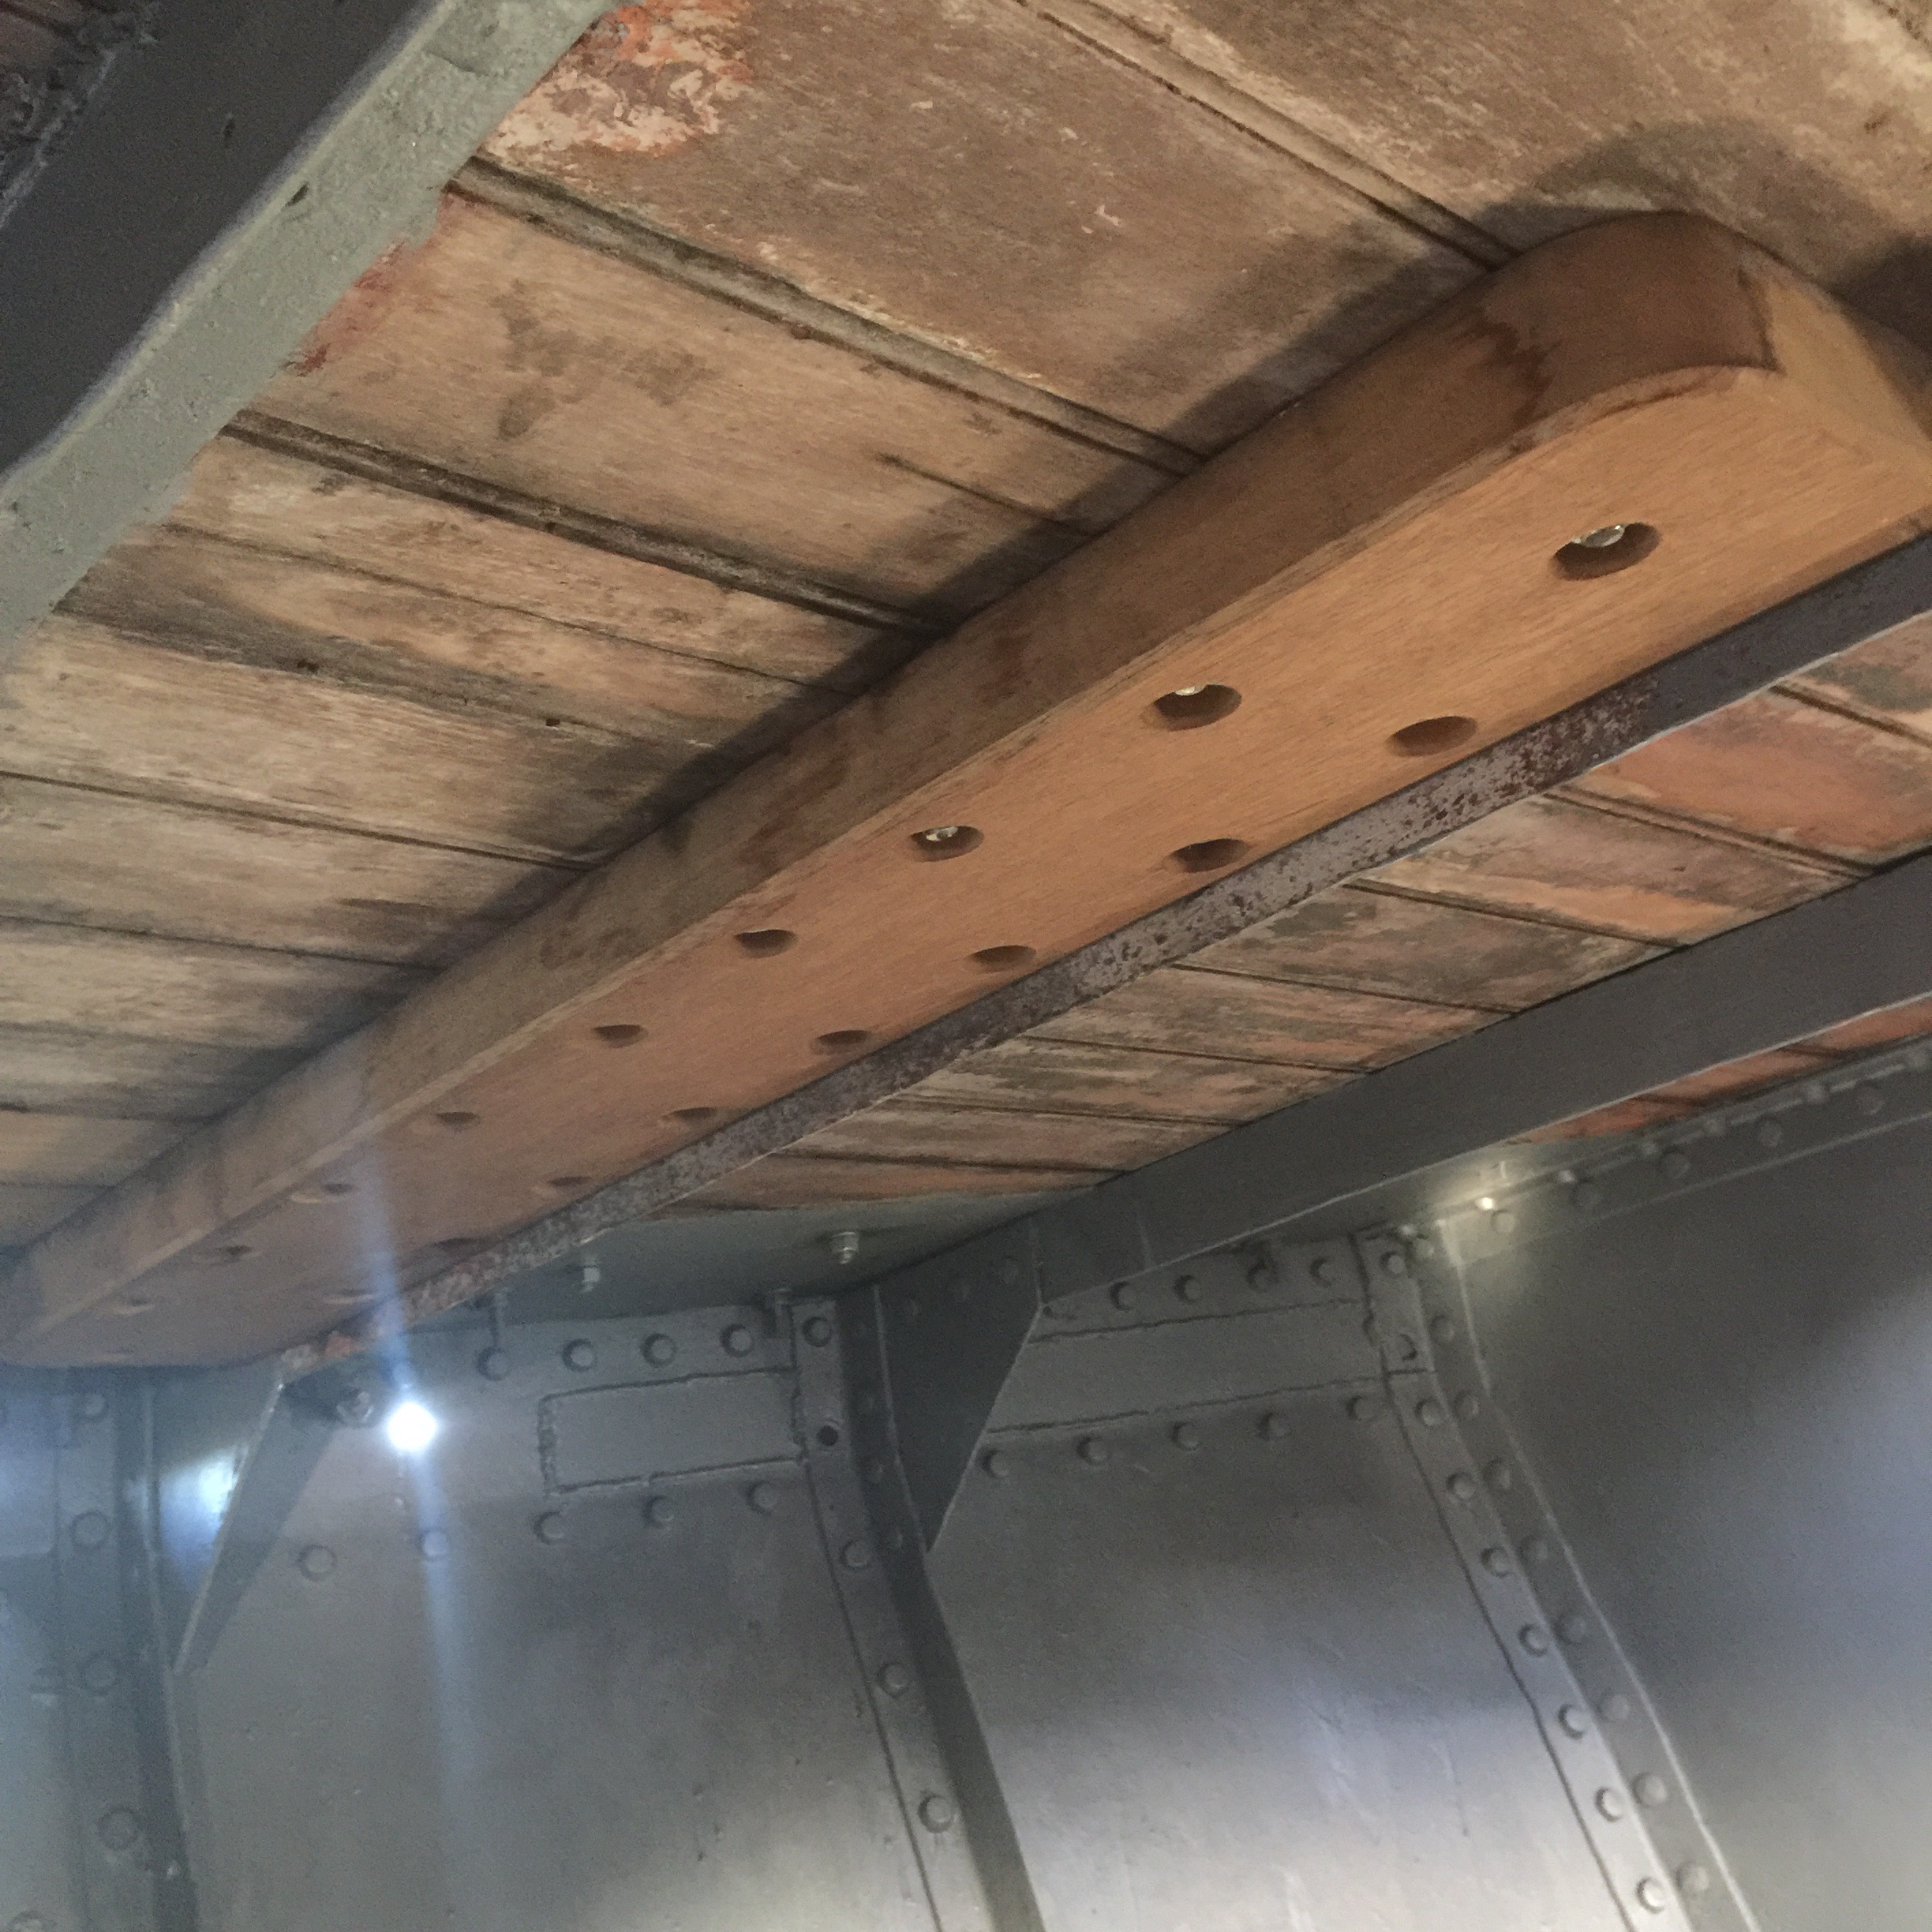
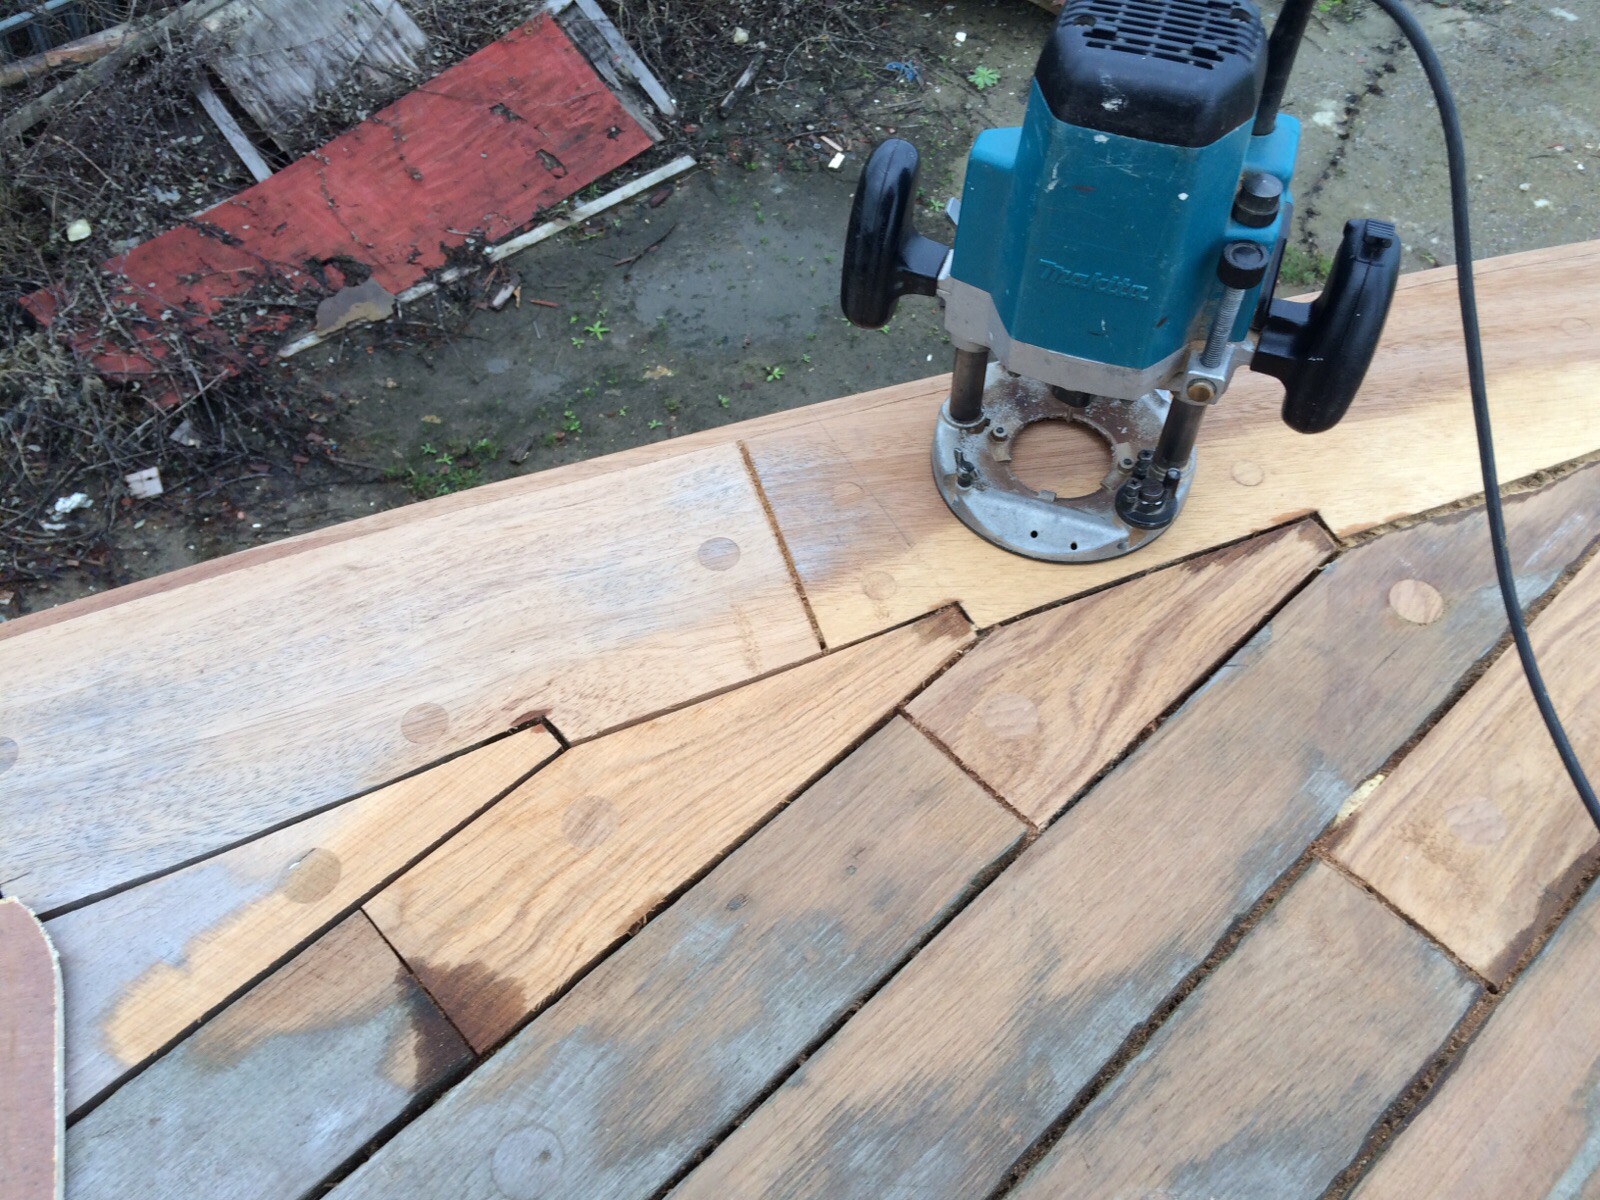
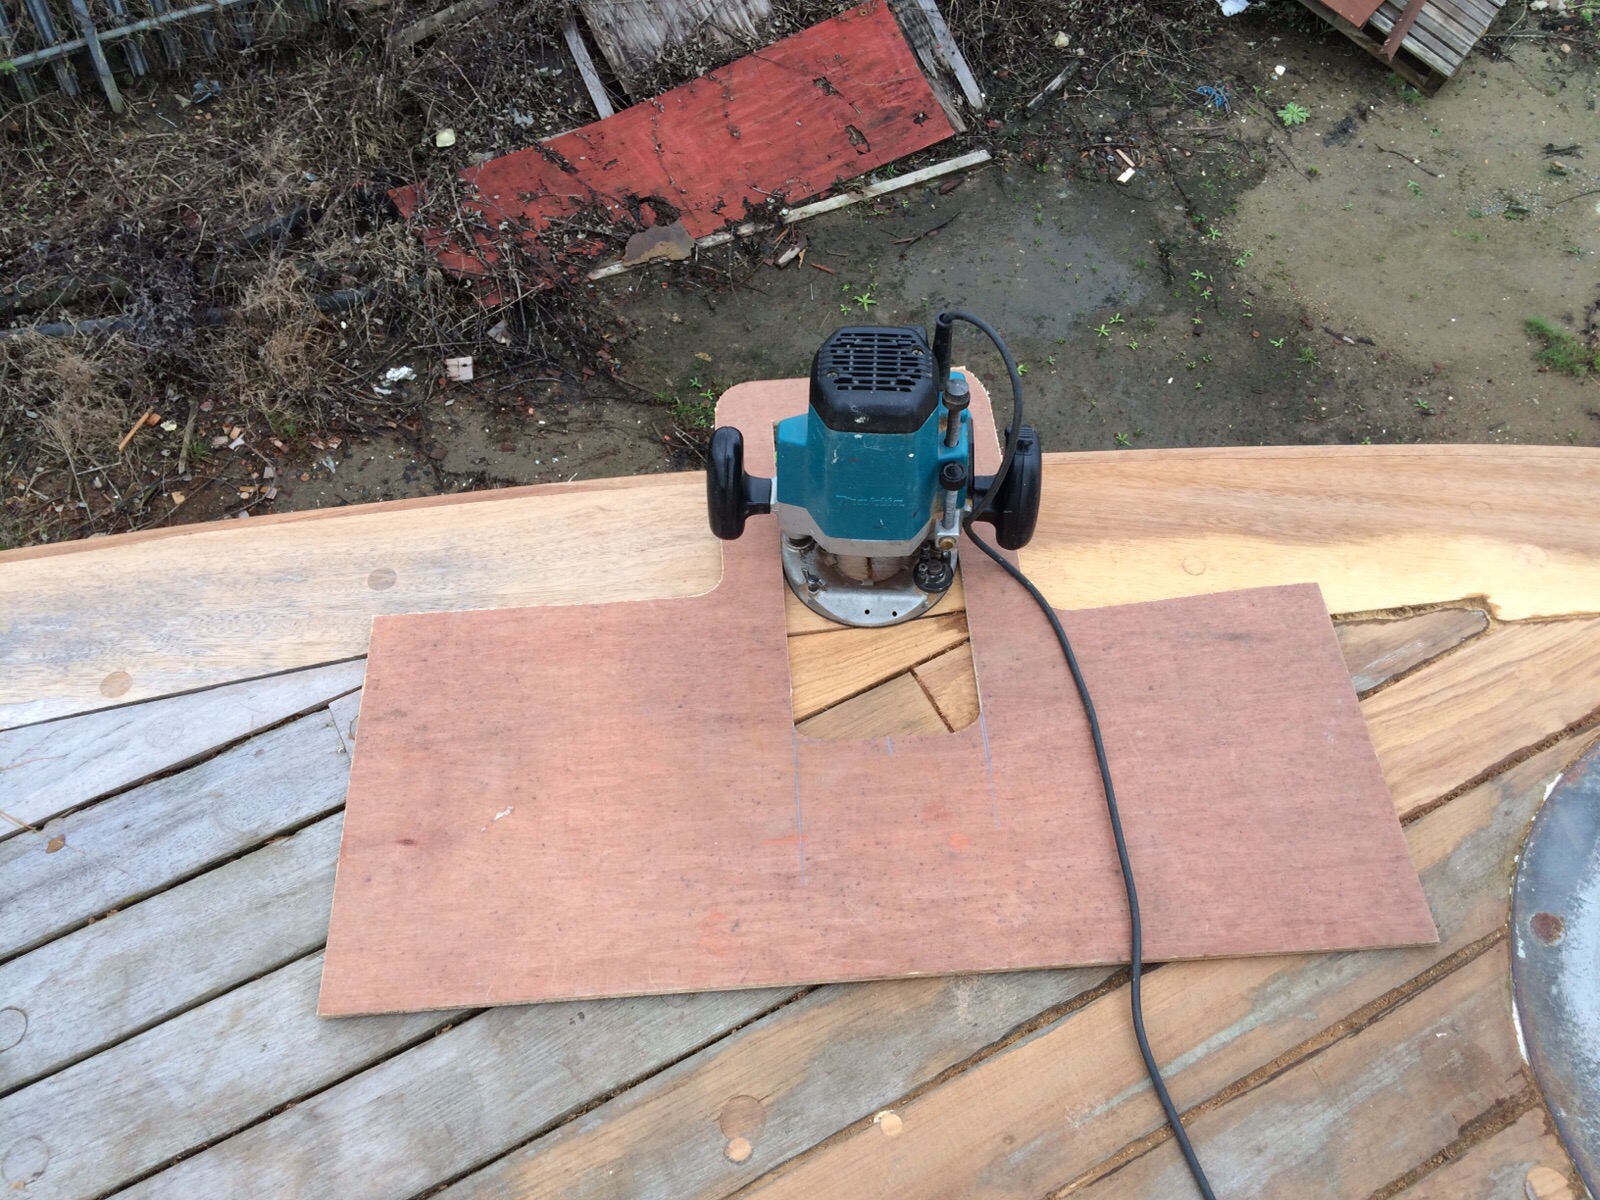
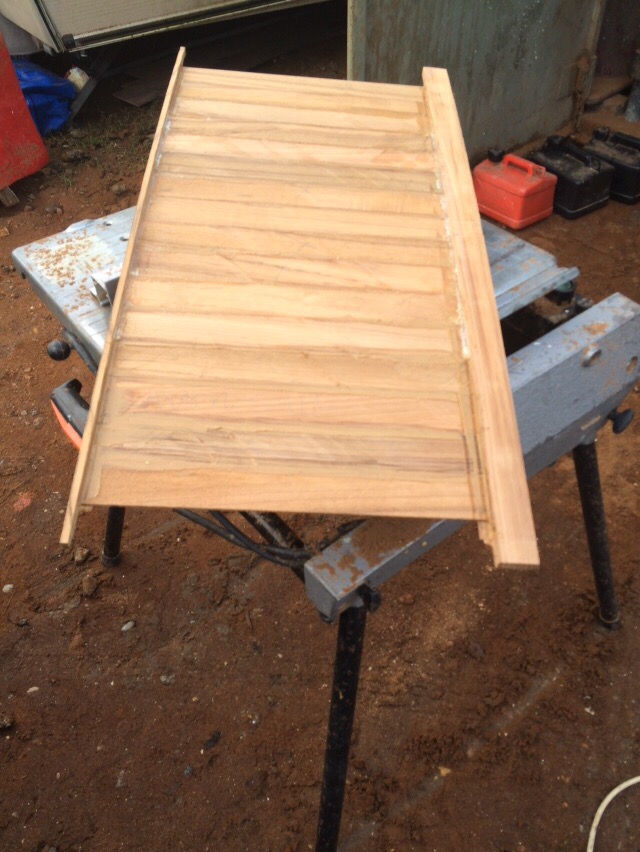
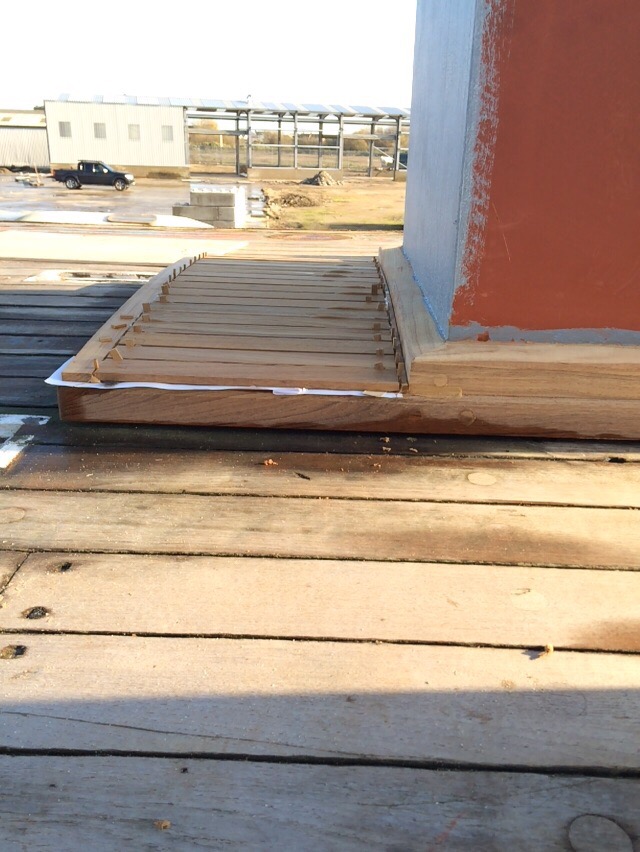
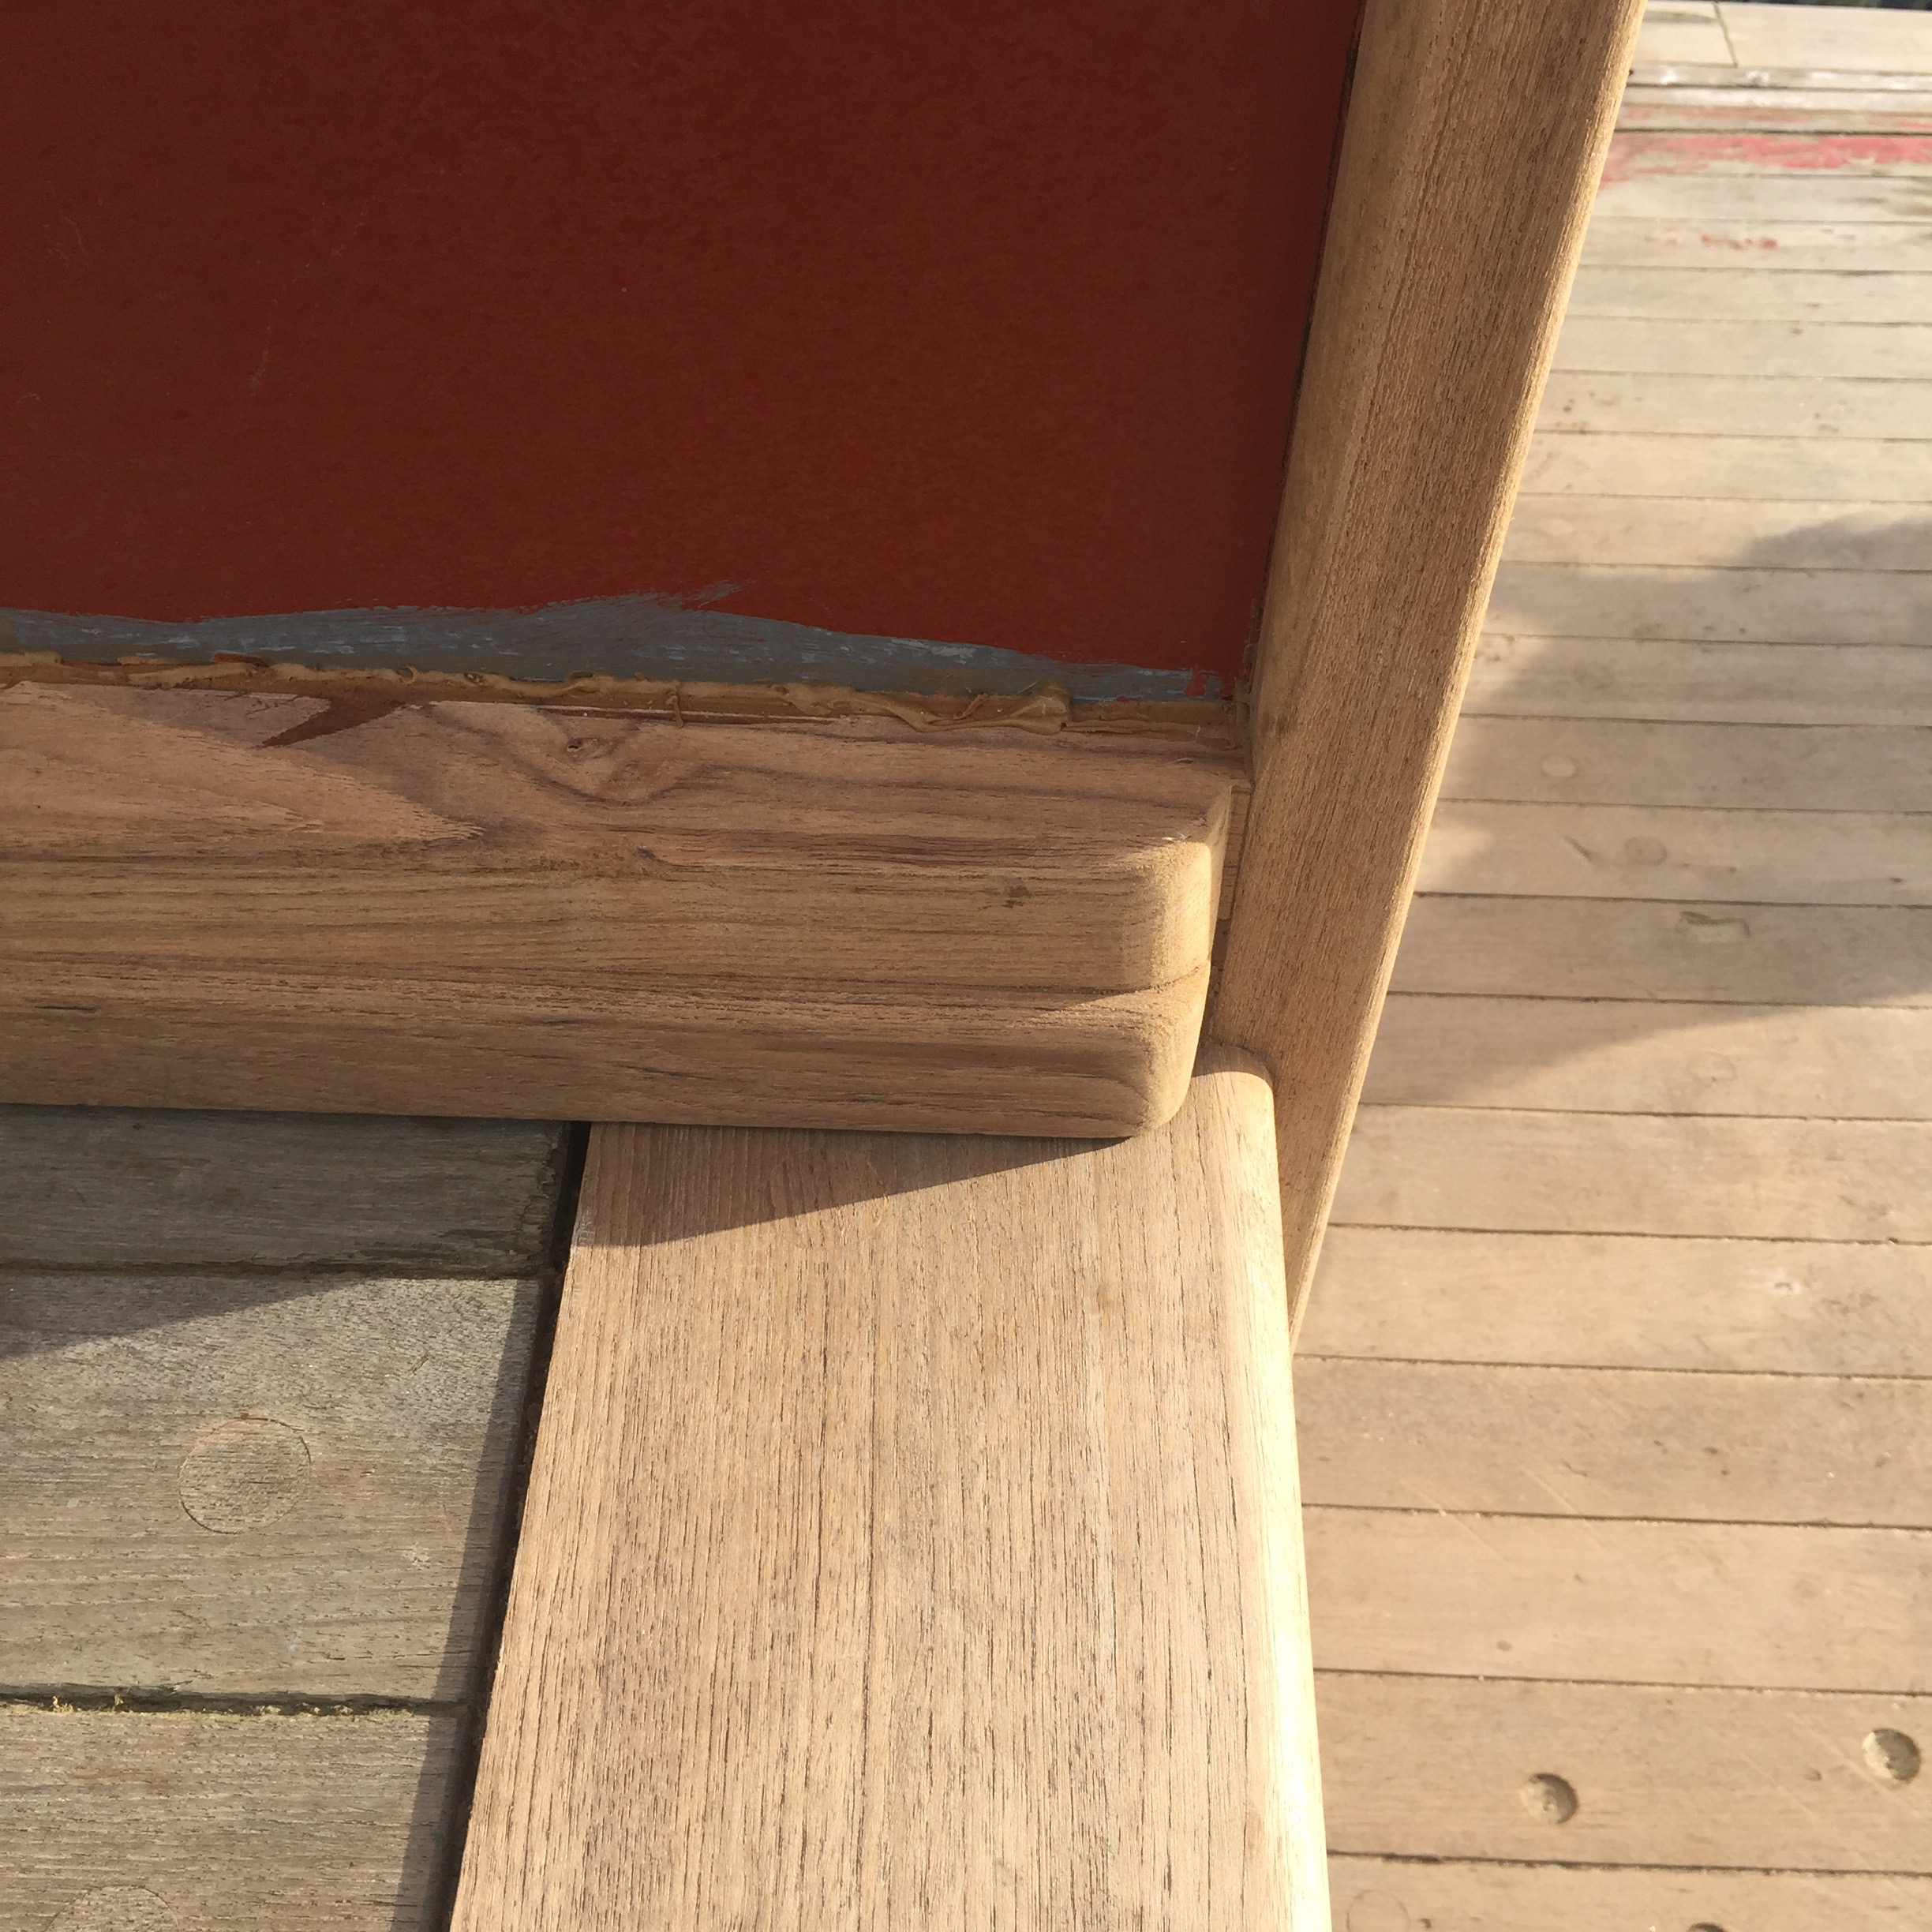
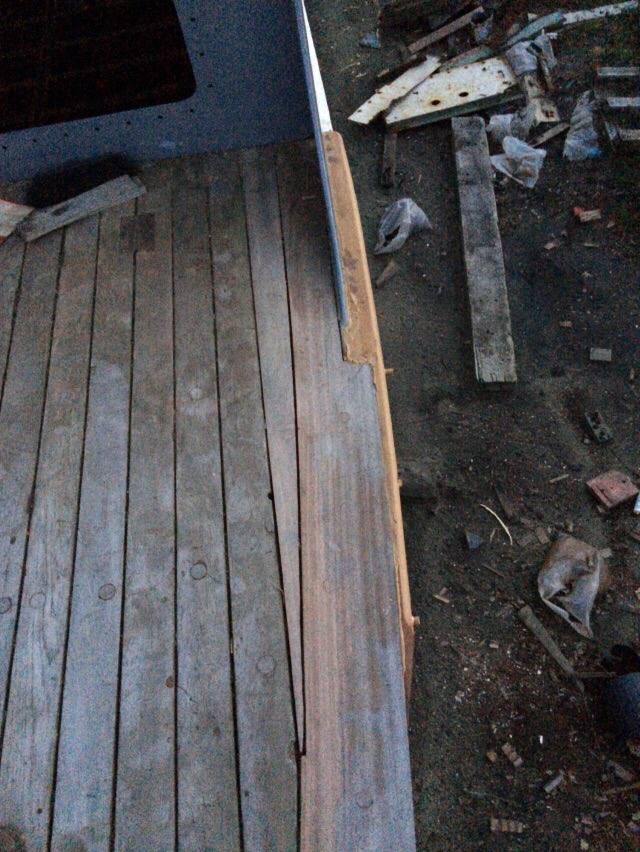
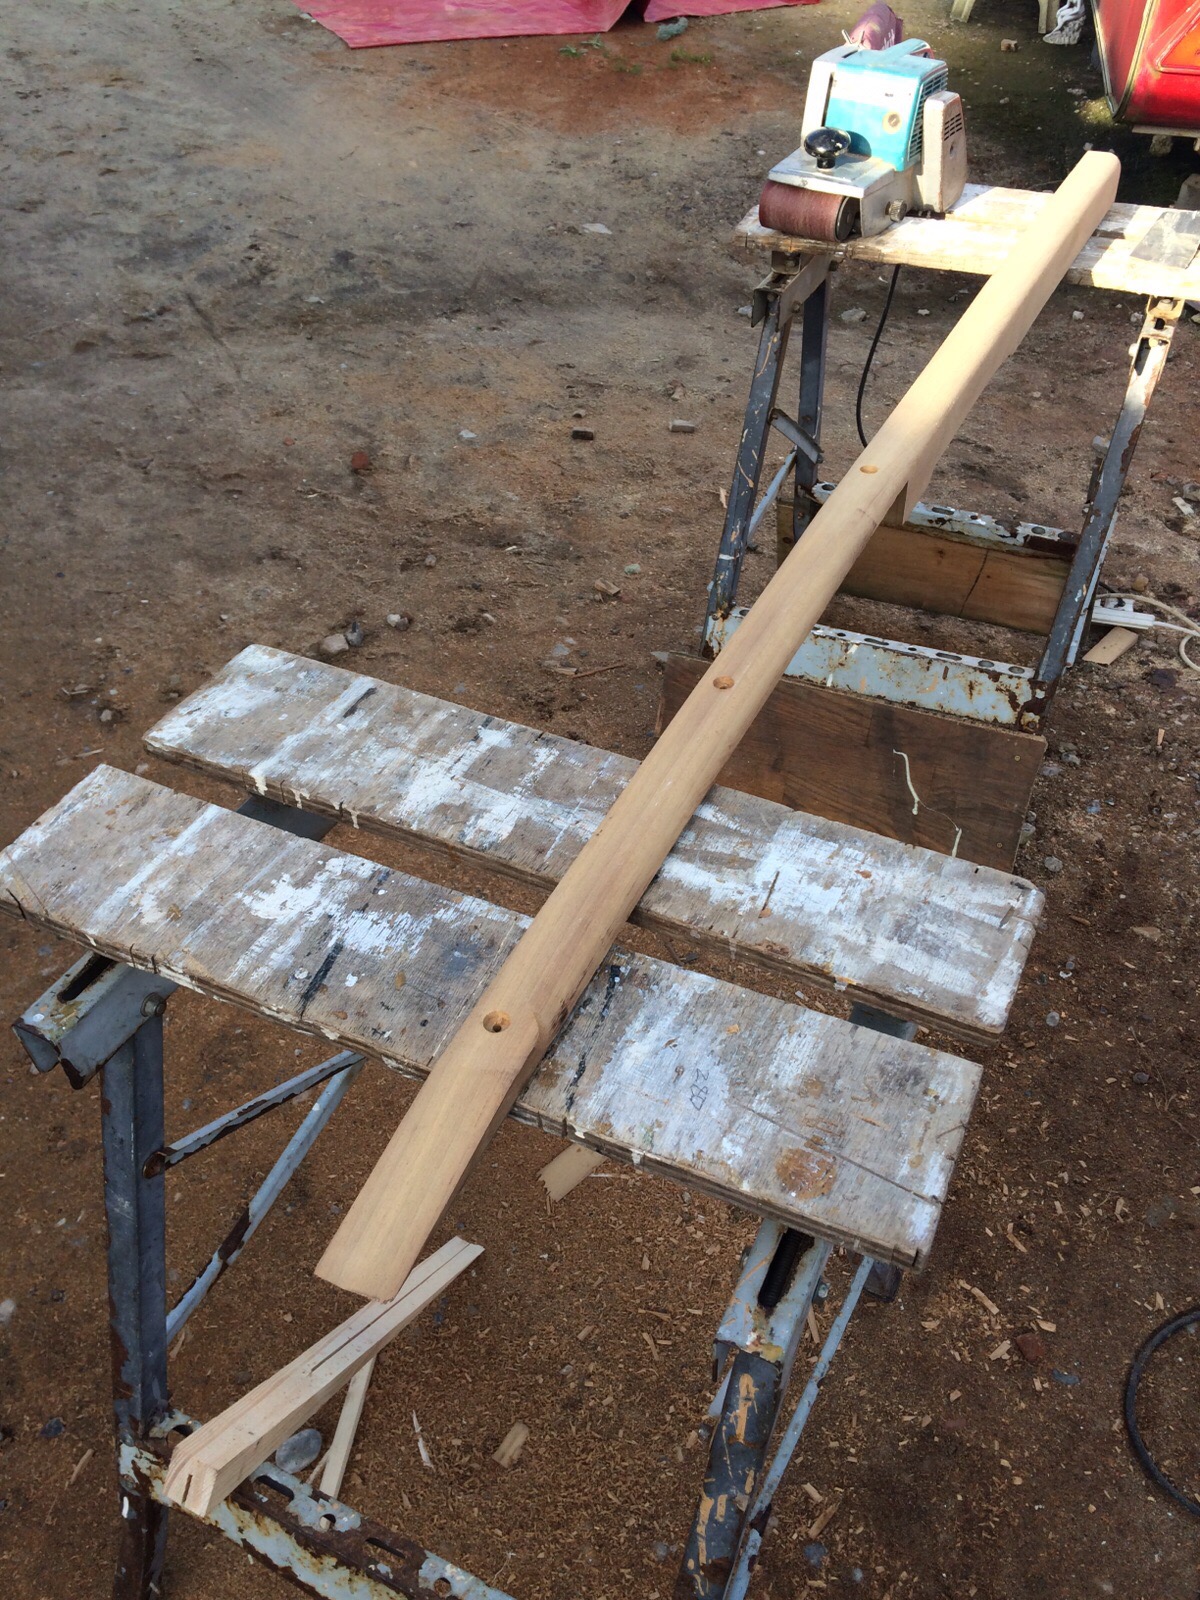
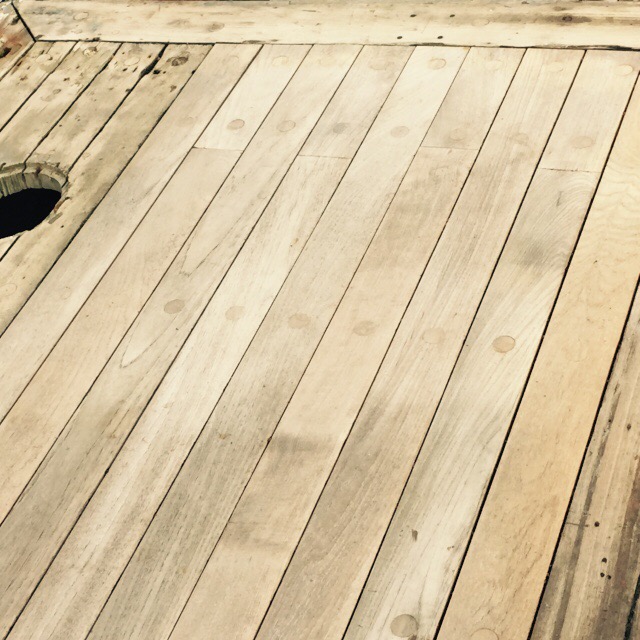
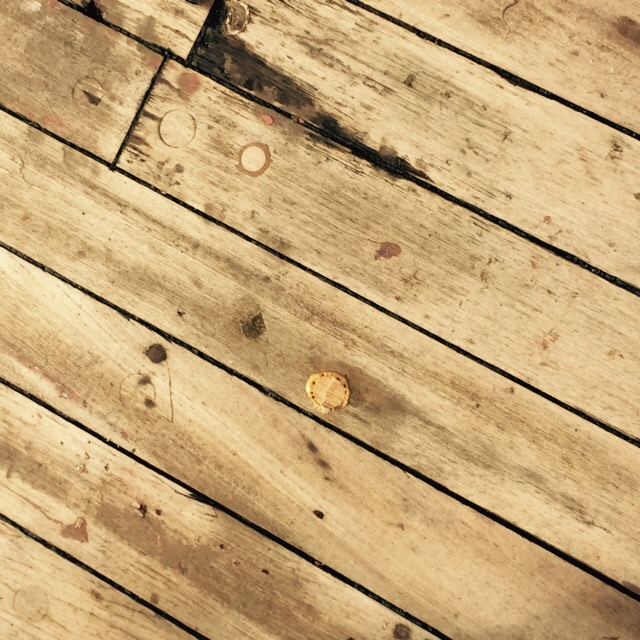
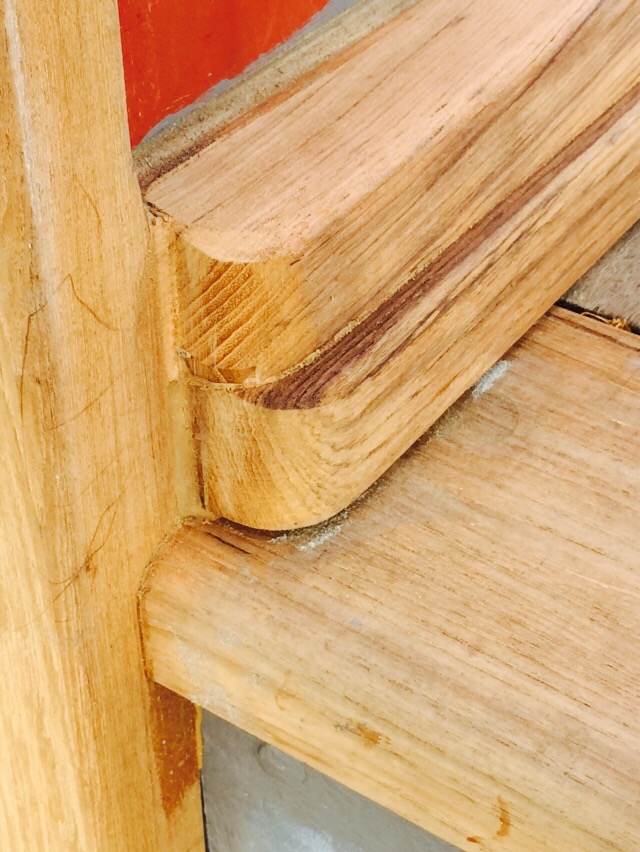
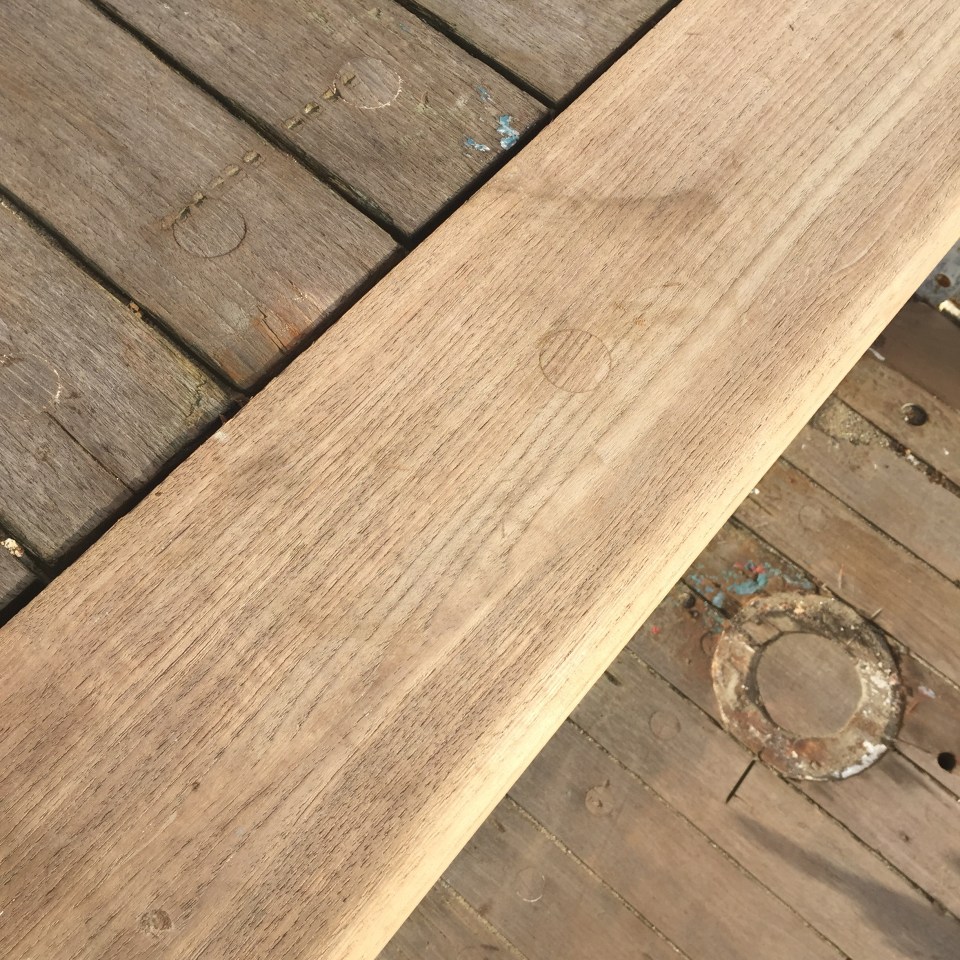
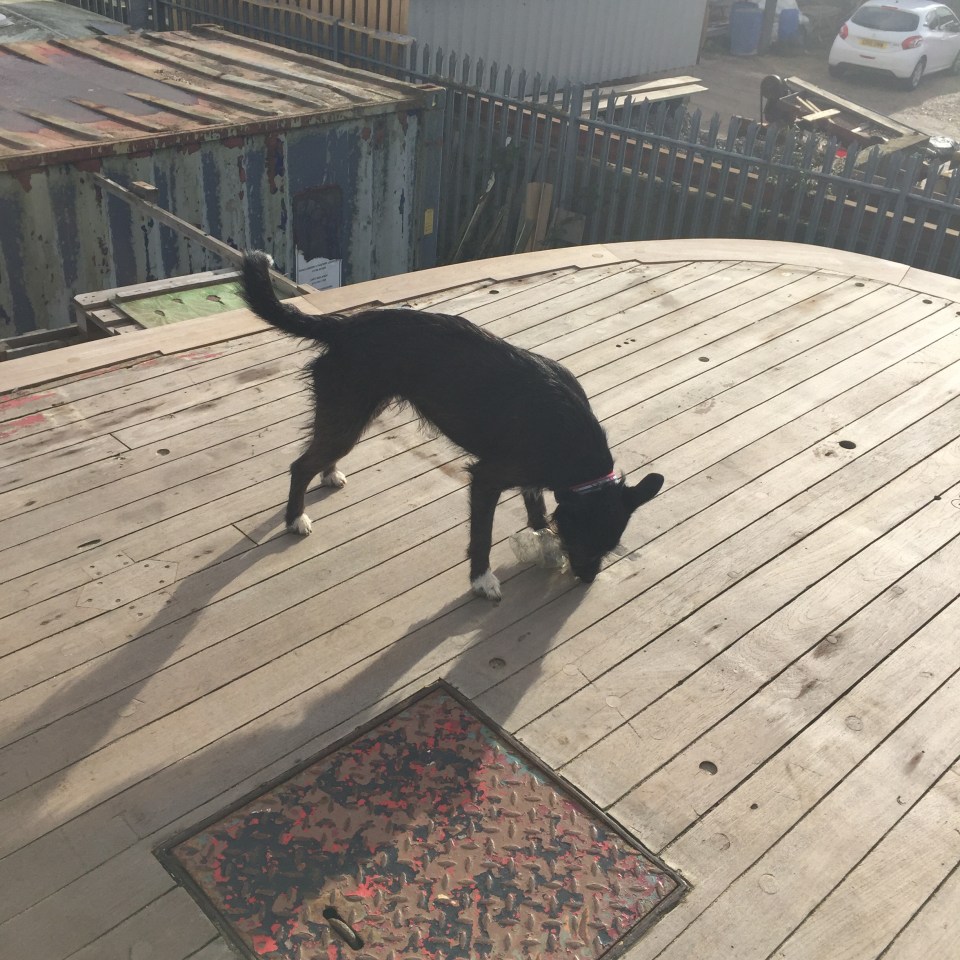
The margin planks on the foredeck were a bit wobbly (a whole other story) so these were rebedded and reattached. They had originally been fitted with a square edge and without the overhang that is meant to ensure the water runs off over the side of the boat. This was fixed through attaching a bullnose trim which provided the overhang and neatened it all up.  

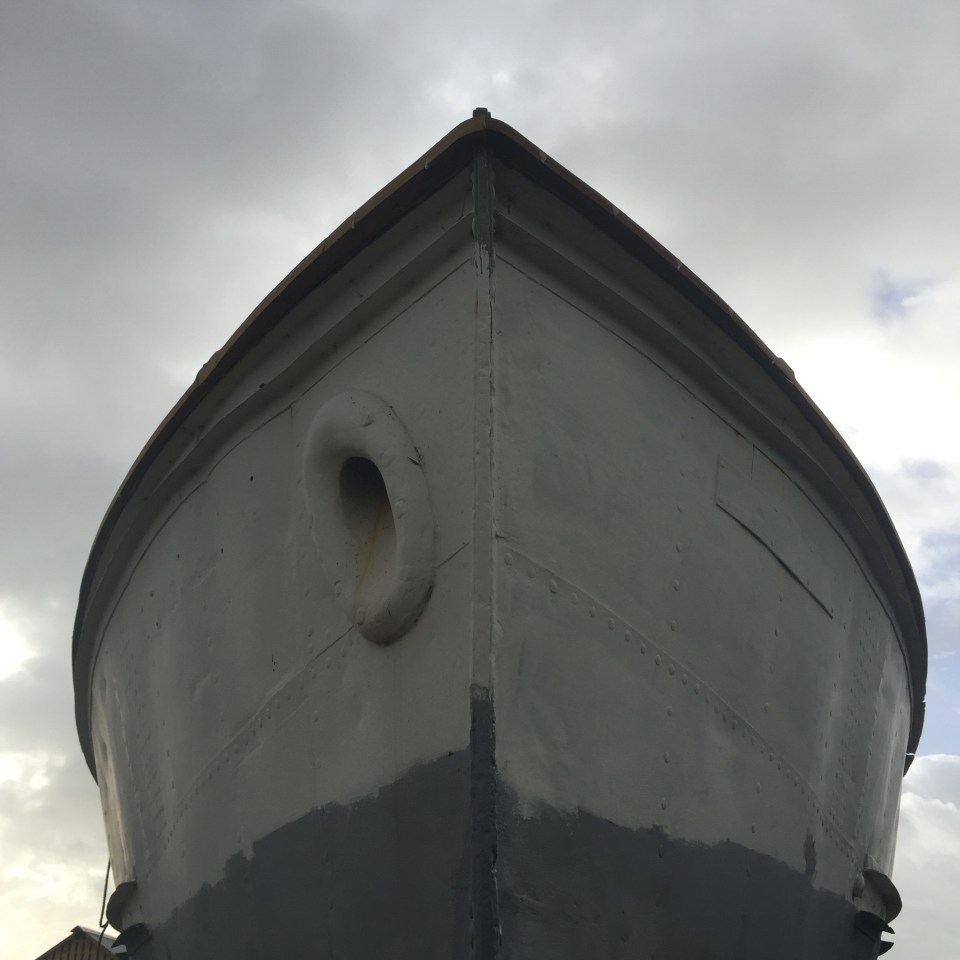
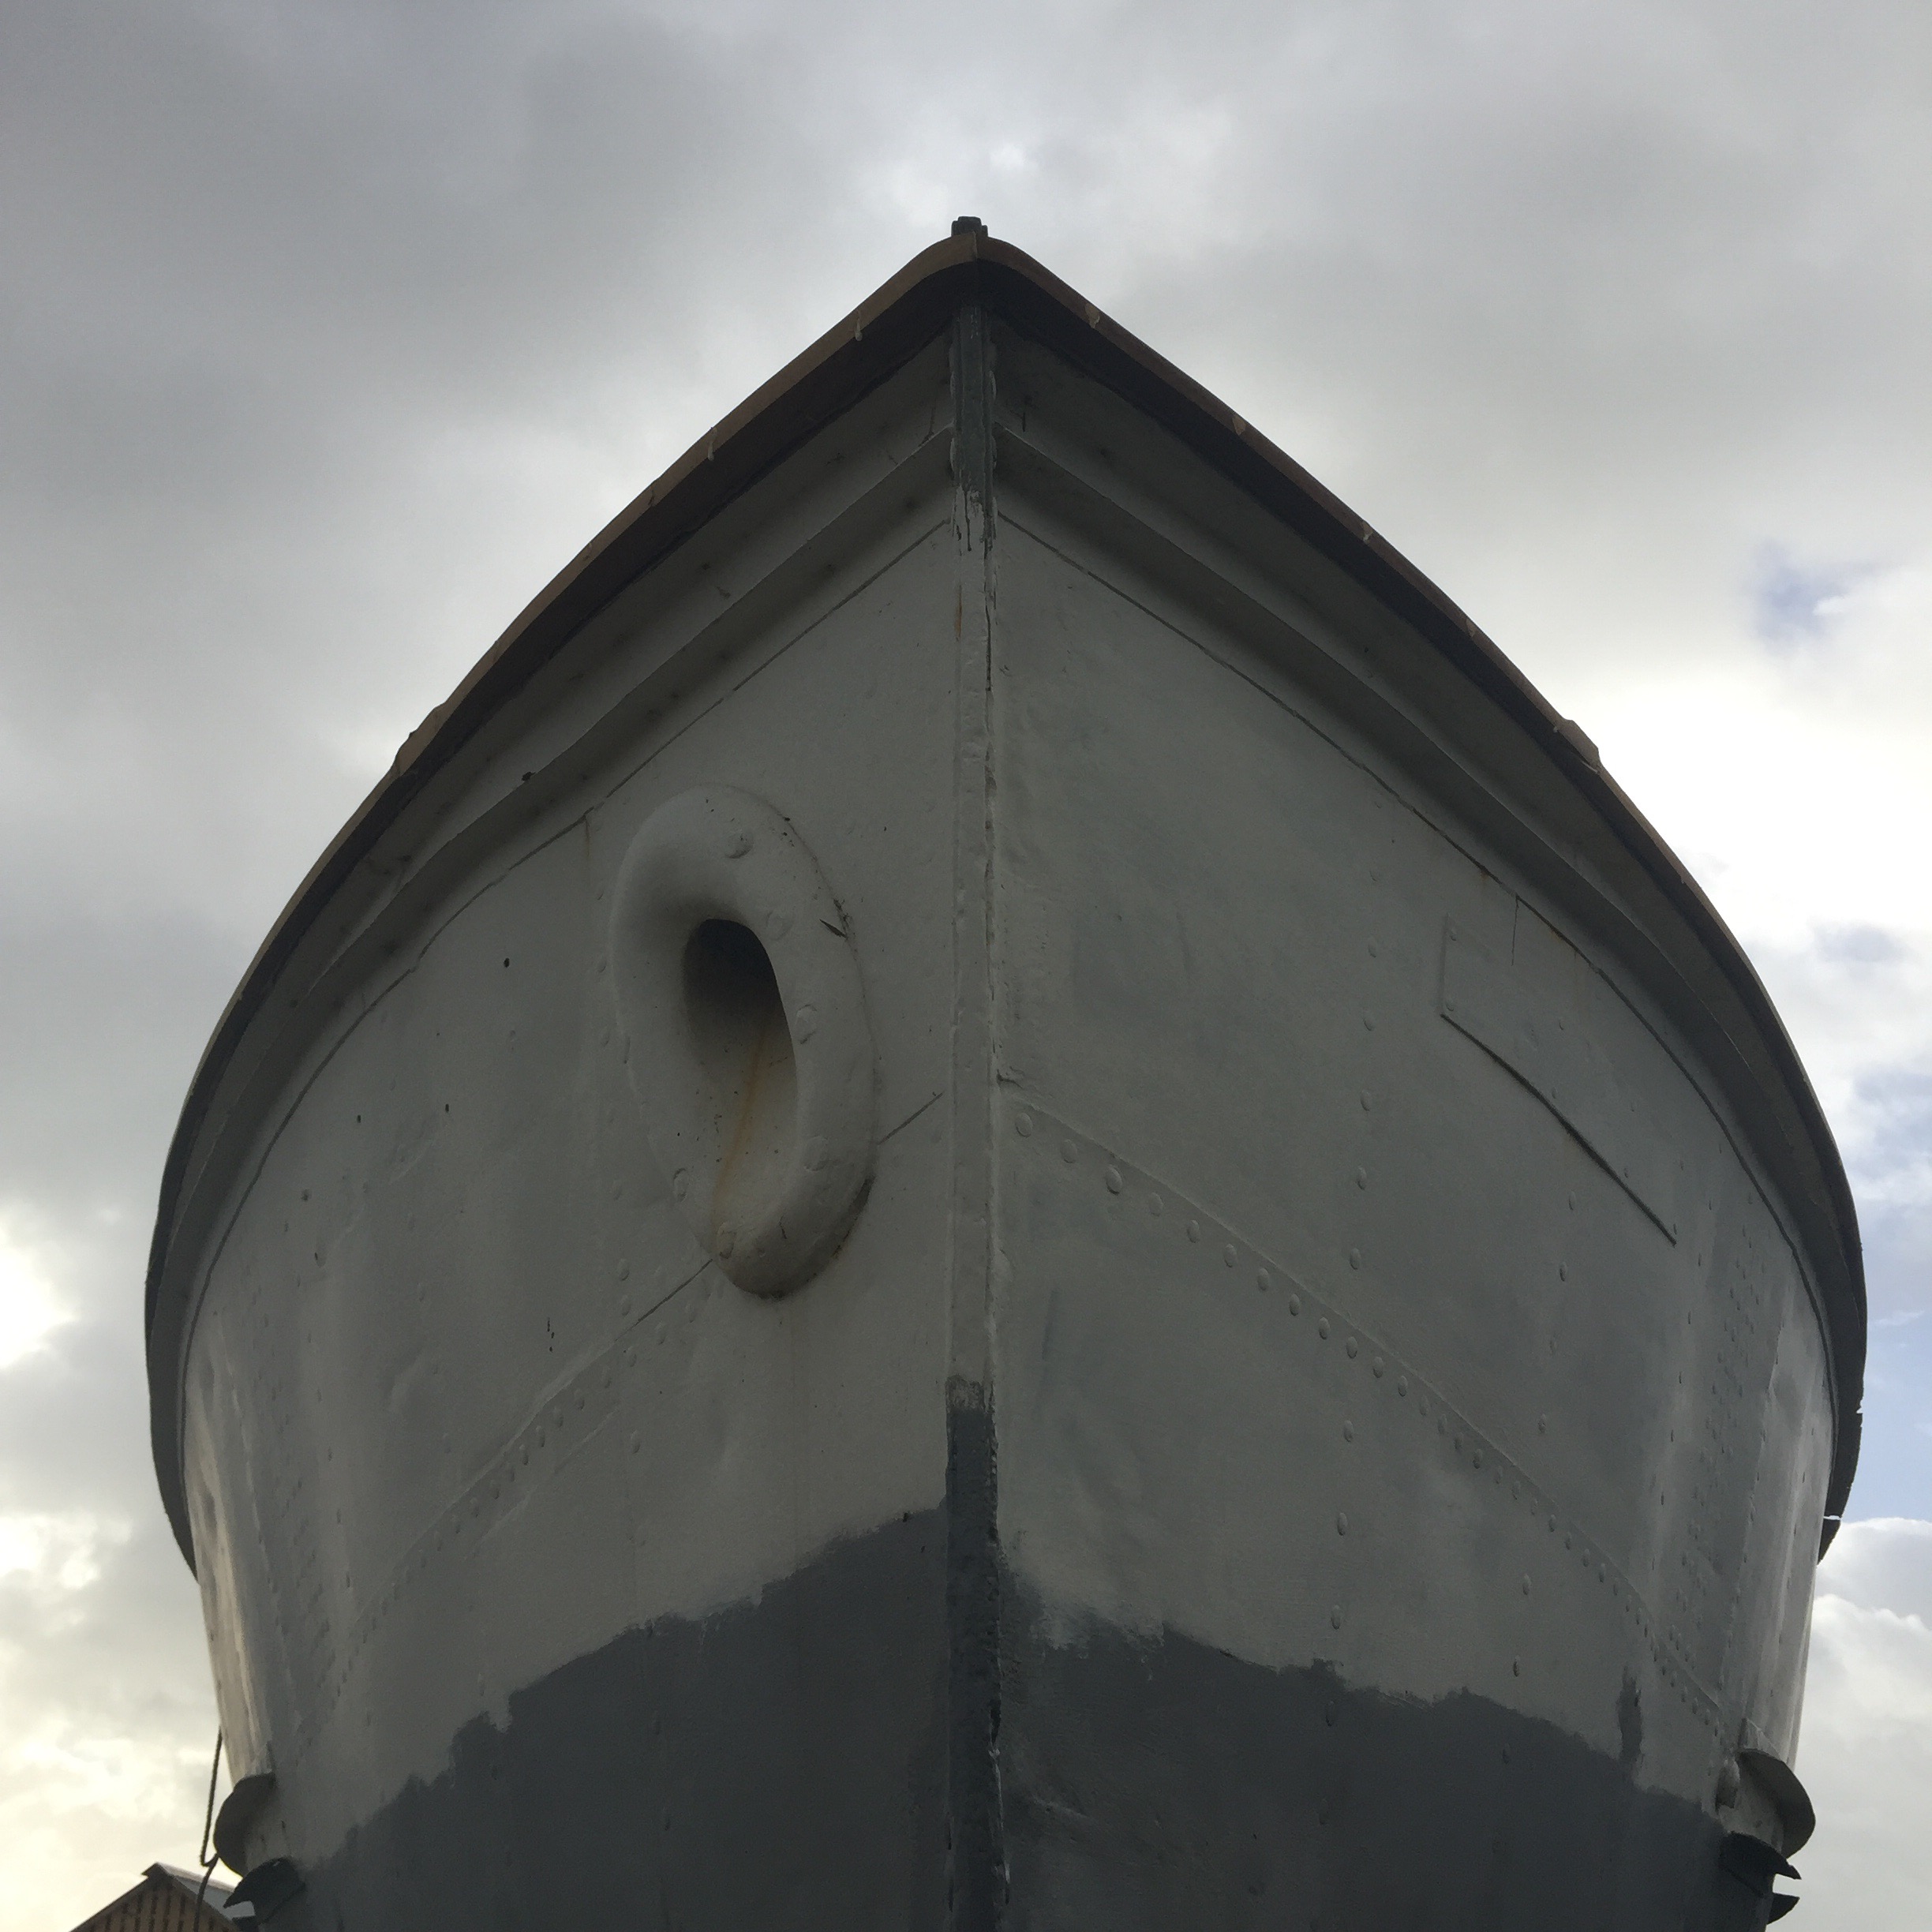
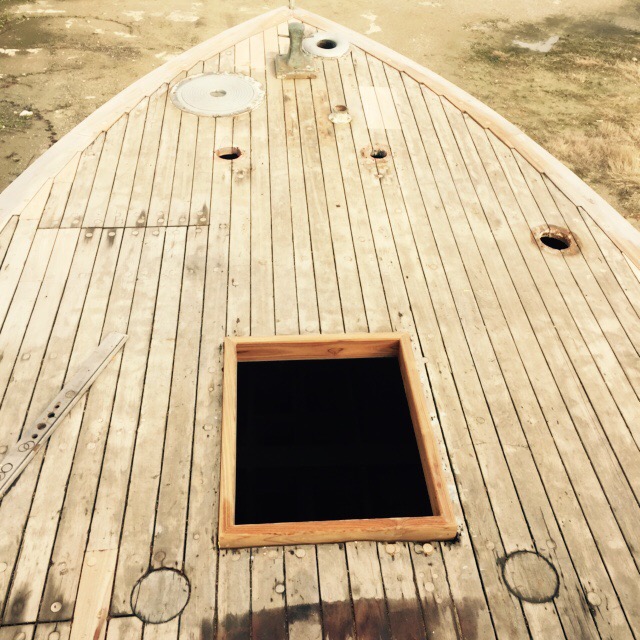
It is rounded off beautifully at the very bow bit (am sure there is a technical name for this bit).

  
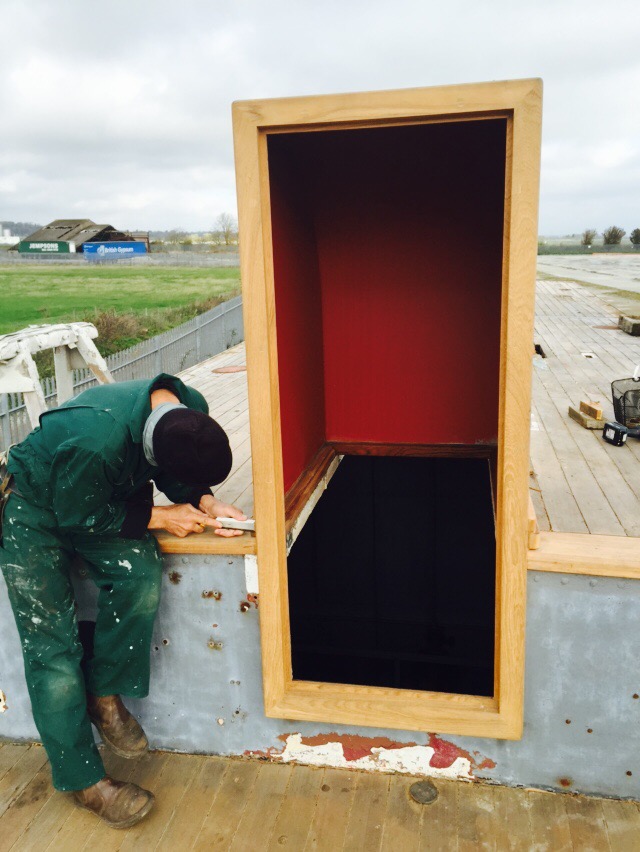
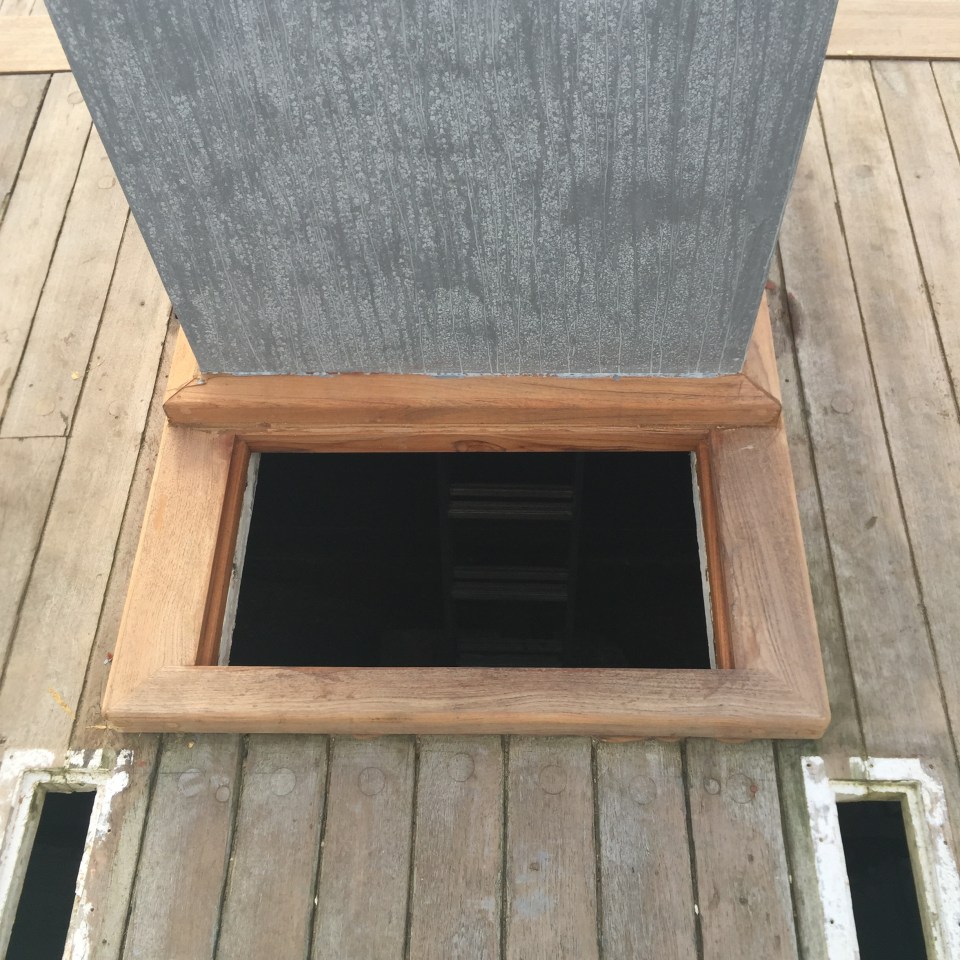
Next the temporary door on the hatch. This has been ingeniously mcgivered into place to avoid drilling into the frame.  

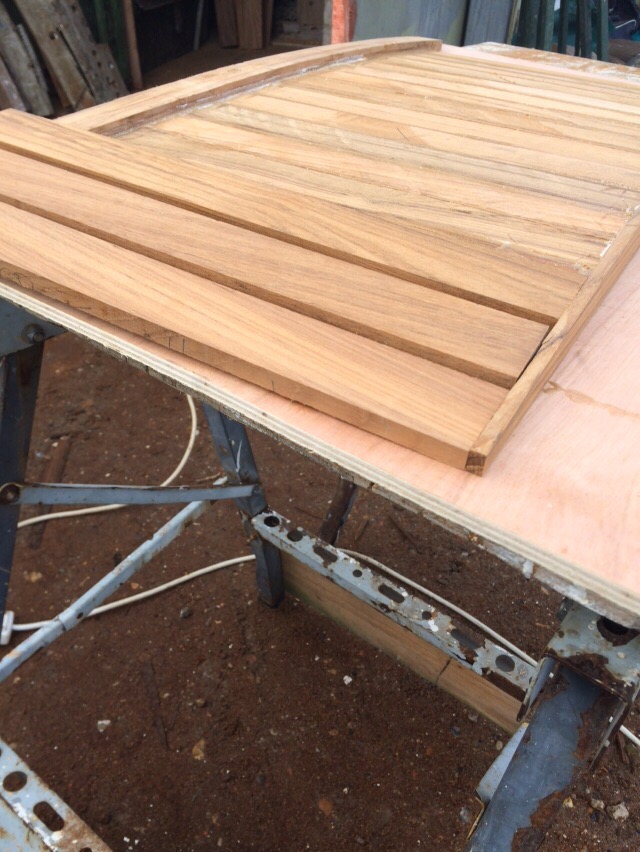
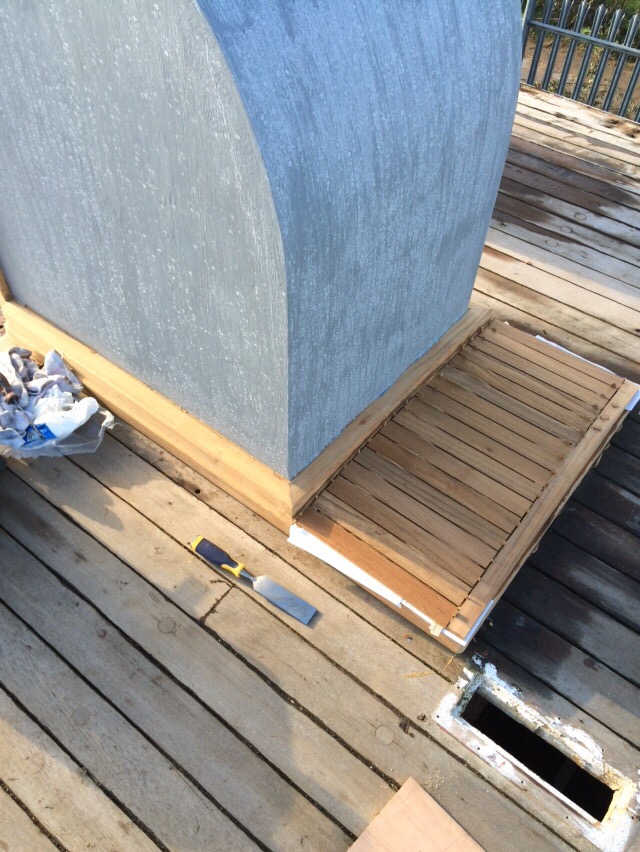
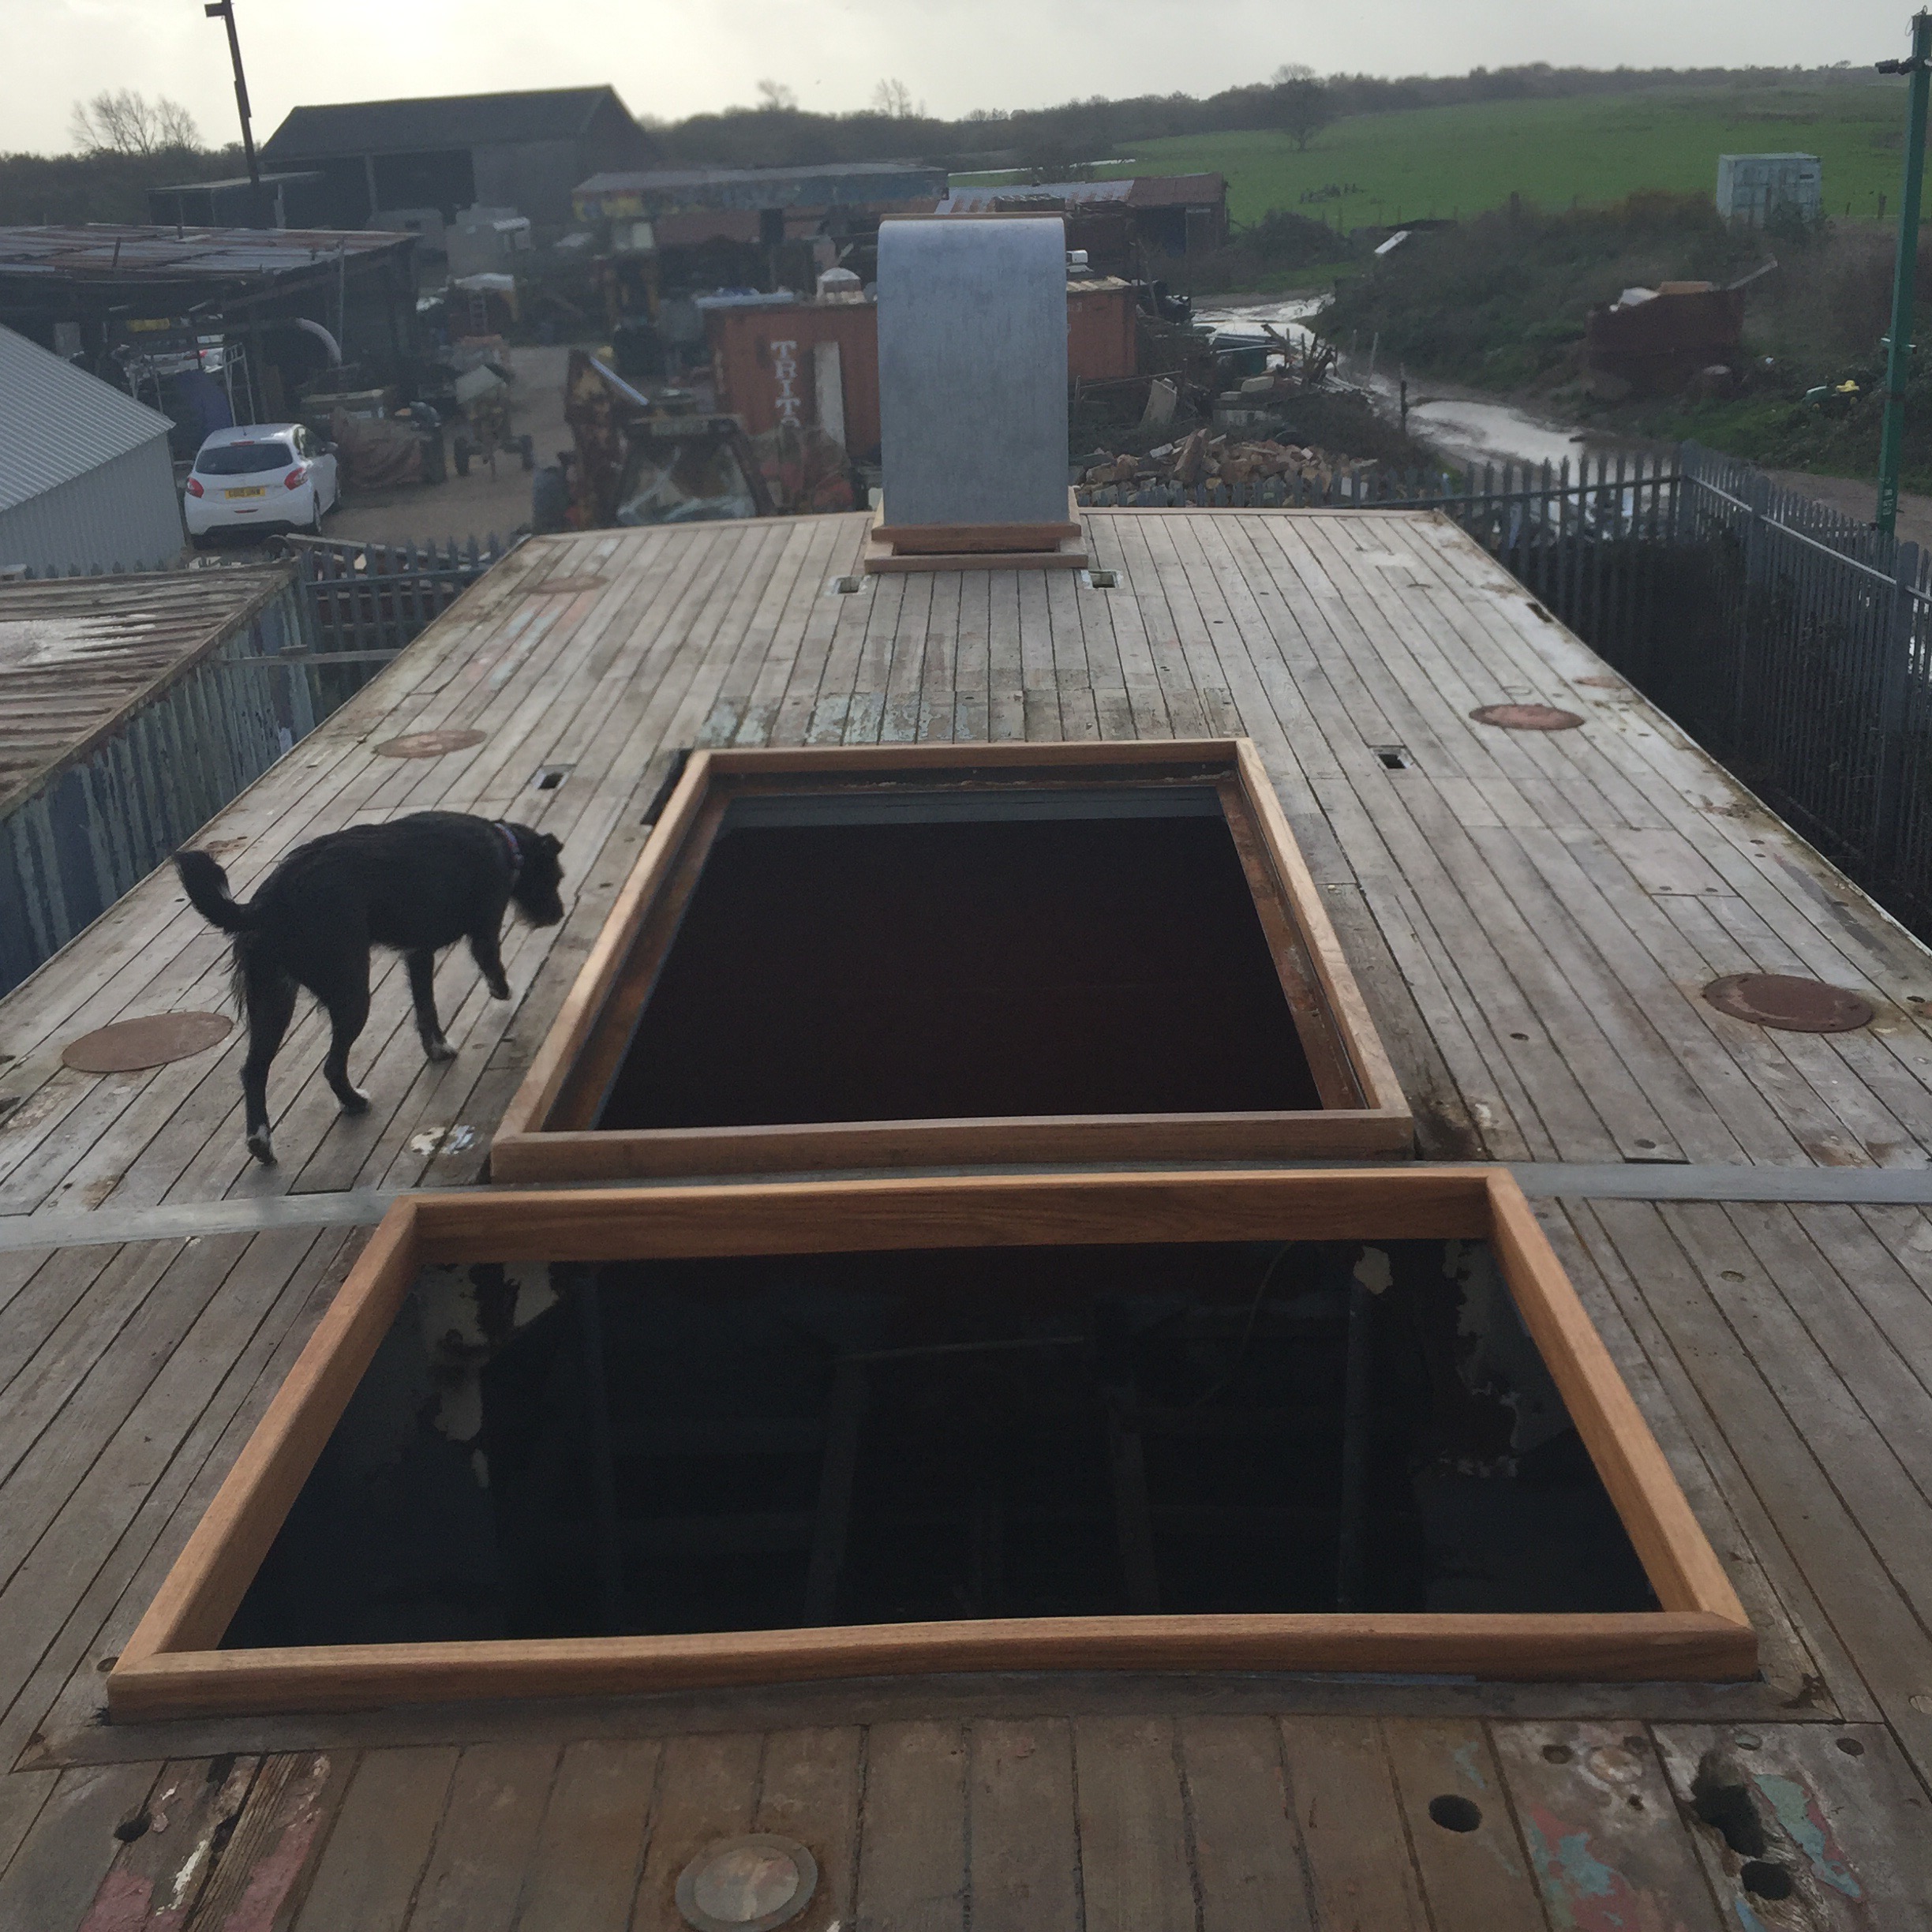
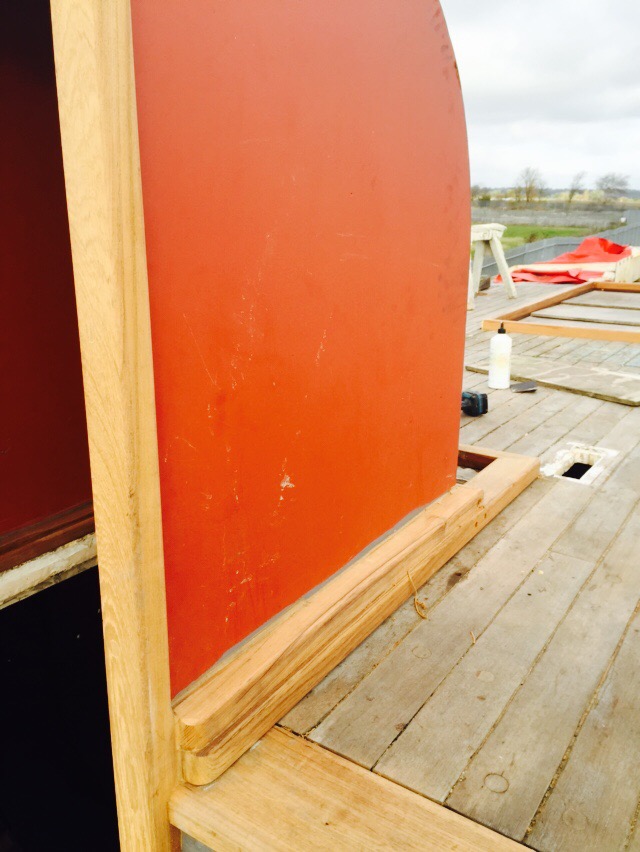
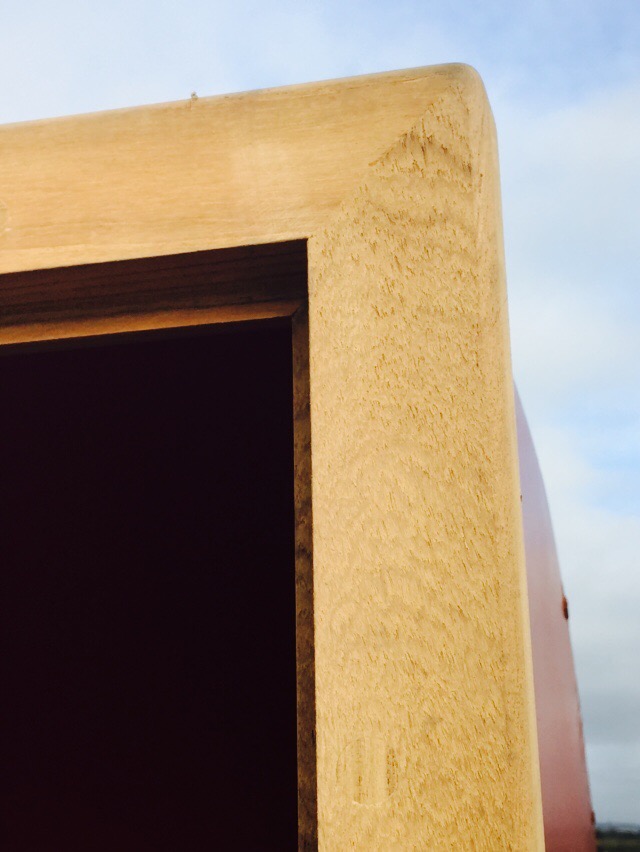
Finally all the fiddly bits have been taken care of. The nosing at the edge of the top deck, and all the framing round the hatch. The rule of thumb here being to create the edgings so that any water runs away off the deck rather than pooling around joins.


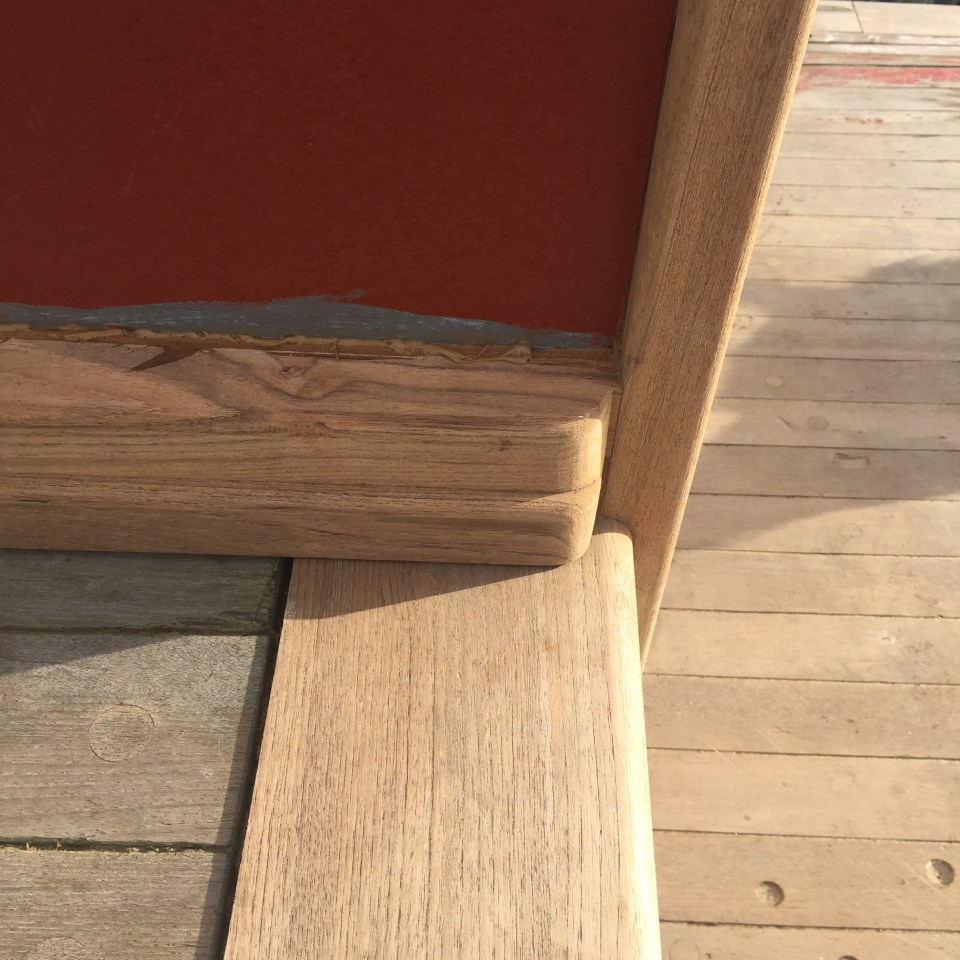
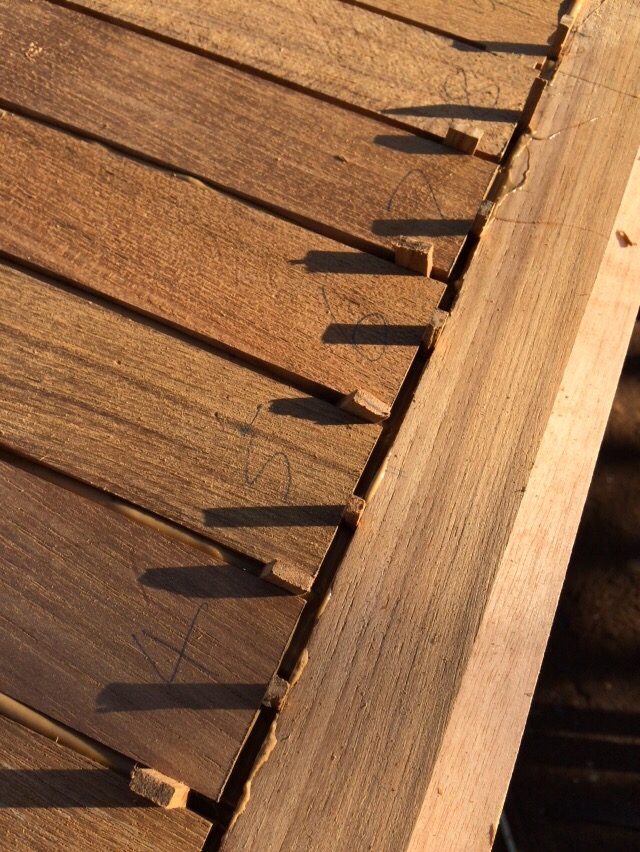
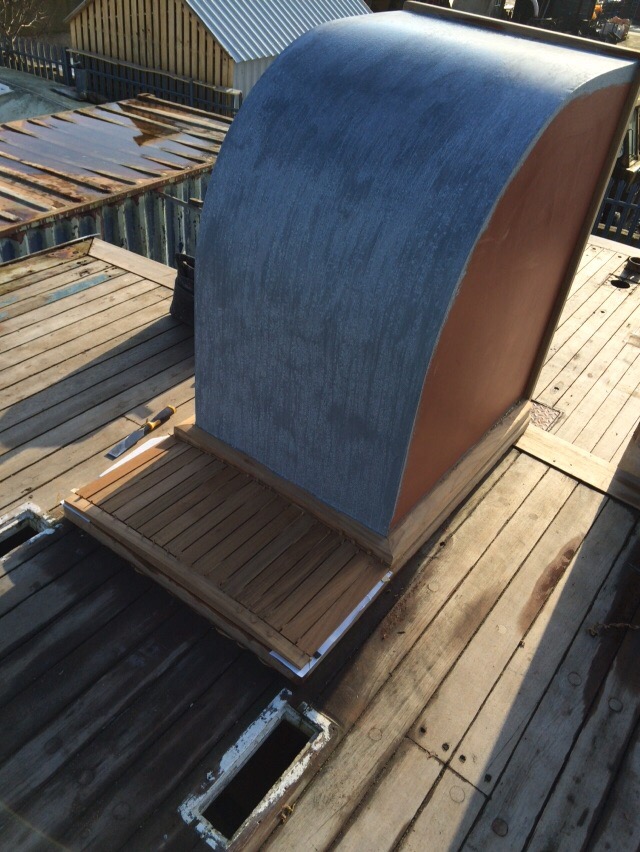
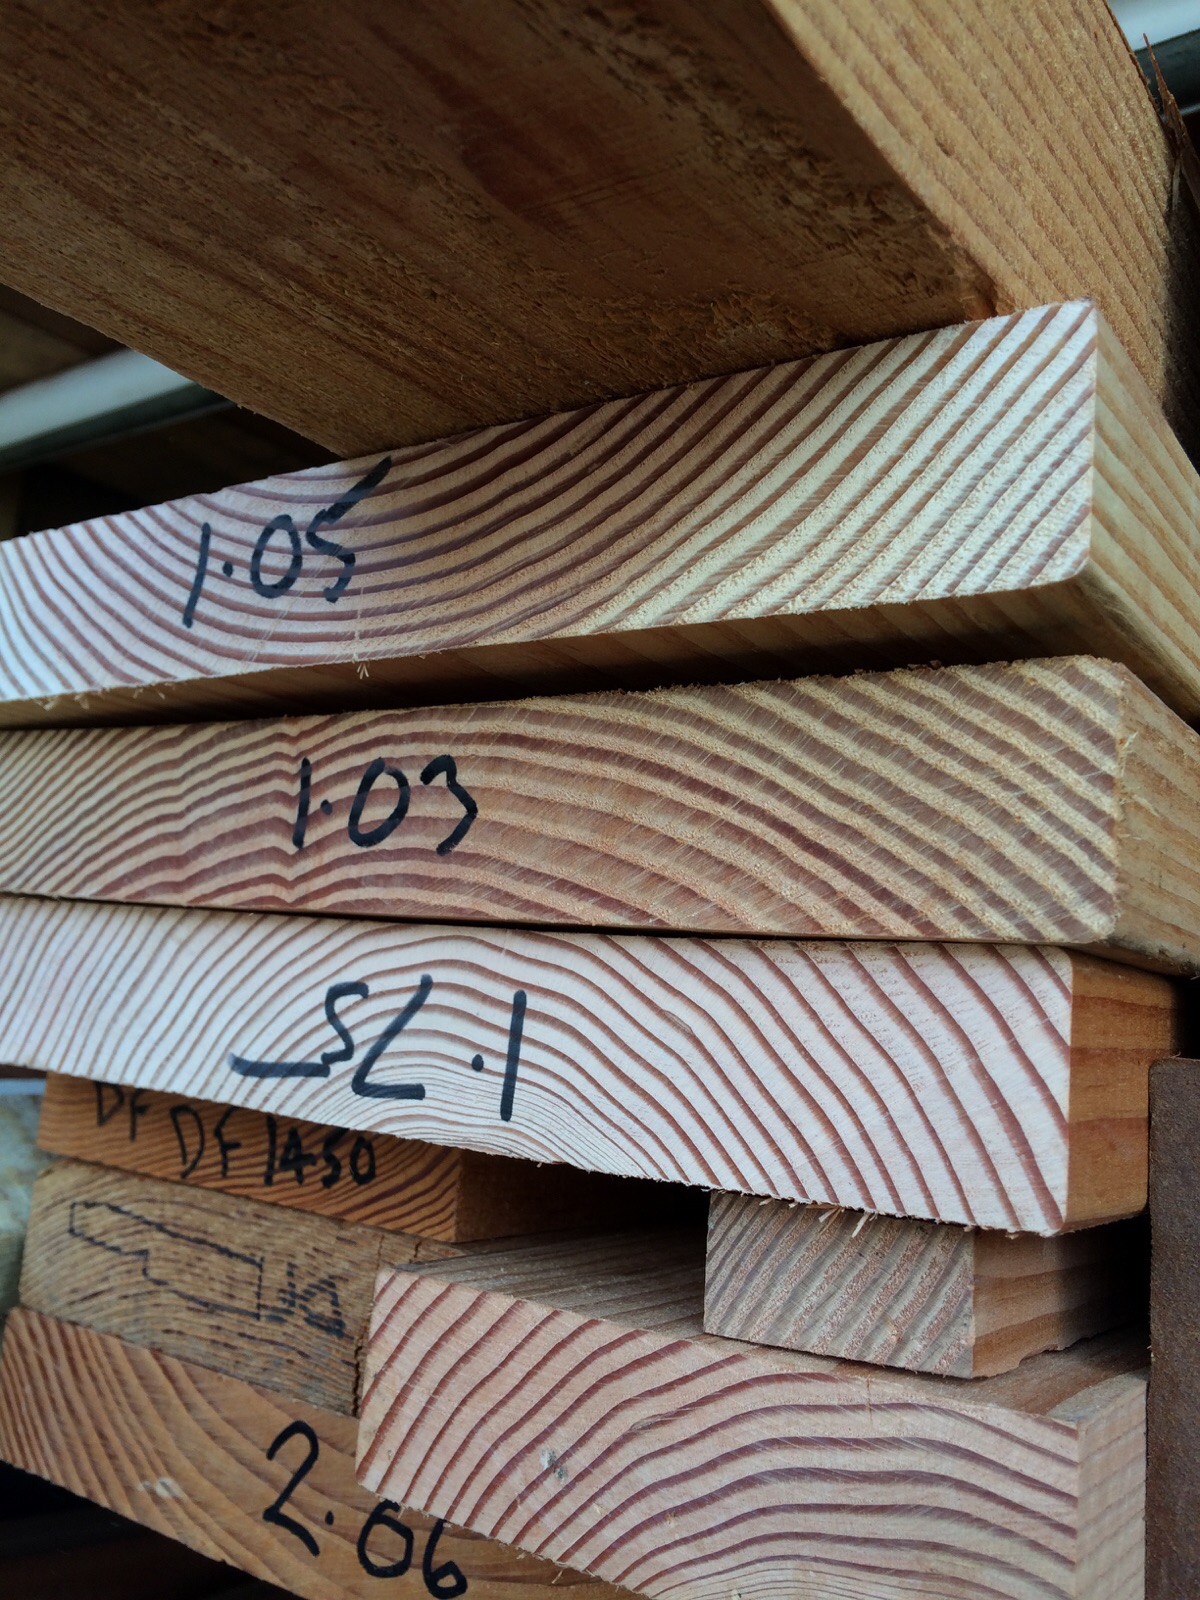
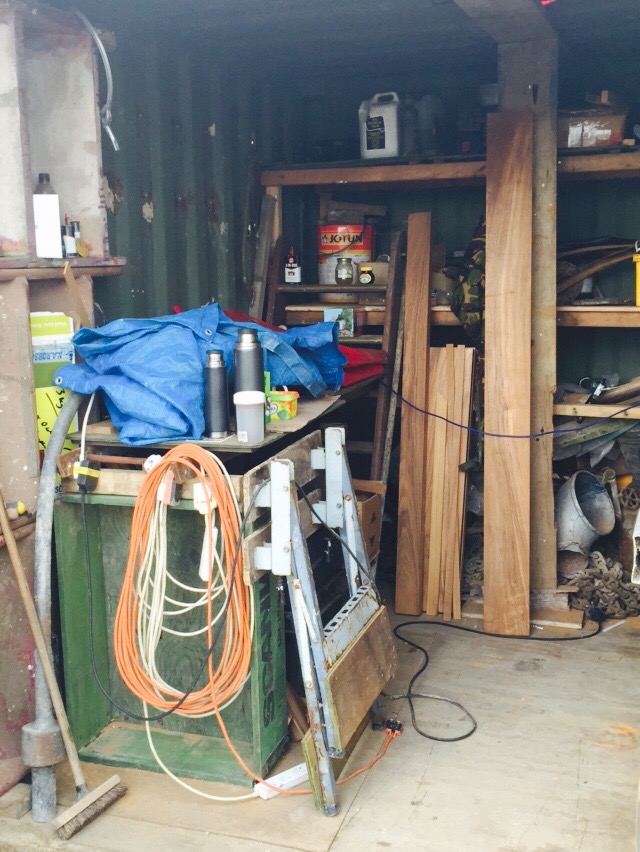
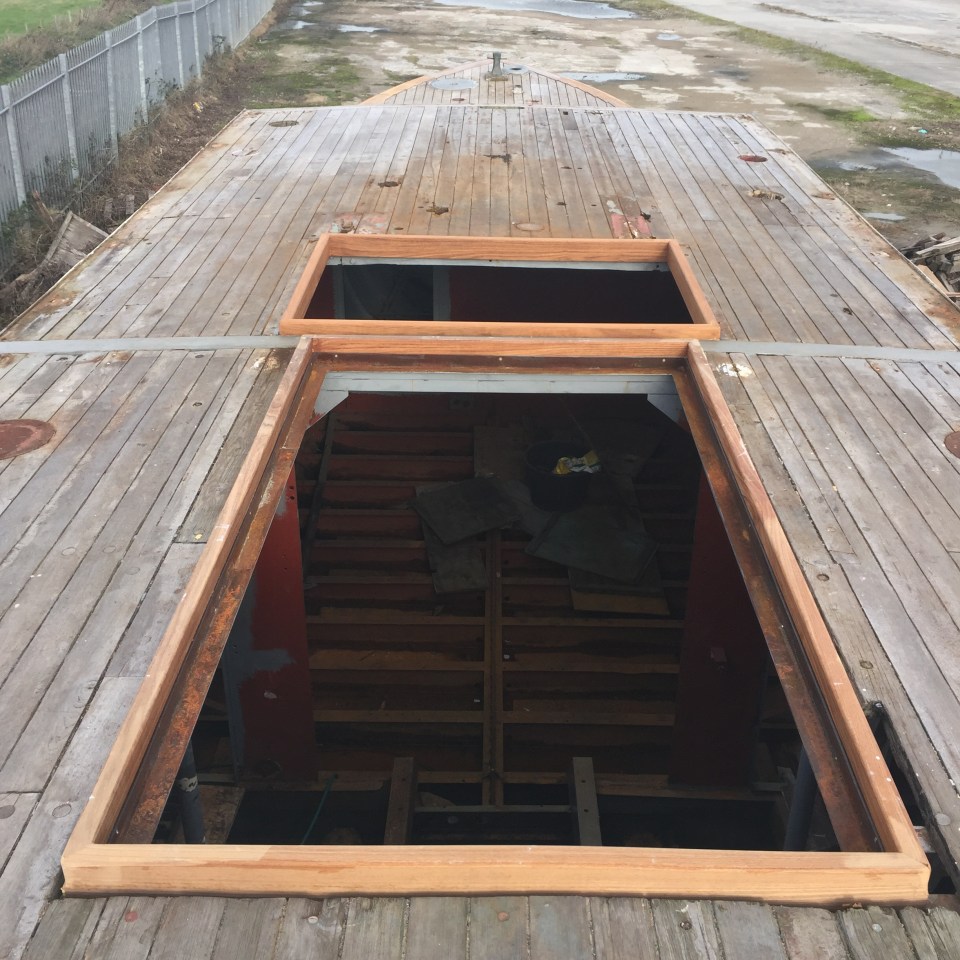
Next all the hatches now have edges. The upstand up bit is also to prevent any water running into the boat and to make it easier to attach any eventual covers. This was probably one of the more challenging bits of logistical carpentry for Ian. The teak is all bought in running lengths which means you don’t get any control over the different sizes and then have to patchwork together the different lengths to make sure you have enough long bits for the long bits – particularly the large hatch surrounds – and not too many unusable short bits left over all while remembering what you’ve got, what you’ve used and what you’ve still got to do. I’m just glad I didn’t have to keep tabs on it!


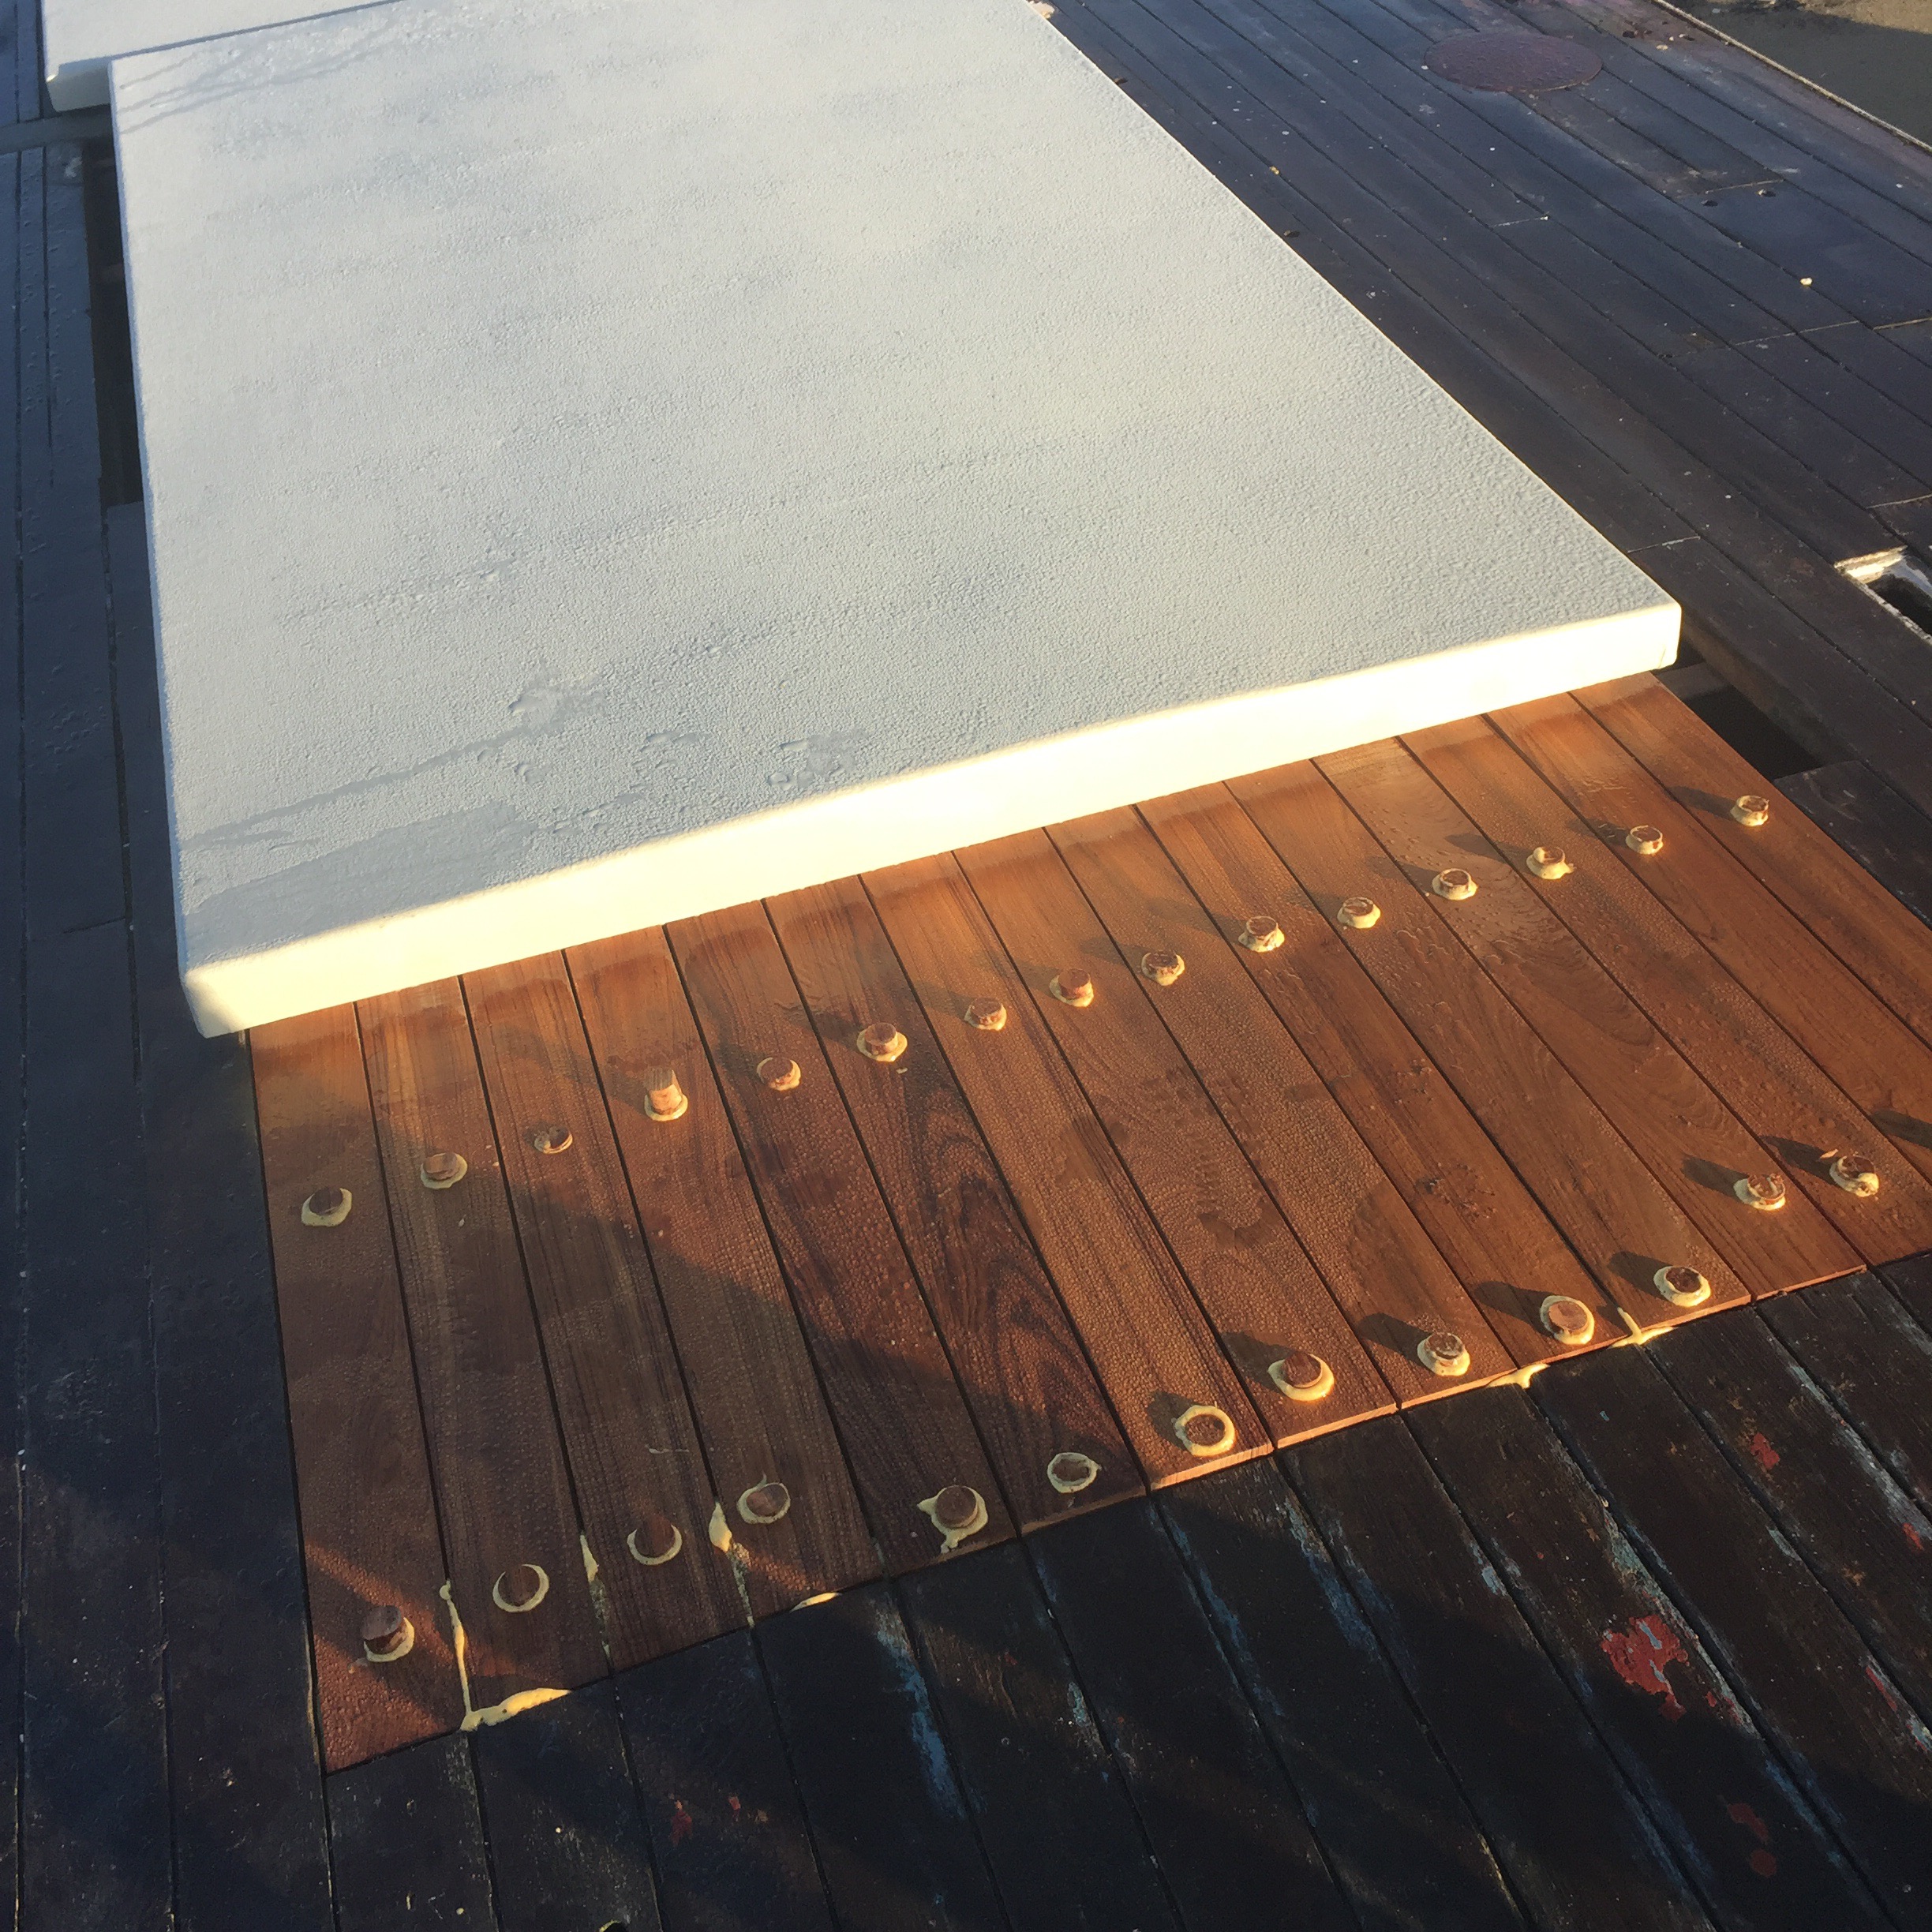
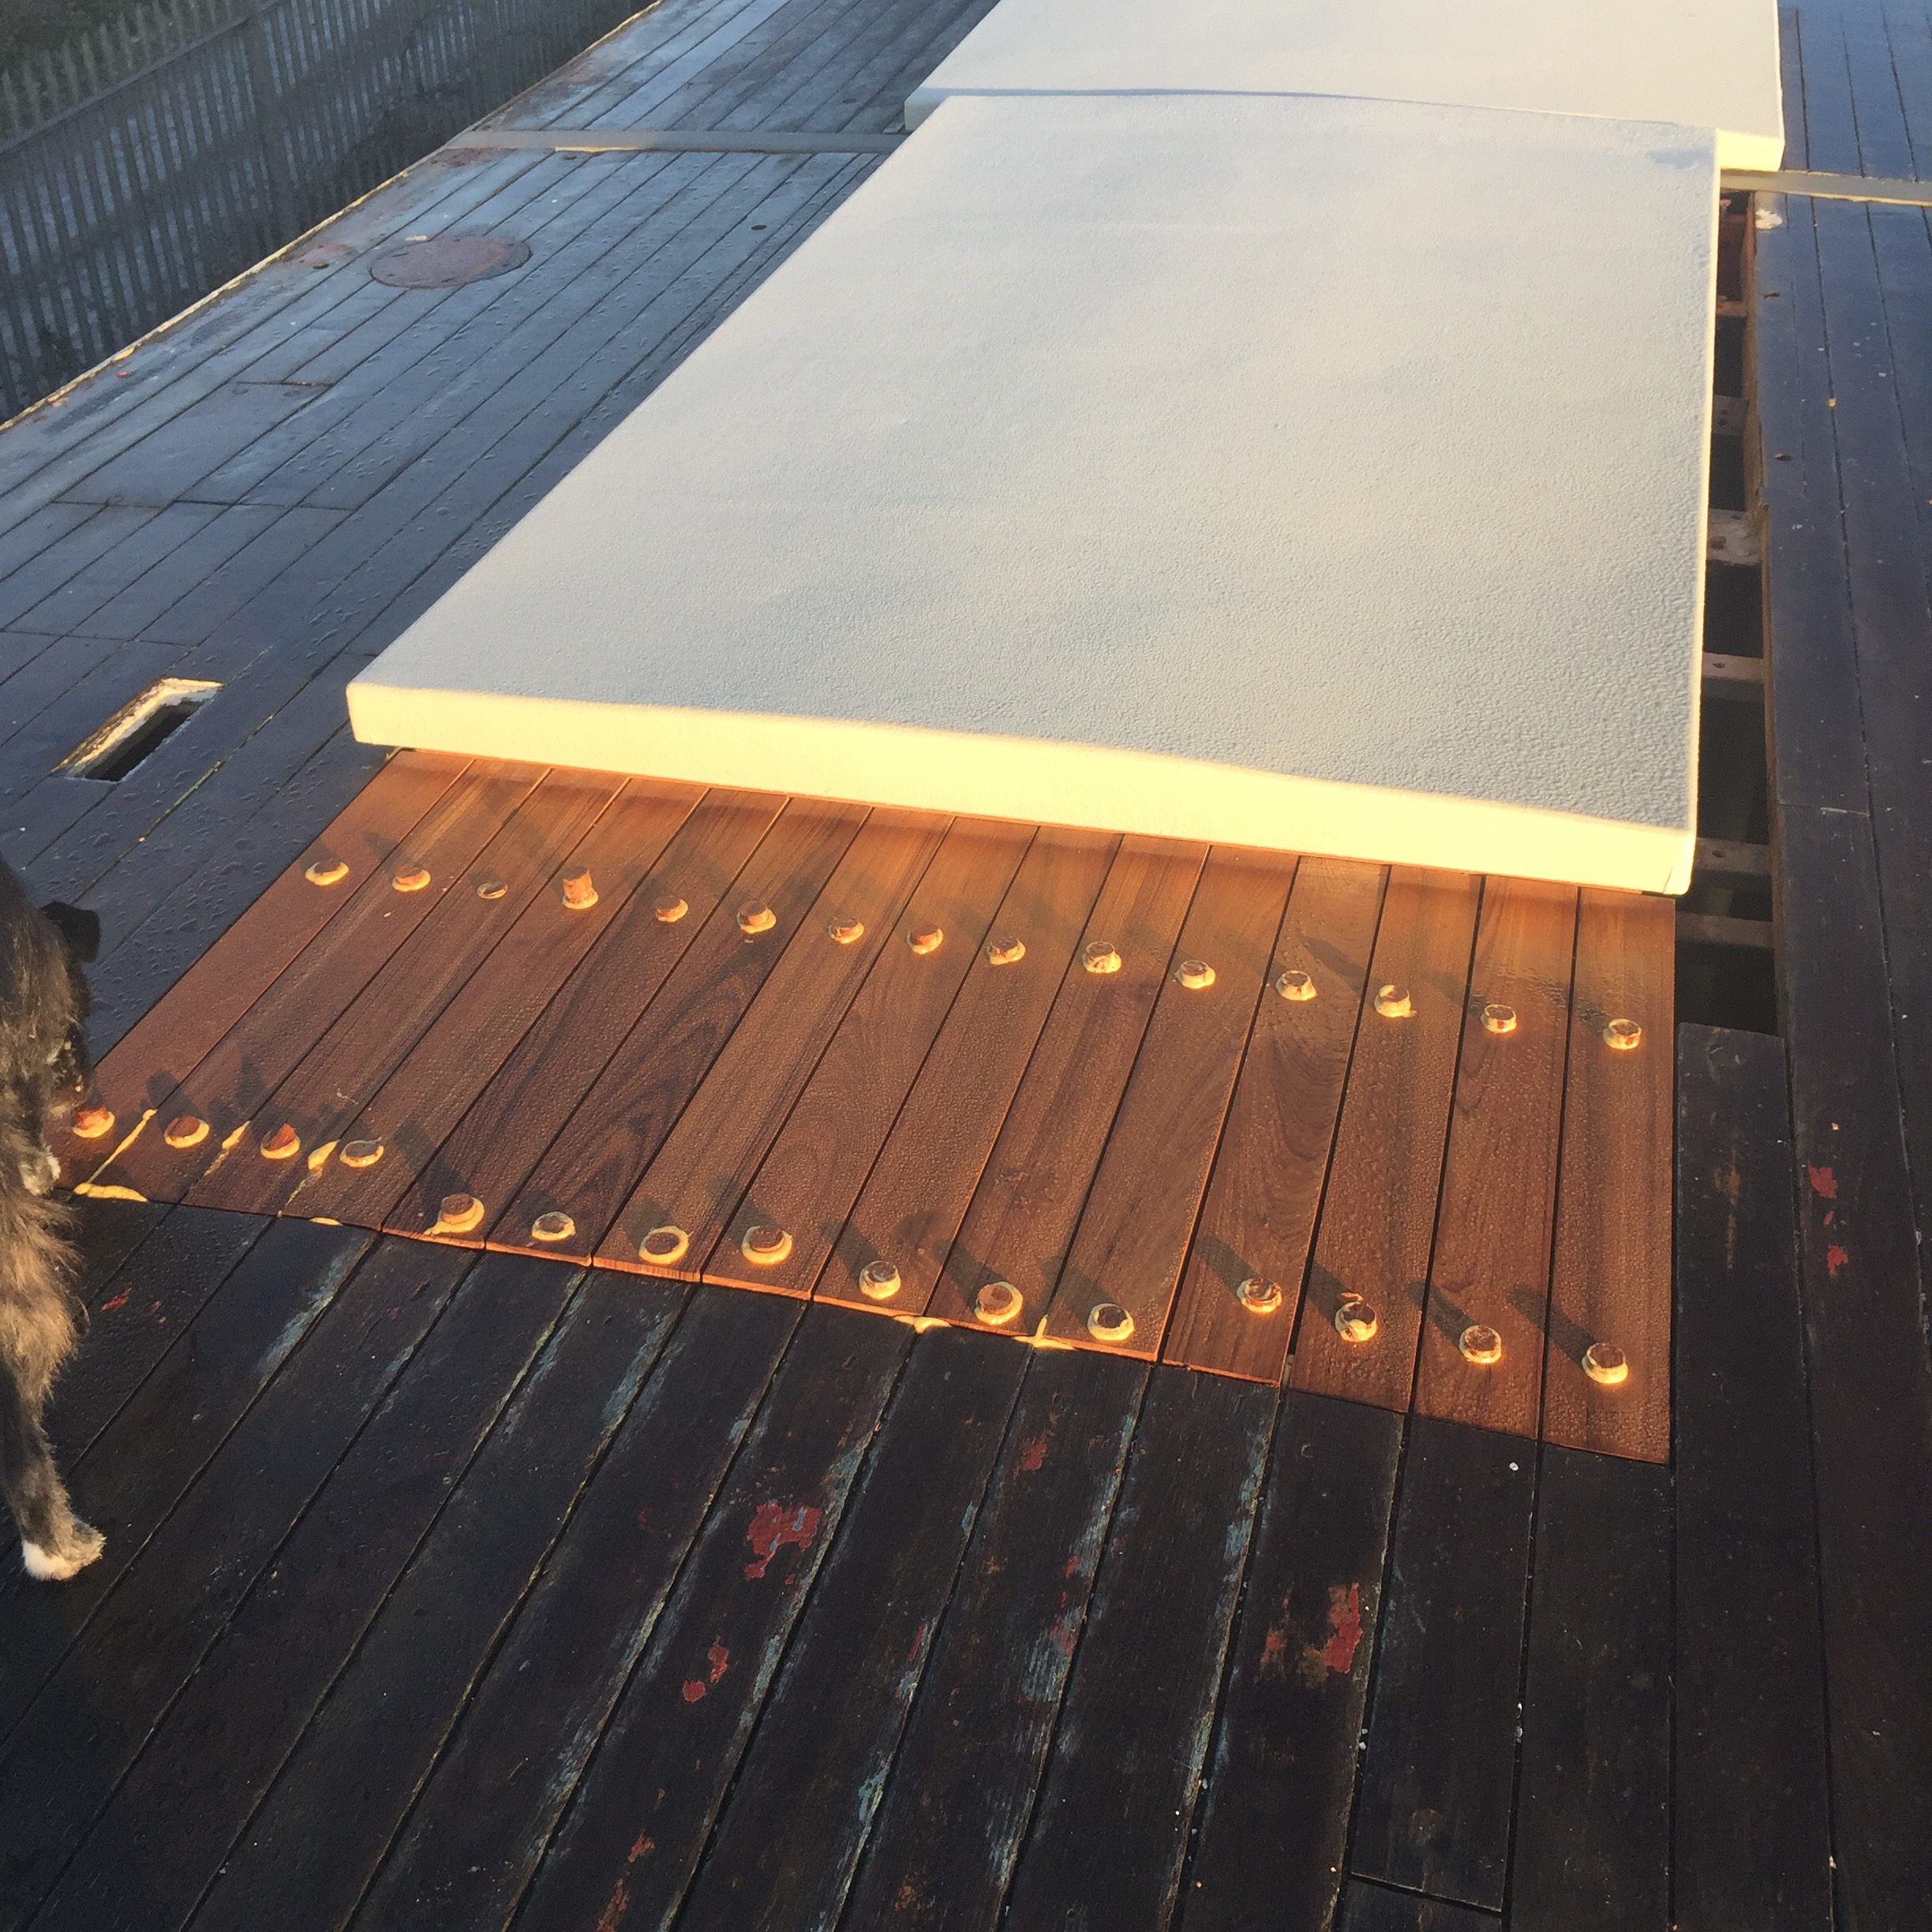
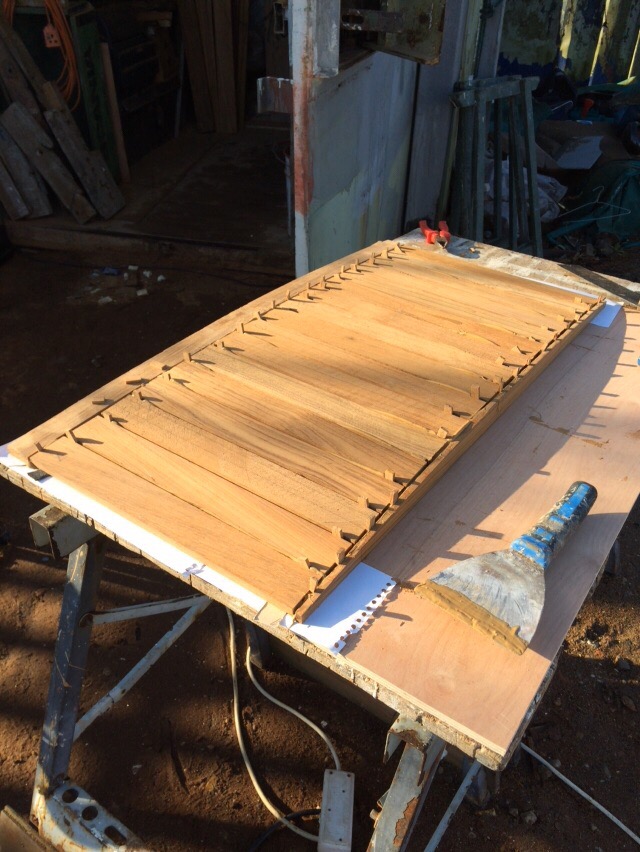
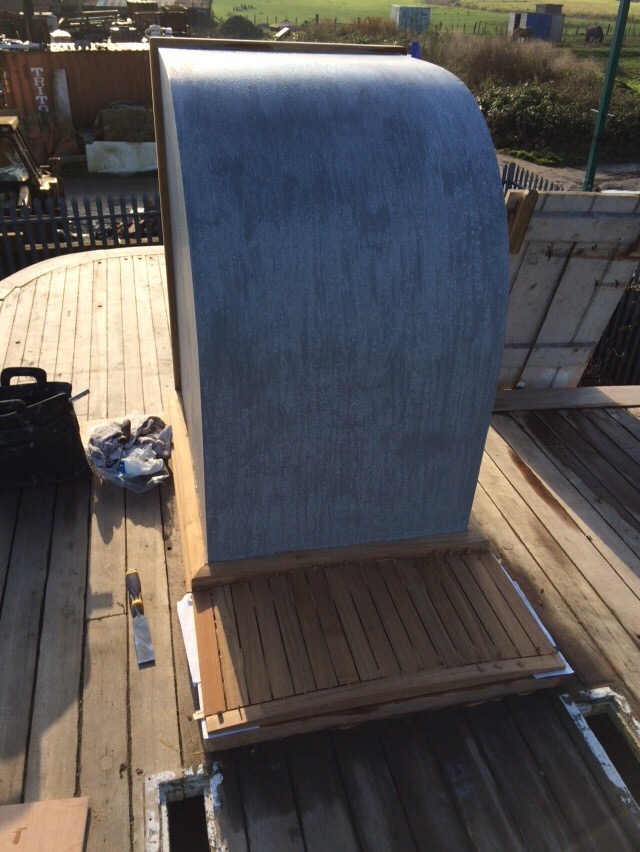
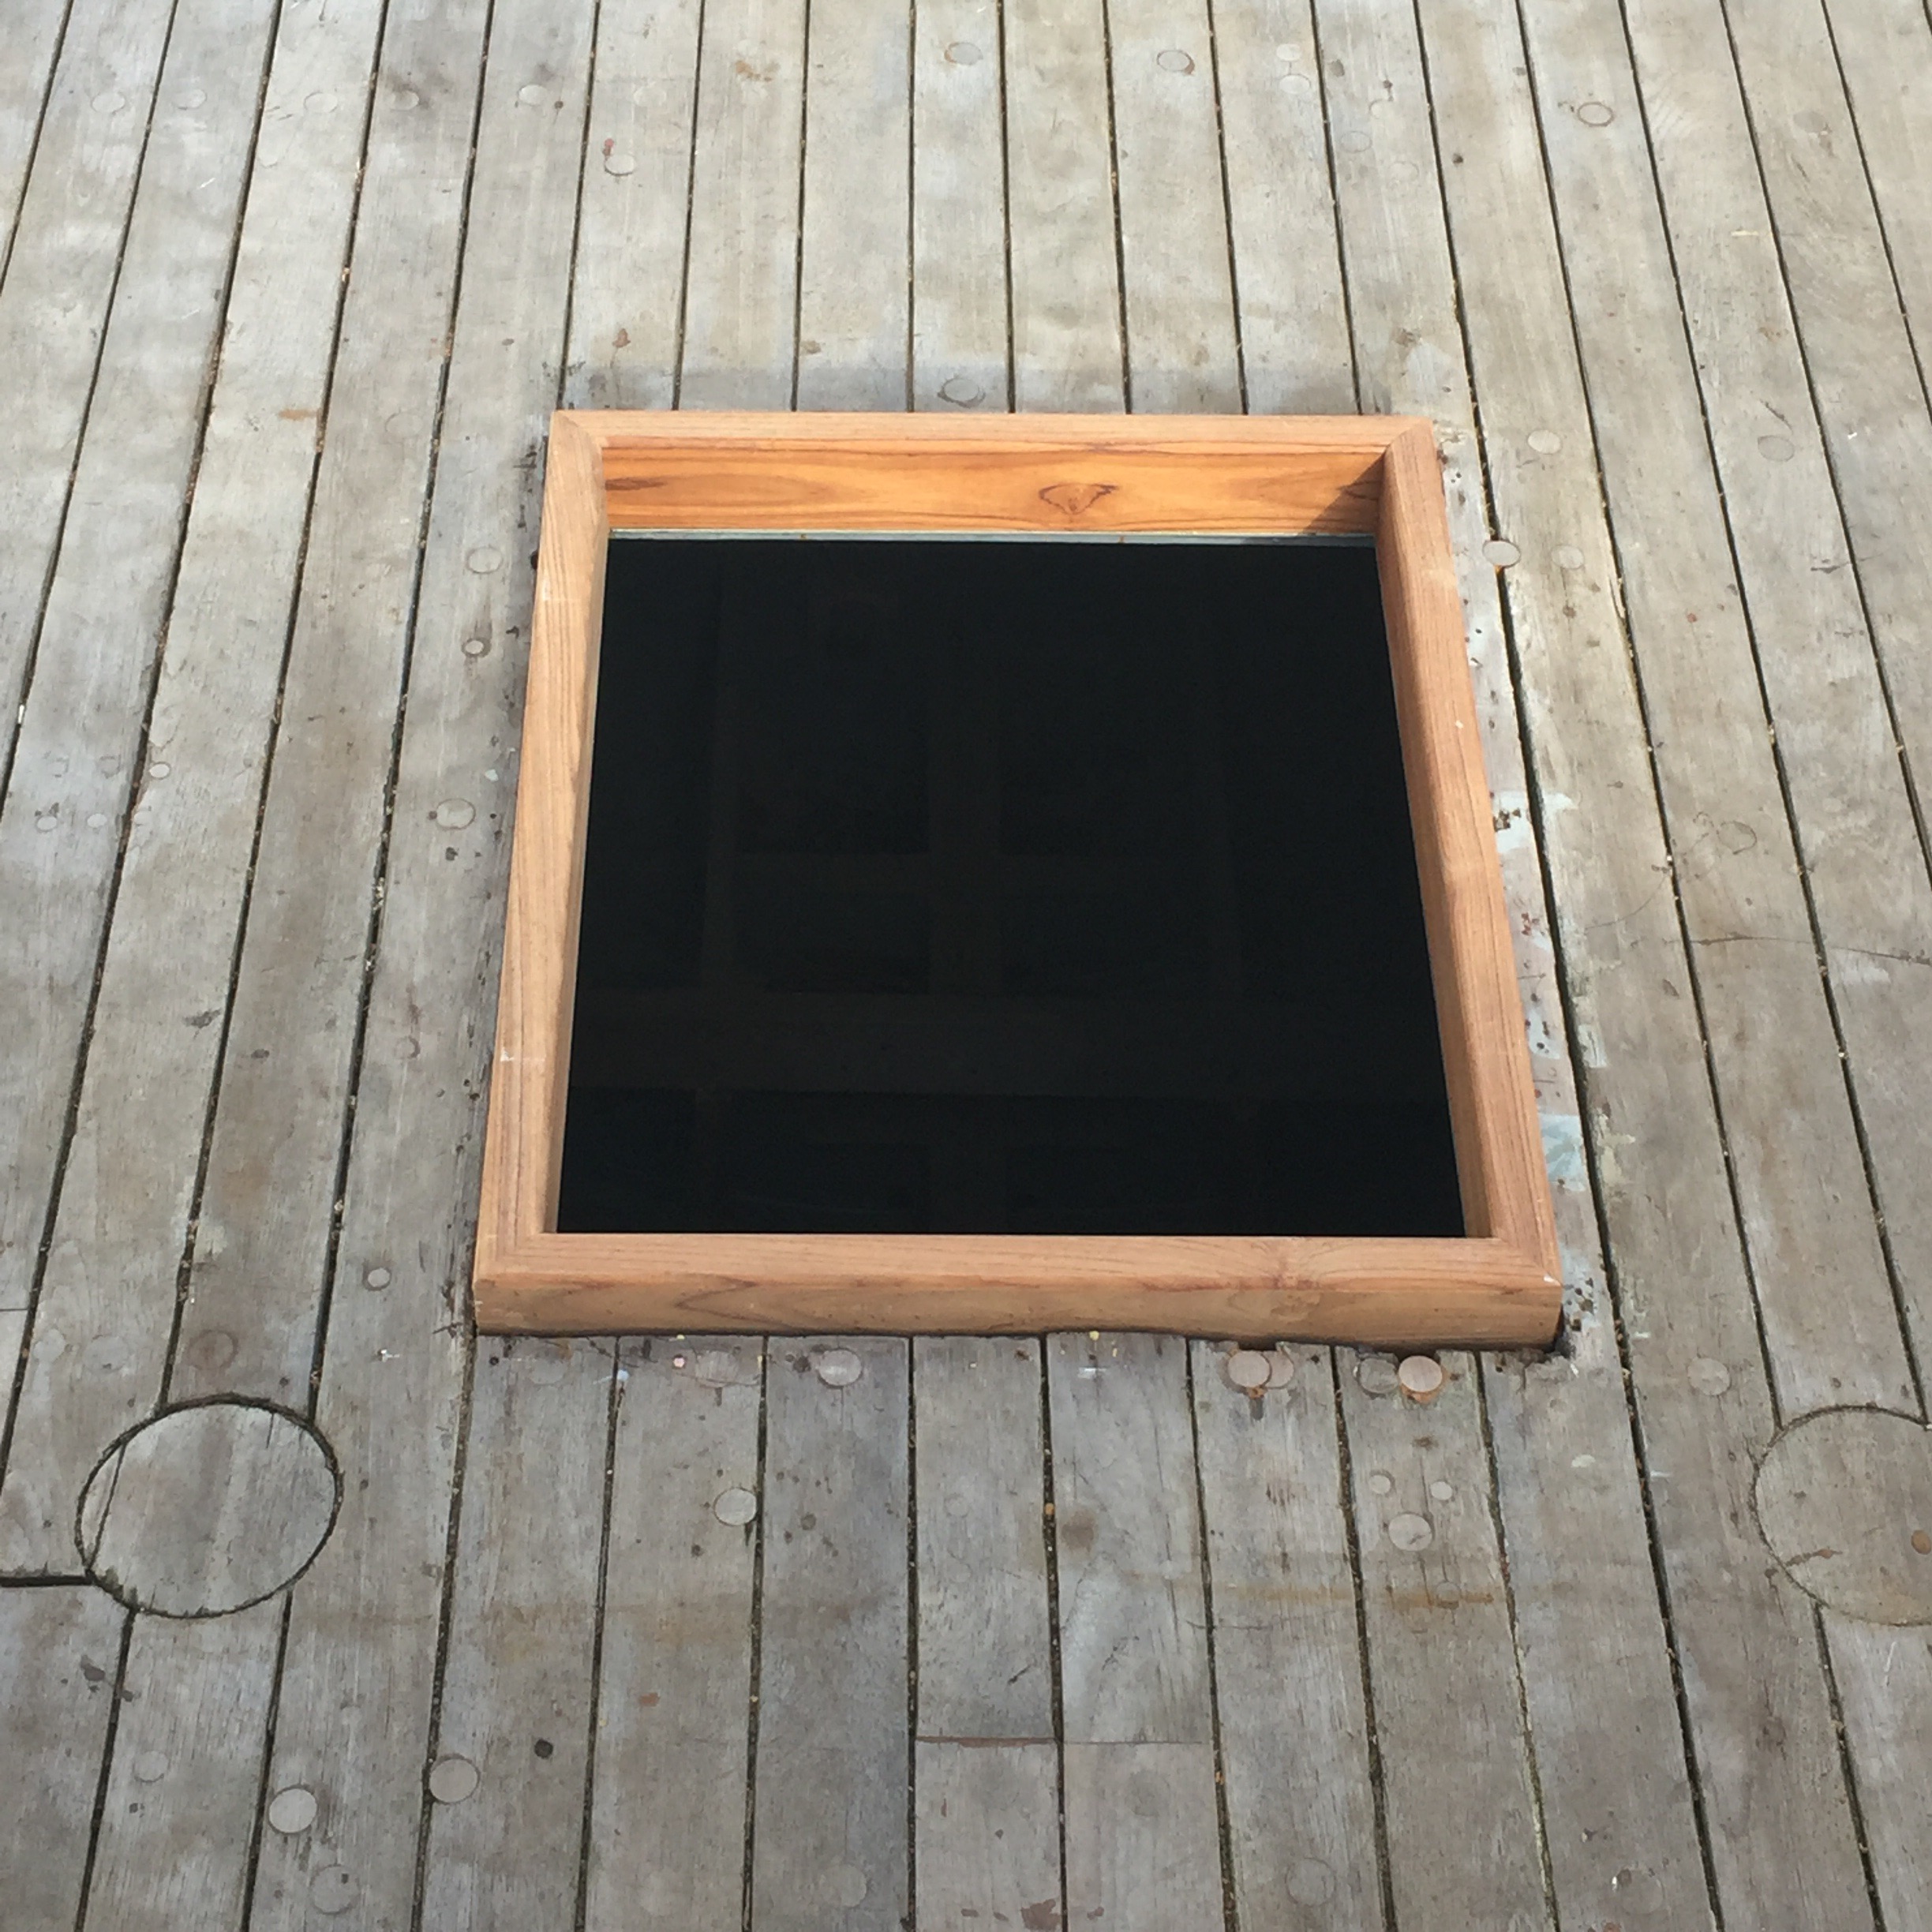
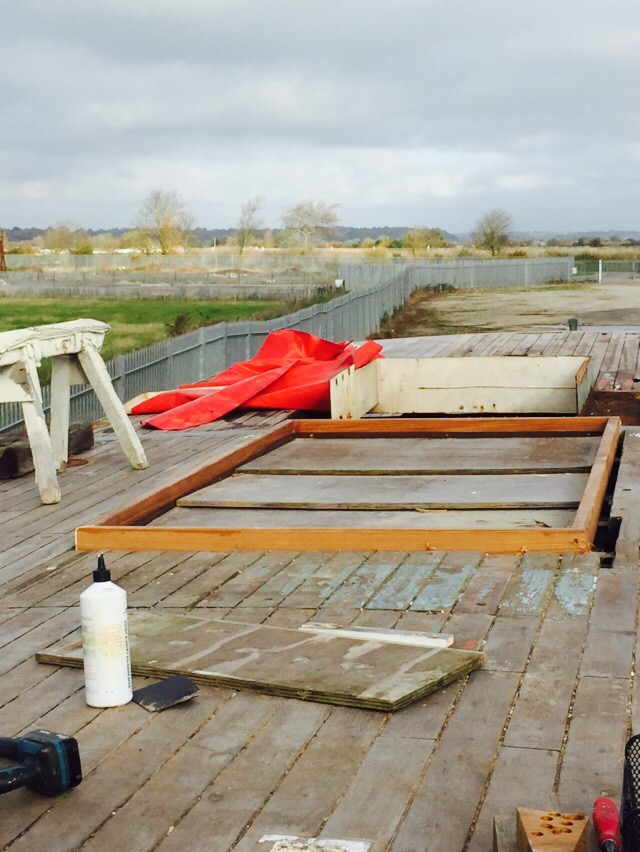
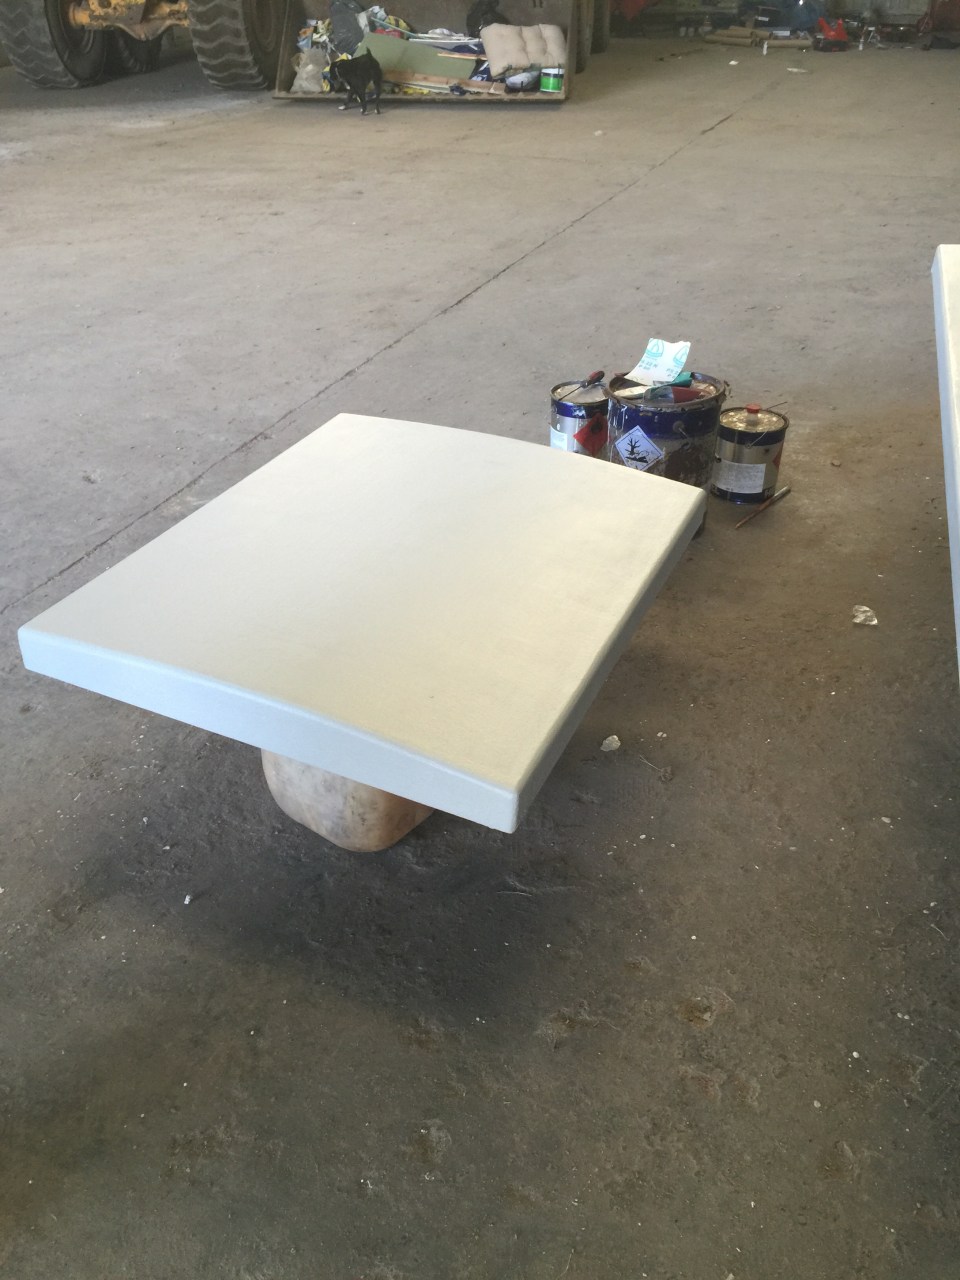
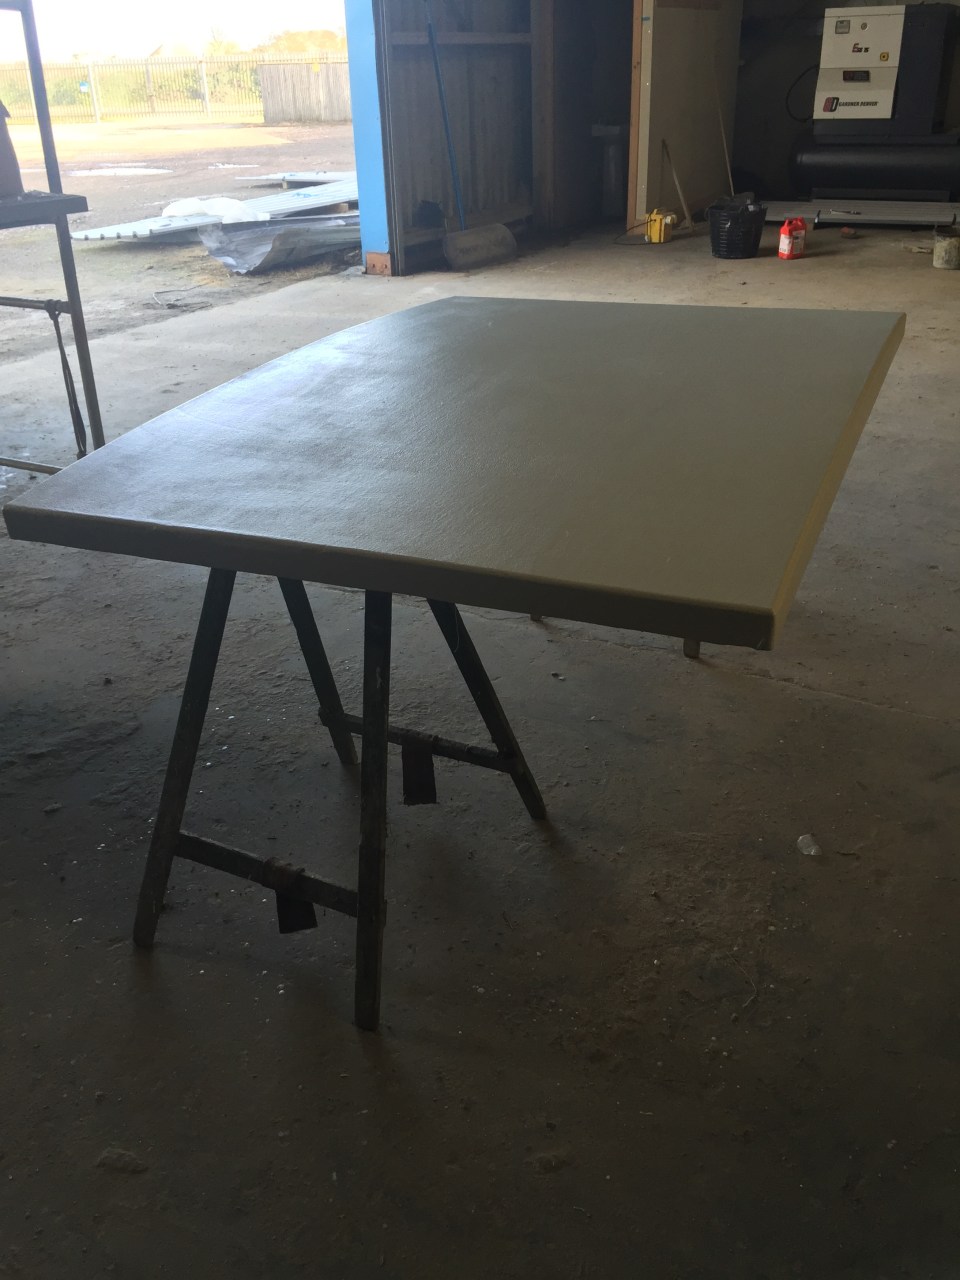
 Talking of the hatches, led and Ian came up with a temporary solution to cover them until the exact configuration of glass cover is settled upon. 

Like many temporary solutions, this one is actually pretty darn sturdy and should last a fair while. Ply and wood frames were created and some dust sheets stretched over them. The whole lot was then painted with some brand of primer from Hempel that had been accidentally purchased. They are now water tight and also pretty darn tough. They sit over the hatches and are battened down from the inside, keeping the water out and with no flapping edges to catch the wind and start rubbing against things – the constant problem with the lofty tarps.


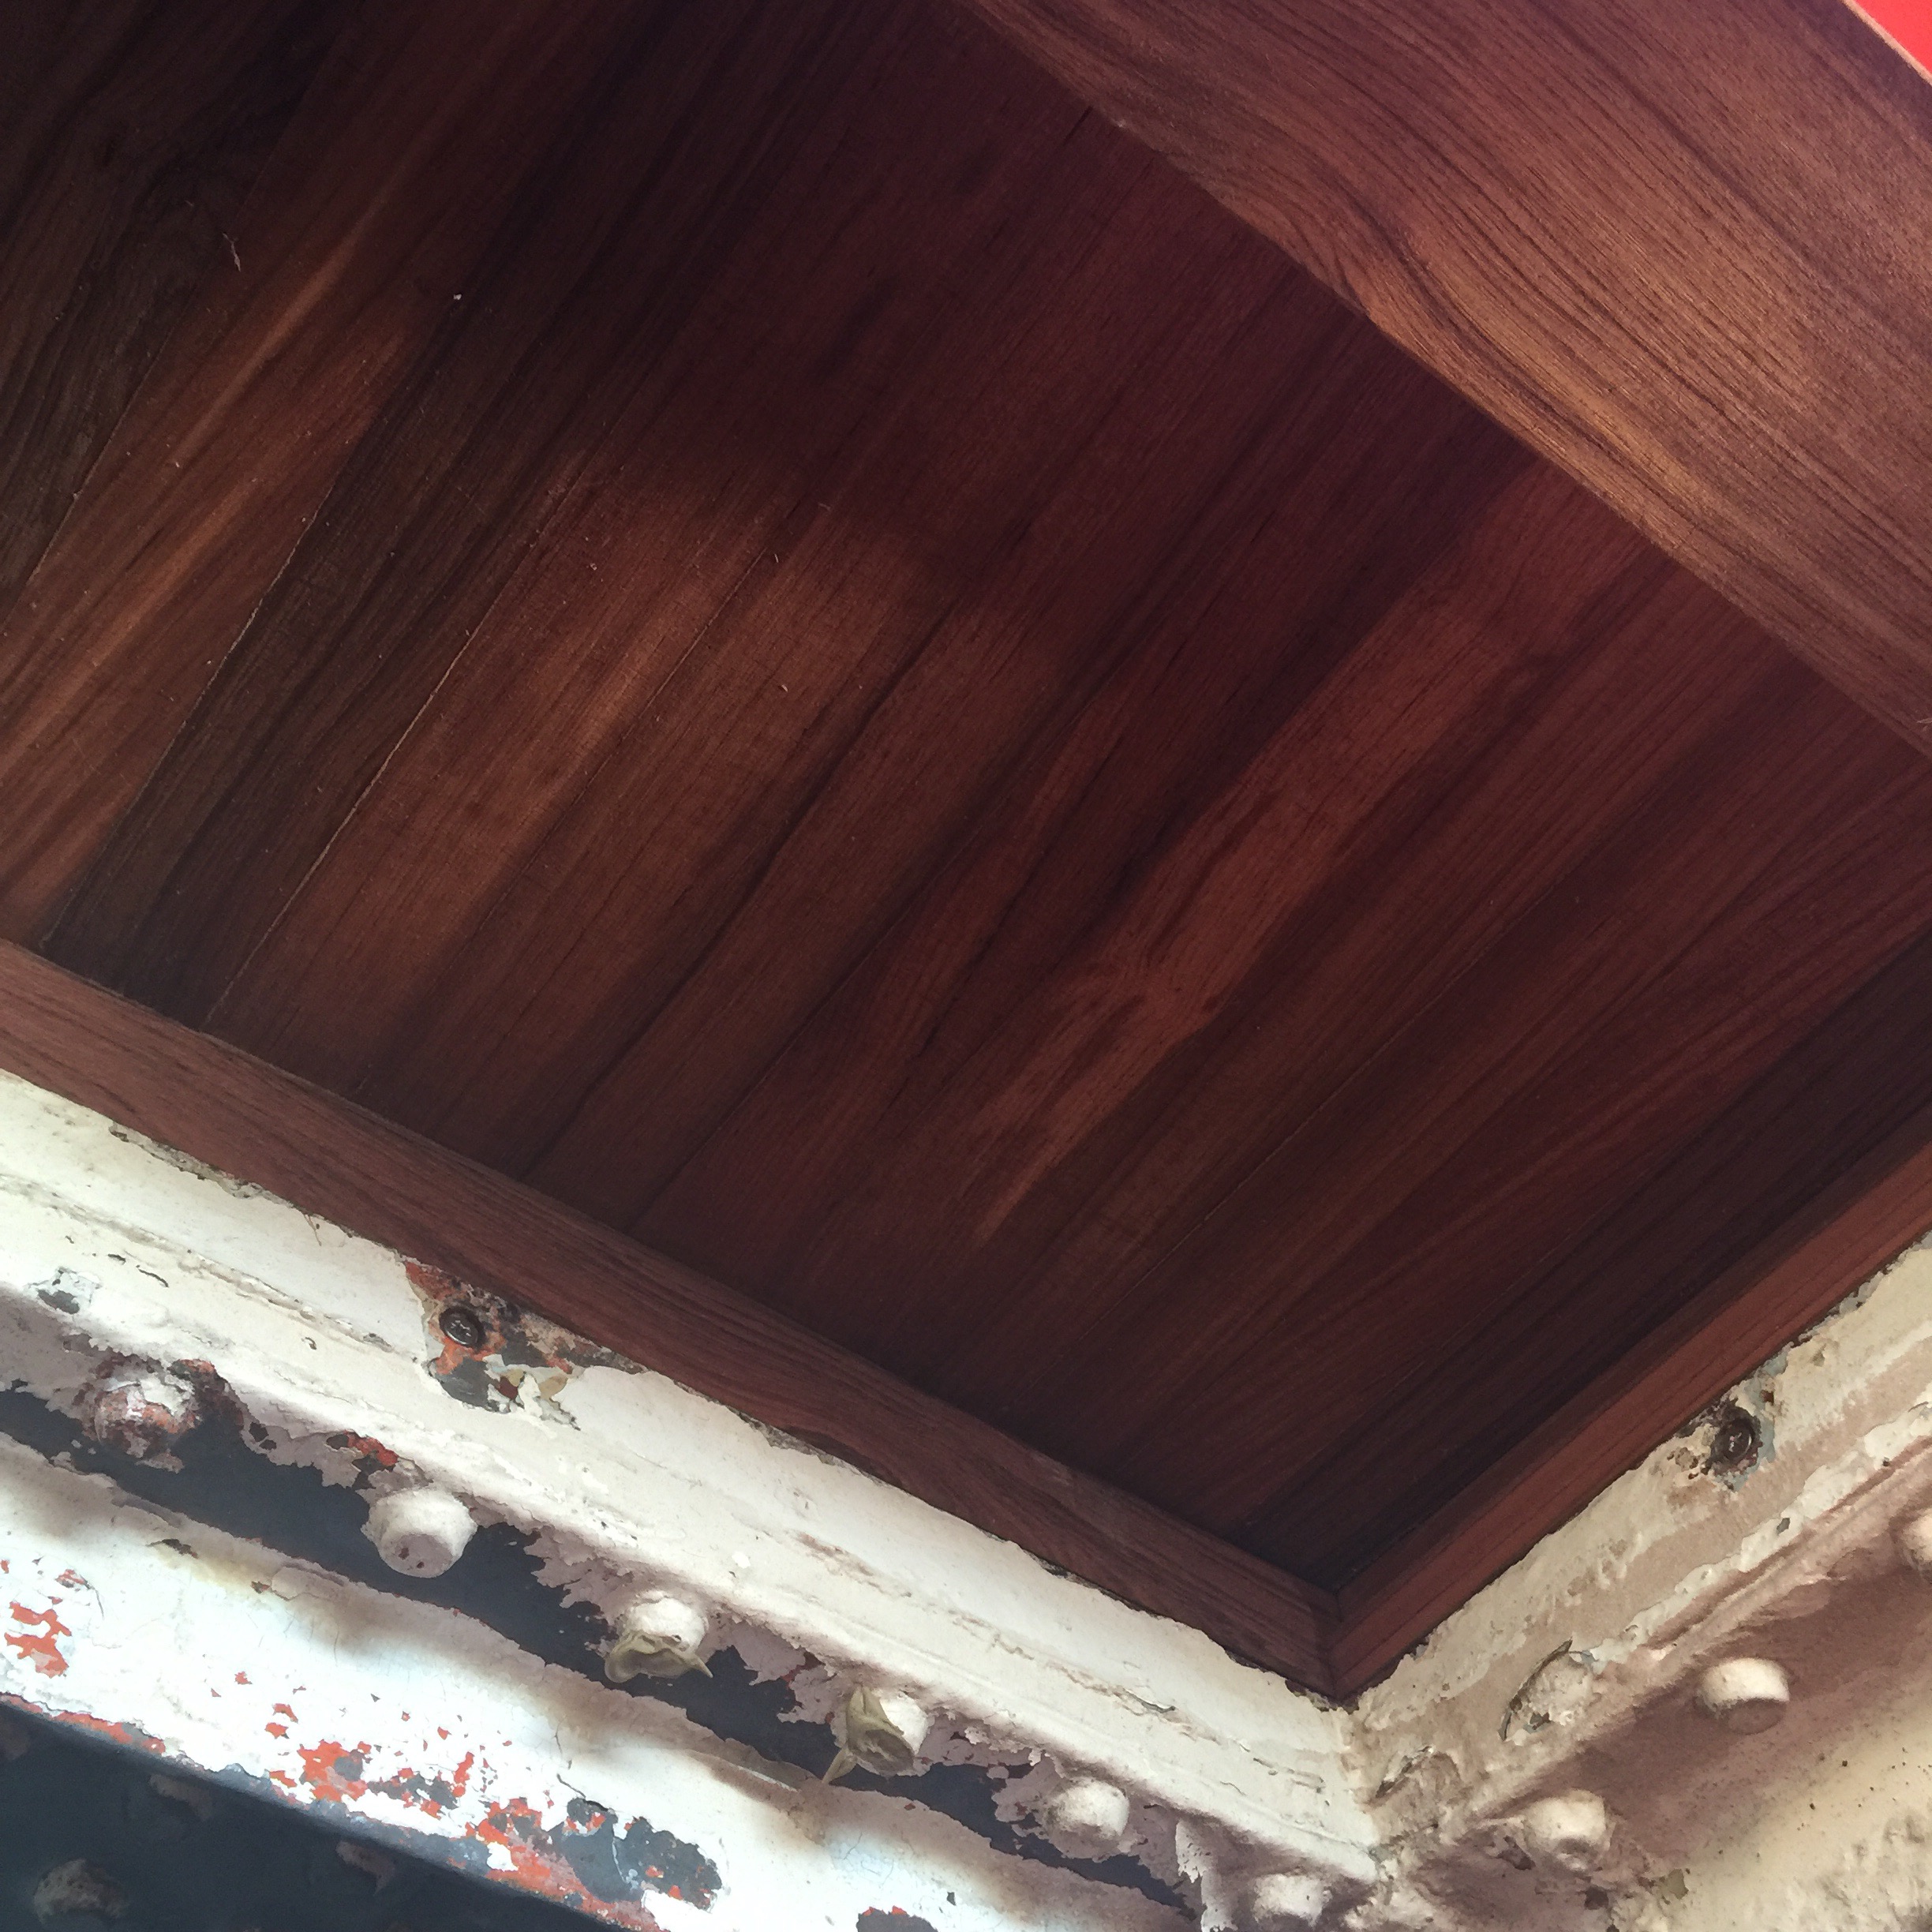
The final detail was around the sides where a few extra pieces of iroko neatened up the transition from wood to metal.


A Christmas miracle…

Don’t worry, work on Betty has not slowed or run aground. Rather I have become completely bogged down in the day job and completely failed to update the blog. It will not become one of the half finished passion projects littering the Internet and I fully intend to unleash the backlog of progress photos I have on my phone over Christmas. 
In the meantime, I wanted to share a Christmas miracle. A couple of months ago, I dropped a few portholes off at Davey &Co (more on them when I do my catch up over Christmas). They were a pretty sorry site and I documented them sitting forlornly on the pallet. (Always good to have a before photo, right?)


The refurbishment process wasn’t straightforward. The glass is screwed in Andrew seams were stuck with red lead putty. This meant the chaps at Davey had to build a rig to shock the porthole and loosen the glass. But look at them now… Paint-free, gleaming and truly stunning! 


Other deck news…

The replacement teak has faded beautifully, the sanded areas look great and there are some hatches round the front and the main engine hatch. These needed to be built up to allow a cover to sit on top and for water to run off. 

Brief posts as a Rye trip means about four hours of horrid London-motorway-hairpin bends driving and I am SHATTERED!


Lots of the pelleting on the deck has been done and very excitingly Ian the carpenter has tidied up the shipping container. I even hear there is now a toastie maker in there!