Unbolted

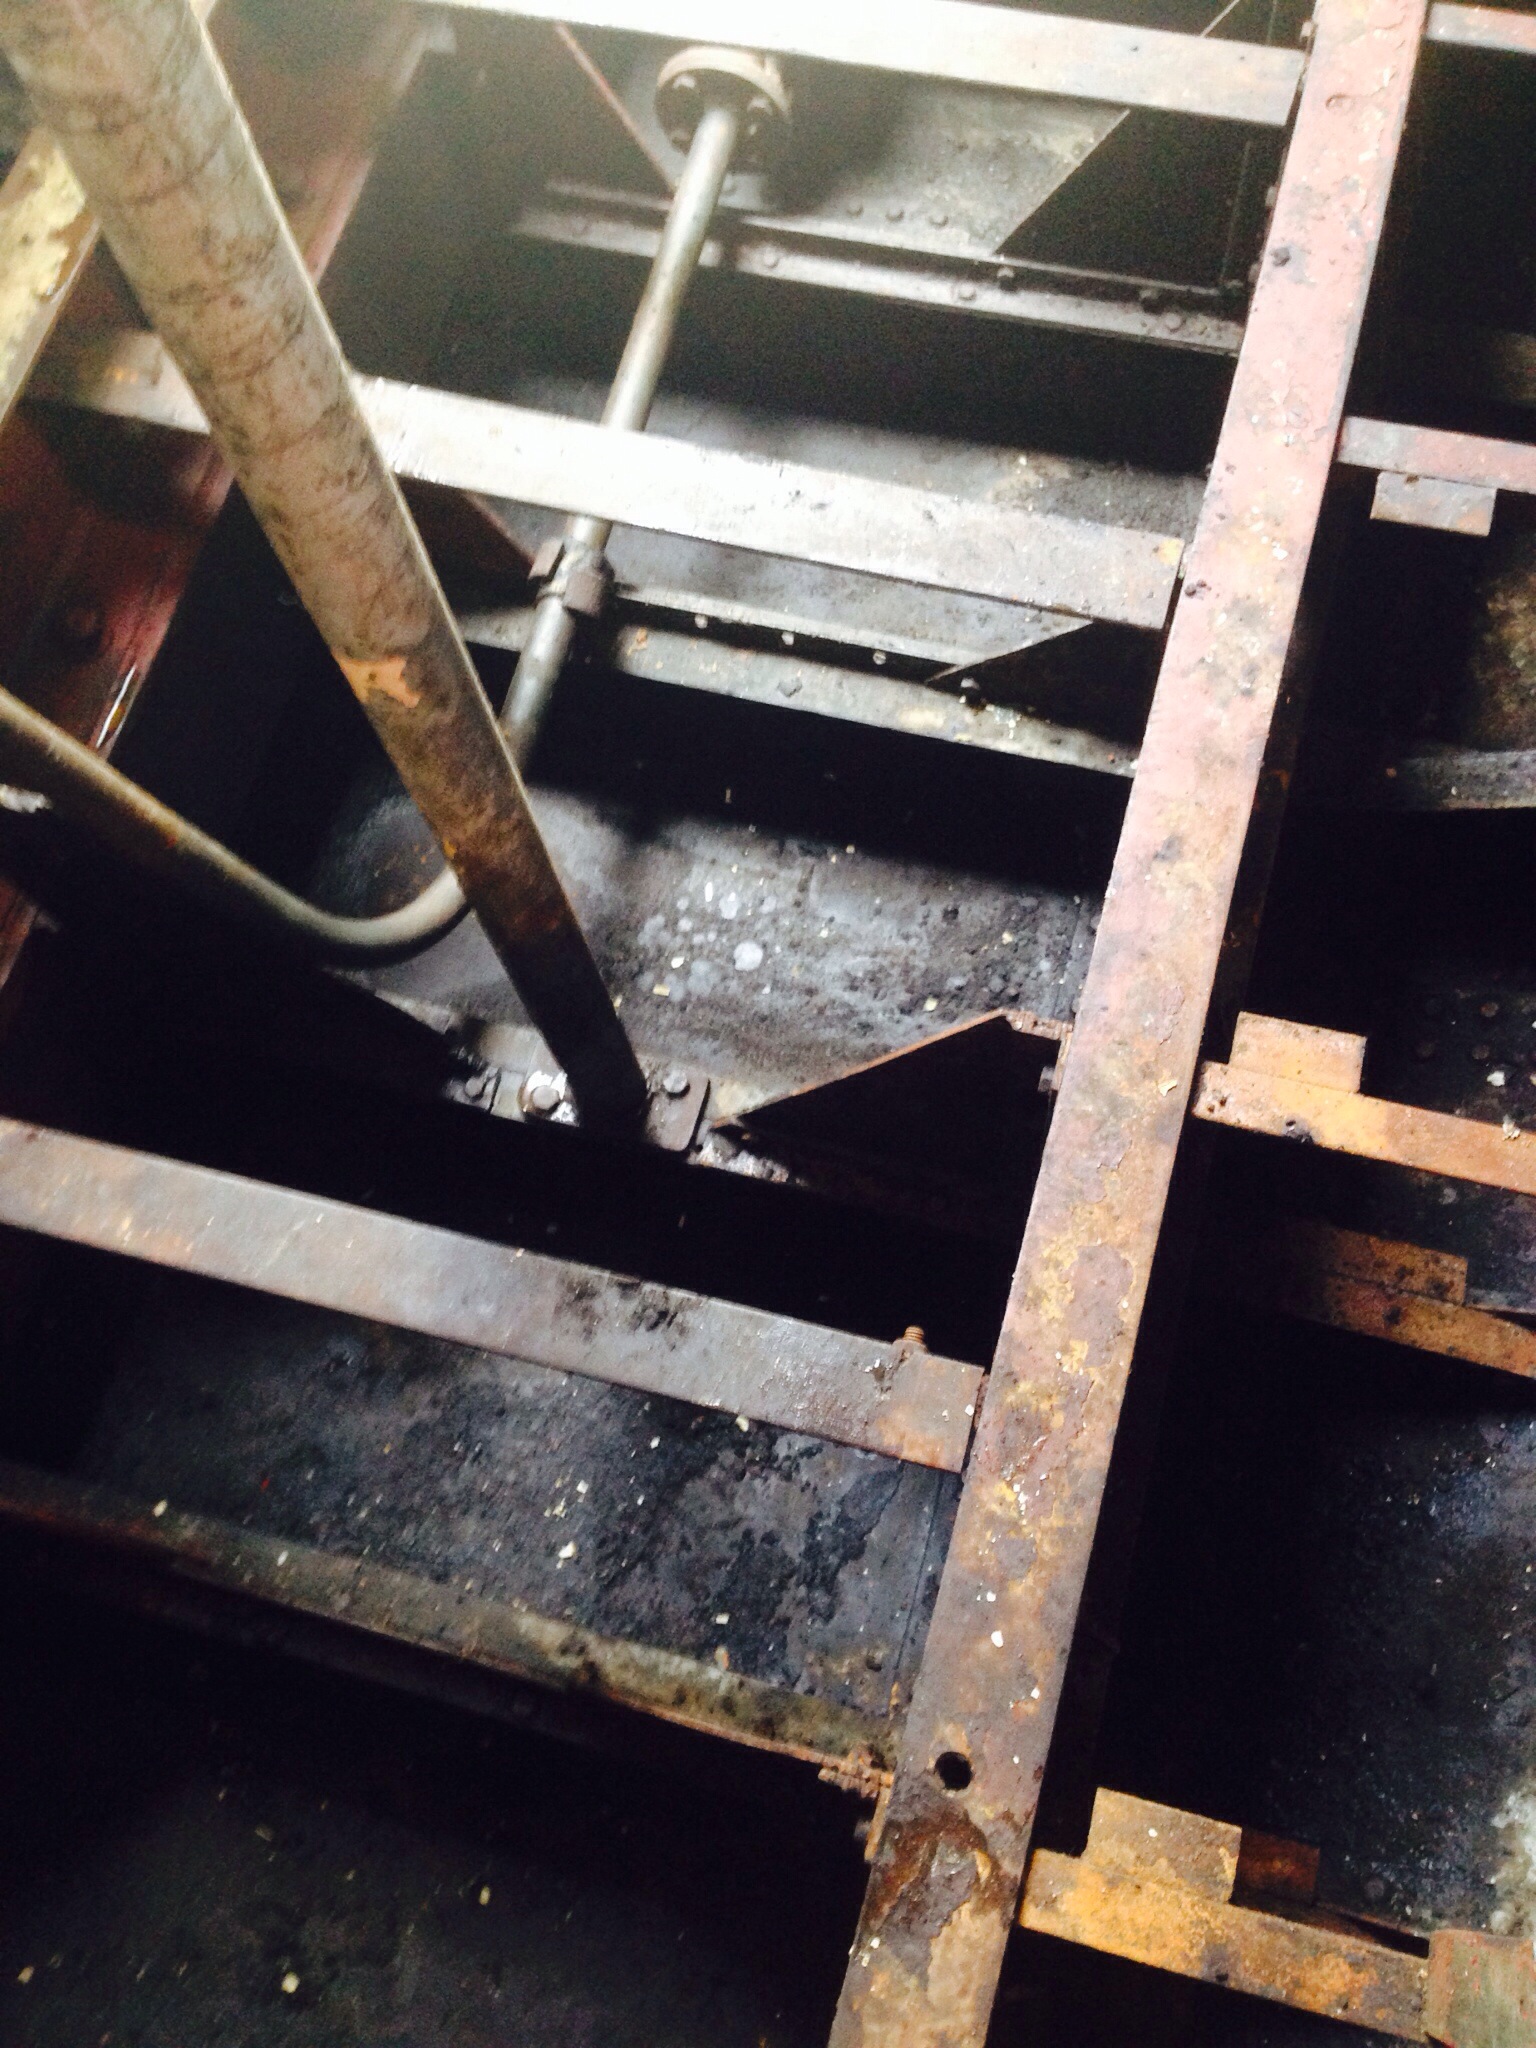
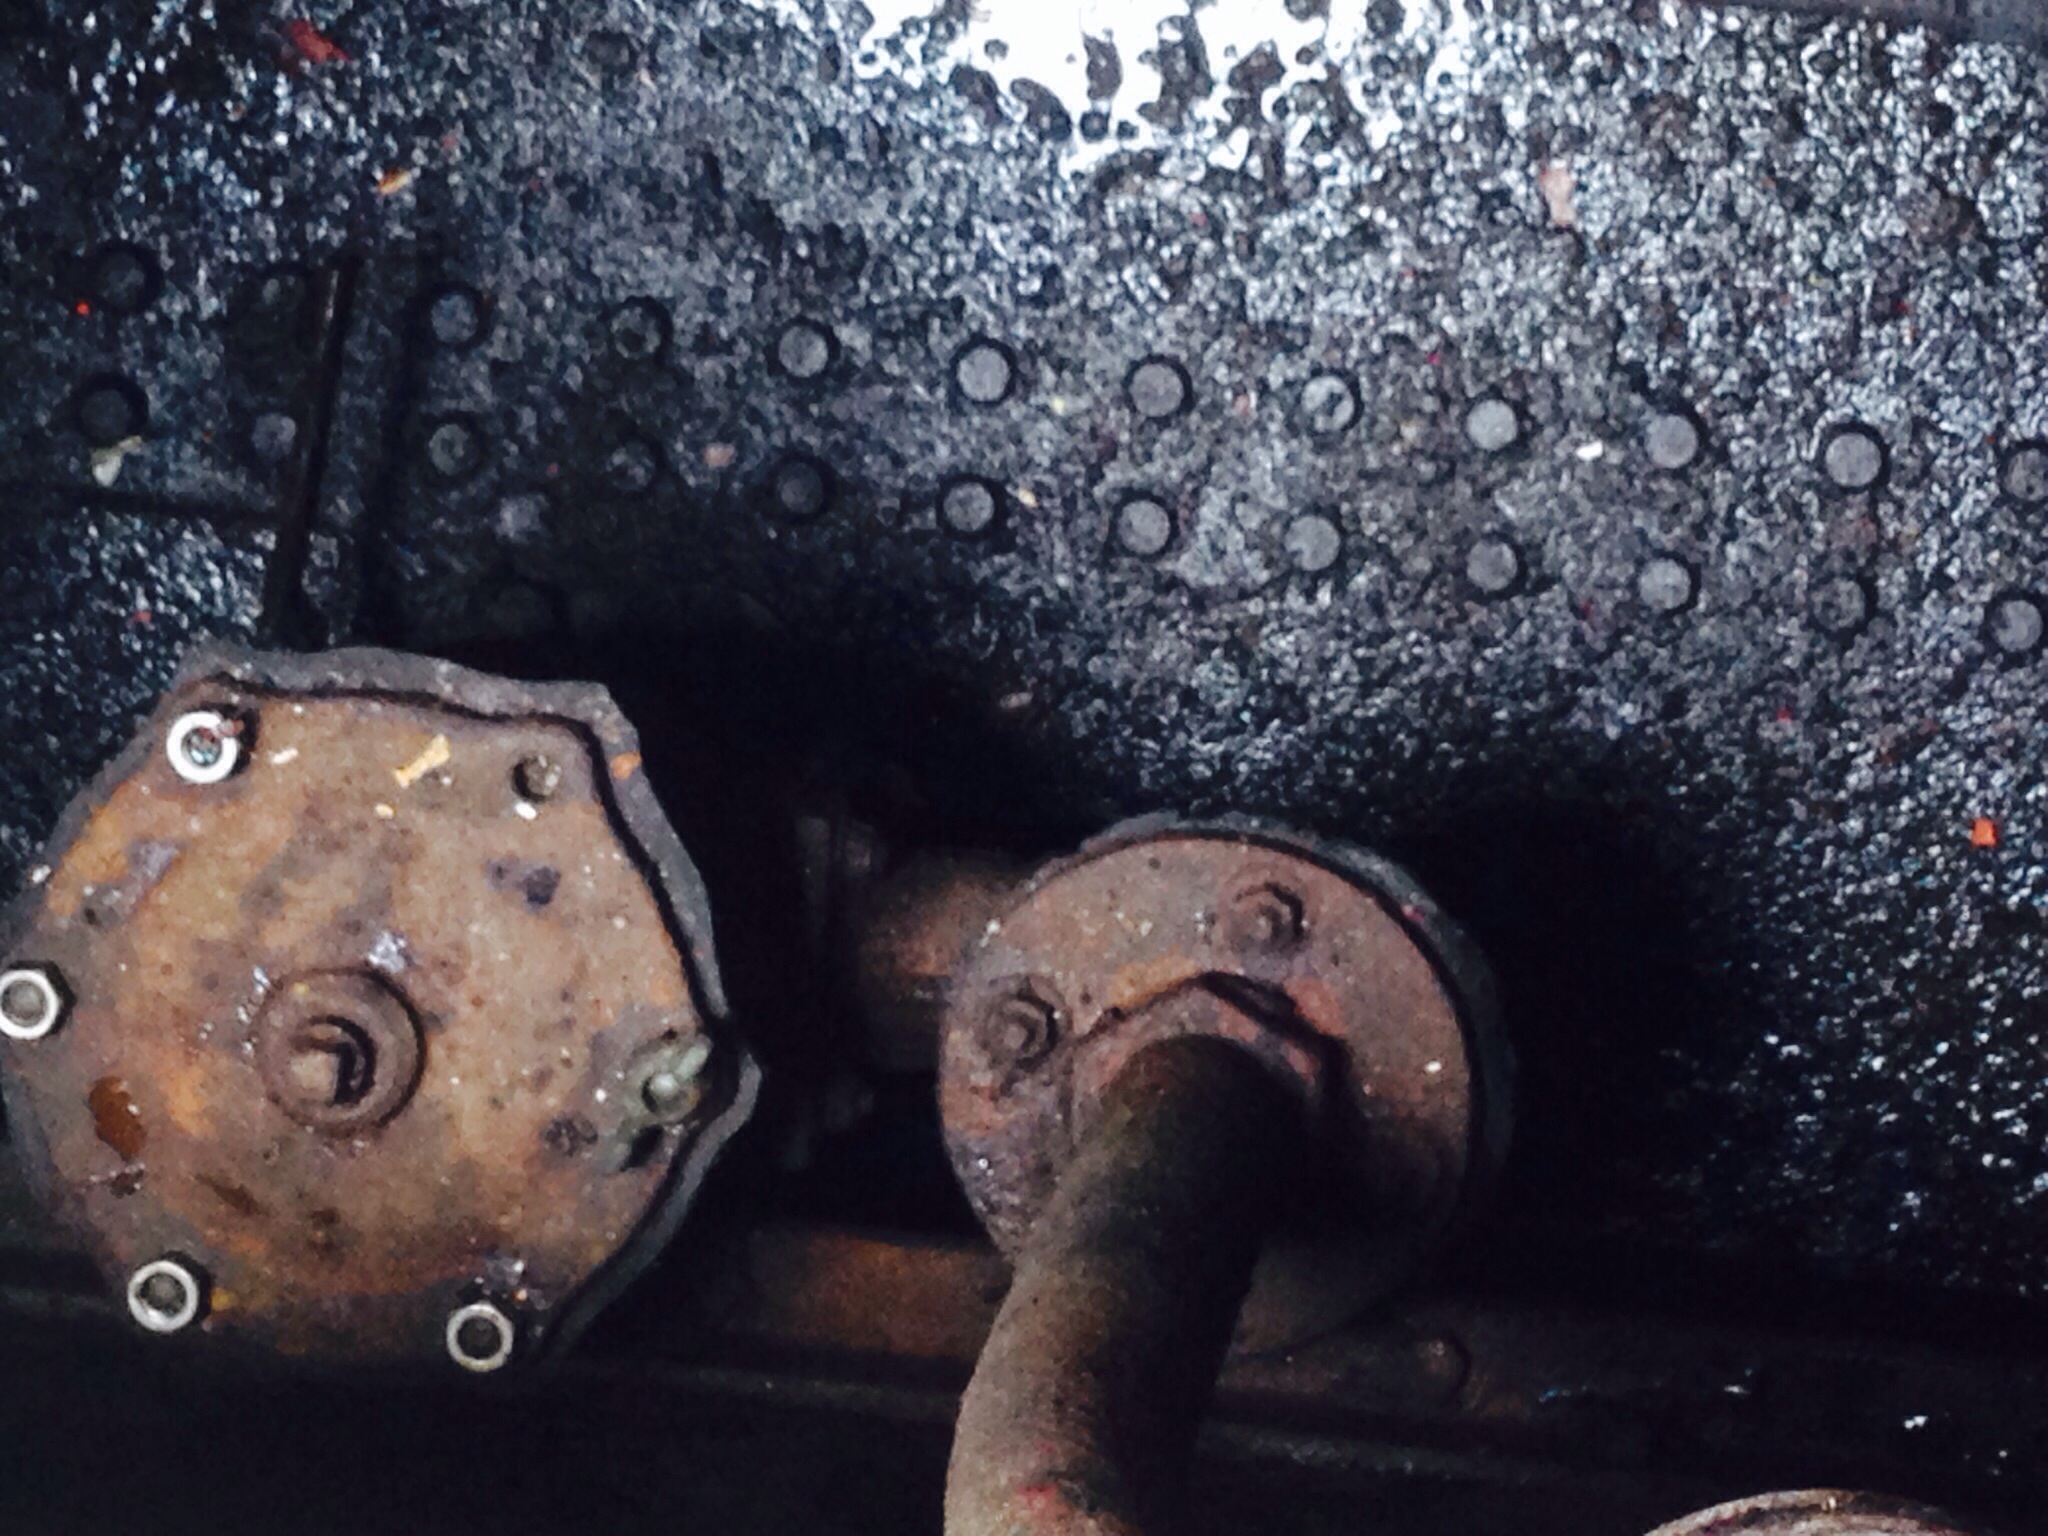
Sunday’s job was to get the bolts off the engine. Sounds like an easy job but these bolts haven’t been undone likely since the engine was put in in the 1950s and all the sizes for the bolts and nuts are imperial – whitworth to be precise – so won’t fit most tools.

Fortunately I had a VERY MANLY assistant in tow who was able to use a bit of ingenuity and a lot of elbow grease to get most of them off. **cue big rounds of applause, whooping and swooning** Unfortunately no photos of the bolts or the work in action as hands too covered in grease and grime to operate the iPhone.

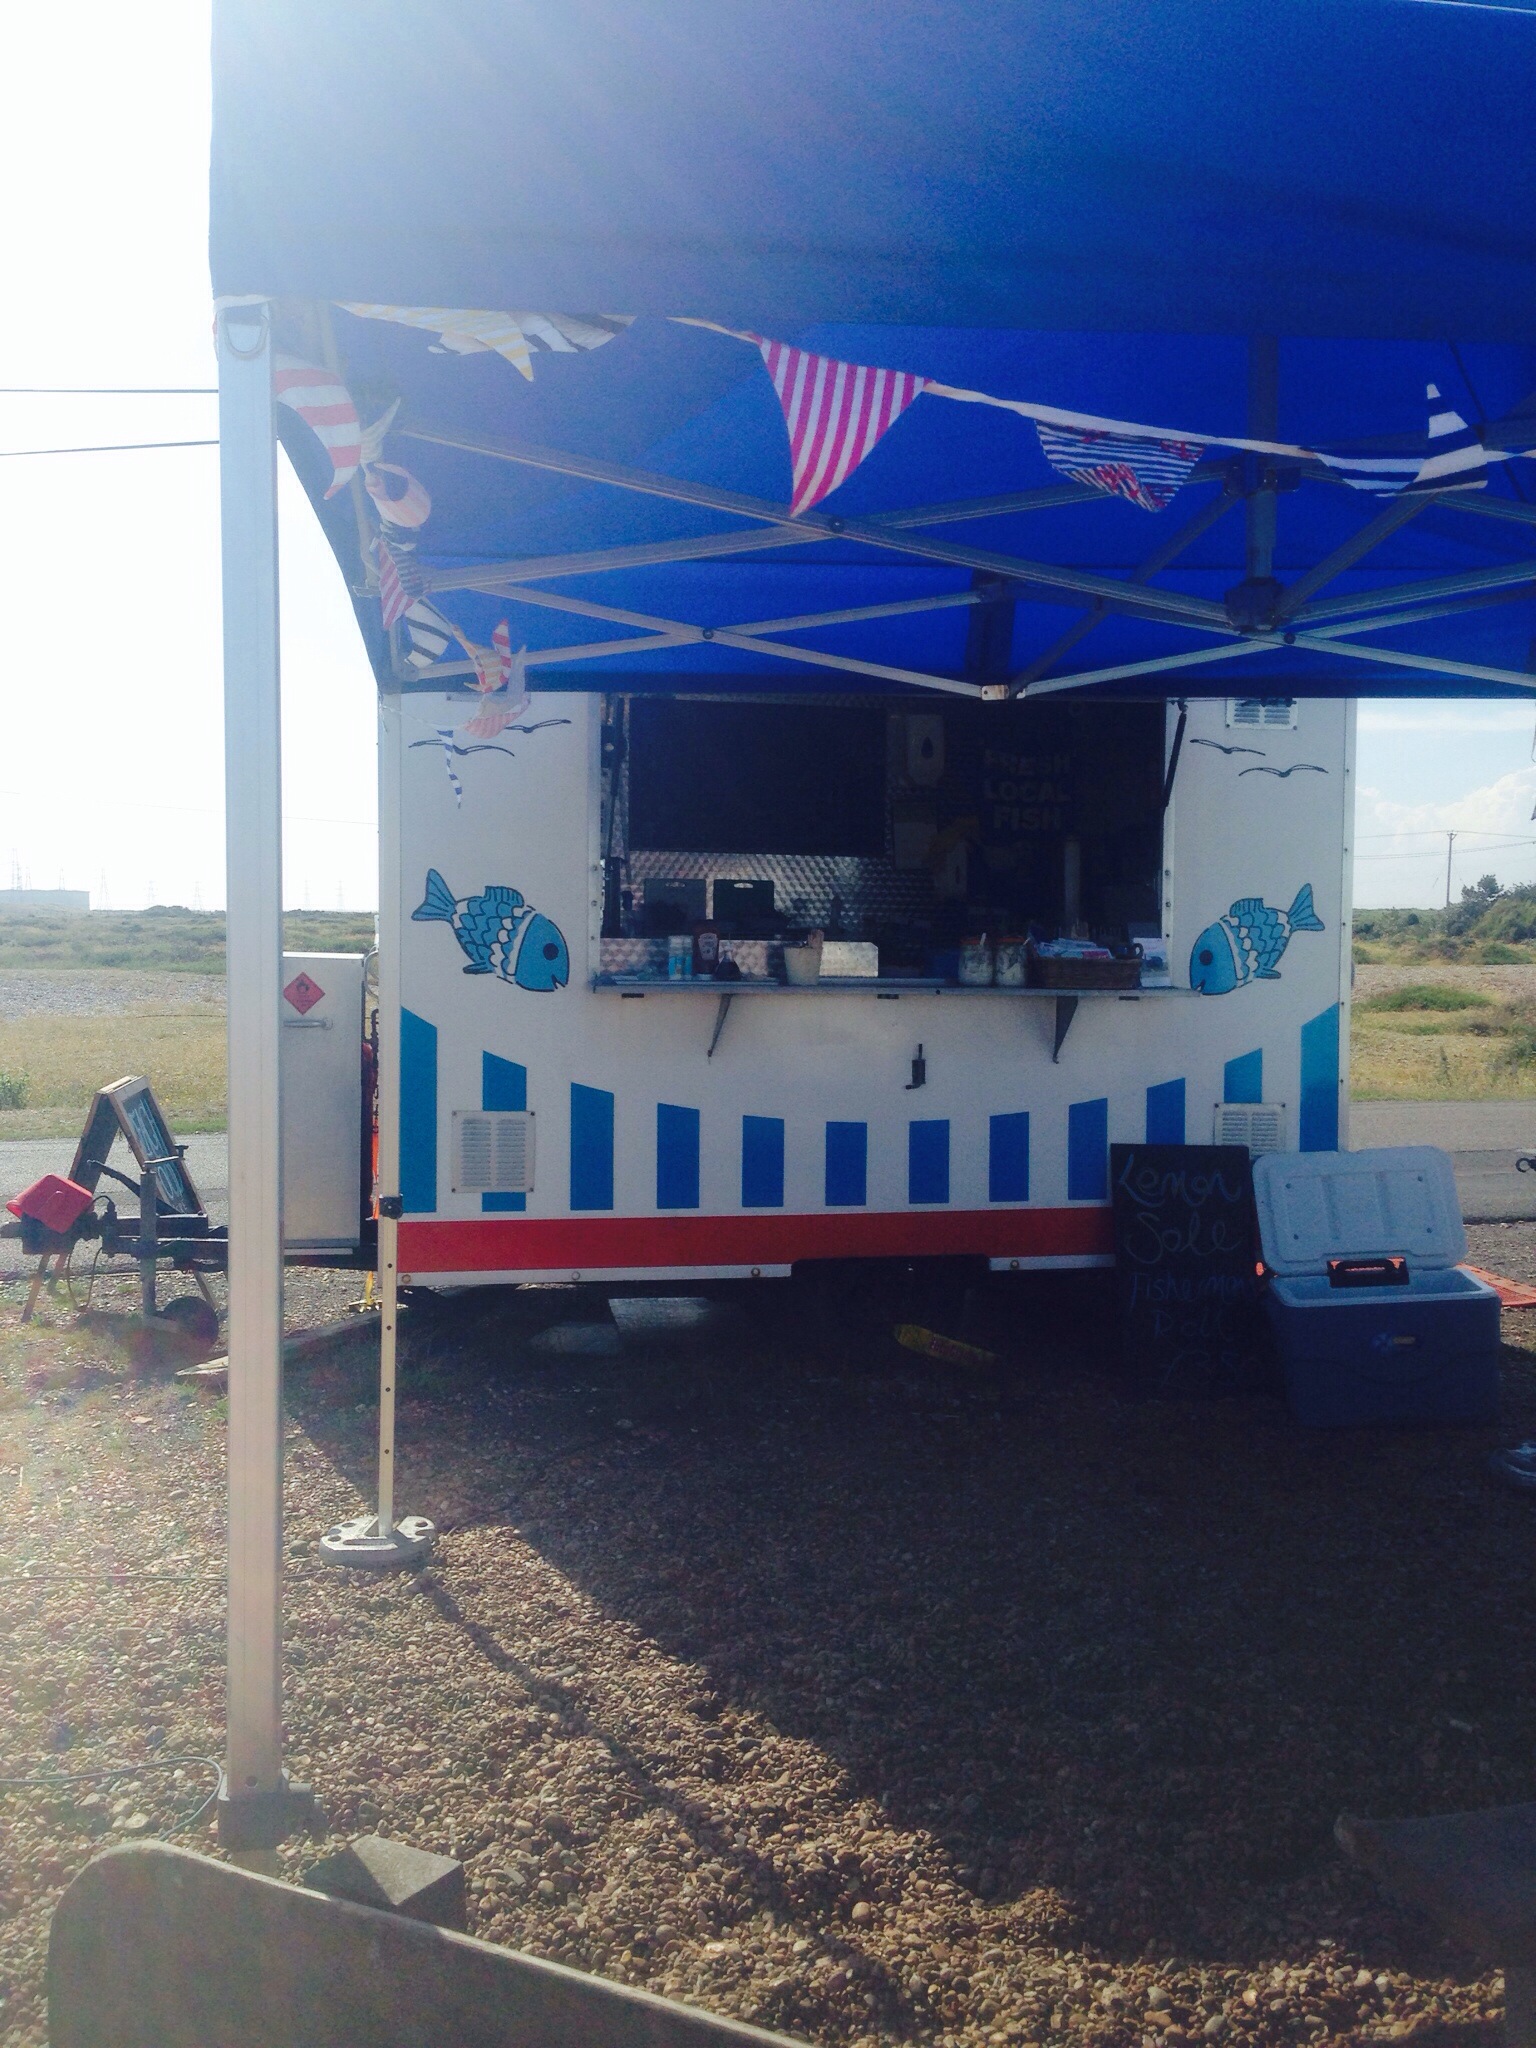
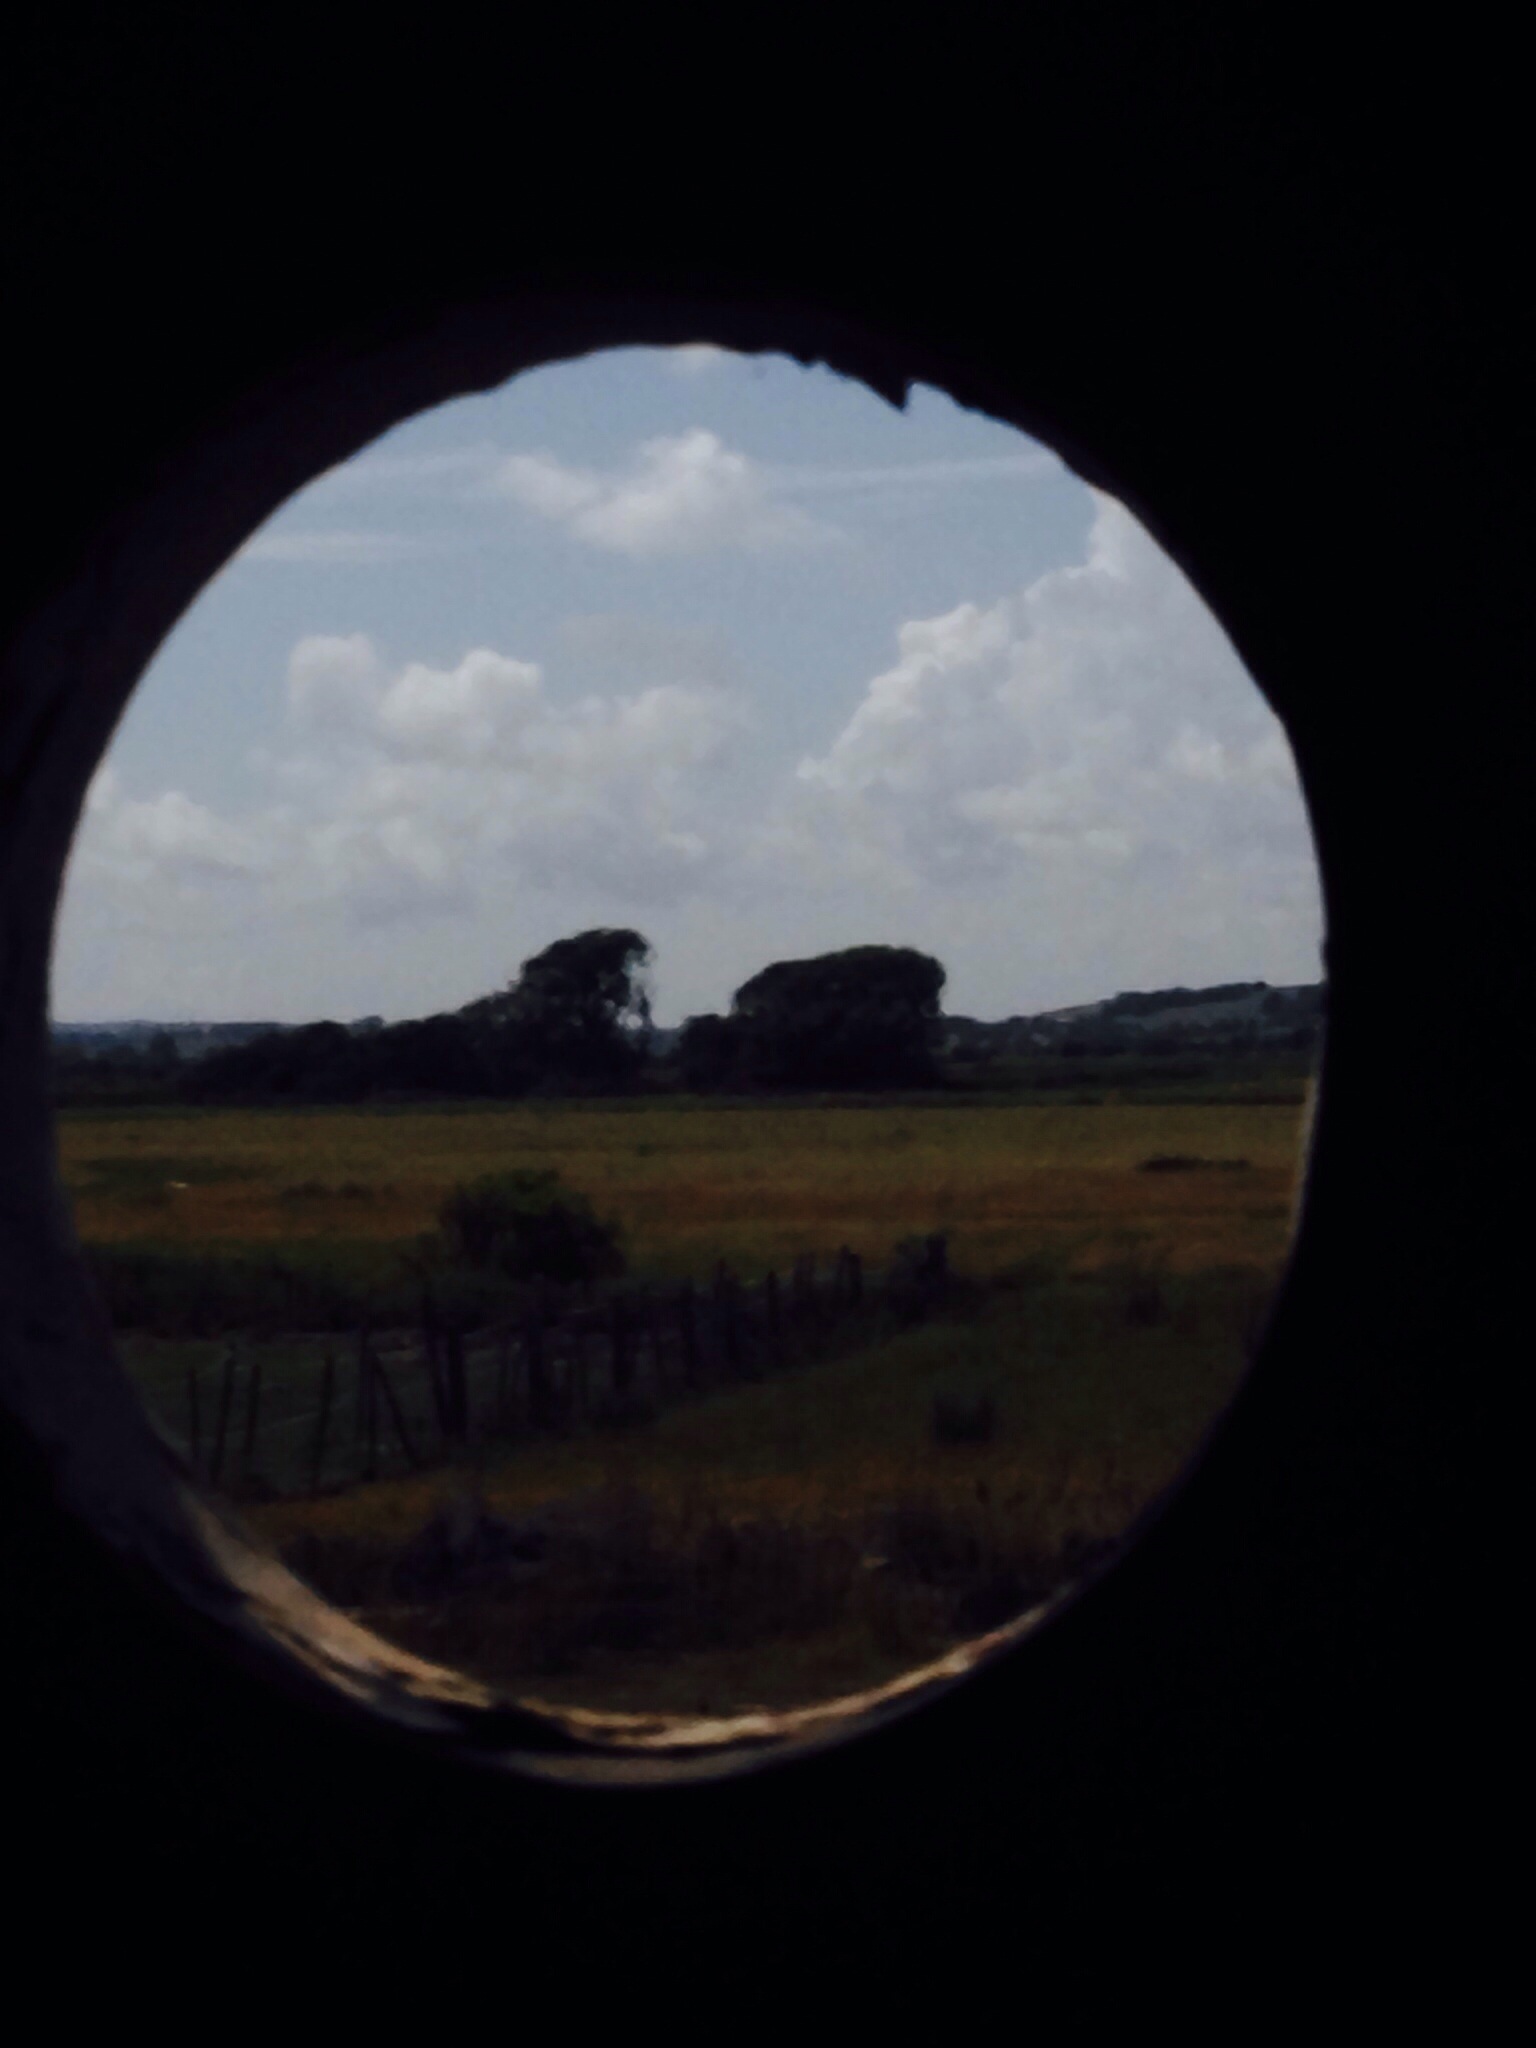
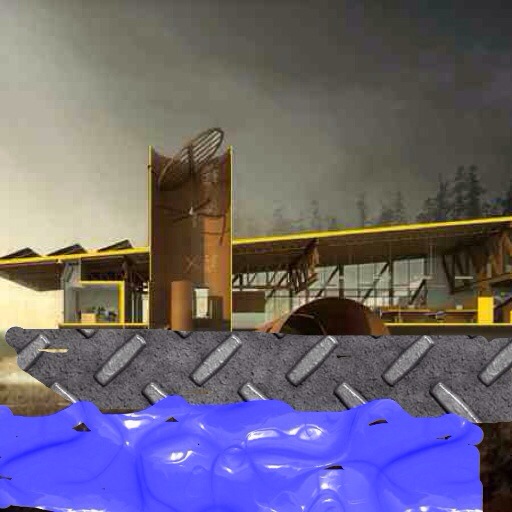
The reward was a quick drive down towards Dungeness. It feels like the end of the earth and is likely nearer France than London. The view one way was this…

20140714-165046.jpg
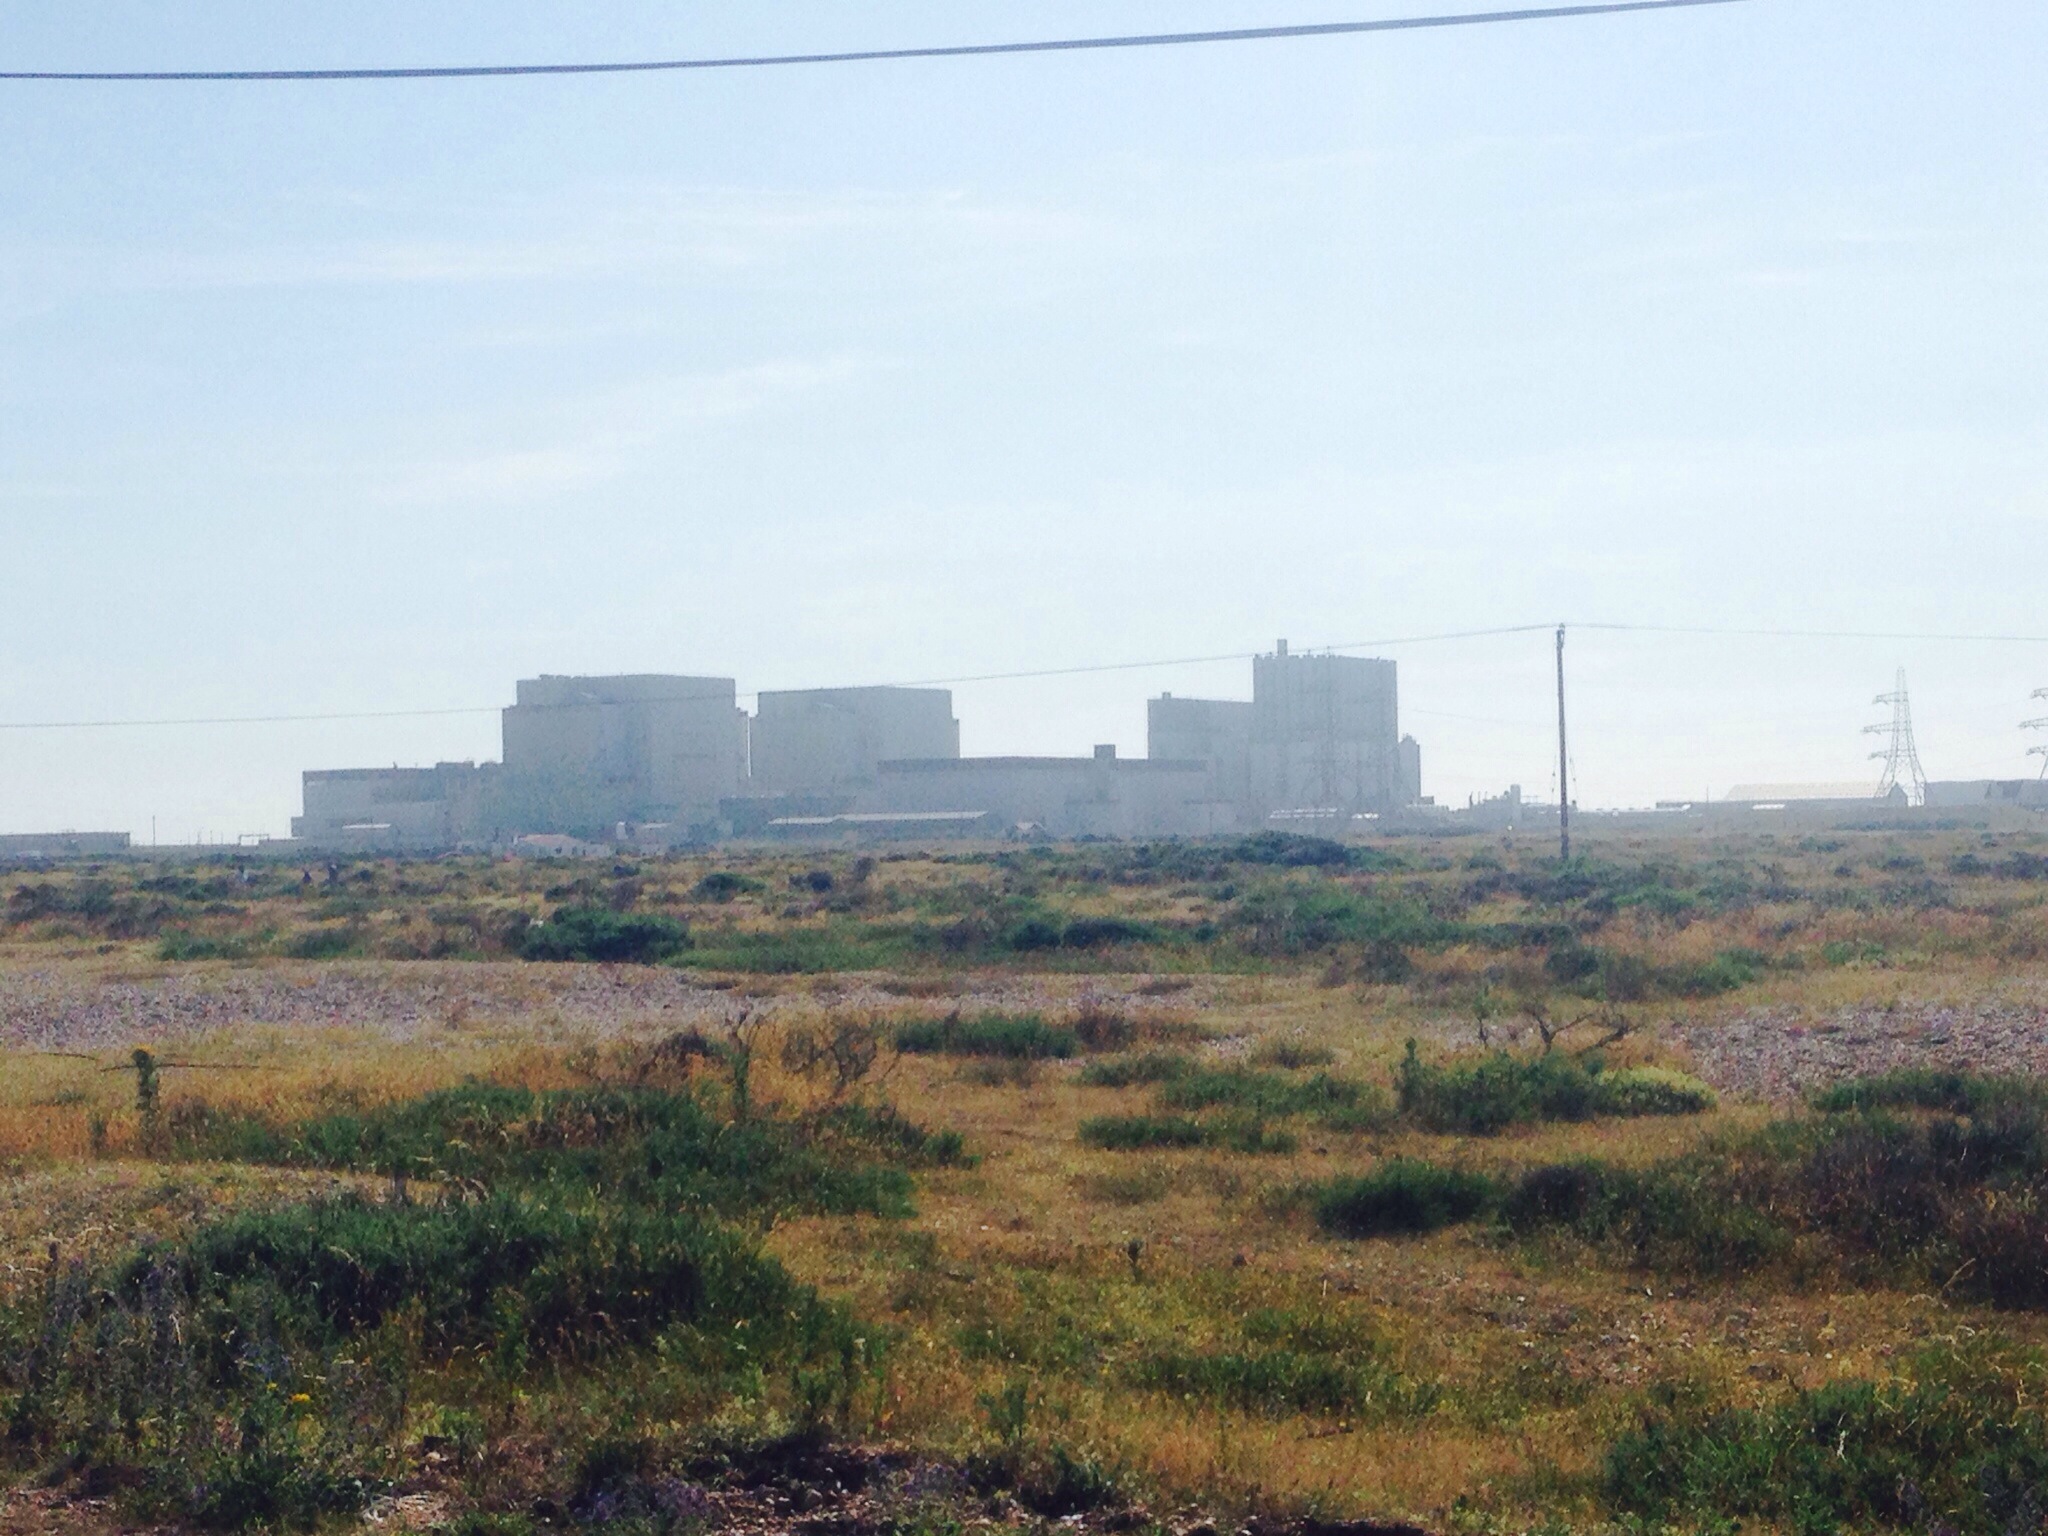
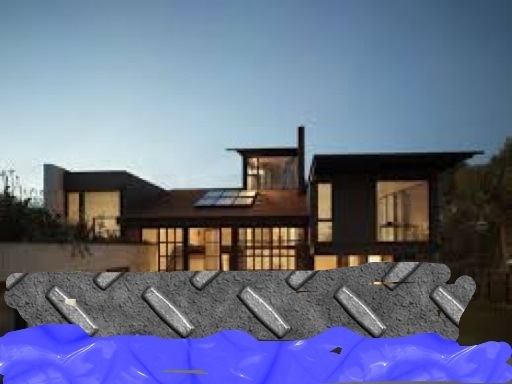
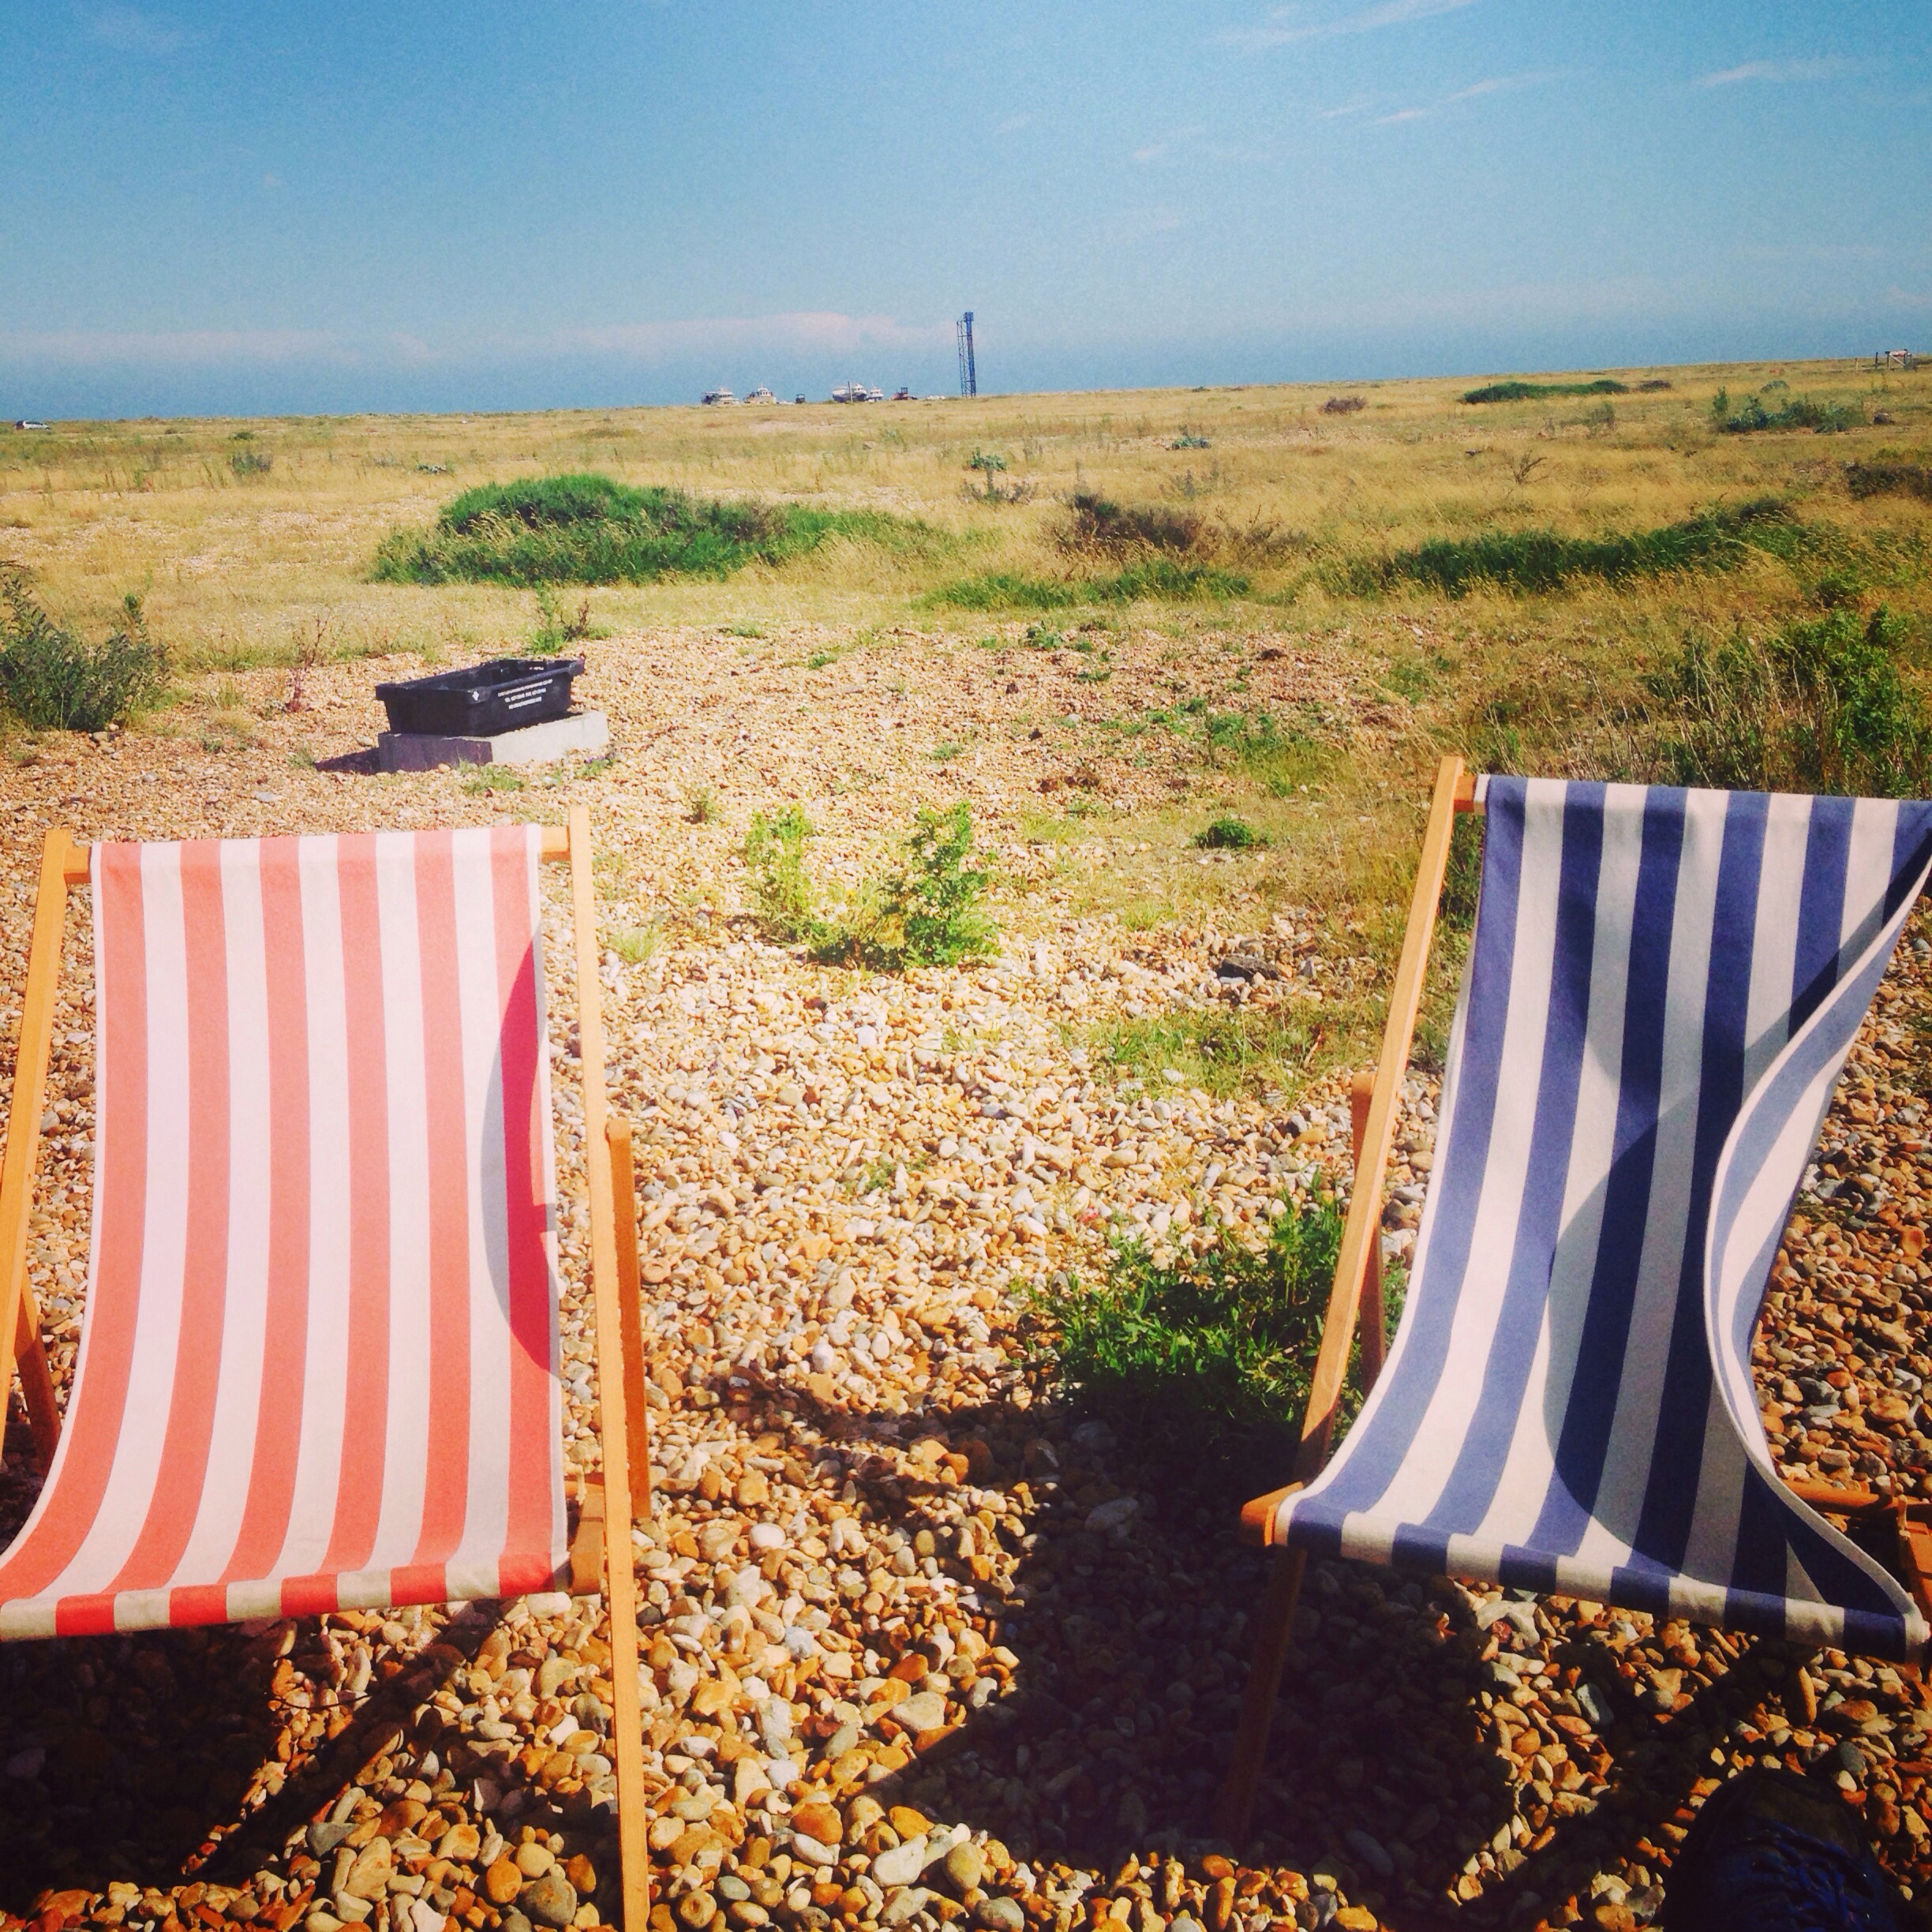
The view in the other direction was this…

20140714-165154.jpg
But best of all, you can get your gnashers round this…

20140714-165259.jpg
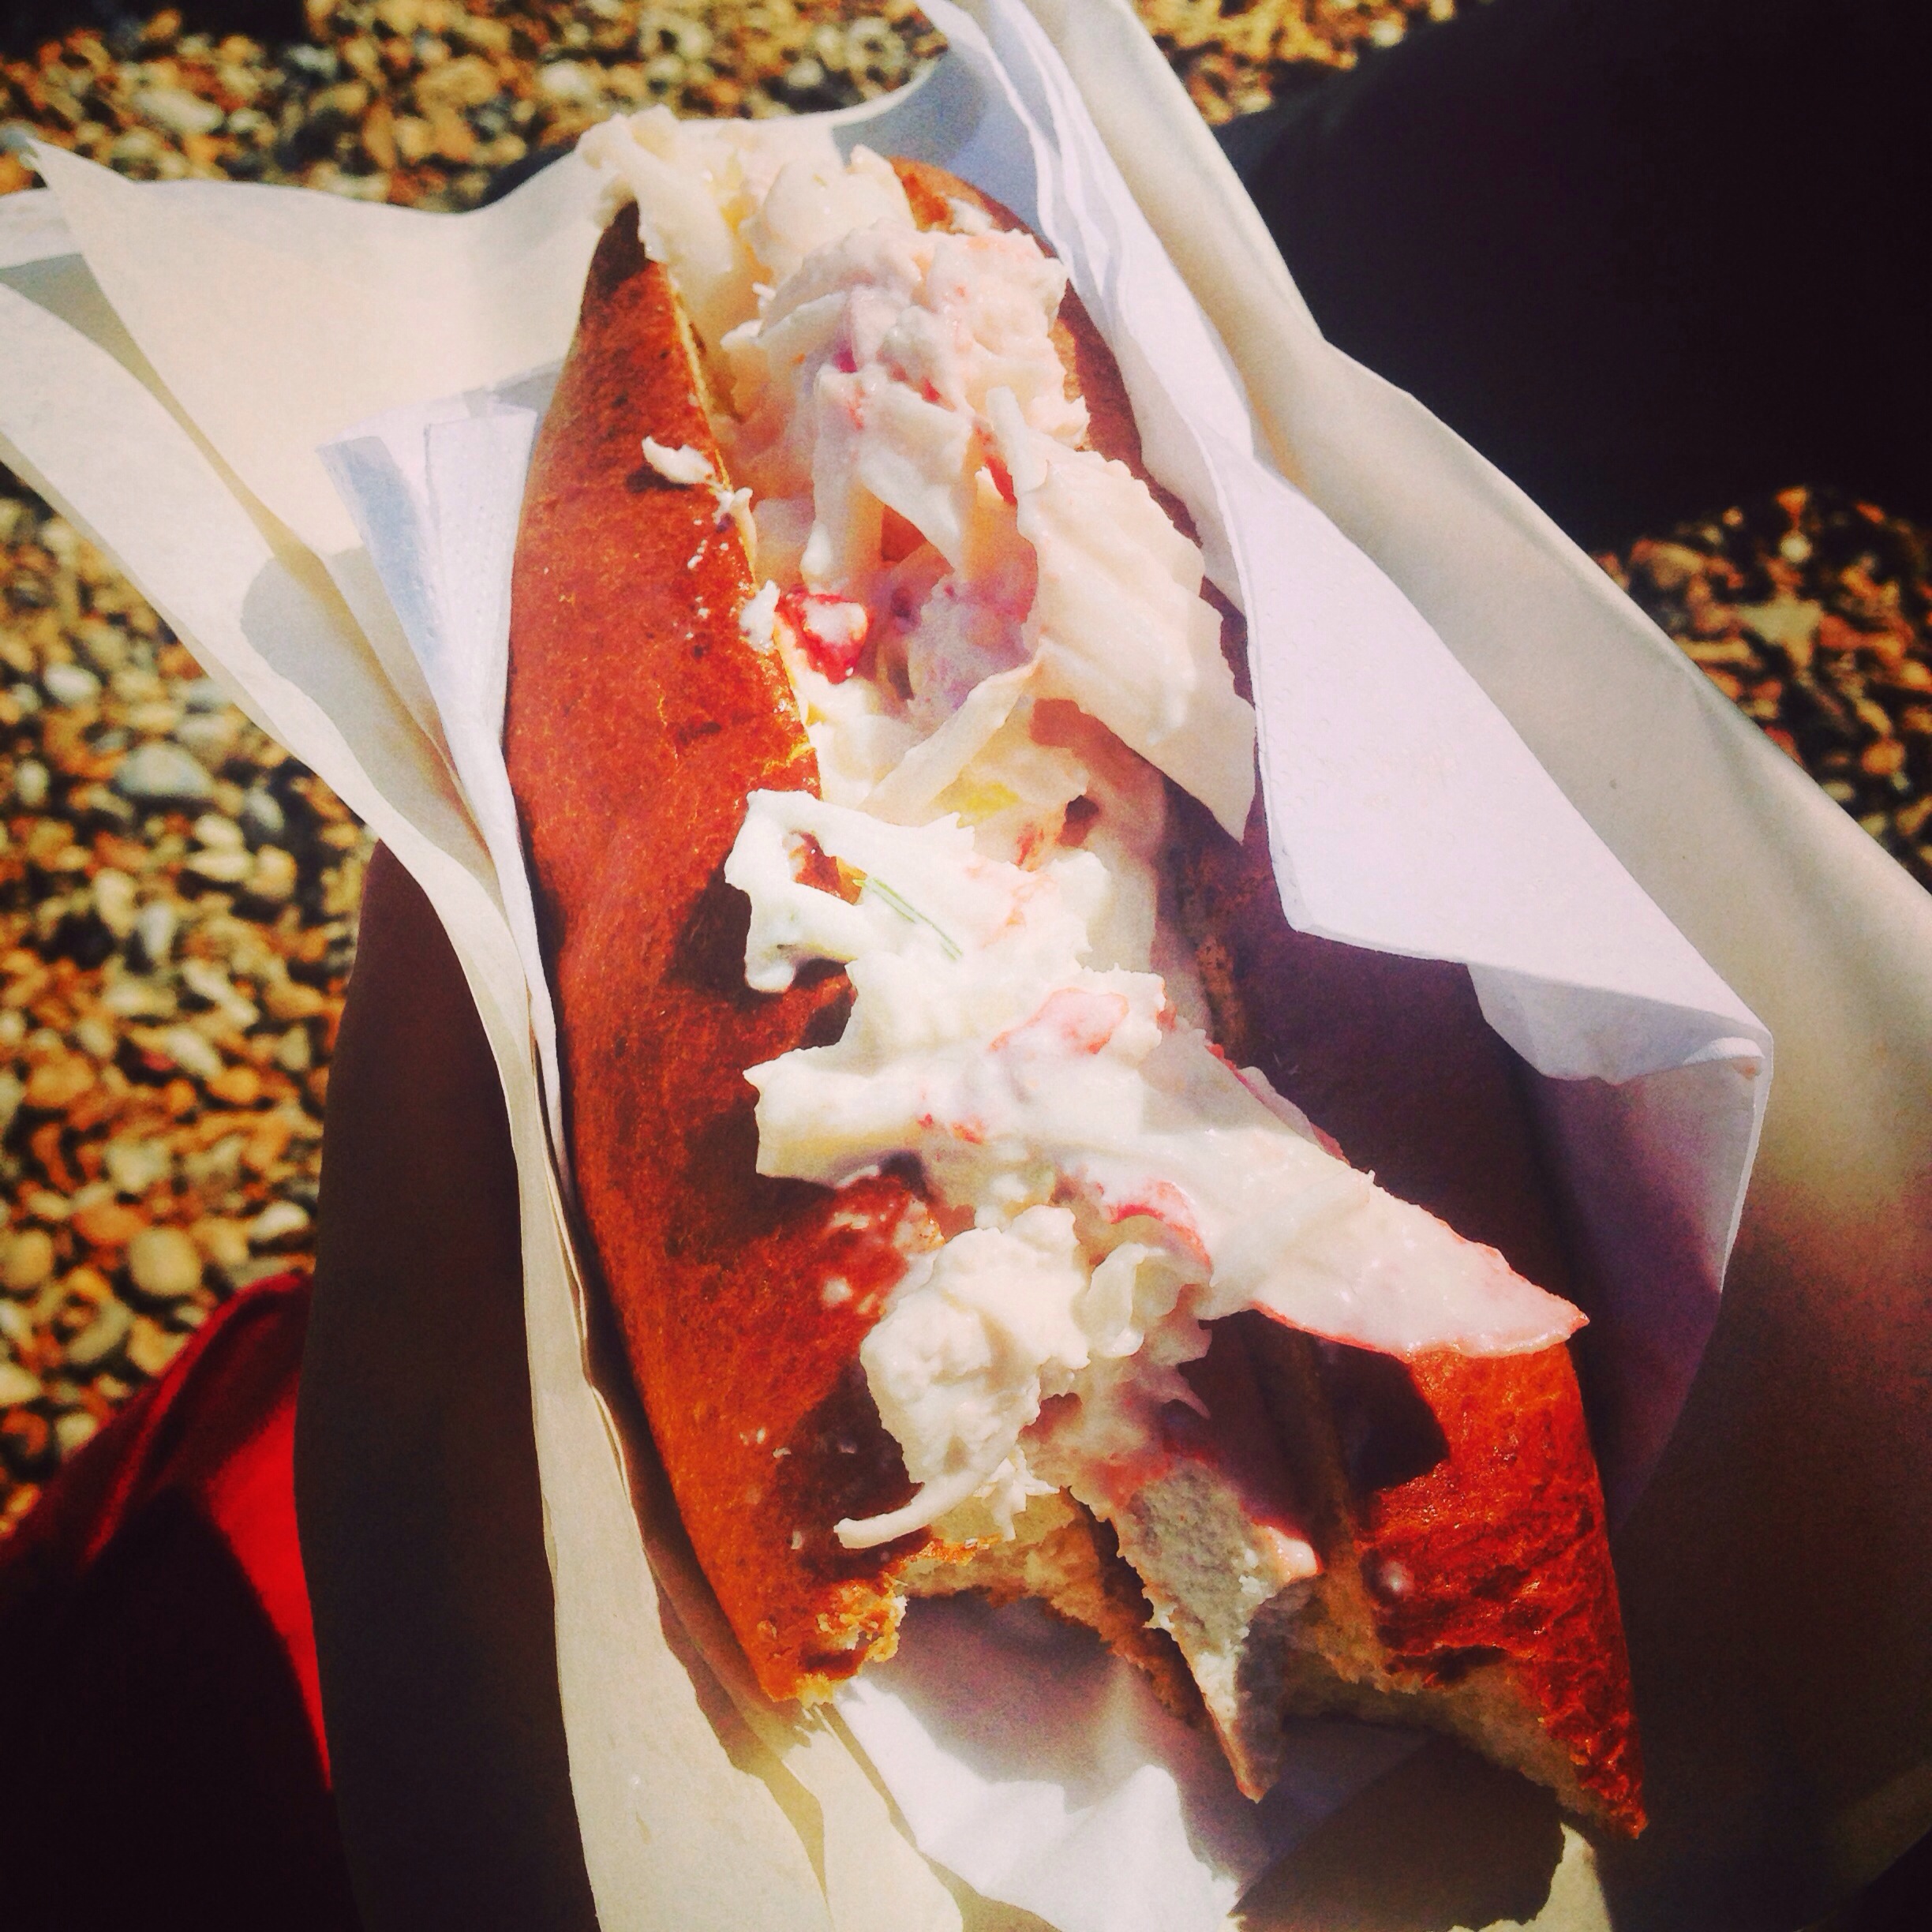
(Excuse the teeth marks)
Best lobster roll EVER from my new favourite place, Dungeness Fish Hut.

20140714-165359.jpg

Steam cleaning the engine room

All I can say here is I am so grateful that I didn’t have to do this. Imagine using a heavy heavy steamer and hose to squirt boiling steam in an enclosed space to remove eighty years of gunky diesel sludge. Yuck.

Some sterling work from team L&L and it is looking a lot cleaner. You wouldn’t exactly eat your dinner in there but I did venture down there in a white dress and came out pretty much muck free. I can still taste diesel though.

20140708-113643.jpg
The metal plates covering the bilges (? And can it even be plural) have been removed and most of the gunk cleared.

20140708-114156.jpg
All the water had to drain through this one tiny missing rivet hole.

20140708-114529.jpg
It also turns out, from the slightly barbecued underside to the deck, there was once a fire in the engine room.

20140708-115614.jpg
Setting a fireboat alight is a fail of epic proportions.

Despite the muck and grime inside, the view from the engine room looking out is great.

20140708-114826.jpg
Lurking in the bottom of the boat we found a seacock covered with a wooden bung. Another example of how amazing it is that this made it down the river…

20140708-115328.jpg
The final job was the blasting of the plates that make up the floor of the engine room. I know I keep banging on about this but isn’t Shotblasting amazing? From crappy cruddy rusty metal to really quite passable. Again, very tempting to zap all your possessions.

20140708-115121.jpg
The “before” exhibits are to the right.

In fact…

If you insert a boat under any of his designs, they all look pretty good. Just need a bit of boat-ing up, then perfect!

20140707-083114.jpg

20140707-083120.jpg

20140707-083126.jpg

20140707-083133.jpg

20140707-083140.jpg

Excuse the clumsy photoshopping – the product of using an iPhone with froggy fingers!

BETA III BOOK CLUB – Tom Kundig fan girl

20140706-190332.jpg
One of the next, and most crucial, parts of the renovation process is designing the new structure that will go on top. I have been mulling this over for a while but was clearer on what I didn’t, rather than did, want. Ultimately not that much help when talking to an architect.

I was pointed by Toby the welder in the direction of Tom Kundig, an American industrial style architect who does a lot of work with steel and glass. Turns out I LOVE LOVE LOVE his stuff and think that elements of this style will be perfect for the boat.

20140706-195241.jpg
Here are some pictures of his work so you can get the general idea…

20140706-192905.jpg

20140706-192919.jpg

20140706-192932.jpg

20140706-192951.jpg
The designs look almost a bit boat light and incorporate the glass and steel and light that, I think, will make the design work.

One of the recurring elements in his designs are whole walls the lift or swing to open up and to give access to the outdoors. When combined with the overhanging roof, I think this will be perfect for the boat.

20140706-193240.jpg

20140706-193250.jpg

20140706-193304.jpg

20140706-193312.jpg

20140706-193324.jpg
While a lot of what makes these designs are the overall structure and materials, both of which play out on a grand scale, there is still a great attention to detail. Exposed trunking and industrial light fittings, a stainless steel kitchen, a wood burner and even a window for the dog to keep watch from.

20140706-193625.jpg

20140706-193638.jpg

20140706-193647.jpg

20140706-193655.jpg
One feature particularly caught my eye and is totally appropriate for the boat given it’s history…

20140706-193836.jpg

20140706-193843.jpg
I am pretty confident that this style will be both appropriate for the existing structure of the boat and also stand the text of time. Just look at the computer monitor in the following picture – the only element that dates it.

20140706-194120.jpg
While some what of a departure from my normal maximalist style, I love how the design translates to the interiors with the exposed metalwork and stairs.

20140706-194247.jpg

20140706-194255.jpg

20140706-194301.jpg
Let’s get going on the design!

Hitting the decks

Kyle and Marius swung by the boat yesterday to check out the deck. The verdict was pretty good. They are thick at an – I’m told impressive – 3.5 inches and the overall condition isn’t bad.

20140704-100428.jpg

20140704-100446.jpg
There are a few bits where the layout of the hatches has changed and bits replaced with pine but this is pretty minimal.

20140704-100602.jpg
The deck is straight laid with margin planks at the front. These are the curved bits and are missing in places.

20140704-101110.jpg
The difficulty with margin planks is that the wood needs to be really wide to take the curve. And turns out teak is phenomenally phenomenally expensive. The chaps also sized up the striker rails and measured the rudder to refit the oak panel on one side.

20140704-101456.jpg

Before the patching is done, the seams need to be recaulked. The current caulk is a mixture of gone off sealant, moss and muck. This needs to be raked or routed out and replaced, either with traditional pitch or expensive silkaflex. The solution may be a combination of both depending on whether that part of the deck is exposed or undercover.

The historic patching also needs to be looked at. Like welding, proper replacement should be in the form of an insert (they are identifiable by a pattern of geometric lines) rather than a stuck on patch. There are examples of both which I will photograph at some point.

Last but not least, the deck furniture (the tie-y rope-y to thingies. Am yet to mug up on the official nautical terms) all needs to be unscrewed and re-bedded. Team L&L had a quick blast of some of these at the bow while they were blasting the striker rails just to see what was underneath the flakey paint. Turns out they are bronze which will look pretty darn special when all cleaned and scrubbed up.

20140704-155048.jpg

20140704-155102.jpg

A whole new challenge in a different material but I am keen to get this phase underway!

3D survey

Yesterday was the day of the 3D survey. Jess*, the surveyor, and D, the model maker came down to gather the data.

20140703-161050.jpg

This basically involves a machine, a tripod and some markers. The gadgets spin and the data is gathered. In short, it’s not much of a spectator sport and the magic very much happens behind the scenes.

20140703-161243.jpg

On recounting this, Led asked whether I was expecting a Jean Michel jarre style sound and light show… Ummm, actually I was.

The markers round the boat are to orientate the different parts of the picture. The positioning on the oil drum of debris does make it look like toxic waste.

20140703-161531.jpg

The guys were spectacularly efficient, zapping around, on top and inside the boat. The big hole in the bottom definitely helped!

20140703-161651.jpg

I am ridiculously excited to see the finished scan!!

*after only ever meeting men in boiler suits on this project, I am thrilled to get another girl in on the project. HIGH FIVE